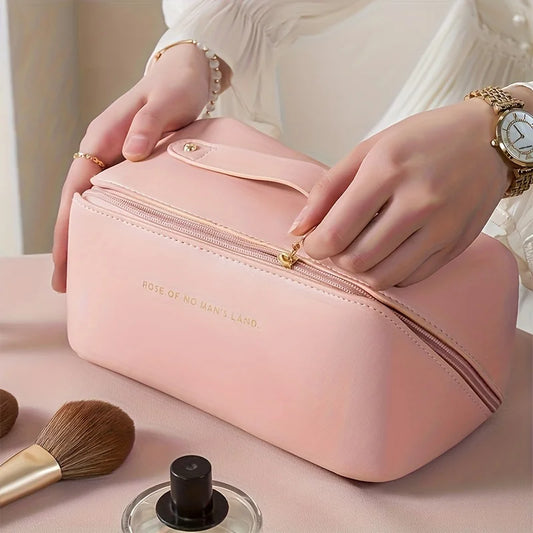
How to apply makeup with a sponge?
To apply makeup with a sponge, always dampen it first to avoid streaks and wasted product. Bounce, don’t drag—use a tapping motion for even coverage. A sponge blends foundation, concealer, or cream blush seamlessly, giving you a natural, flawless finish in less time than brushes or fingers.
- Dampen the sponge under water and squeeze out excess.
- Apply foundation in small dots on your face.
- Bounce sponge lightly to blend, avoiding harsh strokes.
- Use the pointed end for under eyes and corners.
- Set with powder using the flat side for smooth finish.
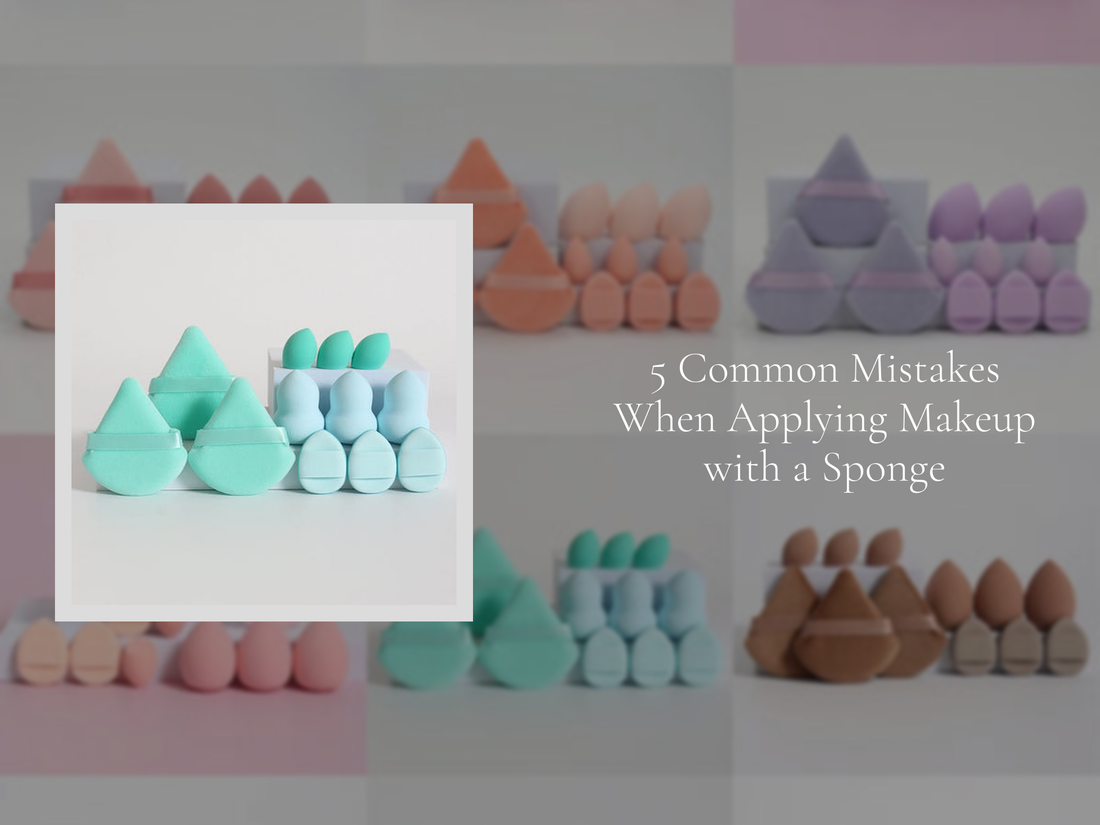
5 Common Mistakes When Applying Makeup with a Sponge
Want to master how to apply makeup with a sponge without streaks or wasted product? Many beauty lovers still wonder about makeup sponge vs fingers, or even overlook makeup sponges and their uses beyond foundation. With the right face sponges for makeup, you can achieve a flawless finish in less time—if you avoid these sneaky mistakes. Ready to find out which habits might be sabotaging your glow?
⏱ 7 min read
💡 Learn how to apply makeup with a sponge for a flawless skin finish. 👉 See it in action
Mistake 1: Using a Dry Sponge
One of the biggest misconceptions about how to apply makeup with a sponge is using it dry. A dry sponge soaks up more product, creates patchy coverage, and drags on your skin. Always dampen your beauty sponge under running water, squeeze out excess, and let it expand before blending.
Mistake 2: Dragging Instead of Bouncing
When comparing makeup sponge vs fingers, the sponge wins because of its bounce. Many users make the mistake of dragging the sponge across the face, which leaves streaks. Instead, use short, gentle tapping motions—this builds coverage evenly and mimics professional airbrush effects.

💡 Bounce, don’t drag! Master blending sponge tips with the KentDO sponge set.
Mistake 3: Ignoring Makeup Sponges and Their Uses
Makeup sponges and their uses go beyond just foundation. A sponge can apply cream blush, contour, setting powder, or even skincare like primers. Overlooking these uses means you miss out on smoother textures and seamless blending. Which product will you try next with your sponge?
| Product | Best Sponge Use | Result |
|---|---|---|
| Foundation | Flat base | Even coverage |
| Concealer | Pointed tip | Brightens under eyes |
| Powder | Flat edge | Matte, smooth finish |
| Cream blush | Rounded side | Natural flush |
Mistake 4: Not Cleaning Your Sponge Properly
A neglected sponge breeds bacteria, clogs pores, and ruins application. Clean your face sponges for makeup at least once a week with gentle soap or dedicated cleanser. Replace them every 2–3 months for hygiene and performance. Your skin will thank you with fewer breakouts and smoother makeup days.
Mistake 5: Using One Sponge for Everything
Different makeup needs different sponge shapes. Using one for all tasks reduces precision. A foundation sponge won’t work the same for under-eye concealer. This is why sets like the KentDO 12-Piece Makeup Sponge Set matter—they give you tailored tools for every corner and contour.

💡 Multiple shapes = multiple results. Upgrade with KentDO for pro-level blending.
Looking for more beauty routines? Explore our Skin and Beauty Care Devices and discover easy tips in our Beauty & Self-Care Blog.
Mini-FAQ
Should I wet my sponge before applying foundation?
Yes. Always dampen your sponge to prevent soaking up too much foundation and to ensure smooth, even application.
Can I use a makeup sponge for powder?
Absolutely. The flat edge of a sponge presses powder seamlessly into skin, especially for baking under the eyes.
How often should I replace my makeup sponge?
For hygiene and best results, replace your sponge every 2–3 months, or sooner if it shows wear and tear.
Pillar Article: Square Makeup Sponges Feature Deep Dive: Why Shape Matters
Other Related Articles:
- Makeup Round Sponge Technology: Softness, Blendability & Results
- Makeup Sponge and Brush Set Tips: Maximize Your Kit
- Step-by-Step: Perfect Foundation Using a Makeup Sponge
Explore More: