

⏱ 8 min read
How to Clean a Wax Pot (Fast & Safe Methods for Any Wax Warmer)
What Is the Best Way to Clean a Wax Melting Pot? (Quick Answer)
The best way to clean a wax melting pot depends on the type of wax left inside. For most hard and soft wax residue, briefly warming the pot until the wax softens, wiping it away with paper towels, and removing the remaining film with a small amount of oil is the quickest and safest method. For fully hardened wax, the freezer method often provides easier removal without damaging the pot.
Cleaning Method Comparison
- Warm & Wipe: Fastest option for fresh or semi-soft wax after a waxing session.
- Freezer Method: Best for thick, hardened hard wax in removable pots or silicone inserts.
- Oil Cleaning: Ideal for removing sticky residue that remains after wax has been lifted.
Choose the Right Method by Wax Type
- Hard wax: Freeze the removable pot or gently reheat before wiping, depending on buildup.
- Soft or strip wax: Clean while the wax is still warm for the quickest results.
- Paraffin wax: Allow it to soften slightly, then wipe away residue with a soft cloth and a wax-safe oil.
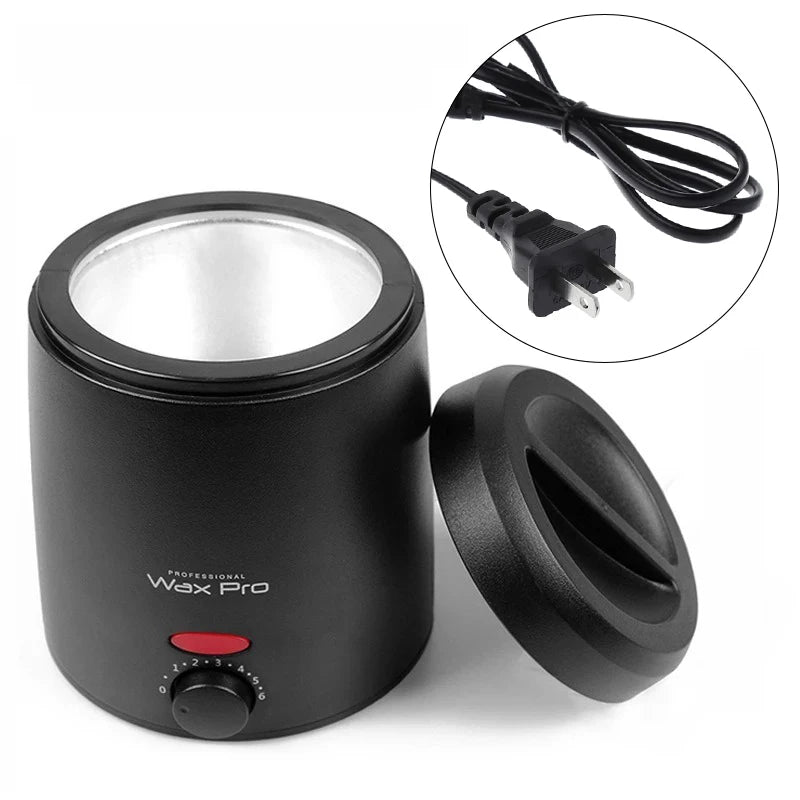
Clean tools = better results — Keep your wax pot in top condition.
Why Cleaning Your Wax Warmer Matters
Regular cleaning helps your wax warmer heat evenly, prevents old wax from contaminating fresh batches, and extends the life of the heating pot. Following simple wax warmer cleaning tips also reduces residue buildup around the edges, improves hygiene, and makes each waxing session faster and more consistent. Whether you wax occasionally at home or use your warmer every week, routine cleaning keeps the device performing efficiently while protecting its interior finish.
Tools and Safe Cleaning Products You Need
Recommended Supplies
- Soft microfiber cloths or thick paper towels
- Wooden, plastic, or silicone spatula for lifting wax without scratching the pot
- Baby oil, mineral oil, or coconut oil to dissolve wax residue
- Heat-resistant gloves for handling a warm pot (optional)
- A removable container for discarded wax
- A freezer for removing hardened wax from detachable pots or silicone inserts
- Professional wax cleaner designed for salon equipment (optional for stubborn residue)
Products to Avoid
- Metal scrapers or steel wool that can damage the pot's surface
- Harsh solvents, bleach, or abrasive household cleaners
- Excess water on electric wax warmer components
- Scouring pads that may remove non-stick coatings
Using the proper supplies makes cleaning a wax pot at home faster, protects the finish of the warmer, and helps maintain consistent heating performance.
Method 1: Clean While the Wax Is Warm (Fastest Method)
Step-by-Step
- Warm the wax for 2–5 minutes until it softens but is not excessively hot.
- Turn off and unplug the wax warmer before cleaning.
- Pour excess liquid wax into a disposable container if needed.
- Wipe the inside of the pot with folded paper towels or a soft cloth.
- Apply a few drops of baby oil or mineral oil to remove the remaining film.
- Finish with a clean, dry cloth until the pot is residue-free.
Best for Soft and Strip Wax
- Routine cleaning after each waxing session
- Soft wax, strip wax, and partially cooled hard wax
- Removing residue before it hardens onto the pot
Safety Precautions
- Always unplug the warmer before reaching inside the pot.
- Allow extremely hot wax to cool slightly before wiping.
- Use only soft cleaning materials to avoid scratching the interior.
Method 2: Remove Hardened Wax with the Freezer Method
Step-by-Step
- Switch off and unplug the wax warmer completely.
- Allow the removable pot to cool to room temperature.
- Place the removable pot or silicone insert in the freezer for 30–60 minutes.
- Gently flex or press the cooled wax until it releases in one or more large pieces.
- Remove any remaining residue with a small amount of oil and a soft cloth.
Best for Hard Wax
- Thick layers of hardened hard wax
- Removable aluminum pots and silicone inserts
- Cleaning without reheating the remaining wax
Pros and Cons
- Pros: Minimal mess, no reheating required, reduces the risk of scratching the pot.
- Cons: Requires extra time and is not suitable for fixed, non-removable heating pots.
Method 3: Oil or Wax Cleaner for Stubborn Residue
Step-by-Step
- Apply a small amount of baby oil, mineral oil, or a professional wax cleaner directly to the remaining residue.
- Allow the cleaner to sit for 5–10 minutes so it can soften the wax.
- Lift loosened residue with a silicone or plastic spatula.
- Wipe the surface thoroughly using paper towels or a soft microfiber cloth.
- Repeat the process if sticky spots remain, then buff the pot dry.
Best Oils and Cleaners
- Baby oil for routine household cleaning
- Mineral oil for stubborn wax buildup
- Coconut oil as a natural alternative
- Professional wax pot cleaner for heavy commercial residue
Troubleshooting Sticky Residue
- Apply a second light coat of oil if the surface still feels tacky.
- Use a soft cloth rather than abrasive pads to protect the finish.
- Finish by wiping away excess oil so the next batch of wax heats evenly.
How to Clean an Electric Wax Pot Safely
Before Unplugging
- Turn the temperature control to the lowest setting and allow the wax to cool slightly if it is extremely hot.
- Switch the unit off before disconnecting it from the power outlet.
- Wait until the warmer can be handled safely without risking burns.
Cleaning the Heating Base
- Never immerse the electric base in water.
- Do not pour water or cleaning solution into the heating chamber.
- Wipe the exterior and heating base with a lightly damp, lint-free cloth.
- Remove wax around the rim using oil and a soft cloth instead of sharp tools.
Drying Before Reuse
- Dry every surface completely before reconnecting the warmer.
- Inspect the heating area for remaining oil or moisture.
- Store the wax heater pot in a clean, dry location until the next use.
Following these steps helps protect the heating element, prevents water damage, and keeps an electric wax pot operating safely for long-term use.
Cleaning Tips by Wax Pot Material
Non-Stick Pots
- Clean with soft cloths and plastic or silicone tools only.
- Avoid abrasive cleaners that can damage the protective coating.
Aluminum Pots
- Use the warm cleaning method for routine maintenance.
- Dry thoroughly after cleaning to minimize discoloration.
Stainless Steel Pots
- Oil-based cleaners remove residue effectively without scratching the surface.
- Buff dry with a microfiber cloth for a clean finish.
Silicone Inserts
- Freeze briefly so hardened wax releases in large pieces.
- Wash with warm, soapy water only after all wax has been removed.
- Allow the insert to dry completely before placing it back into the warmer.
Common Mistakes to Avoid When Cleaning a Wax Warmer
- Using sharp metal tools that can scratch the inside of the wax pot.
- Trying to wipe away fully hardened wax instead of softening or freezing it first.
- Immersing an electric wax warmer base in water or exposing the heating element to moisture.
- Cleaning while the wax is dangerously hot, increasing the risk of burns.
- Allowing residue to build up over multiple waxing sessions.
- Using abrasive cleaners, steel wool, or harsh chemicals that can damage protective finishes.
When to Quick Clean vs Deep Clean
After Every Session
- Remove leftover wax before it fully hardens.
- Wipe away light residue with paper towels and a small amount of oil.
- Check the rim and edges for any remaining wax buildup.
Weekly Maintenance
- Perform a more thorough cleaning if you use the warmer regularly.
- Remove residue from the entire pot, including corners and edges.
- Inspect the warmer for signs of buildup that may affect heating performance.
Monthly Deep Clean
- Clean removable inserts thoroughly using the most appropriate method for the wax type.
- Wipe the exterior housing and controls with a soft, dry cloth.
- Check for worn accessories or damaged inserts before the next use.
Prevent Wax Buildup and Extend Your Wax Warmer's Life
- Remove residue shortly after each waxing session for easier cleanup.
- Use disposable wax collars to keep spills away from the heating base.
- Keep baby oil or a wax-safe cleaner nearby for quick touch-ups.
- Choose silicone liners or removable pots whenever possible for faster cleaning.
- Avoid overfilling the warmer to reduce overflow and hardened residue.
- Store the warmer in a clean, dry location between uses.
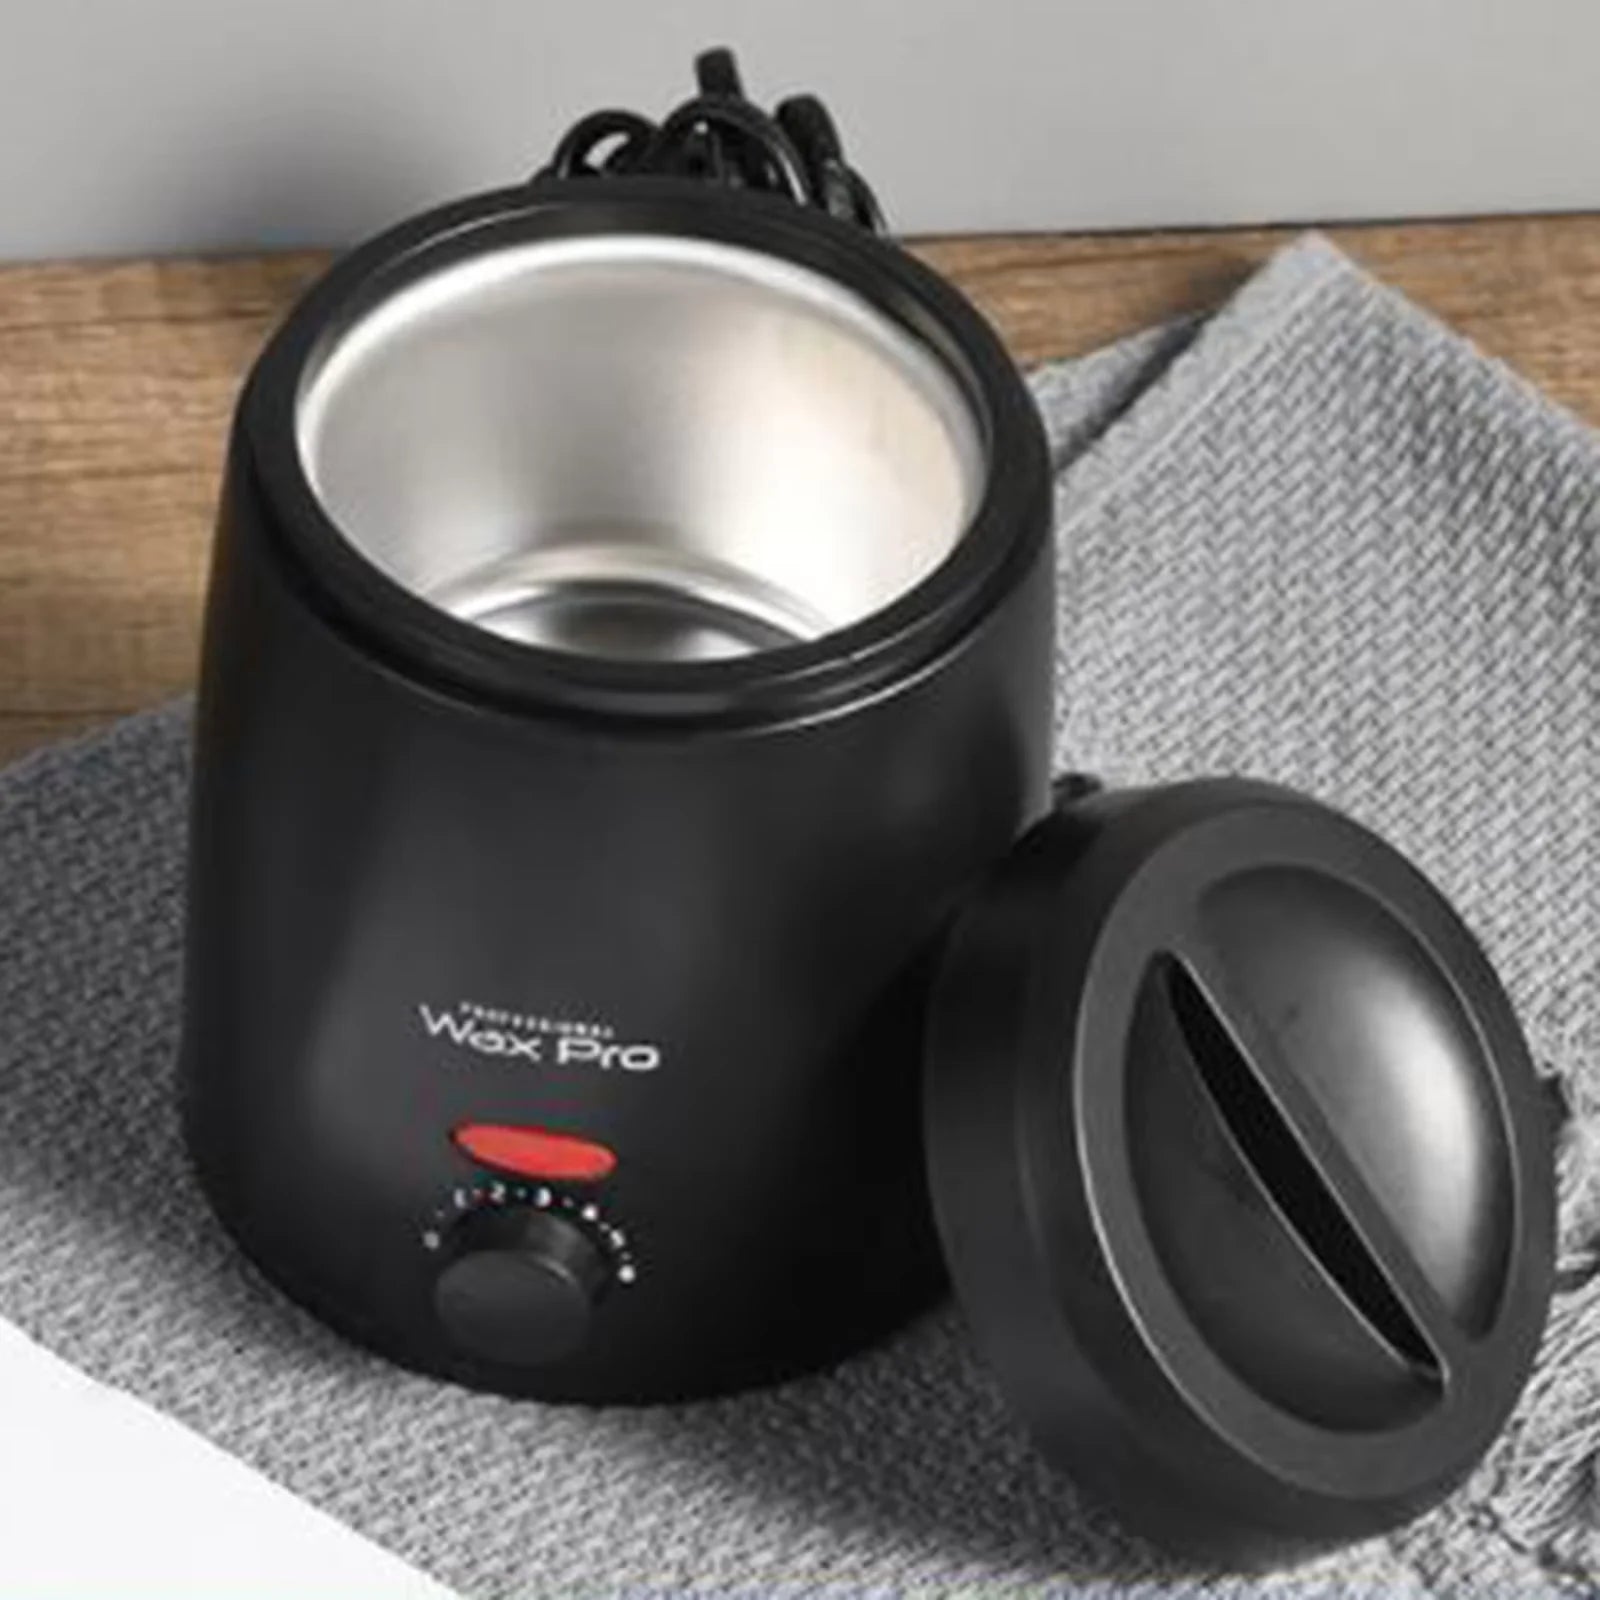
Consistent care = better performance — Keep your wax warmer clean.
Cleaning and Maintaining Your Wax Warmer
A consistent maintenance routine helps your wax warmer heat evenly, reduces residue buildup, and extends the life of both the pot and heating element.
- Clean the wax pot after every use to prevent hardened residue.
- Perform a thorough cleaning weekly if you wax regularly.
- Store the warmer in a clean, dry, dust-free location.
- Inspect the rim and interior for leftover wax before each use.
- Avoid overfilling the pot to minimize spills and overflow.
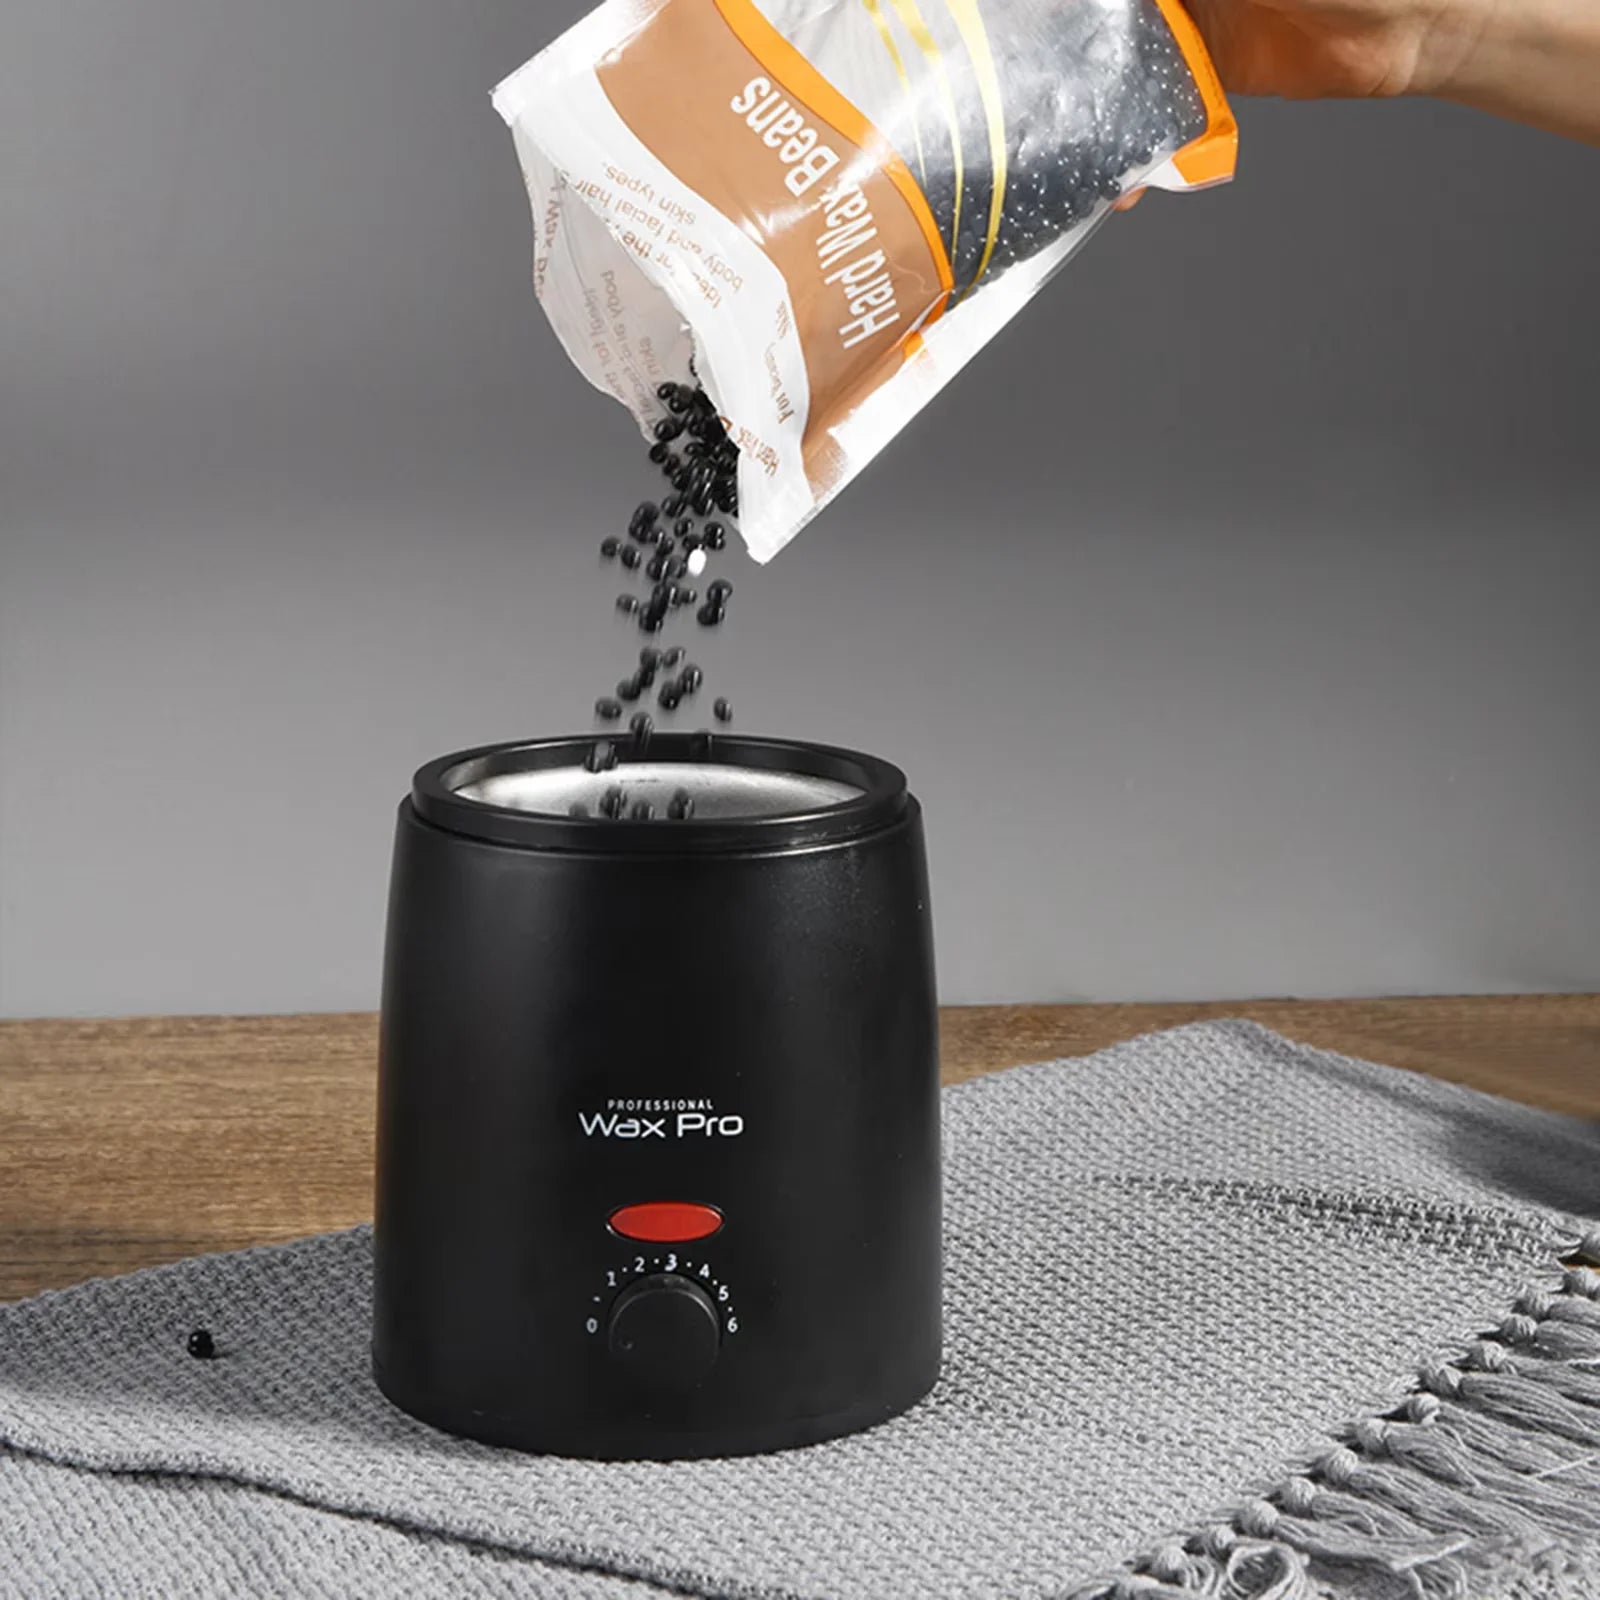
Simple habits, long-lasting tools — Maintain your setup easily.
Frequently Asked Questions
How do you clean wax residue from a pot?
Apply baby oil, mineral oil, or a wax-safe cleaner to soften the residue, then wipe it away with a soft cloth or paper towel. For thick buildup, loosen the wax with gentle heat or use the freezer method if the pot is removable.
Can you wash a wax pot with water?
Removable inserts may be washed only after all wax has been removed and if the manufacturer's instructions allow it. Never immerse an electric wax warmer base or allow water to enter the heating element.
What dissolves wax quickly?
Baby oil, mineral oil, coconut oil, and professional wax cleaners are effective for dissolving wax residue while remaining safe for most wax warmer pots.
How often should you clean a wax warmer?
Perform a quick clean after every waxing session and complete a deeper cleaning weekly if the warmer is used frequently.
Can rubbing alcohol clean a wax pot?
Rubbing alcohol is better suited for sanitizing a clean surface than removing wax. Remove all wax residue with oil or a wax cleaner before using alcohol, and avoid excessive amounts near electrical components.
Can vinegar remove wax residue?
Vinegar is not very effective at dissolving wax. Oil-based cleaners are a better choice because they break down wax without damaging most pot surfaces.
Can I reuse leftover wax after cleaning?
Wax that remains clean and free from contamination may be reused according to the manufacturer's recommendations. Discard wax that contains hair, debris, or other contaminants.
How do professionals clean wax warmers?
Many estheticians remove leftover wax while it is still soft, wipe the pot with professional wax cleaner or mineral oil, sanitize exterior surfaces, and perform regular deep cleaning to keep equipment in optimal condition.
Related Guide: Waxing Kit for Home Use: Step-by-Step Beginner Guide













