

How can you irrigate ears at home safely?
To irrigate ears at home safely, gently flush the ear canal with body-temperature water using low, controlled pressure to help loosen excess earwax. This method is only appropriate for selected adults without ear pain, infection, eardrum injury, or prior ear surgery. Stop immediately if you feel pain, dizziness, or notice changes in hearing, and seek medical advice if symptoms persist.
How to Irrigate Ears at Home Safely (Step-by-Step Guide + Best Methods Compared)
⏱ 5 min read • Ear discomfort, muffled hearing, or a persistent “full” feeling can disrupt daily life. Learning how to irrigate ears at home safely can help relieve mild wax buildup—when done correctly, with proper tools, and clear safety boundaries.
Explore the options below and see what works best for your needs.
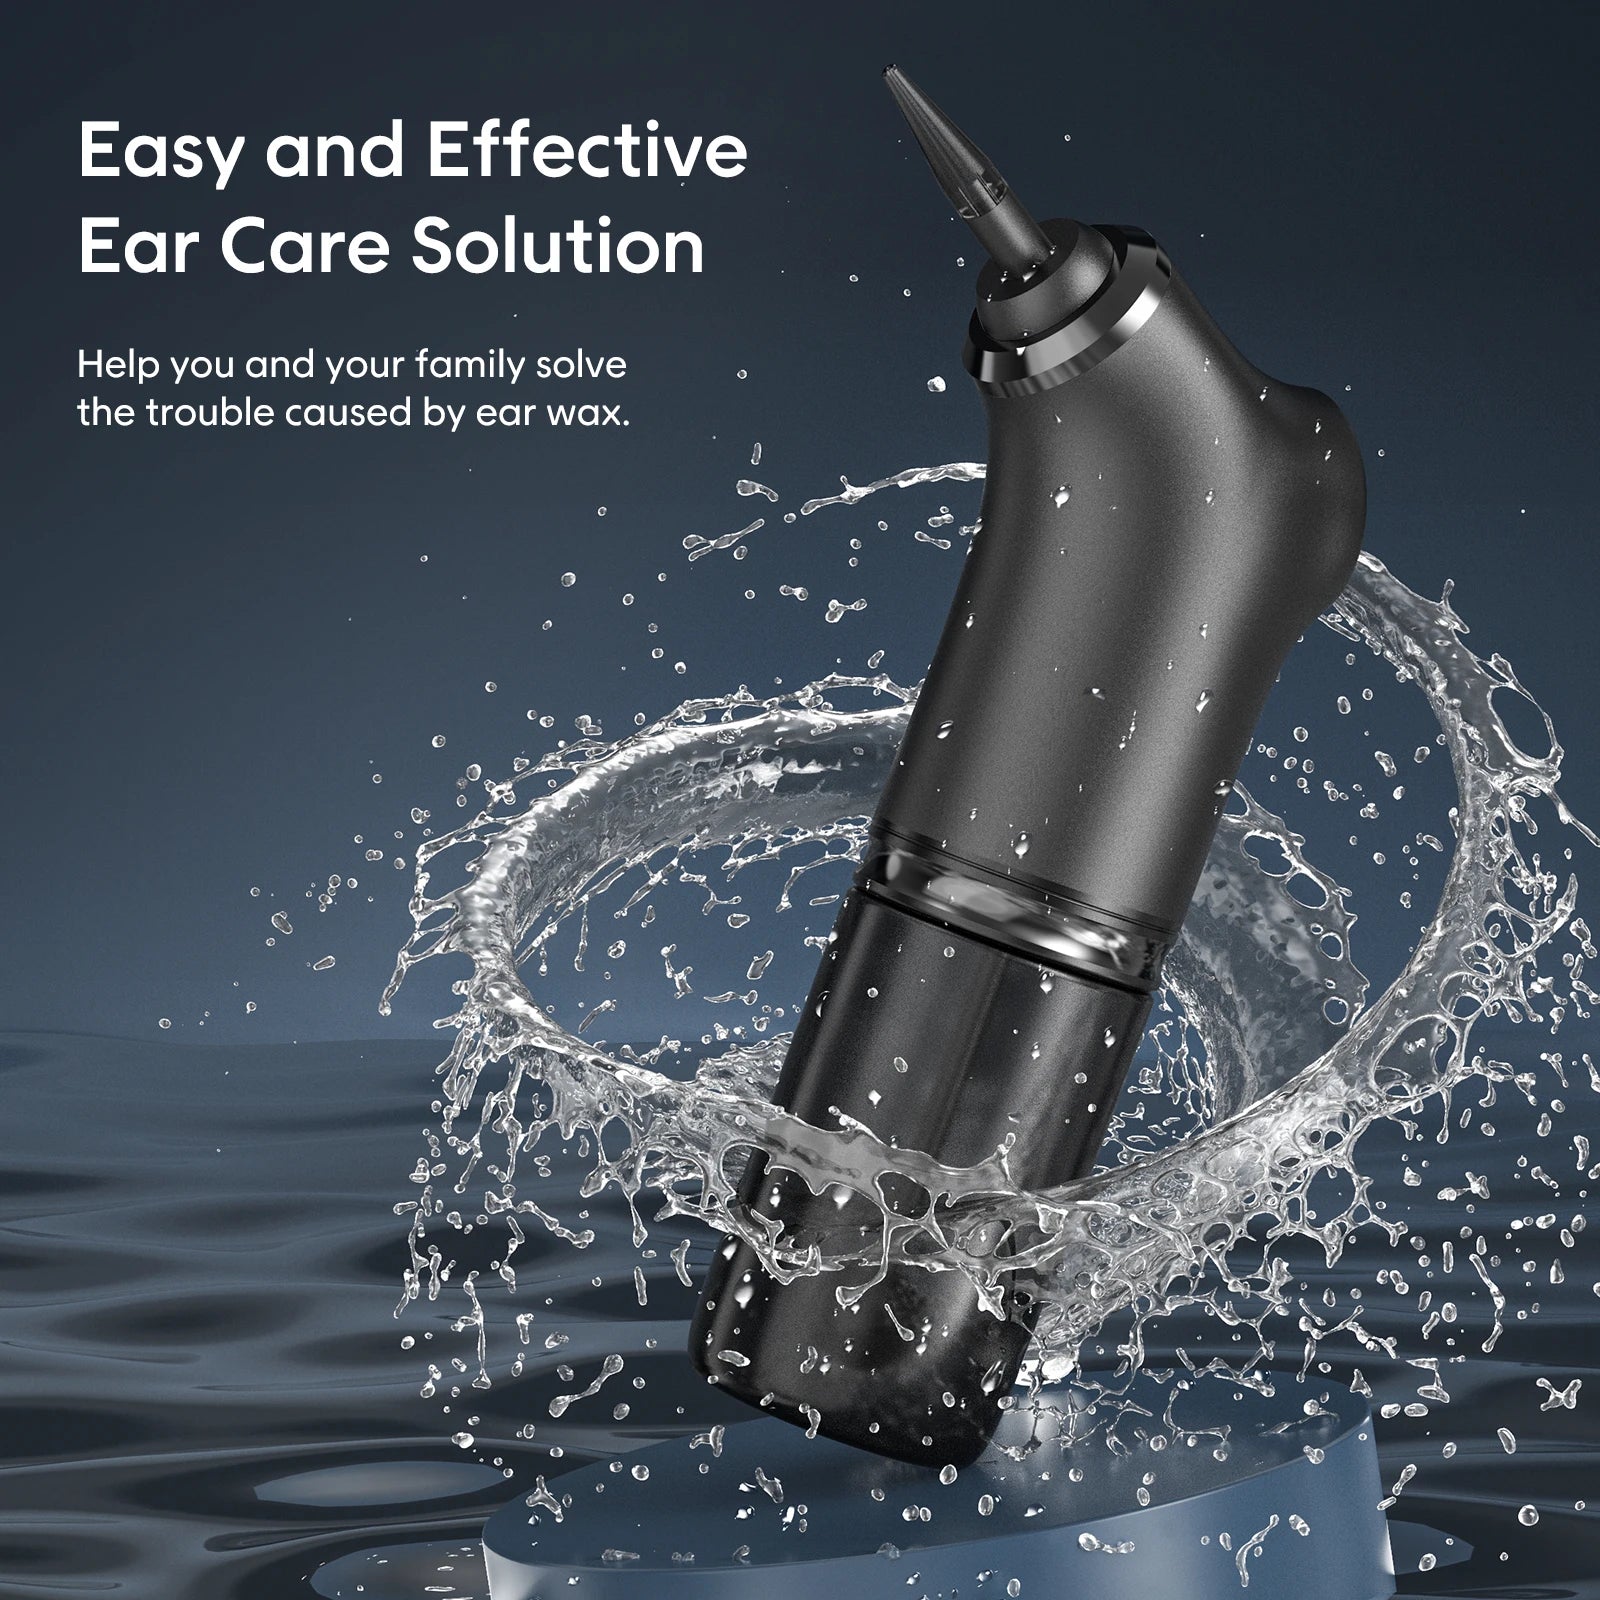
Gentle daily care matters — see how modern ear irrigation at home tools simplify routines. See it in action
What Does It Mean to Irrigate Ears at Home?
How Ear Irrigation Works
Ear irrigation involves gently flushing the ear canal with warm (body-temperature) water or a saline solution to soften and remove excess earwax. The goal is to loosen wax so it can exit naturally without force.
How Earwax Builds Up and Becomes Impacted
Earwax normally protects the ear, but buildup can occur when wax becomes dry, compacted, or pushed deeper into the canal. This can lead to symptoms like muffled hearing, pressure, or discomfort.
Unlike inserting objects into the ear (which can worsen impaction), irrigating ears uses controlled fluid flow to safely remove loosened wax when done correctly.
When Is Ear Irrigation Safe—and When Should You Avoid It?
Who May Be Able to Irrigate Ears at Home
- Mild earwax buildup causing slight hearing reduction
- No pain, infection, or drainage
- No history of ear surgery or eardrum damage
- Gradual, non-severe symptoms
When NOT to Irrigate Your Ears
- Known or suspected eardrum perforation
- Ear tubes or recent ear surgery
- Active ear infection or fluid discharge
- Severe ear pain or sudden hearing loss
- Frequent dizziness or balance issues
Ear Symptoms That Need Medical Evaluation First
Seek medical advice before attempting irrigation if you experience sudden hearing changes, persistent pain, ringing, or unexplained dizziness. These may indicate conditions that irrigation could worsen.
How to Irrigate Ears at Home Safely (Step-by-Step)
What You Need Before You Start
- Bulb syringe or ear irrigation device
- Clean, body-temperature water
- Towel or basin
- Optional: wax-softening ear drops
Step 1: Soften Hard Earwax if Needed
Use ear drops for 10–15 minutes before irrigation to soften hardened wax, making removal easier and safer.
Step 2: Prepare the Irrigation Water or Solution
Use water at body temperature. Cold or hot water may trigger dizziness or discomfort.
Step 3: Irrigate the Ear Gently
- Tilt your head so the affected ear faces upward.
- Pull the outer ear gently upward and backward.
- Slowly release water into the ear canal—never force it.
- Keep pressure low and controlled at all times.
Step 4: Let the Ear Drain and Dry
Tilt your head to allow water and loosened wax to drain out. Use a towel to catch runoff.
What to Do After Irrigating
- Gently dry the outer ear
- Avoid inserting cotton swabs or objects
- Monitor for discomfort or unusual symptoms
Tools for Ear Irrigation at Home: Bulb vs. Electric Systems
Bulb Syringe: Pros, Cons, and Best Use Cases
- Simple and affordable
- Manual pressure control
- Best for occasional mild buildup
- Less consistent flow
Electric Ear Irrigation Systems: Pros, Cons, and Best Use Cases
- Consistent, controlled water flow
- Adjustable pressure settings
- More comfortable for sensitive users
- Higher upfront cost
How to Choose an Ear Irrigation Method Safely
Choose a method based on comfort, control, and frequency of use—not convenience alone. Devices do not eliminate risks; proper technique and medical suitability are essential. For example, the KentDO Electric Ear Cleaner offers controlled flow and adjustable pressure for easier at-home use.
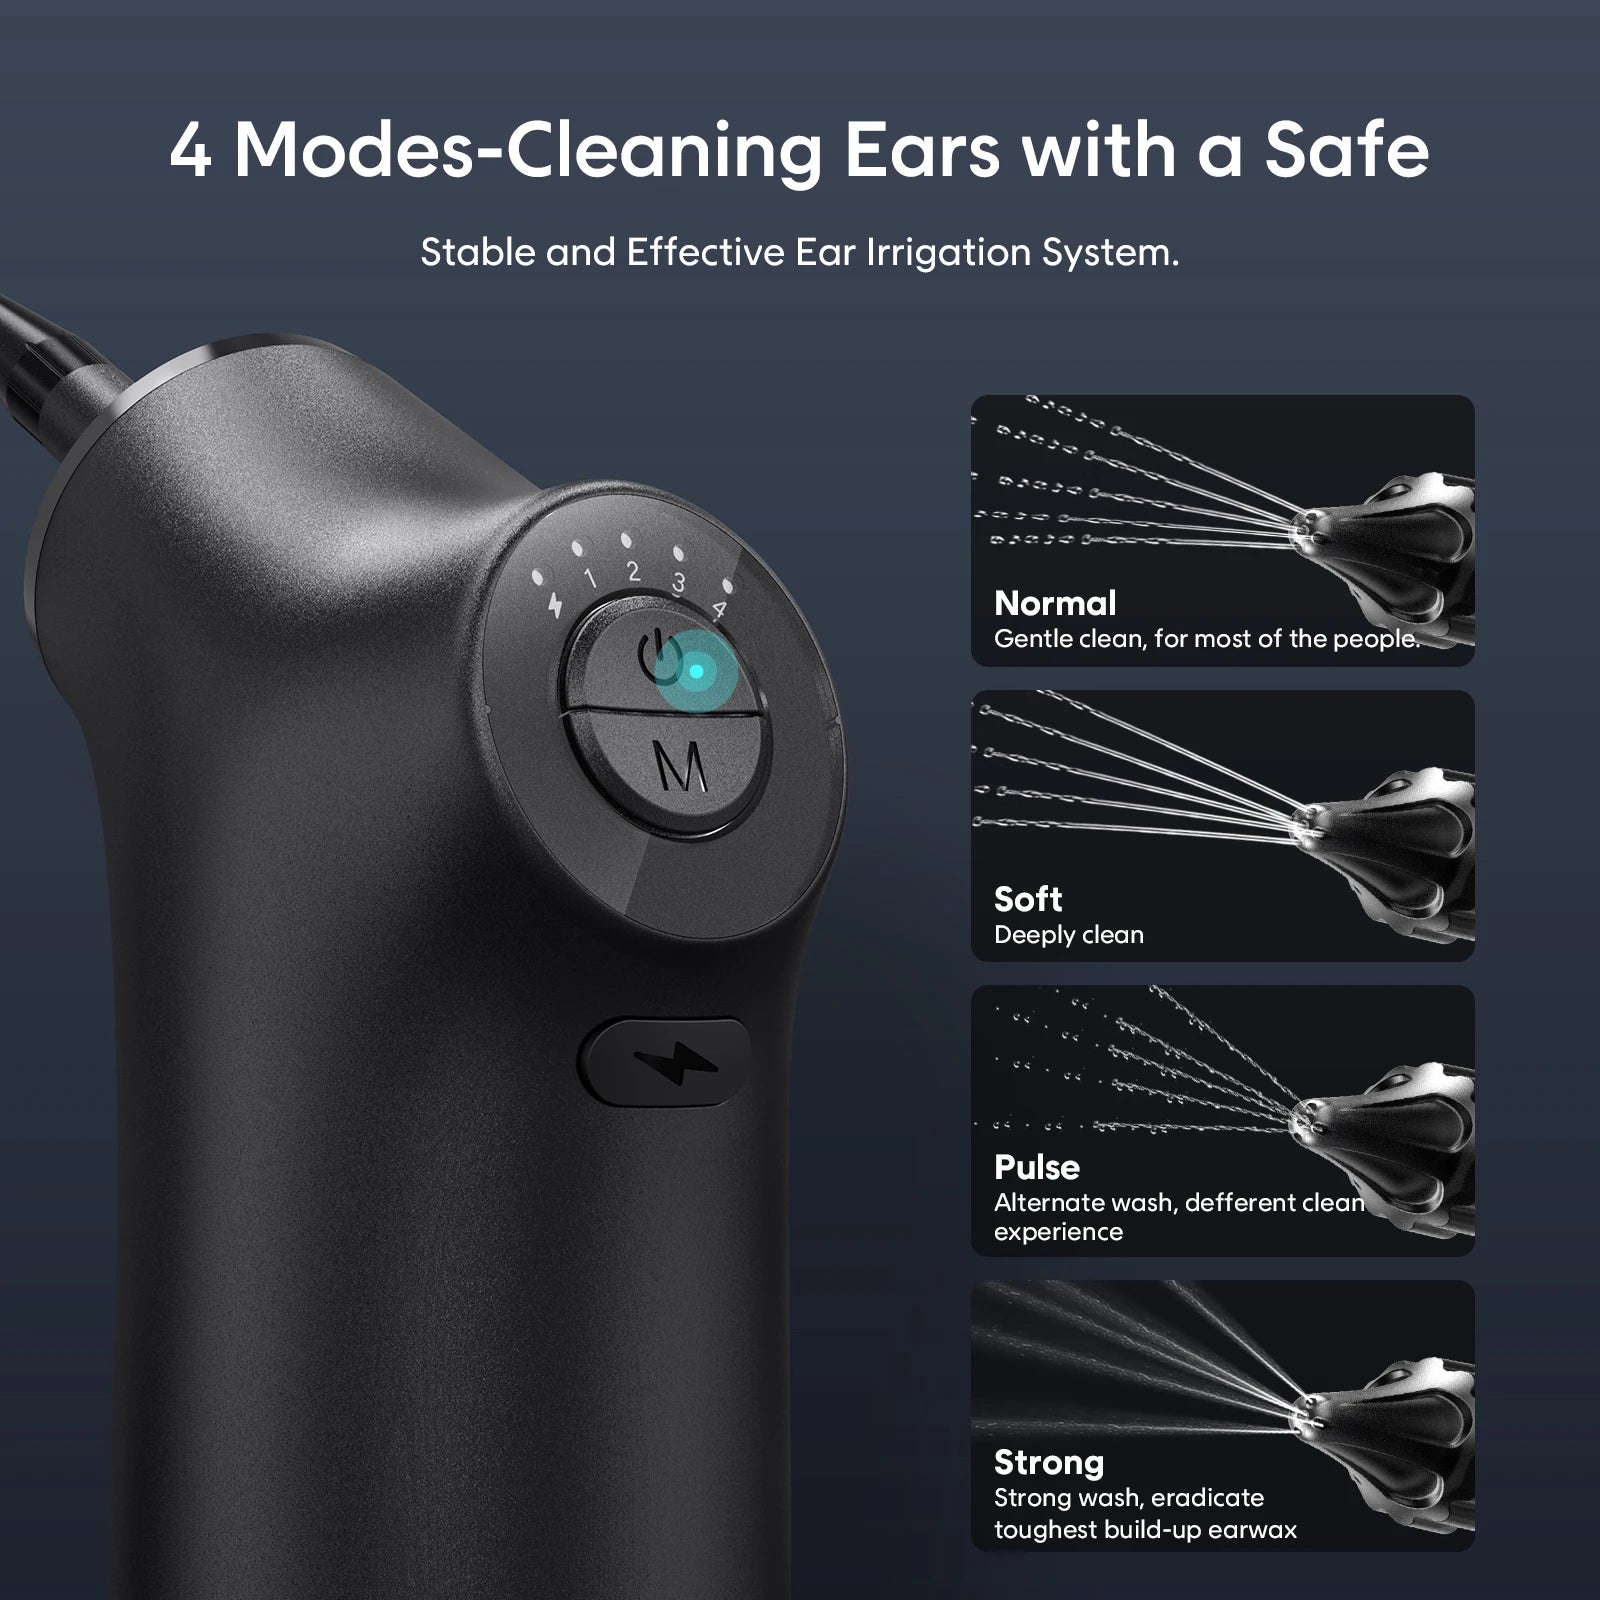
Precision control makes a difference — adjustable pressure brings peace of mind. See it in action
Risks and Side Effects of Irrigating Ears at Home
Common Side Effects
- Mild dizziness
- Temporary fullness or sensitivity
- Water trapped in the ear
Potential Complications
- Ear canal irritation
- Infection risk
- Worsening wax impaction
- Eardrum injury (rare but serious)
Warning Signs That Require Medical Attention
- Persistent or sharp pain
- Bleeding or fluid discharge
- Hearing loss after irrigation
- Severe dizziness or nausea
What Are the Alternatives to Ear Irrigation?
Ear Drops and Wax-Softening Solutions
Over-the-counter ear drops can soften wax, allowing it to exit naturally without flushing. These are often the safest first step.
When Professional Earwax Removal Is Safer
If wax is deeply impacted or symptoms persist, a healthcare provider can safely remove it using specialized tools or suction.
Why Cotton Swabs and Objects Should Be Avoided
Inserting objects into the ear canal can push wax deeper and increase the risk of injury. Avoid this common but unsafe habit.
How Often Should You Irrigate Your Ears?
Routine irrigation is not necessary for most people. Only irrigate when symptoms of buildup appear, and avoid frequent or repeated use.
If you need irrigation regularly, it may signal an underlying issue that requires evaluation rather than repeated flushing.
When Should You See a Doctor After Ear Irrigation?
Symptoms That Need Prompt Medical Attention
- Persistent pain or discomfort
- Bleeding or unusual discharge
- Worsening hearing
- Signs of infection
- Severe dizziness
When Recurrent Earwax Buildup Needs Evaluation
If earwax blockage keeps returning or home irrigation fails, professional treatment may be needed to prevent complications.
Frequently Asked Questions About Irrigating Ears at Home
Can ear irrigation at home replace a doctor visit?
No. It can help with mild cases, but persistent symptoms require medical evaluation.
How long does ear irrigation take?
Typically 5–10 minutes depending on wax buildup.
Is ear irrigation painful?
It should not be painful if done correctly, though mild pressure is normal.
Can you damage your ear by irrigating it?
Yes. Improper technique or high pressure can cause injury.
Can you irrigate your ears with water?
Yes, but only clean, body-temperature water should be used.
How often can you irrigate your ears?
Only when necessary. Avoid frequent use without medical advice.

Confidence starts with comfort — explore ear irrigation at home the easy way. See it in action
Experience comfortable, controlled ear care with the KentDO Electric Ear Cleaner .
Related Guide: Electric Ear Cleaner Comparison: Top Picks for Home Use
Final Thoughts: The Safest Way to Irrigate Your Ears at Home
Learning how to irrigate ears at home safely can help manage mild earwax buildup when done properly. The safest approach involves gentle technique, proper tools, and knowing when not to proceed.
Home irrigation is suitable for selected cases only. If symptoms worsen, persist, or fall outside safe conditions, seek professional care to protect your hearing and overall ear health.













