

MPPT Solar Inverter 140A Setup Guide for Faster Battery Charging
A properly configured MPPT solar inverter 140A can dramatically improve charging efficiency without requiring additional solar panels. In many off-grid systems, slow battery charging is caused by incorrect settings, wiring mistakes, or mismatched system components rather than insufficient solar capacity. This guide explains how to install, configure, test, and maintain a 140A MPPT inverter for reliable daily performance.
⏱ 9 min read
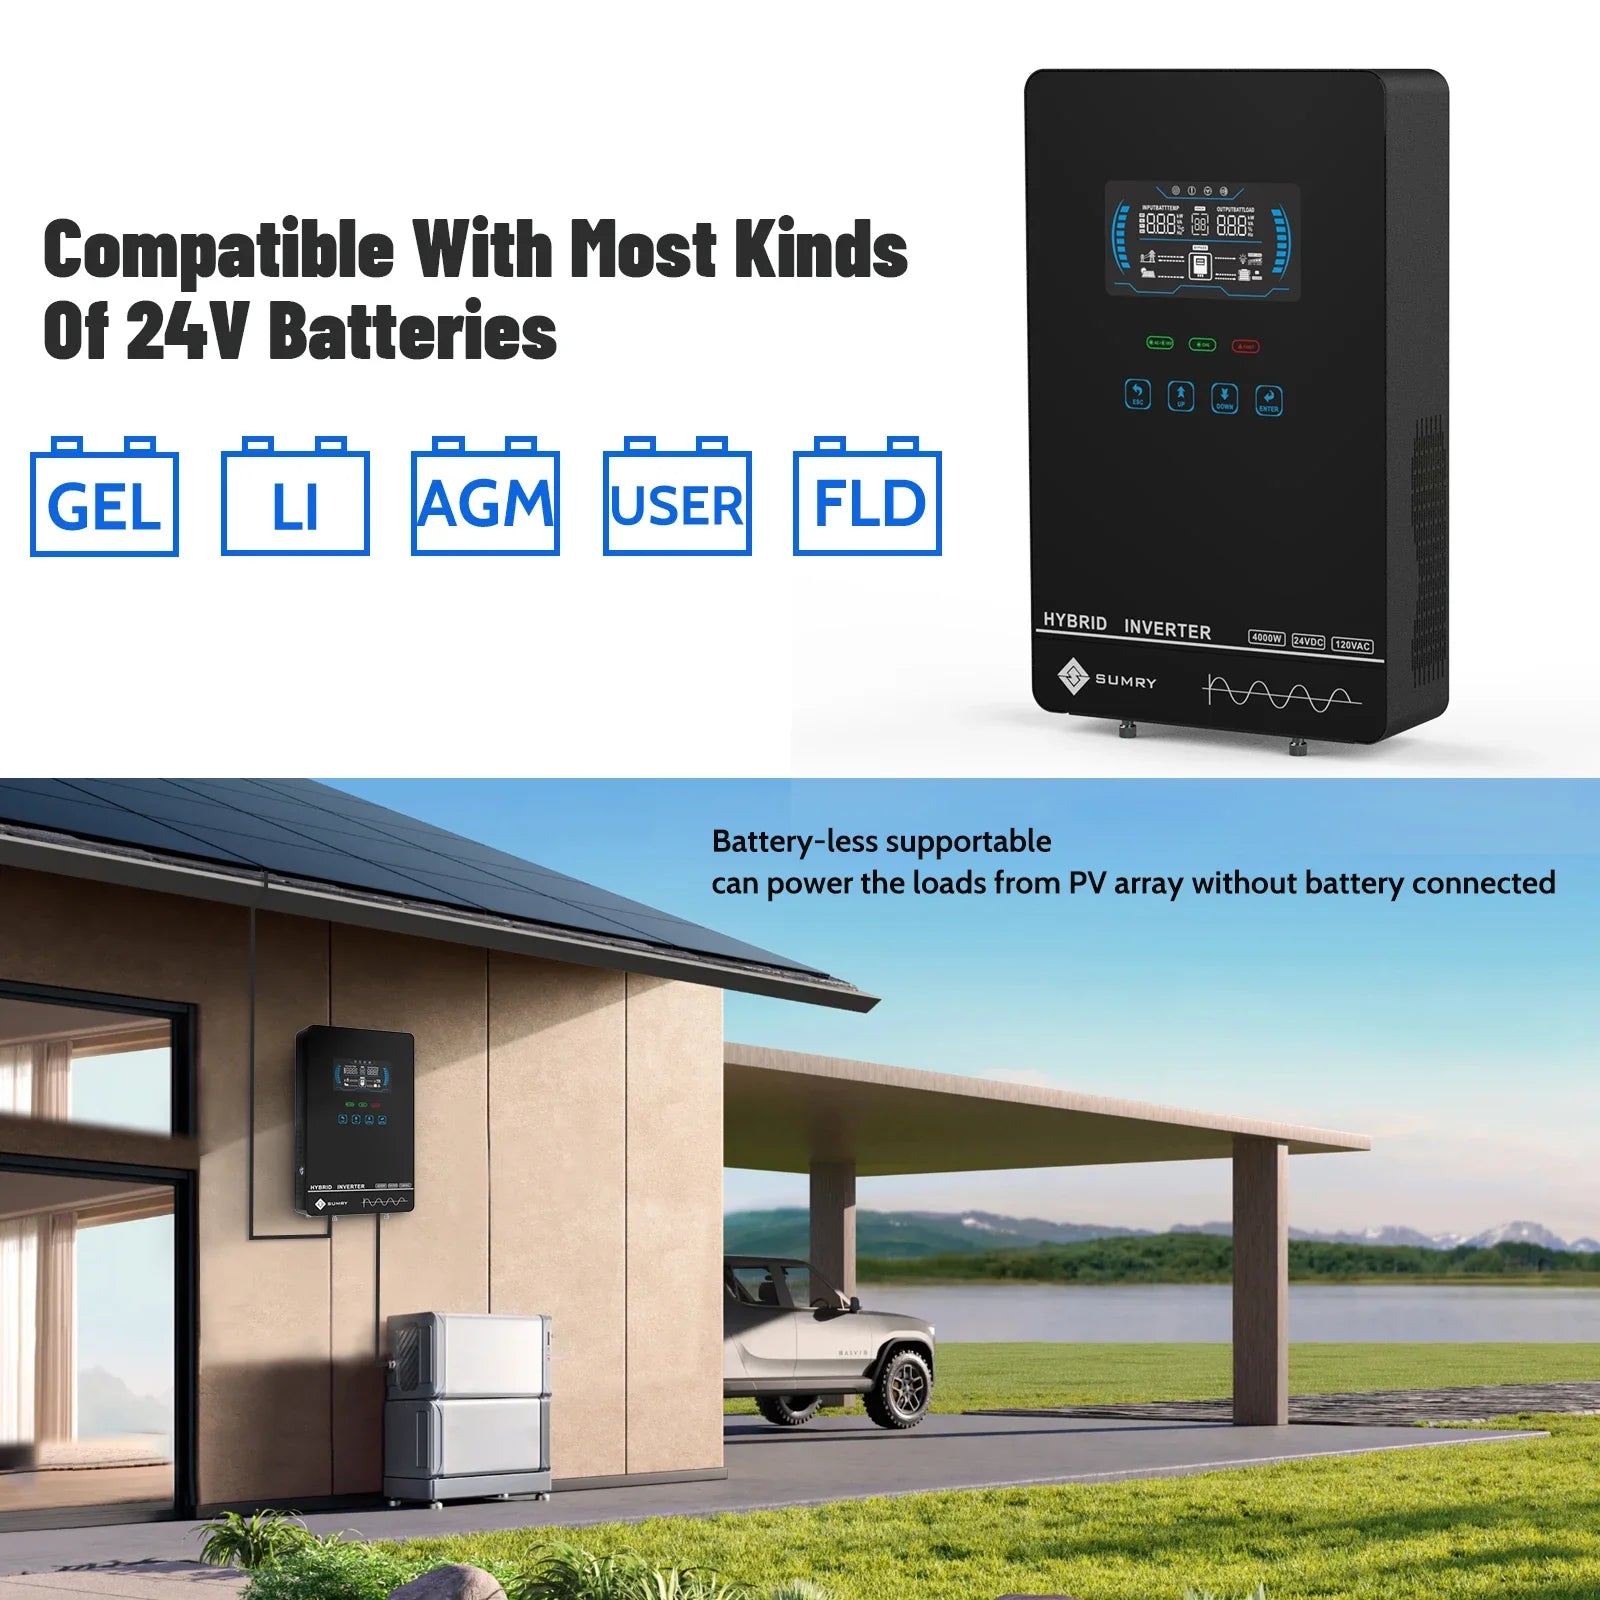
MPPT solar inverter 140A powering an energy storage system solar setup — See it in action
How MPPT Solar Inverter Works
What MPPT Does Differently From PWM
Understanding how MPPT solar inverter works is essential before changing settings. Maximum Power Point Tracking (MPPT) continuously adjusts the operating voltage of your solar array to harvest the highest available power. Unlike PWM controllers, which simply reduce panel voltage to match battery voltage, MPPT converts excess voltage into additional charging current whenever conditions allow.
In practical terms, MPPT technology usually performs better during:
- Cold mornings when panel voltage is higher.
- Cloudy conditions with fluctuating sunlight.
- Long cable runs where voltage optimization matters.
- Higher-voltage solar arrays charging lower-voltage battery banks.
Why Installation Order Matters
A successful MPPT installation begins with the correct connection sequence. Most manufacturers recommend connecting the battery bank before connecting the solar panels so the controller can automatically detect system voltage and initialize the proper charging profile.
Connecting PV first may cause startup errors, incorrect voltage detection, or fault messages depending on the inverter model.
Common Charging Myths
- More solar panels do not automatically mean faster charging.
- A lithium battery only charges quickly when the correct battery profile is selected.
- Higher charging current is not always better if it exceeds battery specifications.
- Most charging problems are caused by configuration or wiring rather than defective hardware.
Pre-Installation Planning Checklist
Required Tools and Materials
- Digital multimeter
- Insulated screwdrivers
- Appropriate battery and PV cables
- DC-rated breakers and fuses
- Cable lugs and crimping tool
- Personal protective equipment
Cable Gauge, Fuse and Breaker Selection
Correct cable sizing minimizes voltage drop and heat buildup. A 140A charging system requires heavy-gauge battery cables matched to cable length and maximum current.
- Select battery cable based on maximum continuous current.
- Install appropriately rated DC fuses close to the battery.
- Protect the PV input with properly sized DC breakers where recommended.
- Keep cable runs as short as practical.
Additional planning resources such as a Solar cable sizing guide, Fuse and DC breaker sizing guide, and Battery bank sizing calculator can help verify your design before installation.
Choosing the Correct Installation Location
Install the inverter in a dry, dust-free, well-ventilated location with sufficient clearance around cooling vents. Avoid direct sunlight, excessive humidity, corrosive environments, and confined spaces that restrict airflow.
MPPT Inverter Wiring Guide
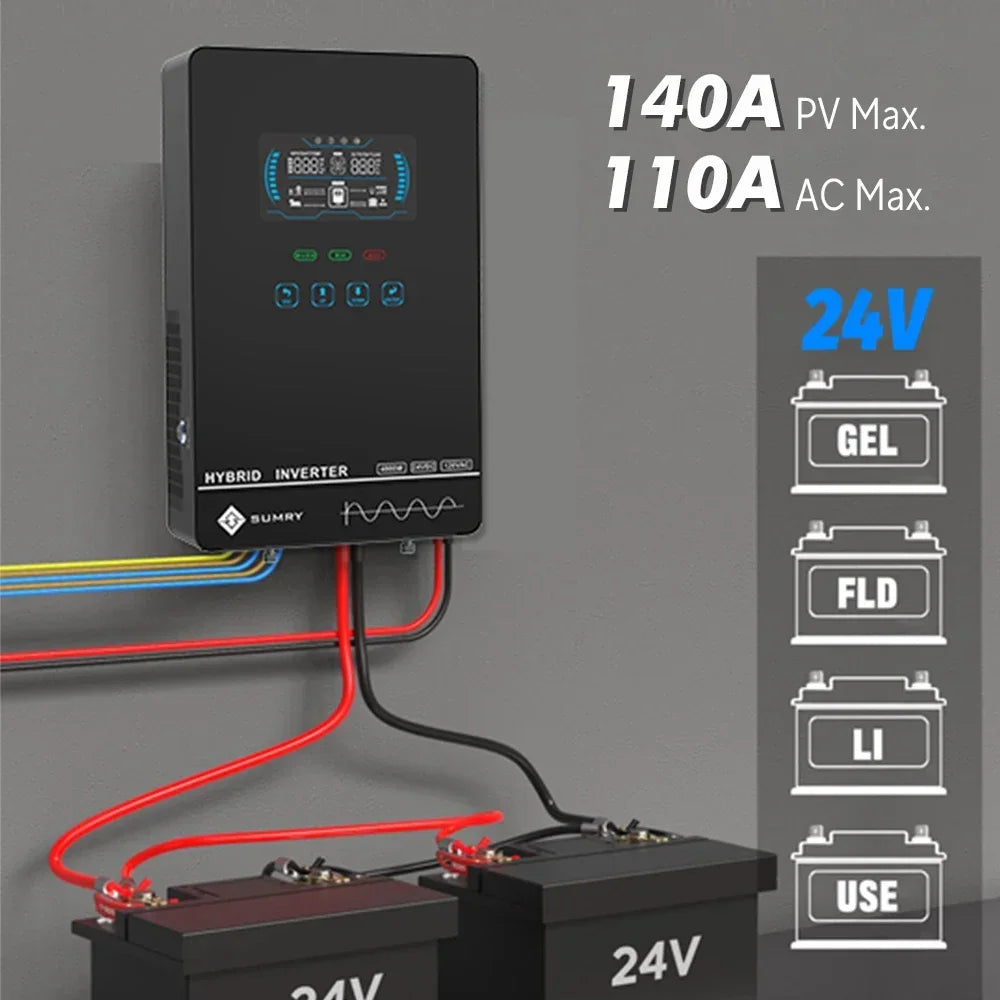
MPPT Inverter Wiring Diagram
Use the following wiring layout as a general reference before energizing the system.

12V, 24V and 48V Wiring Examples
- 12V systems: Require higher charging current and larger battery cables.
- 24V systems: Balance efficiency and cable size for medium installations.
- 48V systems: Reduce current while improving efficiency for larger off-grid systems.
Always ensure solar array voltage stays within the inverter's maximum PV input specifications.
Battery-First vs Solar-First Connection Sequence
- Turn all disconnects OFF.
- Connect the battery bank first.
- Verify battery voltage.
- Power up the inverter.
- Connect the solar array.
- Confirm charging begins normally.
This connection order is recommended in most MPPT installation guides because it allows the controller to identify system voltage before PV input is applied.
Grounding and Disconnect Requirements
- Ground the inverter according to local electrical codes.
- Install DC disconnects for maintenance and emergency shutdown.
- Verify all grounding connections are secure before commissioning.
- Label disconnect switches for future servicing.
Additional reading on Off-grid solar system wiring and PWM vs MPPT comparison can help when designing new installations.
Step-by-Step MPPT Solar Inverter Installation
Mount the Inverter and Controller
Secure the inverter to a solid mounting surface with adequate airflow. Maintain the manufacturer's recommended clearance around cooling vents.
Connect Battery Bank
- Select the correct battery chemistry.
- Confirm battery voltage matches inverter specifications.
- Connect positive and negative cables using properly torqued terminals.
- Install battery fuse or breaker before energizing.
Connect Solar Panels
- Verify panel polarity.
- Measure open-circuit voltage before connection.
- Ensure PV voltage remains within allowable input limits.
- Connect the PV disconnect before enabling charging.
Verify Initial Power-Up
After startup, confirm:
- The inverter detects battery voltage correctly.
- The LCD shows charging activity.
- No warning or fault codes appear.
- Charging current increases as sunlight improves.
Configure MPPT Settings for Optimal Charging
Battery Type Configuration
Correct battery selection is the single most important configuration step. Choose the manufacturer-recommended profile for:
- Lithium (LiFePO₄)
- AGM
- Flooded lead-acid
- Gel batteries
Charging Voltage and Current Settings
Configure charging voltage, absorption voltage, float voltage, and maximum charging current according to battery manufacturer specifications rather than using generic defaults.
A charging current limit that is set too low often explains unexpectedly slow charging.
Load Priority and Output Modes
Configure load priority based on your application:
- Solar first
- Battery first
- Utility backup
- Hybrid operation
Selecting the appropriate operating mode improves battery longevity while maintaining power for critical loads.
Recommended Settings by Battery Chemistry
| Battery Type | Recommended Configuration |
|---|---|
| Lithium | Enable lithium profile, disable unnecessary float charging if recommended by manufacturer. |
| AGM | Use AGM absorption and float voltages specified by the battery manufacturer. |
| Flooded Lead-Acid | Enable temperature compensation where supported. |
| Gel | Use lower charging voltages to prevent overcharging. |
For battery-specific recommendations, consult a Lithium vs AGM battery guide before changing advanced MPPT settings.
Post-Installation Testing and Performance Checks
Verify Charging Performance
Allow the system to operate under normal sunlight and observe charging current throughout the day. Charging should increase as solar irradiance improves and decrease naturally as the battery approaches full charge.
Check Display Readings
- Battery voltage
- PV voltage
- Charging current
- Daily energy production
- System status indicators
Confirm Safe Operating Temperatures
Inspect the inverter after operating under load. Excessive heat may indicate poor ventilation, undersized cables, or loose electrical connections.
Commissioning Checklist
- Battery polarity verified
- PV polarity verified
- Grounding completed
- All terminals tightened
- Charging profile confirmed
- No active fault codes
- Charging current operating normally
MPPT Inverter Troubleshooting
Controller Not Charging
- Verify battery voltage.
- Inspect fuses and breakers.
- Confirm battery is connected before PV.
- Check for loose battery terminals.
Low Charging Current
- Inspect shading.
- Check panel voltage.
- Review charging current limits.
- Confirm correct battery profile.
- Inspect cable losses.
Overvoltage and Battery Errors
If overvoltage alarms occur, disconnect the PV array and verify that panel open-circuit voltage remains below the inverter's maximum input rating. Battery errors often result from incorrect voltage settings or incompatible battery profiles.
Troubleshooting Decision Tree
- No display: Check battery connection.
- Display on, no charging: Verify PV input.
- Low charging: Review MPPT settings and wiring.
- Repeated shutdown: Inspect temperature, overload conditions, and ventilation.
MPPT Installation Safety and Maintenance
Electrical Safety Checklist
- Wear insulated gloves.
- Use correctly rated DC protection devices.
- Verify polarity before energizing.
- Never work on energized wiring.
- Follow battery manufacturer safety recommendations.
Routine Inspection Schedule
Inspect the installation every three to six months.
- Retighten cable terminals if required.
- Inspect breakers and fuses.
- Remove dust from cooling vents.
- Check battery terminals for corrosion.
- Review charging history for abnormal behavior.
A Solar inverter maintenance checklist can simplify routine inspections throughout the year.
When to Shut Down the System
Immediately disconnect the system if you observe burning smells, damaged cables, overheating components, repeated fault codes, water intrusion, or signs of battery swelling.
Optimized MPPT solar inverter 140A setup delivering efficient battery charging — See it in action
For lifestyle upgrades that pair well with reliable power, explore our Lifestyle collection, often used alongside off-grid comfort solutions.
Quick FAQ
What is the correct order for MPPT installation?
Connect the battery bank first, then power the controller, and finally connect the solar panels. This allows the controller to detect system voltage correctly.
Can I connect solar panels before the battery?
Most manufacturers recommend against doing so because some controllers require battery power before recognizing PV input correctly.
What are the best MPPT settings for lithium batteries?
Use the battery manufacturer's recommended lithium charging profile, including absorption voltage, charging current, and any required float settings.
How do I configure MPPT settings for AGM batteries?
Select the AGM battery profile and use the voltage specifications provided by the battery manufacturer for absorption and float charging.
What cable size should I use for a 140A MPPT inverter?
The correct cable size depends on current, cable length, and allowable voltage drop. Oversized cables reduce losses and improve charging efficiency.
Why is my MPPT controller not charging at full current?
Common causes include incorrect current limits, partial panel shading, battery nearing full charge, or insufficient solar irradiance.
How do I test whether my MPPT installation is working correctly?
Verify PV voltage, charging current, battery voltage, and inverter status under good sunlight while confirming that no warning codes are present.
Do I need fuses and DC breakers on both battery and solar sides?
Yes. Proper DC overcurrent protection improves safety and simplifies maintenance.
Can one MPPT controller charge multiple battery banks?
Generally, one controller should charge a single battery bank unless a manufacturer-approved battery management solution is used.
How often should I inspect an MPPT installation?
Inspect the system every three to six months and after severe weather events or major electrical work.
Related Guide: Backup Power for Power Outages Step-by-Step Home Setup













