

How to Use a Wax Heater Safely at Home (Beginner Step-by-Step Guide)
⏱ 8 min read
Struggling with wax that's too hot, too thick, or just won't melt properly? You're not alone. Learning how to use a wax heater correctly makes at-home hair removal safer, cleaner, and more effective. This guide covers everything from preparing your workspace to heating wax properly, using roll-on cartridges, troubleshooting common issues, and maintaining your wax warmer for long-lasting performance.
Discover the best options for your hair type
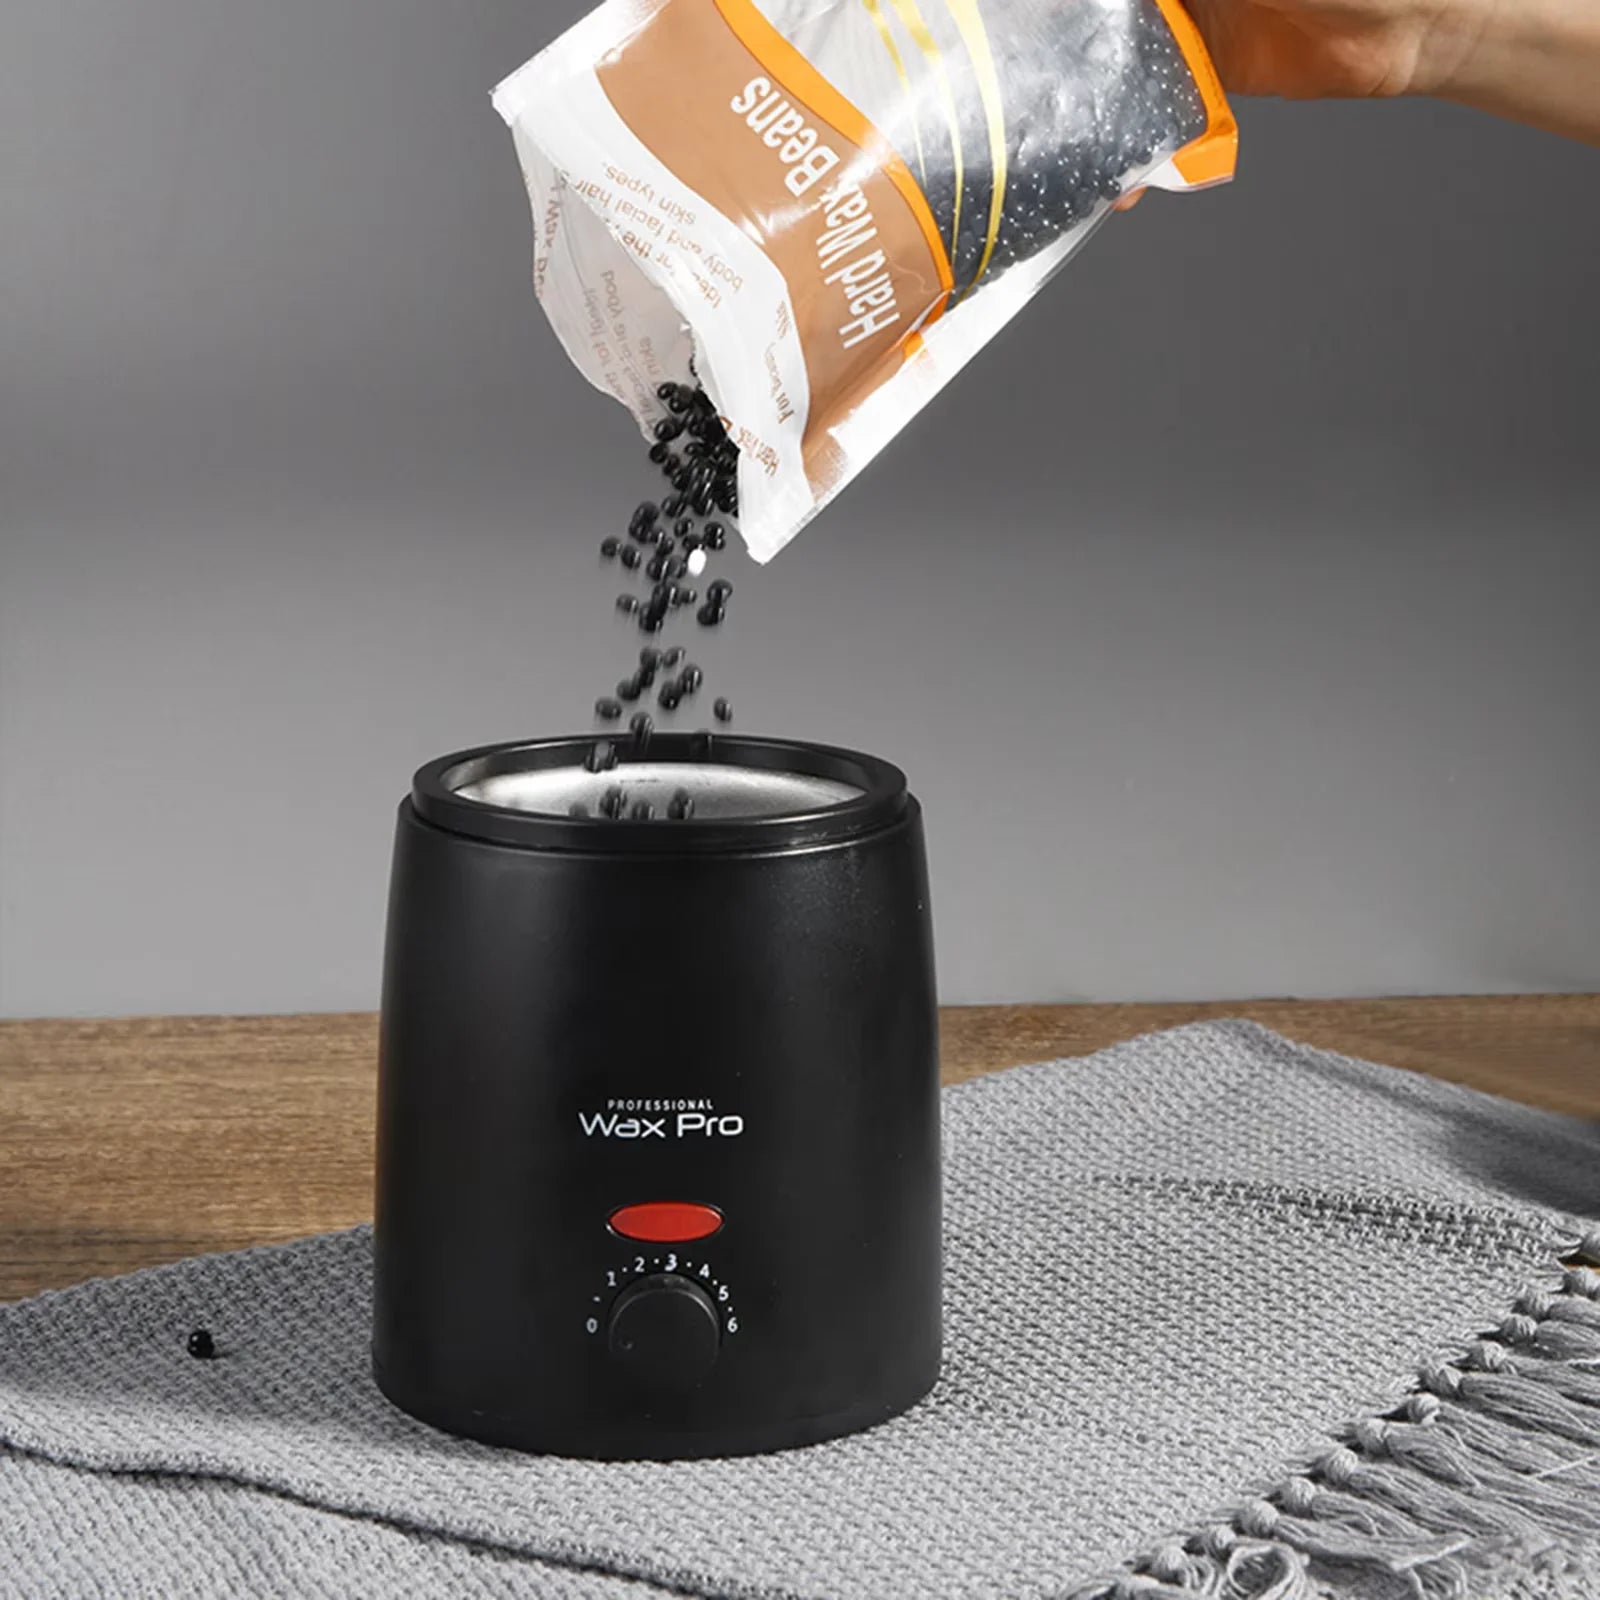
Roll-on wax heater basics for smooth home waxing. See it in action.
What Is a Depilatory Heater and How Does It Work?
A depilatory heater, also called a wax warmer or wax heater, melts wax and keeps it at a consistent working temperature throughout your waxing session. Unlike microwaving wax, a dedicated heater provides controlled heating that improves application, reduces waste, and lowers the risk of overheating.
Parts of a Wax Heater
Most wax warmers include the same basic components:
- Heating element: Warms the wax evenly.
- Temperature control: Lets you adjust heat for different wax formulas.
- Inner chamber or cartridge slot: Holds wax beads, tins, or roll-on cartridges.
- Protective housing: Helps insulate heat and improve safety.
Types of Wax Heaters (Roll-On, Pot, Digital)
- Roll-on wax heaters: Use cartridges with built-in rollers for fast, even application on large areas.
- Wax pots: Melt hard or soft wax beads and offer flexibility for different body areas.
- Digital warmers: Provide more precise temperature settings for consistent performance.
Hard Wax vs. Soft Wax vs. Roll-On Wax
- Hard wax: Best for bikini, face, and underarms because it grips hair without requiring strips.
- Soft wax: Applied with strips and works well on larger areas like legs and arms.
- Roll-on wax: Uses disposable cartridges for clean, beginner-friendly application with minimal mess.
Many users browsing Skin and Beauty Care Devices prefer roll-on systems because they combine convenience with consistent application.
Before You Start: Supplies and Safety Checklist
What You Need
- Wax heater or wax warmer
- Compatible wax cartridge, hard wax beads, or soft wax
- Wax strips (for soft wax)
- Pre-wax cleanser
- Disposable applicators if needed
- After-wax oil or aloe vera gel
- Paper towels for quick cleanup
Patch Test and Skin Preparation
Before your first session, perform a patch test on a small area of skin to check for irritation. Clean and completely dry the treatment area, then avoid lotions, oils, or heavy moisturizers immediately before waxing. Set up your workspace on a stable surface with easy access to electrical outlets and keep the heater away from water.
How to Heat Wax Correctly
Knowing how to heat wax correctly is one of the most important parts of using a wax heater safely. Proper consistency improves hair removal while helping prevent burns.
Recommended Temperature by Wax Type
- Hard wax: Approximately 55–65°C with a thick honey-like consistency.
- Soft wax: Slightly thinner, similar to warm syrup.
- Roll-on cartridges: Typically require 20–30 minutes of heating before use.
How to Heat Wax in a Wax Heater
Place the wax into the heater according to the manufacturer's instructions. Start at the recommended temperature rather than maximum heat. Stir hard or soft wax occasionally if your device requires it, allowing heat to distribute evenly throughout the container.
How to Know Wax Is Ready
- Flows smoothly without excessive dripping.
- Has no unmelted lumps.
- Spreads evenly in a thin layer.
- Feels comfortably warm during a wrist test.
Always test wax on the inside of your wrist before applying it to larger treatment areas.
Step-by-Step: How to Use a Depilatory Heater at Home
Step 1 – Prepare Your Skin
Wash and dry the area thoroughly. Hair should ideally be about ¼ inch (6 mm) long for the best grip.
Step 2 – Heat the Wax
Insert the cartridge or place wax into the warmer and allow sufficient heating time. Most waxes require 20–30 minutes before reaching the proper consistency.
Step 3 – Test the Temperature
Apply a small amount to your wrist. The wax should feel warm and spread smoothly without causing discomfort.
Step 4 – Apply Wax
Apply wax in the direction of hair growth using even pressure. Keep layers thin for easier removal and better hair adhesion.
Step 5 – Remove Wax
Hold the skin taut and remove the wax quickly against the direction of hair growth. Pull parallel to the skin rather than upward to reduce discomfort.
Step 6 – Aftercare
Remove residue with after-wax oil and soothe the skin using aloe vera or another fragrance-free calming product. Avoid hot showers, heavy exercise, tanning, and exfoliation for the next 24 hours.
Learn step-by-step how to style at home
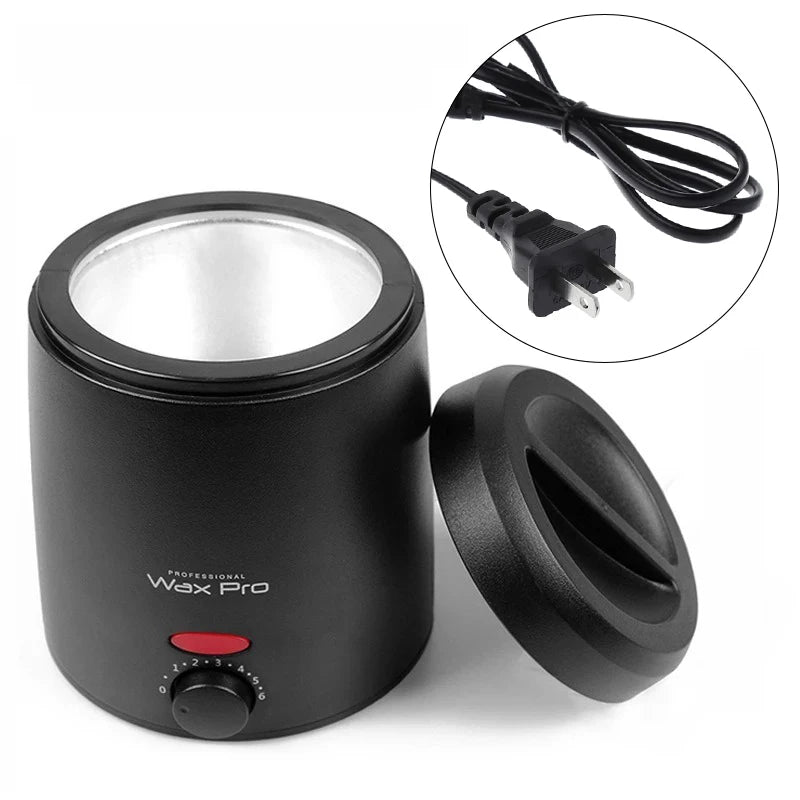
Hair removal heater technique for even coverage. See it in action.
How Roll-On Wax Heaters Are Used
Preparing the Cartridge
Insert the cartridge securely into the roll-on heater and allow it to warm for about 20–30 minutes. Roll the cartridge across a wax strip first to ensure the wax flows evenly before applying it directly to your skin.
Application Technique
Apply a thin, even layer in the direction of hair growth. Immediately place a waxing strip over the wax, smooth it down firmly, then remove it quickly against hair growth. Roll-on systems are especially useful for legs, arms, chest, and back because they provide consistent coverage with minimal mess.
Common Problems and Troubleshooting
Wax Too Thick
If wax remains thick after heating, allow more warming time or slightly increase the temperature. Avoid adding water or other liquids.
Wax Too Hot
If the wax runs like water or feels excessively hot, lower the temperature and allow it to cool before use. Never apply overheated wax directly to the skin.
Heater Not Warming
Check the power outlet, cord connection, and temperature setting. Some heaters require several minutes before the heating element reaches full temperature.
Uneven Heating
Overfilling the warmer can slow melting and create cool spots. Use recommended wax quantities and stir non-cartridge wax occasionally for more even heat distribution.
Cleaning After Each Use
Allow the heater to cool until the wax is warm but no longer hot. Wipe away residue with a soft cloth and a wax remover or mineral oil designed for wax cleanup. Avoid scraping the heating chamber with sharp tools that could damage the surface.
Maintenance Schedule
- Clean residue after every waxing session.
- Inspect the power cord regularly for damage.
- Store the heater in a cool, dry place.
- Replace worn cartridges or damaged accessories as needed.
Safety Tips for Using a Wax Heater at Home
- Always perform a temperature test before application.
- Keep electrical devices away from water.
- Do not wax over cuts, sunburn, infections, or irritated skin.
- Unplug the heater after use and allow it to cool completely.
- Read and follow the manufacturer's instructions for your specific model.
Pro Tips for Better Waxing Results
- Exfoliate gently 24 hours before waxing.
- Trim longer hair to approximately ¼ inch.
- Work in small sections for greater control.
- Press firmly on freshly waxed skin immediately after removing the strip to reduce discomfort.
- Finish with a soothing oil or aloe vera gel to calm the skin.
Choosing the Right Wax Heater
Features for Beginners
- Adjustable temperature controls.
- Stable, easy-to-clean design.
- Quick heating with automatic temperature maintenance.
- Compact size for home storage.
Matching Heater to Wax Type
- Roll-on heaters: Best for cartridge wax and large body areas.
- Wax pots: Suitable for hard and soft wax formulations.
- Digital warmers: Ideal if you want precise temperature control for multiple wax types.
Explore reliable options in Body Care and Health Devices or Hair Care and Styling Devices .
Get yours now — limited stock!
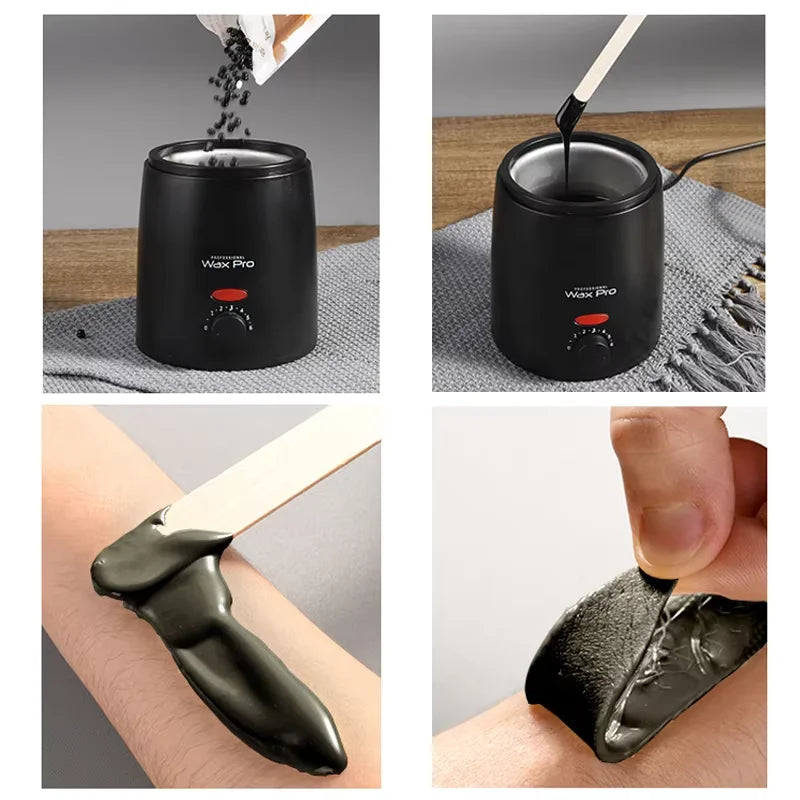
Roll-on wax heater with adjustable control. See it in action.
Frequently Asked Questions
How do you use a depilatory heater for the first time?
Read the manufacturer's instructions, perform a patch test, heat the wax to the recommended consistency, test the temperature on your wrist, and apply wax in the direction of hair growth before removing it against the hair growth direction.
How long should wax heat before use?
Most waxes require 20–30 minutes, although exact heating time depends on the heater's power, the amount of wax, and the wax formulation.
What temperature should hard and soft wax reach?
Hard wax is generally ready around 55–65°C with a honey-like consistency, while soft wax should remain smooth and syrup-like without becoming runny.
Why is my wax still thick after heating?
The heater may need more time, the temperature setting may be too low, or the wax may require occasional stirring to distribute heat evenly.
Why is my wax heater not warming properly?
Check the outlet, power cord, thermostat setting, and compatibility of the wax. If the heater still fails to warm, discontinue use and inspect it for faults.
Can I leave wax in the heater between sessions?
Yes, many people leave hardened wax in the warmer if it remains clean and covered, but always follow the manufacturer's storage recommendations.
How do I clean hardened wax from a heater?
Warm the remaining wax slightly until it softens, then remove it using wax cleaner or mineral oil and a soft cloth. Avoid metal scrapers.
Can I use any brand of wax in my wax warmer?
Usually yes, provided the wax type is compatible with your heater or cartridge system. Always verify compatibility before purchasing.
Related Guide: Waxing Kit for Home Use: Step-by-Step Beginner Guide













