
A: For even, immersive star coverage, place your ceiling light stars projector diagonally in a room corner, 4–6 feet from the floor, and tilt it toward the ceiling center. This setup reduces dark spots, avoids shadows, and ensures a dynamic, full-night-sky effect across your room.
The Best Way to Put Stars on Ceiling (Full DIY Guide for Realistic Night Sky)
Creating a realistic night sky on your ceiling isn’t just about decoration—it’s about placement, spacing, and choosing the right method. Whether you're using glow-in-the-dark stars, paint, or a projector, the difference between a patchy ceiling and a stunning star ceiling room comes down to execution. This guide shows exactly how to put stars on ceiling for full coverage, strong brightness, and natural-looking results.
⏱ 7 min read

💡 See it in action: ceiling light stars creating a full night sky on the ceiling
Why Putting Stars on Ceiling Matters for Realism
The realism of your star ceiling room depends on how evenly the stars are distributed and how naturally they mimic the night sky. Poor placement creates visible clusters, empty zones, or overly bright spots. Correct positioning ensures balanced brightness, smooth coverage, and a believable night sky on ceiling effect.
All Methods to Put Stars on Ceiling (Choose the Best One)
Before you start, it’s important to choose the right method based on your goal, budget, and ceiling type. There are three main ways to create a star ceiling room, each with different results:
- Glow in the dark stars: Affordable, easy to install, best for kids' rooms and simple designs.
- Star ceiling paint: Highly realistic night sky on ceiling effect, but requires more effort and precision.
- Star projectors: Instant ceiling light stars with movement and color, ideal for ambient lighting.
If your goal is realism, go with paint or fiber optics. If you want convenience, choose stickers or a projector. Many people combine methods for the best results.
Method 1: How to Stick Glow in the Dark Stars on Ceiling
Step-by-Step Instructions
- Clean the ceiling surface to remove dust and grease.
- Expose the stars to bright light for at least 15–30 minutes before use.
- Use adhesive pads or built-in sticky backing to attach each star.
- Press firmly for 10–15 seconds to ensure proper adhesion.
- Turn off the lights and test the glow effect.
Pro Tips for Better Glow
- Place stars closer to light sources so they charge more effectively.
- Avoid clustering too many stars in one area.
- Use different sizes to mimic real constellations.
For best results, prepare your ceiling properly before applying stars. See our cleaning and maintenance guide for surface prep tips.
Method 2: How to Create a Night Sky on Ceiling with Paint
What You’ll Need
- Glow-in-the-dark paint
- Small brushes or sponges
- Reference image of a star map (optional)
Step-by-Step Guide
- Darken the ceiling with a base color if needed (deep blue or black).
- Dip a brush lightly into glow paint.
- Tap gently to create natural-looking star clusters.
- Add variation in size and spacing.
- Let dry completely before testing in darkness.
This method creates the most realistic night sky on ceiling, especially when combined with subtle gradients and constellations. If you're new to DIY painting, explore more techniques in our setup guide.
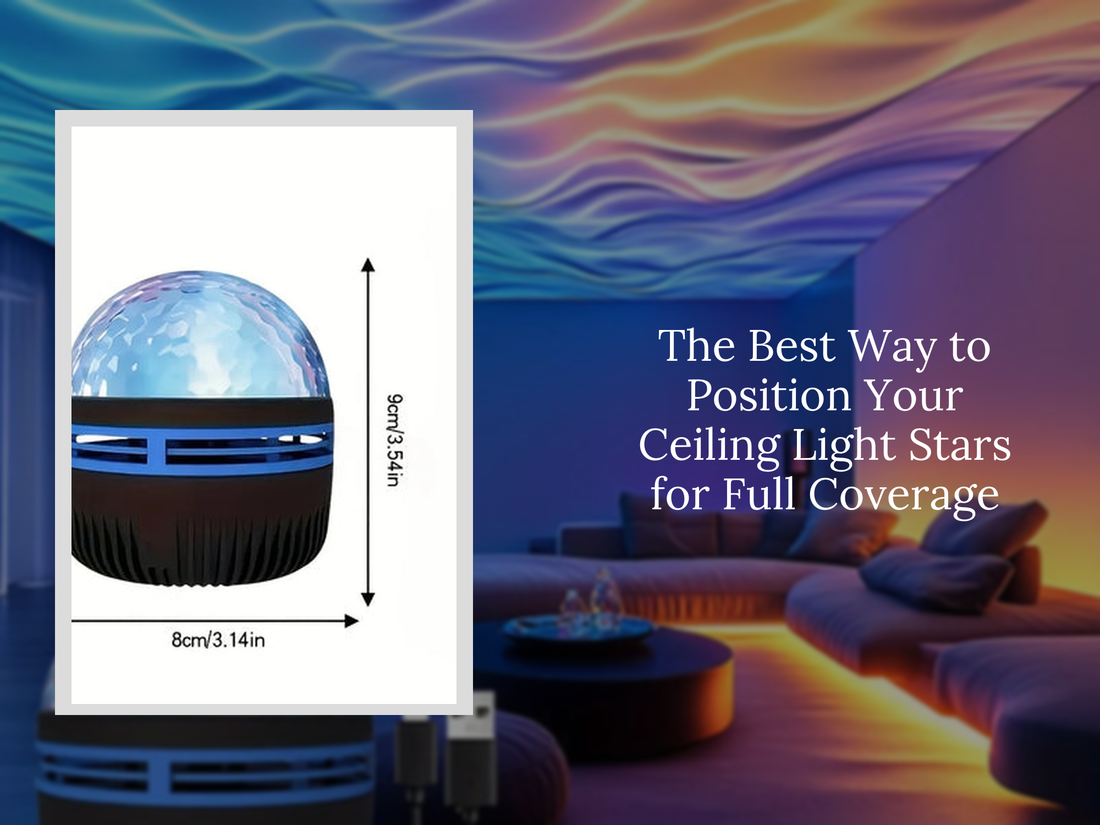
Method 3: Using Star Projectors for Ceiling Light Stars
How to Set It Up
- Place the projector 1.5–3 meters from the ceiling.
- Angle it toward the center of the room.
- Adjust focus or rotation settings.
- Turn off ambient lights for maximum brightness.
Tips for Full Coverage
- Use multiple projectors for large rooms.
- Avoid placing near bright lamps or windows.
- Choose models with adjustable brightness and motion.
Projectors are the fastest way to create ceiling light stars with full coverage and dynamic effects. Learn more in our automation guide.

💡 Full-room star ceiling room projection using angled placement — tap to try it
How to Arrange Ceiling Stars for Realistic Results (Layout Ideas)
Best Way to Arrange Glow Stars
- Use uneven spacing — avoid grid patterns.
- Create clusters with empty space between them.
- Mix small and large stars for depth.
Popular Ceiling Stars Layout Ideas
- Milky Way effect: Dense band across the ceiling
- Constellation style: Recognizable star patterns
- Random scatter: Natural, subtle look
The more irregular your layout, the more realistic your star ceiling room will feel.
How to Install Stars on Different Ceiling Types (Including Textured)
Smooth Ceilings
Standard adhesive stars work best and stay in place longer.
Textured Ceilings
- Use stronger adhesive putty instead of built-in backing.
- Press firmly into grooves for better grip.
- Avoid lightweight stickers that peel easily.
Painted Ceilings
Ensure paint is fully dry before applying stars to prevent damage.
If your ceiling is heavily textured, consider paint or projectors instead of stickers.
Common Mistakes to Avoid When Putting Stars on Ceiling
- Even spacing: Creates an artificial, grid-like look.
- Overcrowding: Too many stars reduce depth and realism.
- Weak adhesive: Leads to falling stars over time.
- Poor lighting conditions: Glow stars won’t charge properly.
- Ignoring ceiling type: Causes installation failure on textured surfaces.
Room Size, Brightness & Spacing Guide
- Small rooms: 50–100 stars or one projector is enough
- Medium rooms: 100–200 stars or dual light sources
- Large rooms: Combine projectors + stickers for full coverage
Spacing matters more than quantity. Too many stars reduce realism, while too few make the ceiling look empty.
Which Star Ceiling Method Is Best for You?
- Best for kids: Glow in the dark stars ceiling
- Best for aesthetics: Painted night sky ceiling
- Best for convenience: Star projectors
- Best for realism: Combination of paint + subtle lighting
Choose based on how permanent you want the setup to be and how realistic you want the result.
Mini FAQ
How do you stick stars on ceiling so they don’t fall?
Use strong adhesive putty and press firmly onto a clean surface. For textured ceilings, avoid weak sticker backing.
Do glow in the dark stars work on textured ceiling?
Yes, but only with stronger adhesive. Standard stickers often fall off uneven surfaces.
What is the best way to arrange glow stars?
Use uneven spacing and clusters instead of straight lines to mimic a real night sky.
Why are my ceiling stars not glowing?
They need sufficient light exposure to charge. Use a bright light source before turning off the lights.
Are star projectors better than glow stars?
Projectors are easier and more dynamic, but glow stars provide a permanent and subtle effect.
Still unsure about setup? Explore more wellness and lighting tips on our Beauty & Self-Care Blog.
Pillar Article: How to Use a Star Ceiling Lights Setup Like a Pro (No Tools Needed)
Other Related Articles:
- “Alexa, Turn On the Stars”: Automating Your Ceiling Star Light Projector
- How to Clean and Maintain Your Star Light for Ceiling Projector
- Galaxy Night Lamps: 3 Creative Ways to Style Your Space
- How to Get the Star Light on Ceiling Effect in Any Room Instantly
Explore More:


