

Sprained Ankle Exercises: Safe, Step-by-Step Recovery Guide
Recovering from an ankle sprain requires more than simply waiting for the pain to disappear. The right sprained ankle exercises help restore joint mobility, rebuild muscle strength, improve balance, and reduce the risk of future injuries. Following a structured rehabilitation plan allows you to progress safely from the earliest stage of healing to a confident return to everyday activities, work, and sports.
This guide explains how to progress through ankle sprain rehab exercises based on your stage of recovery. You'll learn when to begin gentle movement, how to strengthen the muscles that stabilize the ankle, and when to advance to more challenging balance and functional drills. It also covers supportive rehabilitation strategies, including ankle braces and recovery tools that can complement your exercise routine.
⏱ 7 min read
Explore options designed to restore comfort and movement.
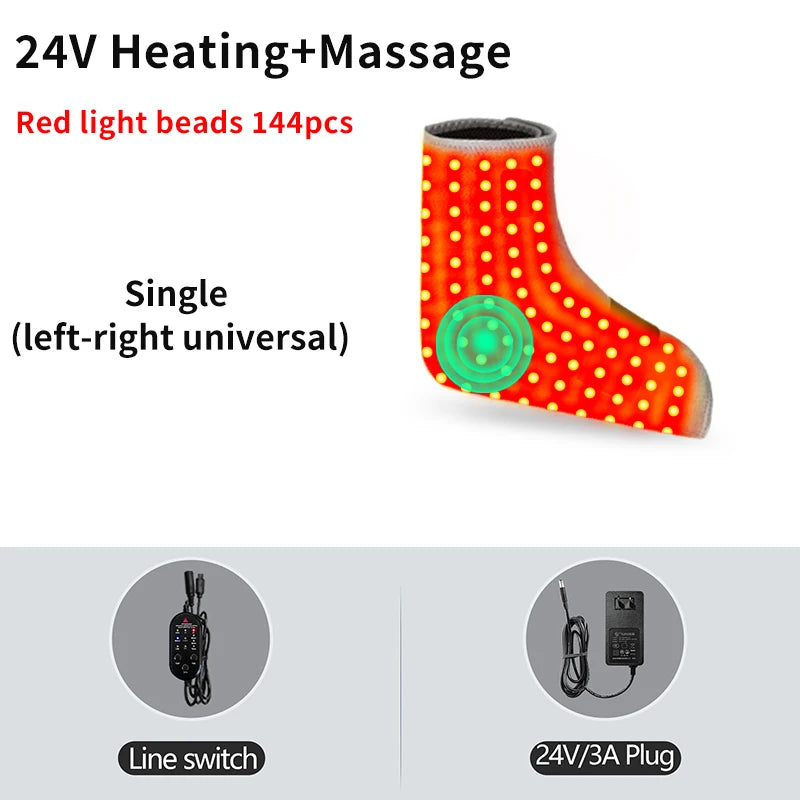
Early-stage sprained ankle recovery exercises paired with supportive warmth to encourage comfortable movement.
Sprained Ankle Exercises: Start With the Right Recovery Stage
Successful rehabilitation begins by matching your exercises to the severity of your injury. Starting advanced movements too early may overload healing ligaments, while avoiding movement for too long can increase stiffness, weakness, and delayed recovery. A progressive exercise program helps restore flexibility, strength, balance, and confidence without placing unnecessary stress on the injured ankle.
Grade I vs. Grade II vs. Grade III Sprains
- Grade I: Mild stretching of the ligaments with minimal instability. Gentle range-of-motion exercises often begin within a few days as pain allows.
- Grade II: Partial ligament tear with moderate swelling and bruising. Rehabilitation usually starts after the acute pain begins to settle and progresses gradually.
- Grade III: Complete ligament rupture or severe instability. Medical evaluation is essential, and rehabilitation should follow guidance from a healthcare professional.
When to Start Exercises After an Ankle Sprain
For many mild sprains, gentle pain-free mobility exercises can begin within the first few days. More advanced strengthening and balance training should wait until swelling decreases, walking becomes more comfortable, and your healthcare provider clears progression when necessary.
When to Stop and Seek Medical Care
Stop exercising and seek medical evaluation if you experience severe pain, cannot bear weight, notice worsening swelling after several days, develop numbness, or suspect a fracture or complete ligament tear. Early diagnosis helps ensure the rehabilitation plan matches the injury.
Why Matching Exercises to Your Ankle Matters
Every ankle sprain heals at a different pace. Recovery depends on the extent of ligament damage, your activity level, and how consistently you follow rehabilitation. Performing exercises that match your current recovery stage helps restore normal movement while minimizing the chance of setbacks or chronic ankle instability.
Phase 1: Early Ankle Mobility Exercises After Sprain
Early ankle mobility exercises after a sprain are designed to restore gentle movement without placing excessive stress on healing ligaments. During the first several days after a mild injury—or once cleared by your healthcare provider for more significant sprains—perform all movements within a comfortable, pain-free range. Mild stretching sensations are acceptable, but sharp pain or increasing swelling means it's time to stop and rest.
Ankle Alphabet
While seated with your leg supported, use your big toe to "write" the alphabet in the air. This simple exercise moves the ankle through multiple directions, improving mobility and coordination.
Ankle Pumps
Slowly point your toes away from your body, then pull them back toward your shin. Perform smooth, controlled repetitions to encourage circulation and reduce stiffness.
Loop a towel around the ball of your foot while sitting or lying down. Keeping your knee straight, gently pull the towel until you feel a light stretch in your calf. Hold for 20–30 seconds without bouncing.
Gentle Range-of-Motion Circles
Rotate your ankle clockwise and counterclockwise for 10–15 repetitions in each direction. Move slowly and avoid forcing the joint beyond its comfortable range.
| Exercise | Primary Benefit | Suggested Timing |
|---|---|---|
| Ankle Pumps | Encourages circulation and reduces stiffness | Several times daily during the first week |
| Ankle Circles | Maintains joint mobility | Weeks 1–2 as tolerated |
| Alphabet Exercise | Improves multidirectional movement control | After acute pain begins to settle |
| Towel Stretch | Maintains calf flexibility | Once stretching is comfortable |
Recommended dosage: Perform each exercise for 10–15 repetitions or 2–3 sets, two to three times per day unless advised otherwise by your healthcare provider.
Common mistakes to avoid: Exercising through sharp pain, forcing range of motion, returning to weight-bearing activities too quickly, or skipping daily mobility sessions can delay recovery.
Many people pair mobility work with gentle warmth and compression to stay consistent. Tools found in Body Care and Health Devices are often used to support comfort during this phase.
Phase 2: Ankle Strengthening Exercises After Sprain
As swelling continues to improve and normal walking becomes easier, begin ankle strengthening exercises to rebuild the muscles that support the joint. This phase focuses on restoring stability, improving control, and preparing the ankle for more demanding daily activities.
Resistance Band Movements
- Plantar Flexion: Press your foot downward against a resistance band for 2–3 sets of 10–15 repetitions.
- Dorsiflexion: Pull your foot upward against the band to strengthen the muscles at the front of the ankle.
- Inversion and Eversion: Move your foot inward and outward against light resistance to strengthen the supporting ligaments and surrounding muscles.
Calf Raises
Begin with both feet on the floor and slowly raise your heels before lowering with control. As strength improves, progress to single-leg calf raises while maintaining good balance.
Heel-to-Toe Walking
Walk forward by placing the heel of one foot directly in front of the toes of the other. This exercise improves coordination, ankle stability, and walking mechanics.
Single-Leg Stance
Stand on the recovering leg for 20–30 seconds. As balance improves, increase the duration or perform the exercise on a softer surface to provide a greater challenge.
Exercise dosage: Complete strengthening exercises three to four days per week, allowing adequate recovery between sessions if soreness develops.
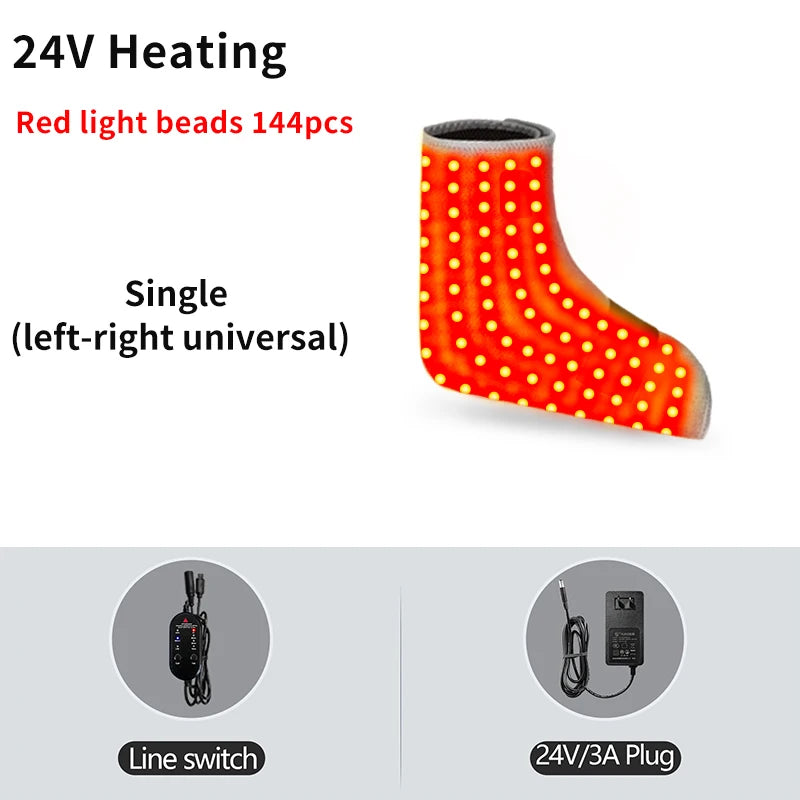
Strength-focused exercises help restore ankle stability, muscle control, and confidence before progressing to advanced balance training.
Build strength without setbacks.
Phase 3: Balance and Proprioception Training
Once you can walk comfortably with minimal swelling and good strength, begin balance and proprioception exercises. Proprioception is your body's ability to sense joint position, which is often reduced after an ankle sprain. Restoring this ability helps prevent future sprains and improves confidence during daily activities and sports.
Single-Leg Balance
Stand on the recovering leg while keeping your hips level and your knee slightly bent. Hold for 20–30 seconds and repeat 3–5 times. Progress by reducing hand support or increasing the duration.
Balance Pad Progression
Once balancing on a firm floor becomes easy, perform the same exercise on a balance pad, folded towel, or foam cushion. The unstable surface challenges the muscles and ligaments that stabilize the ankle.
Star Reach Exercise
Balance on the injured leg while reaching the opposite foot forward, sideways, and backward as though touching points of a star. Return to the center after each reach while maintaining control.
Dynamic Balance Drills
- Lateral Hops: Hop side-to-side over a line for 2–3 sets of 10–15 repetitions, landing softly with good control.
- Single-Leg Squats: Perform shallow squats while maintaining proper knee alignment over the foot.
- Agility Ladder Drills: Improve foot placement, coordination, and reaction time before returning to sports.
- Single-Leg Reaches: Reach in multiple directions while balancing to improve stability through functional movement patterns.
Progression checklist: Move to more challenging balance exercises only when you can complete the current level without pain, excessive wobbling, or lingering swelling afterward.
Managing Swelling, Pain, and Recovery Tools
Exercise is the foundation of recovery, but proper swelling and pain management helps you perform rehabilitation more comfortably and consistently. Combining appropriate self-care strategies with progressive exercises can improve mobility while protecting healing tissues.
Compression and Elevation
Compression wraps or ankle sleeves may help manage swelling during the early stages of recovery. Elevating the ankle above heart level after exercise can also reduce fluid buildup, particularly following longer periods of standing or walking.
Ice vs. Heat
- Ice: Often most helpful during the first 24–72 hours after injury or after exercise if swelling increases.
- Heat: May be beneficial later in recovery to reduce stiffness before mobility or strengthening exercises once significant swelling has resolved.
Braces and Supports
Ankle braces and taping can provide additional stability while ligaments continue to heal, especially during strengthening exercises or when returning to recreational activities. They should support rehabilitation rather than replace it.
- Soft Braces: Appropriate for mild sprains or when gradually increasing daily activity.
- Rigid Braces: Offer greater support for more severe injuries or when specifically recommended by a healthcare professional.
- Functional Taping: Commonly used during sports or higher-risk activities to reduce excessive ankle movement.
- Avoid wearing supportive devices continuously once strength, balance, and stability have returned, as long-term dependence may slow normal muscle adaptation.
Phase 4: Return-to-Walking, Running, and Sports
Returning to normal activities is based on function rather than the number of weeks since your injury. Before increasing impact or changing direction at speed, your ankle should demonstrate adequate strength, mobility, balance, and control without significant pain or swelling afterward.
Walking Checklist
Most people are ready to resume longer walks when they can comfortably complete the following:
- Walk without limping or favoring the injured side.
- Stand on the injured leg for at least 30 seconds with good balance.
- Perform 15–20 controlled single-leg calf raises.
- Climb stairs without instability or increased pain.
Jogging Progression
Once brisk walking feels comfortable, begin with short intervals of easy jogging on a flat, even surface. Alternate jogging and walking, increasing total running time gradually over several sessions rather than making large jumps in intensity.
- Start with 1–2 minutes of jogging followed by walking.
- Increase duration only if pain remains mild during and after exercise.
- Wait at least 24 hours before progressing to the next level if soreness develops.
Jumping and Cutting Drills
Higher-level activities should be introduced only after successful completion of strengthening and balance exercises.
- Lateral hops with controlled landings.
- Forward and backward hopping drills.
- Single-leg reaches combined with direction changes.
- Sport-specific acceleration, deceleration, and pivoting drills.
- Gradual exposure to game-speed movement before full participation.
If your ankle becomes increasingly swollen, unstable, or painful after these drills, reduce activity and return to the previous rehabilitation phase before progressing again.
Some individuals find that gentle warmth before exercise improves comfort during movement. Supportive options such as the Red Light Heated Ankle Wrap may help prepare the ankle before rehabilitation sessions when used as directed.
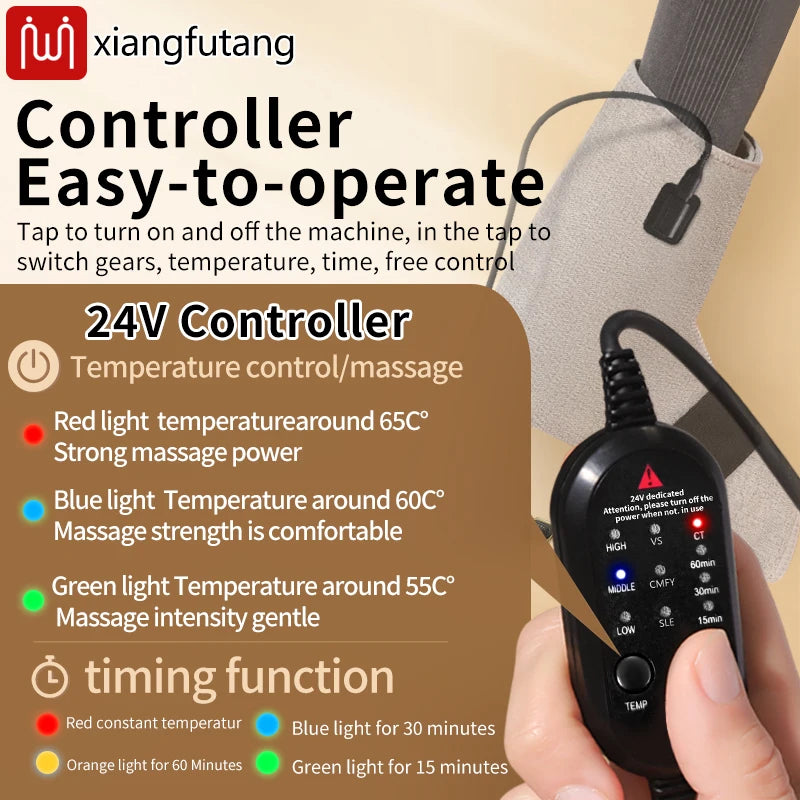
Functional movement training helps prepare your ankle for walking, running, sports, and everyday activities with greater confidence.













