

Types of Eye Makeup Brushes: What Each Brush Actually Does
If you have several eye makeup brushes that look almost identical, you are not alone. A flat shader, fluffy blender, crease brush, pencil brush, and precision brush can seem interchangeable until you see how differently they place and diffuse color. The easiest way to understand the types of eye makeup brushes is by the job each one performs: packing pigment, blending edges, defining the crease, smudging the lash line, drawing precise lines, or placing color in tiny areas.
This guide breaks down each brush by shape, density, placement, pressure, and movement so you can choose the right tool for the result you want—not simply by memorizing brush names.
Eye Makeup Brushes at a Glance
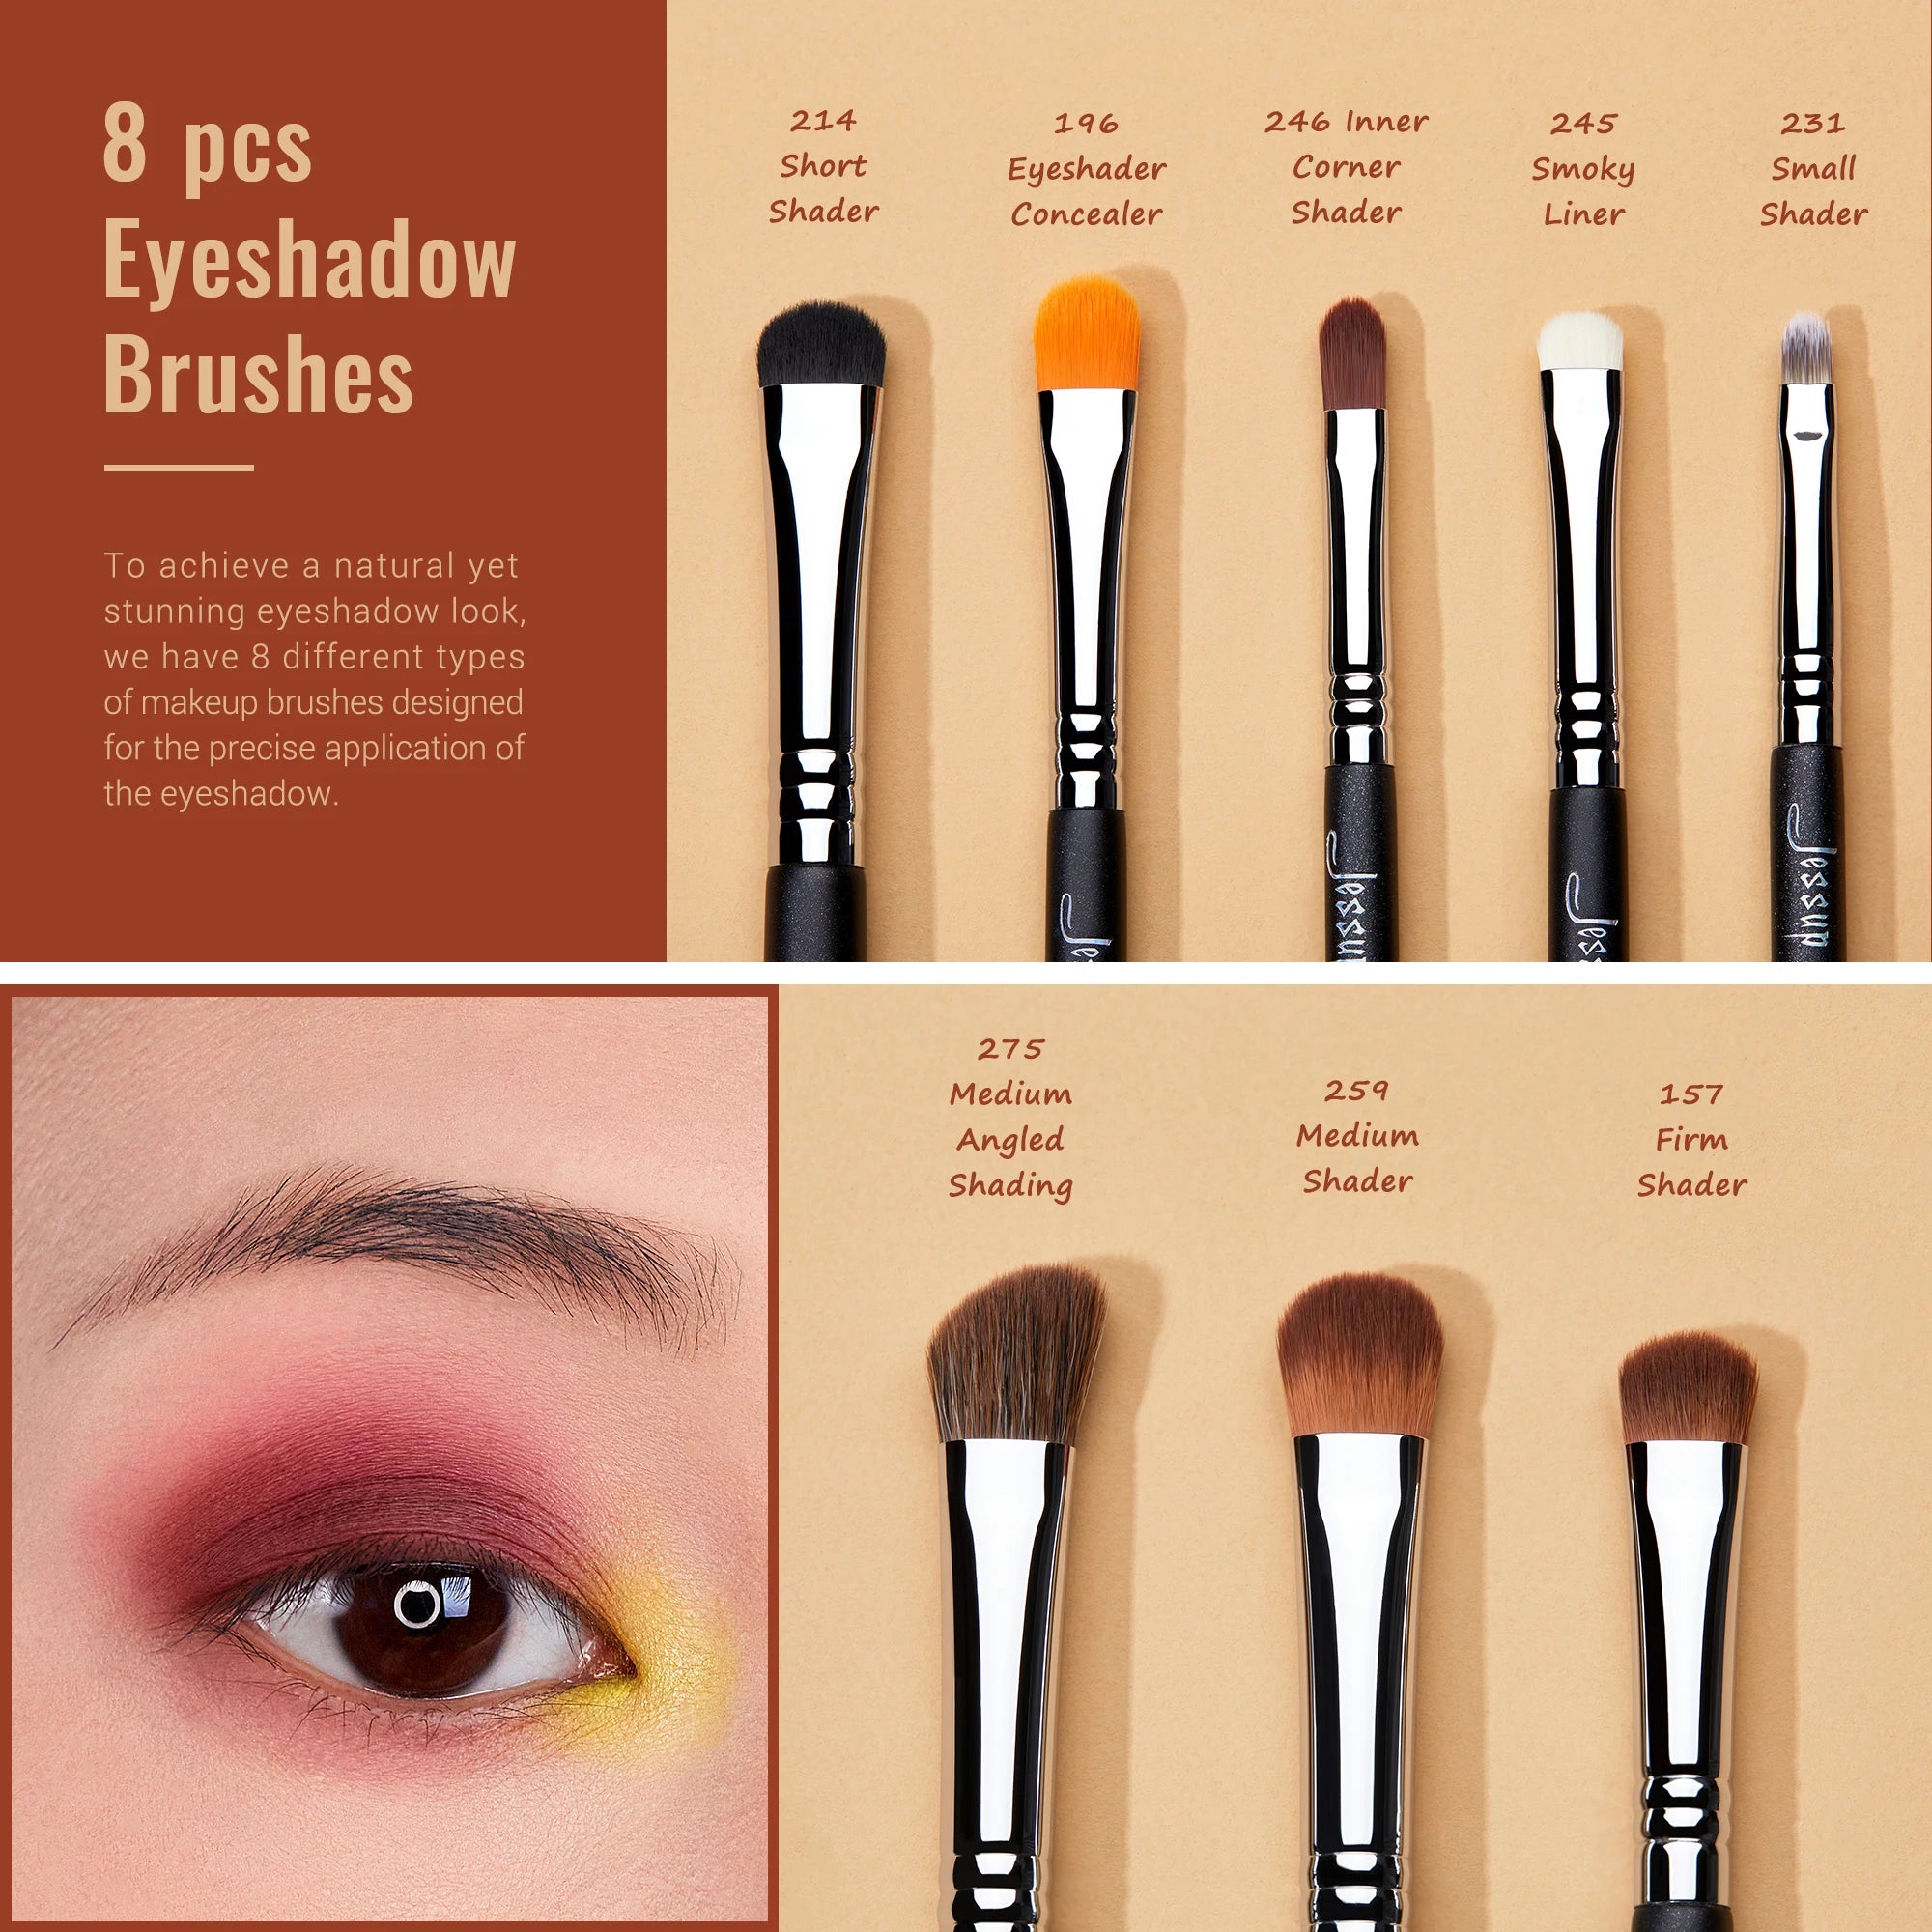
Most eye makeup brushes fall into a few functional categories. Dense, flat brushes concentrate color; fluffy brushes diffuse it; compact pointed brushes add detail; and thin or angled brushes create controlled lines.
Quick Comparison of Eye Makeup Brush Types
| Brush type | Shape | Main job | Best placement |
| Shader | Flat and dense | Pack on eyeshadow | Lid |
| Blending | Fluffy, rounded or tapered | Diffuse edges | Crease and transition area |
| Crease | Tapered and more defined | Place depth | Crease and outer corner |
| Pencil | Short, rounded, compact | Concentrated definition | Lower lash line and outer corner |
| Detail | Small and compact | Small-area application | Inner corner, accents, corrections |
| Precision | Small, tapered or pointed | Exact placement | Cut crease, inner corner, targeted definition |
| Smudge | Short and dense | Soften liner | Lash line |
| Angled | Diagonal edge | Controlled definition | Lash line, wing, brows |
| Eyeliner | Very thin or pointed | Fine lines | Upper lash line and wing |
How Brush Shape Predicts What It Does
Shape is one of the fastest ways to identify an eye brush. Flatness generally favors pressing or sweeping pigment across a surface. Density controls how much product is deposited. Taper improves directional control, while roundness helps soften transitions. Width determines how much area the brush affects, and stiffness influences how precisely it responds to pressure.
Think of the basic rule this way: dense and compact equals placement; fluffy and flexible equals diffusion; small and tapered equals precision.
Eyeshadow Brushes for Packing and Building Color
Shader Brush: Pack Eyeshadow Onto the Lid
A shader brush is typically flat, moderately wide, and relatively dense. Its primary purpose is to pick up eyeshadow and place it efficiently on the eyelid. It is especially useful when you want visible pigment rather than a sheer wash.
Load the brush, tap away excess, then press or pat the color onto the lid. A pressing motion generally concentrates pigment better than repeatedly sweeping the brush back and forth. For shimmer or metallic shades, controlled pressing can also help maintain a more even layer.
Flat Eyeshadow Brush: Precise Lid Coverage
A flat eyeshadow brush is closely related to the shader brush but may have an even flatter or more compact profile. This makes it useful when you want to control exactly where a stronger color begins and ends.
Use the broad face for larger areas of the lid and the narrow edge for closer placement near the crease or lash line. A smaller flat brush can be particularly useful when your visible lid space is limited.
How to Use a Shader Brush Without Losing Pigment
Start with a moderate amount of product rather than saturating the bristles. Press the brush onto the lid, release pressure, and repeat where additional intensity is needed. If you continuously sweep a dense pigment with a fluffy motion, you can move color away from the intended area and make the edges harder to control.
Blending and Crease Brushes for Seamless Transitions
Blending Brush: Soften Edges and Create Transitions
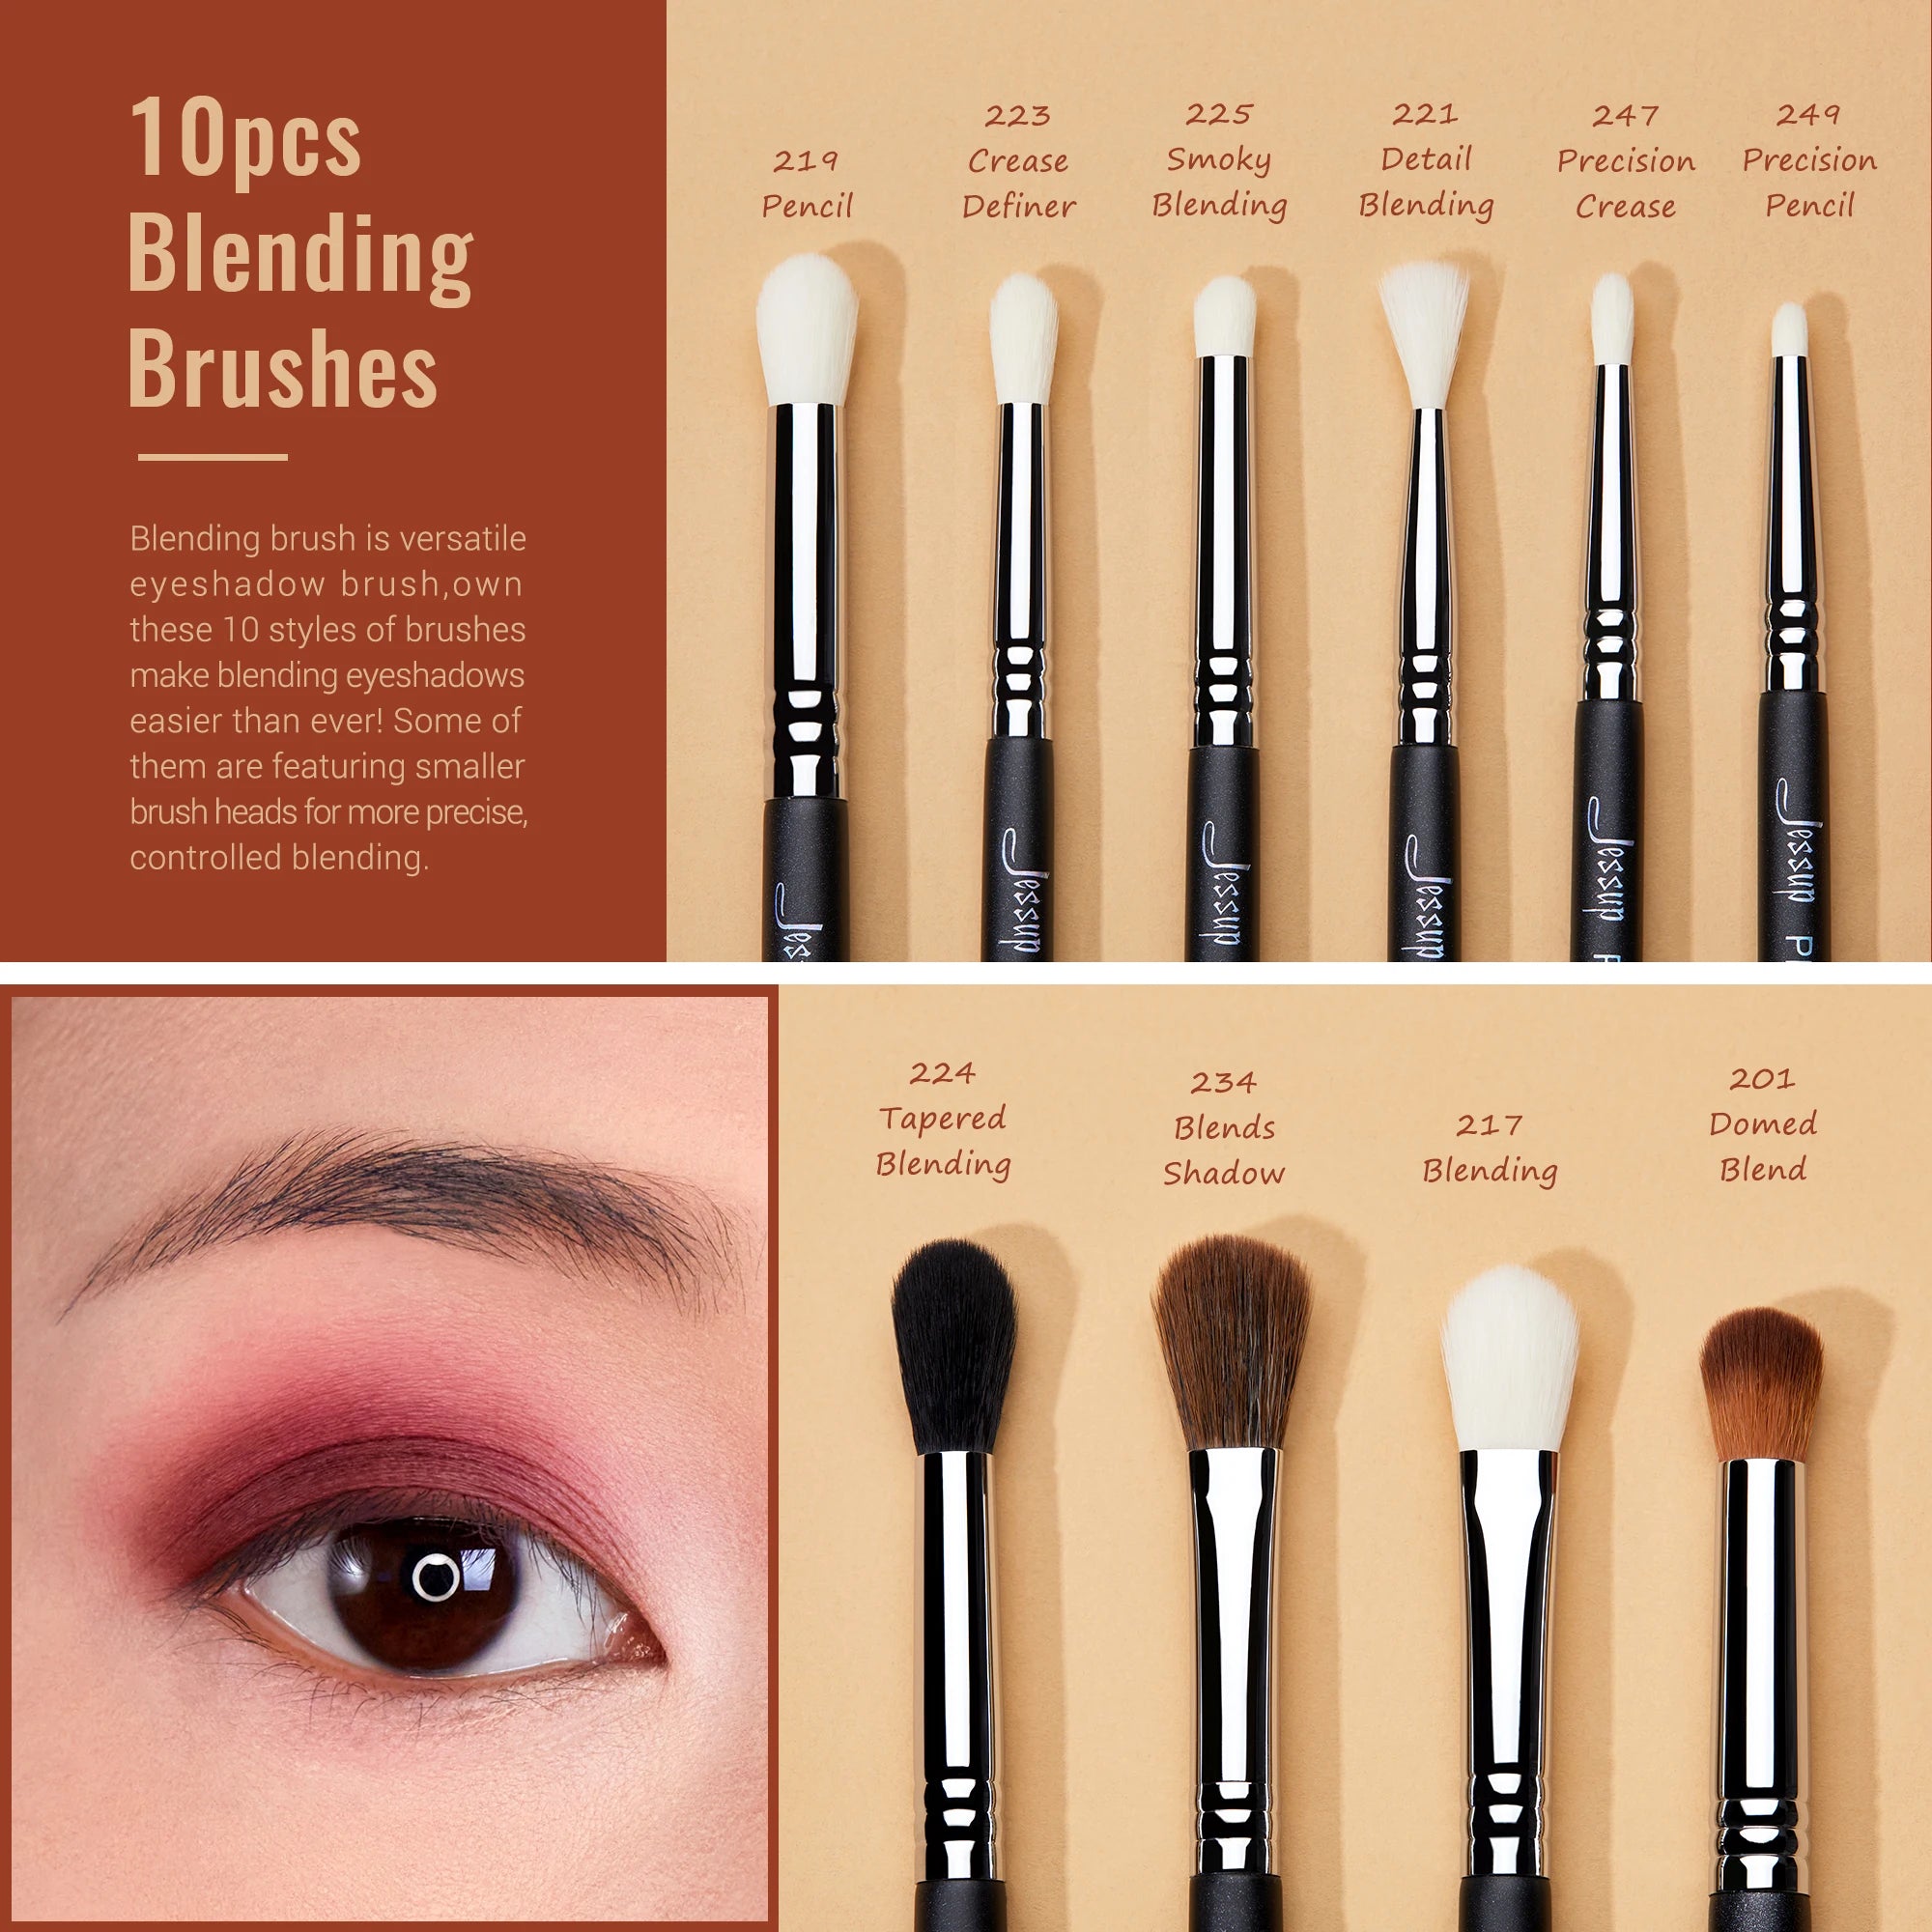
A blending brush is usually fluffy, rounded, or softly tapered. Its job is not to deposit the maximum amount of pigment. Instead, it distributes and diffuses color so that one shade transitions into another without an obvious hard edge.
Use light pressure and small circular or windshield-wiper motions. Keep the movement controlled rather than aggressively scrubbing the skin. A clean blending brush can also soften an edge without adding another color.
Crease Brush: Add Depth Where the Eye Folds
A crease brush is generally more defined than a traditional blending brush. Its tapered profile helps place a darker transition shade into the crease or outer portion of the eye with less spread.
Use the tip or narrower section to establish the depth first. Then reduce pressure and use the surrounding bristles to soften the edges. This gives you more control than immediately using a large fluffy brush.
Blending Brush vs. Crease Brush
The simplest distinction is placement versus diffusion. A crease brush places and shapes depth in a specific area. A blending brush spreads and softens that color. You can sometimes use one brush for both jobs, but separate brushes make it easier to control intensity and edges.
Precision and Detail Eye Brushes for Small Areas
Precision Eye Brush: Controlled Placement in Tight Areas
A precision eye brush is small, tapered, pointed, or otherwise designed for directional control. It is useful when a standard shader or blending brush is simply too broad.
Reach for one when placing inner-corner highlight, defining a small section of the crease, sharpening a cut crease, adding concentrated color beneath the lower lashes, or creating a small graphic accent. The goal is controlled placement rather than broad blending.
Detail Brush: Small-Area Definition and Accents
A detail brush has a compact working surface and short or tightly arranged fibers. It can deposit a tiny amount of product exactly where you want it, making it useful for corrections, small highlights, accent shades, and difficult-to-reach areas.
For example, if a larger shader keeps placing inner-corner highlight too far toward the nose, a small detail brush gives you a much smaller margin of error.
Precision Eye Brush vs. Detail Brush
These names overlap across brands, so shape matters more than the label. A precision brush generally emphasizes directional accuracy and exact placement. A detail brush generally emphasizes small-area work and controlled accents. Both are valuable when a full-size eye brush cannot fit the target area.
How to Use a Detail Brush Without Making the Look Too Harsh
Use minimal product and light pressure. Place the color with short, controlled strokes rather than dragging the brush across a large area. Once the concentrated color is where you want it, use a softer brush around its perimeter if the edge needs diffusion.
Pencil and Smudge Brushes for Lower-Lash and Smoky Looks
Pencil Brush: Concentrated Color and Targeted Definition
A pencil brush is short, compact, and rounded or slightly pointed. It is excellent for concentrated color where a fluffy brush would spread product too widely.
Use it along the lower lash line, beneath the outer corner, in the outer V, or wherever you want a narrow band of eyeshadow. It is particularly useful for building smoky definition gradually.
Smudge Brush: Soften Liner and Smoke the Lash Line
A smudge brush typically has short, dense bristles that resist excessive spreading. Use it to soften pencil or gel liner, blend eyeshadow directly against the lashes, or create a deliberately smoky edge.
Work in short back-and-forth movements. Keep the brush close to the lash line if you want controlled definition. Excessive pressure can flatten the bristles and turn a narrow smoky line into a much wider haze.
Pencil Brush vs. Smudge Brush
A pencil brush is often better for placing concentrated color. A smudge brush is better for softening and diffusing existing liner or lash-line pigment. They can overlap, but the intended outcome is different.
Angled and Eyeliner Brushes for Precise Lines
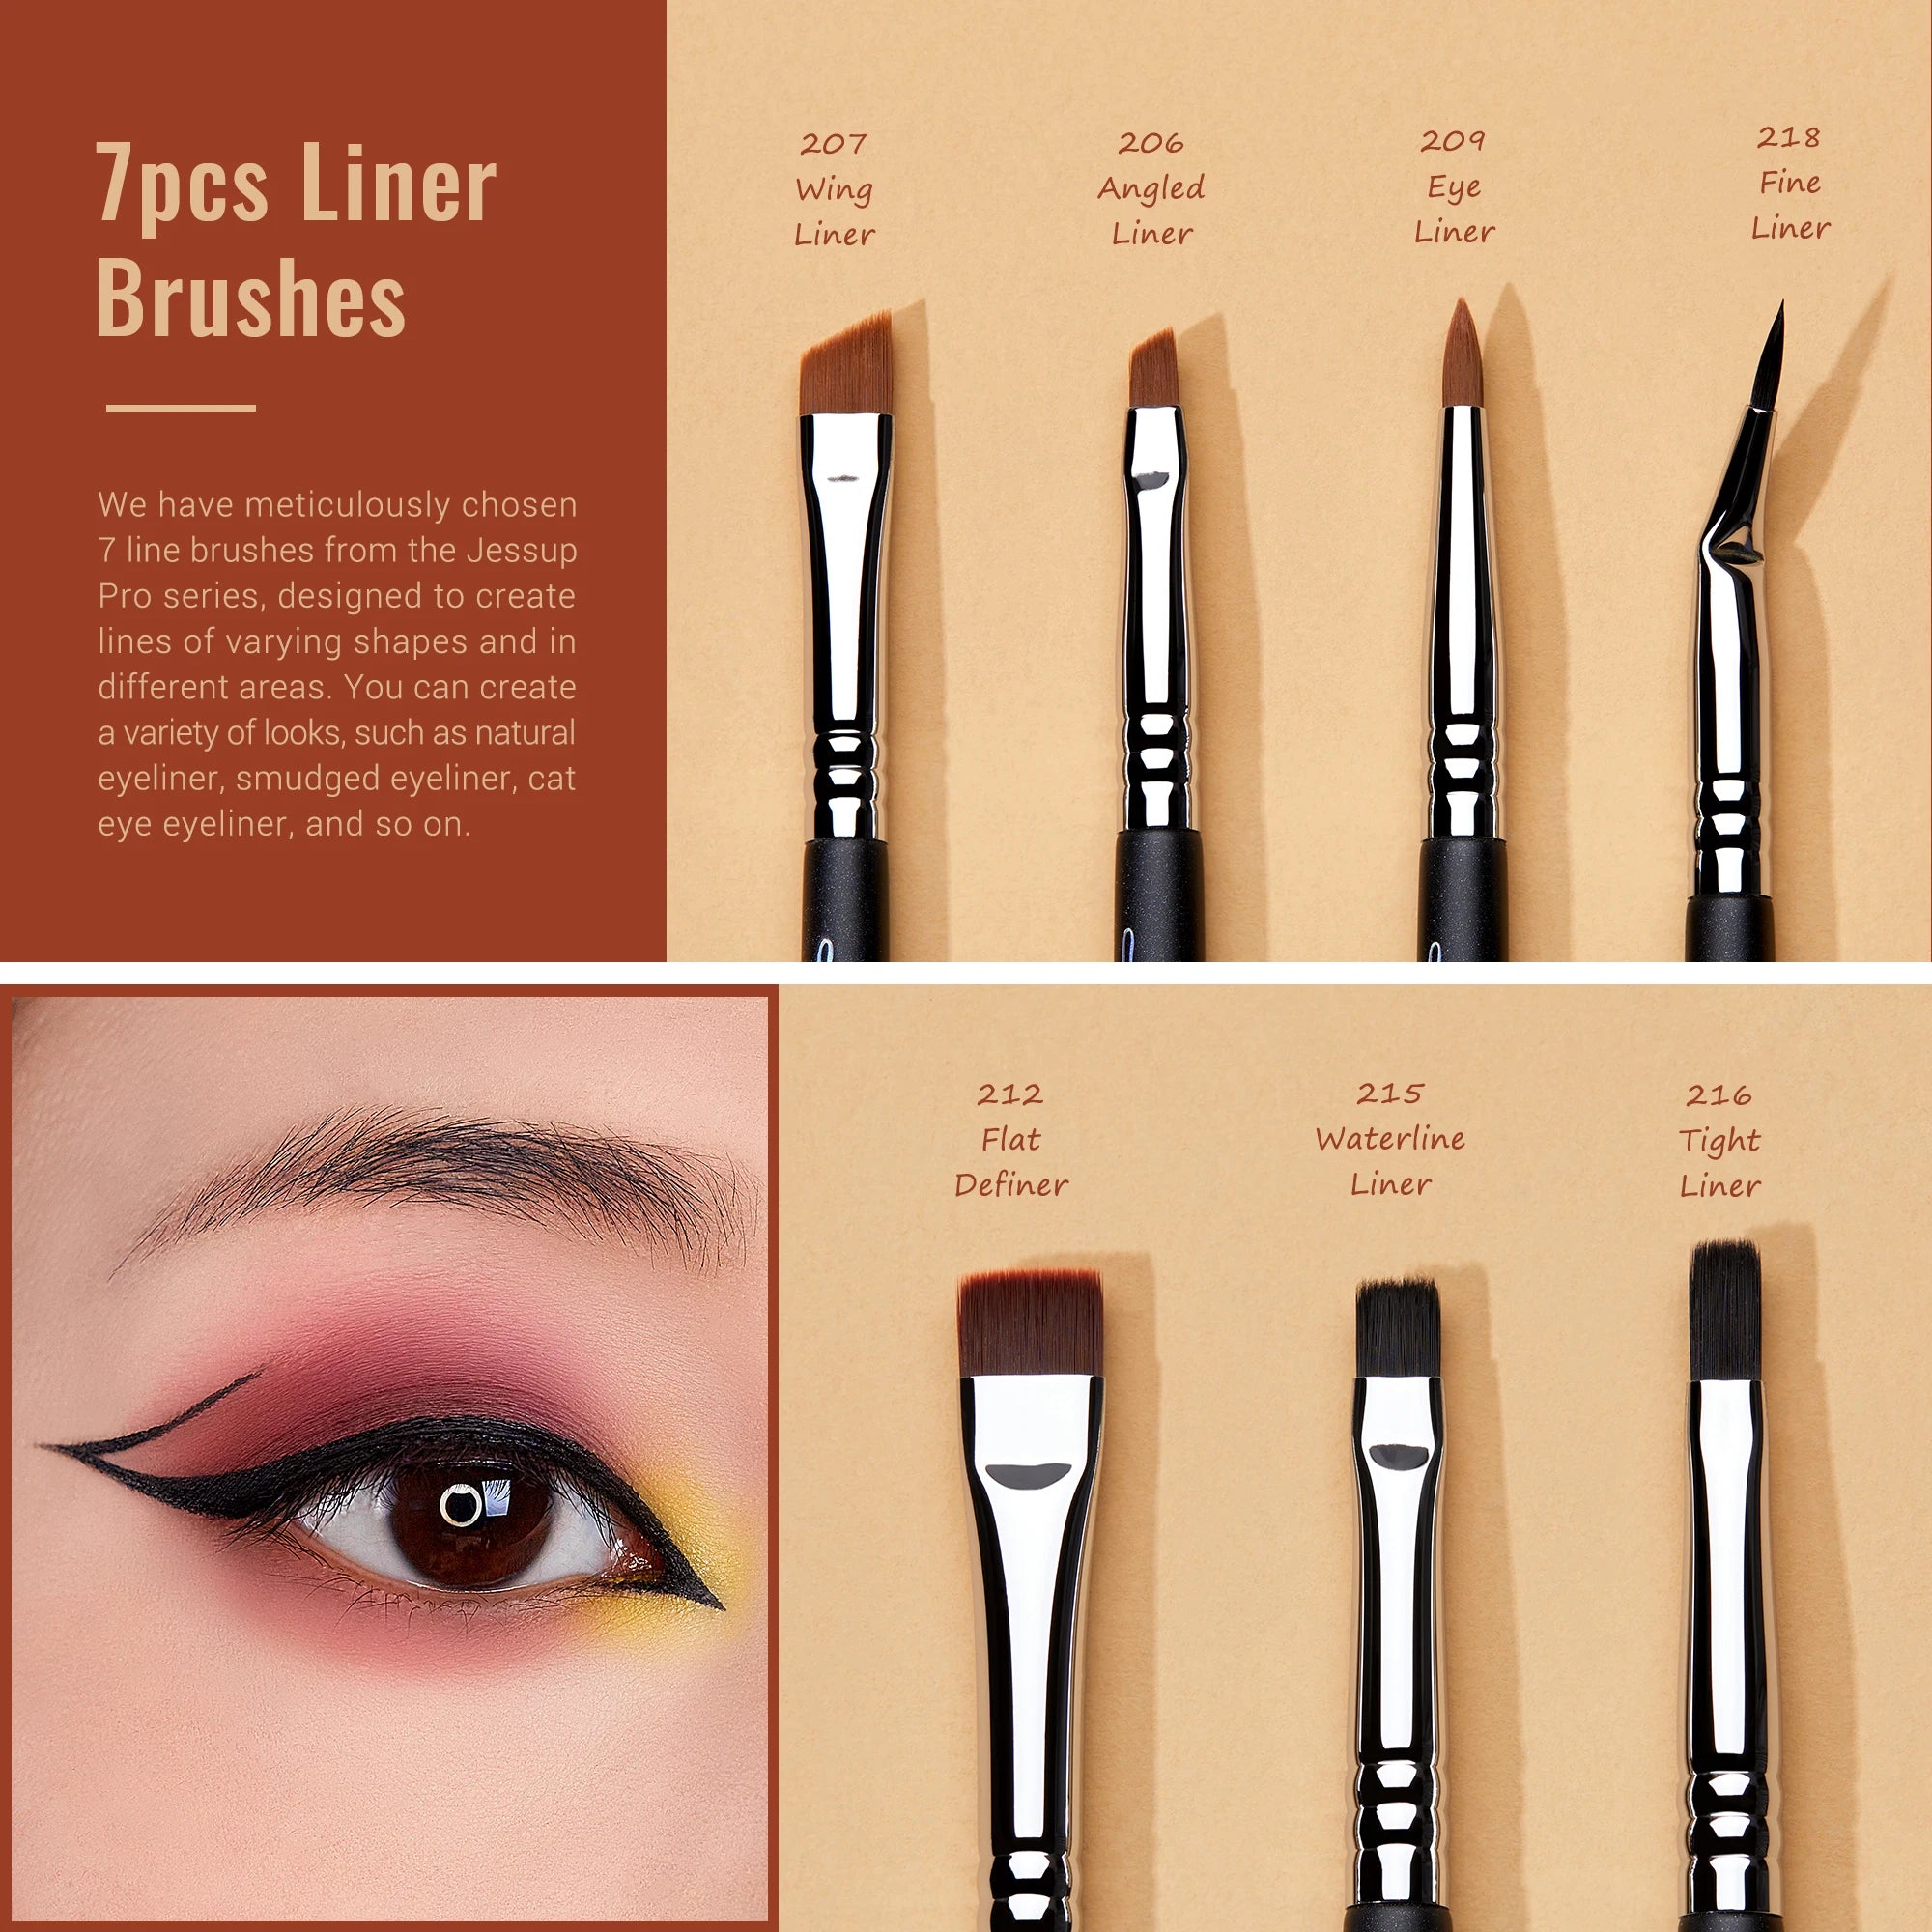
Angled Brush: Sharp Edges and Controlled Definition
An angled brush has a diagonal edge that creates a predictable contact point. Depending on its size and stiffness, it can be used for gel liner, cream products, lash-line definition, outer-corner shaping, or brow work.
For a wing, position the angled edge along the direction you want the wing to travel and use short strokes rather than attempting the entire line in one movement. This makes adjustments easier.
Eyeliner Brush: Fine Lines and Winged Detail
A dedicated eyeliner brush is usually very thin, pointed, or finely angled. Its small working edge allows you to build a line gradually, which is especially useful with gel or cream eyeliner.
Rest part of your hand against a stable surface if needed. Work in short connected strokes and gradually increase thickness instead of beginning with a heavy line.
Angled Brush vs. Eyeliner Brush
An angled brush can provide a stable edge and is often forgiving for beginners. A fine eyeliner brush offers greater control when you want a narrow line or detailed wing. Neither is universally better; the right choice depends on the product, line thickness, and amount of control you need.
Which Eye Makeup Brushes Do You Actually Need?
You do not need every brush shape to create attractive eye makeup. For most beginners, a small versatile collection can cover the majority of everyday techniques.
For a Basic Everyday Eye Look
Start with a shader for lid color, a blending brush for transitions, and either a crease or pencil brush for depth. Add a small angled or eyeliner brush if you regularly wear liner.
For Smoky Eyes
A shader places the main color, a crease brush establishes depth, a blending brush softens transitions, and a pencil or smudge brush concentrates color around the lash line. Using each brush for its intended job helps prevent the smoky effect from becoming muddy.
For Cut Crease Looks
Precision and detail brushes become more valuable because the technique depends on controlled placement. Use a precision brush for the defined area, a flat shader for the lid color, and a blending brush to transition the surrounding shadow without disturbing the crispest section.
For Eyeliner and Defined Looks
An angled brush is a practical choice for controlled definition, while a dedicated eyeliner brush is useful when you want a finer line. A precision brush can also help clean or reinforce small sections of an eye look.
Beginner Substitutions: One Brush Can Do More Than One Job
A small blending brush can often handle crease work, a pencil brush can provide lower-lash definition, and a compact flat brush can place both matte and shimmer shades. The key is matching the brush's physical characteristics to the task rather than relying on its printed name.
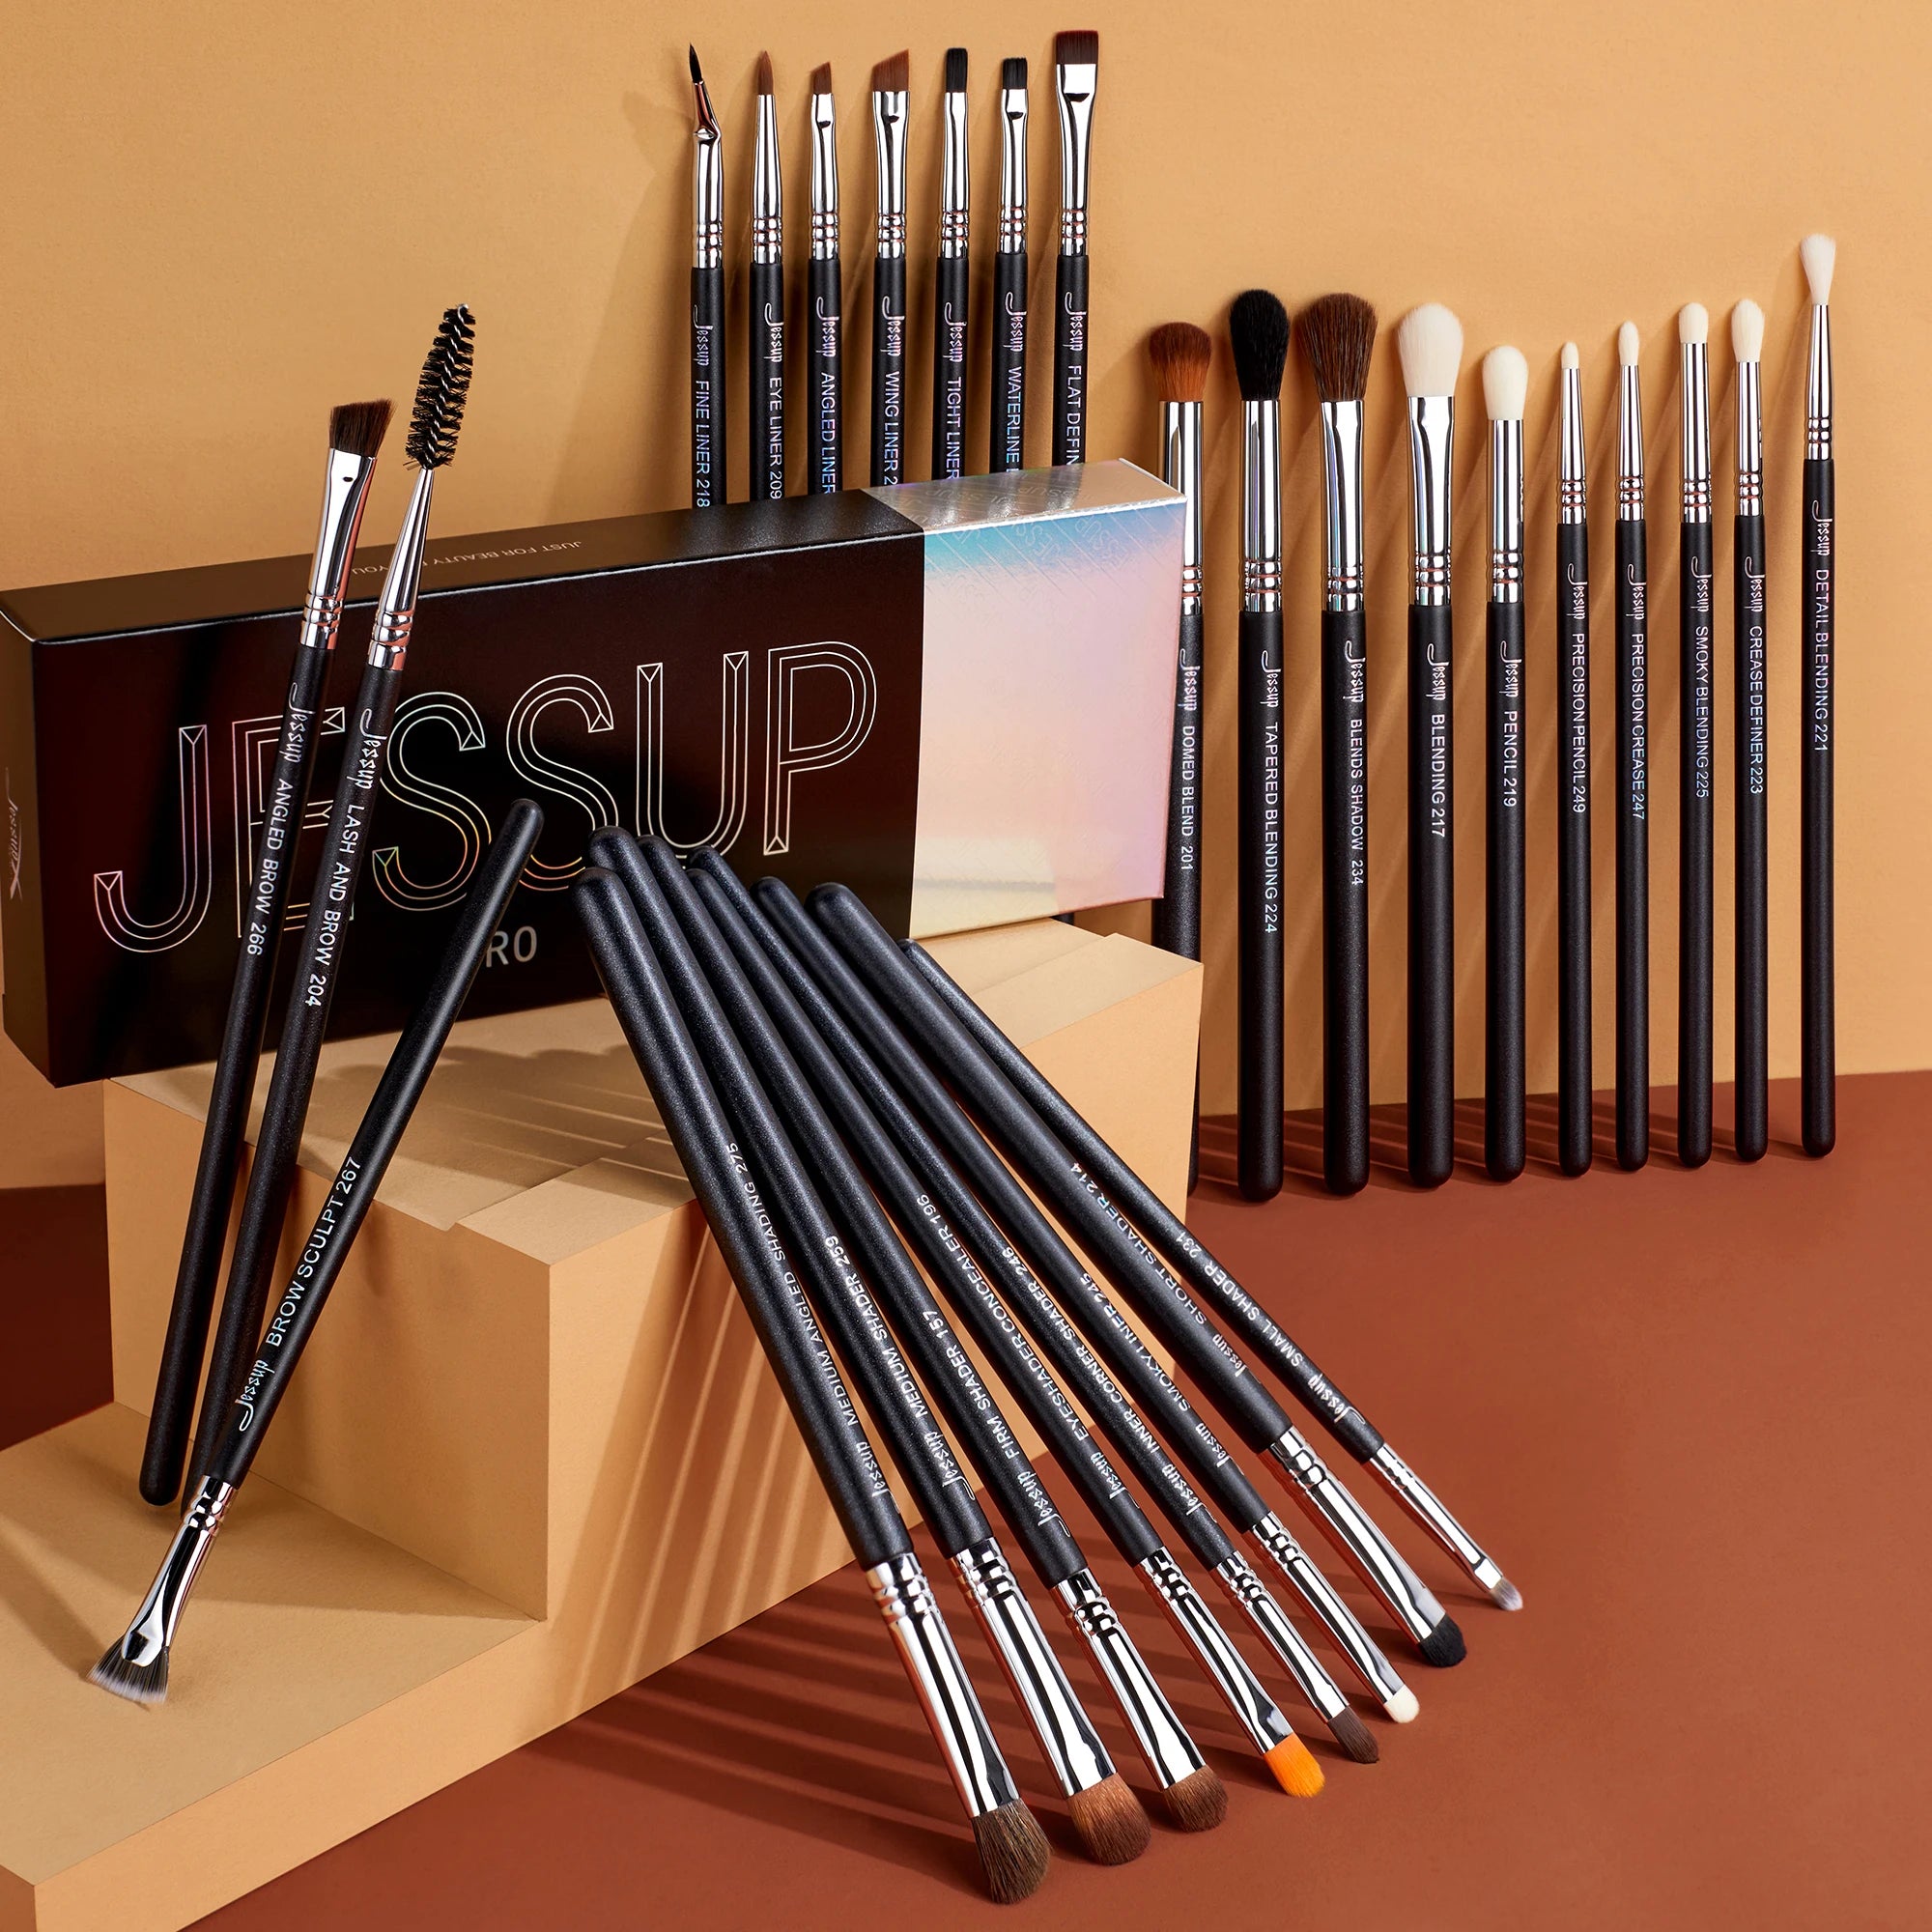
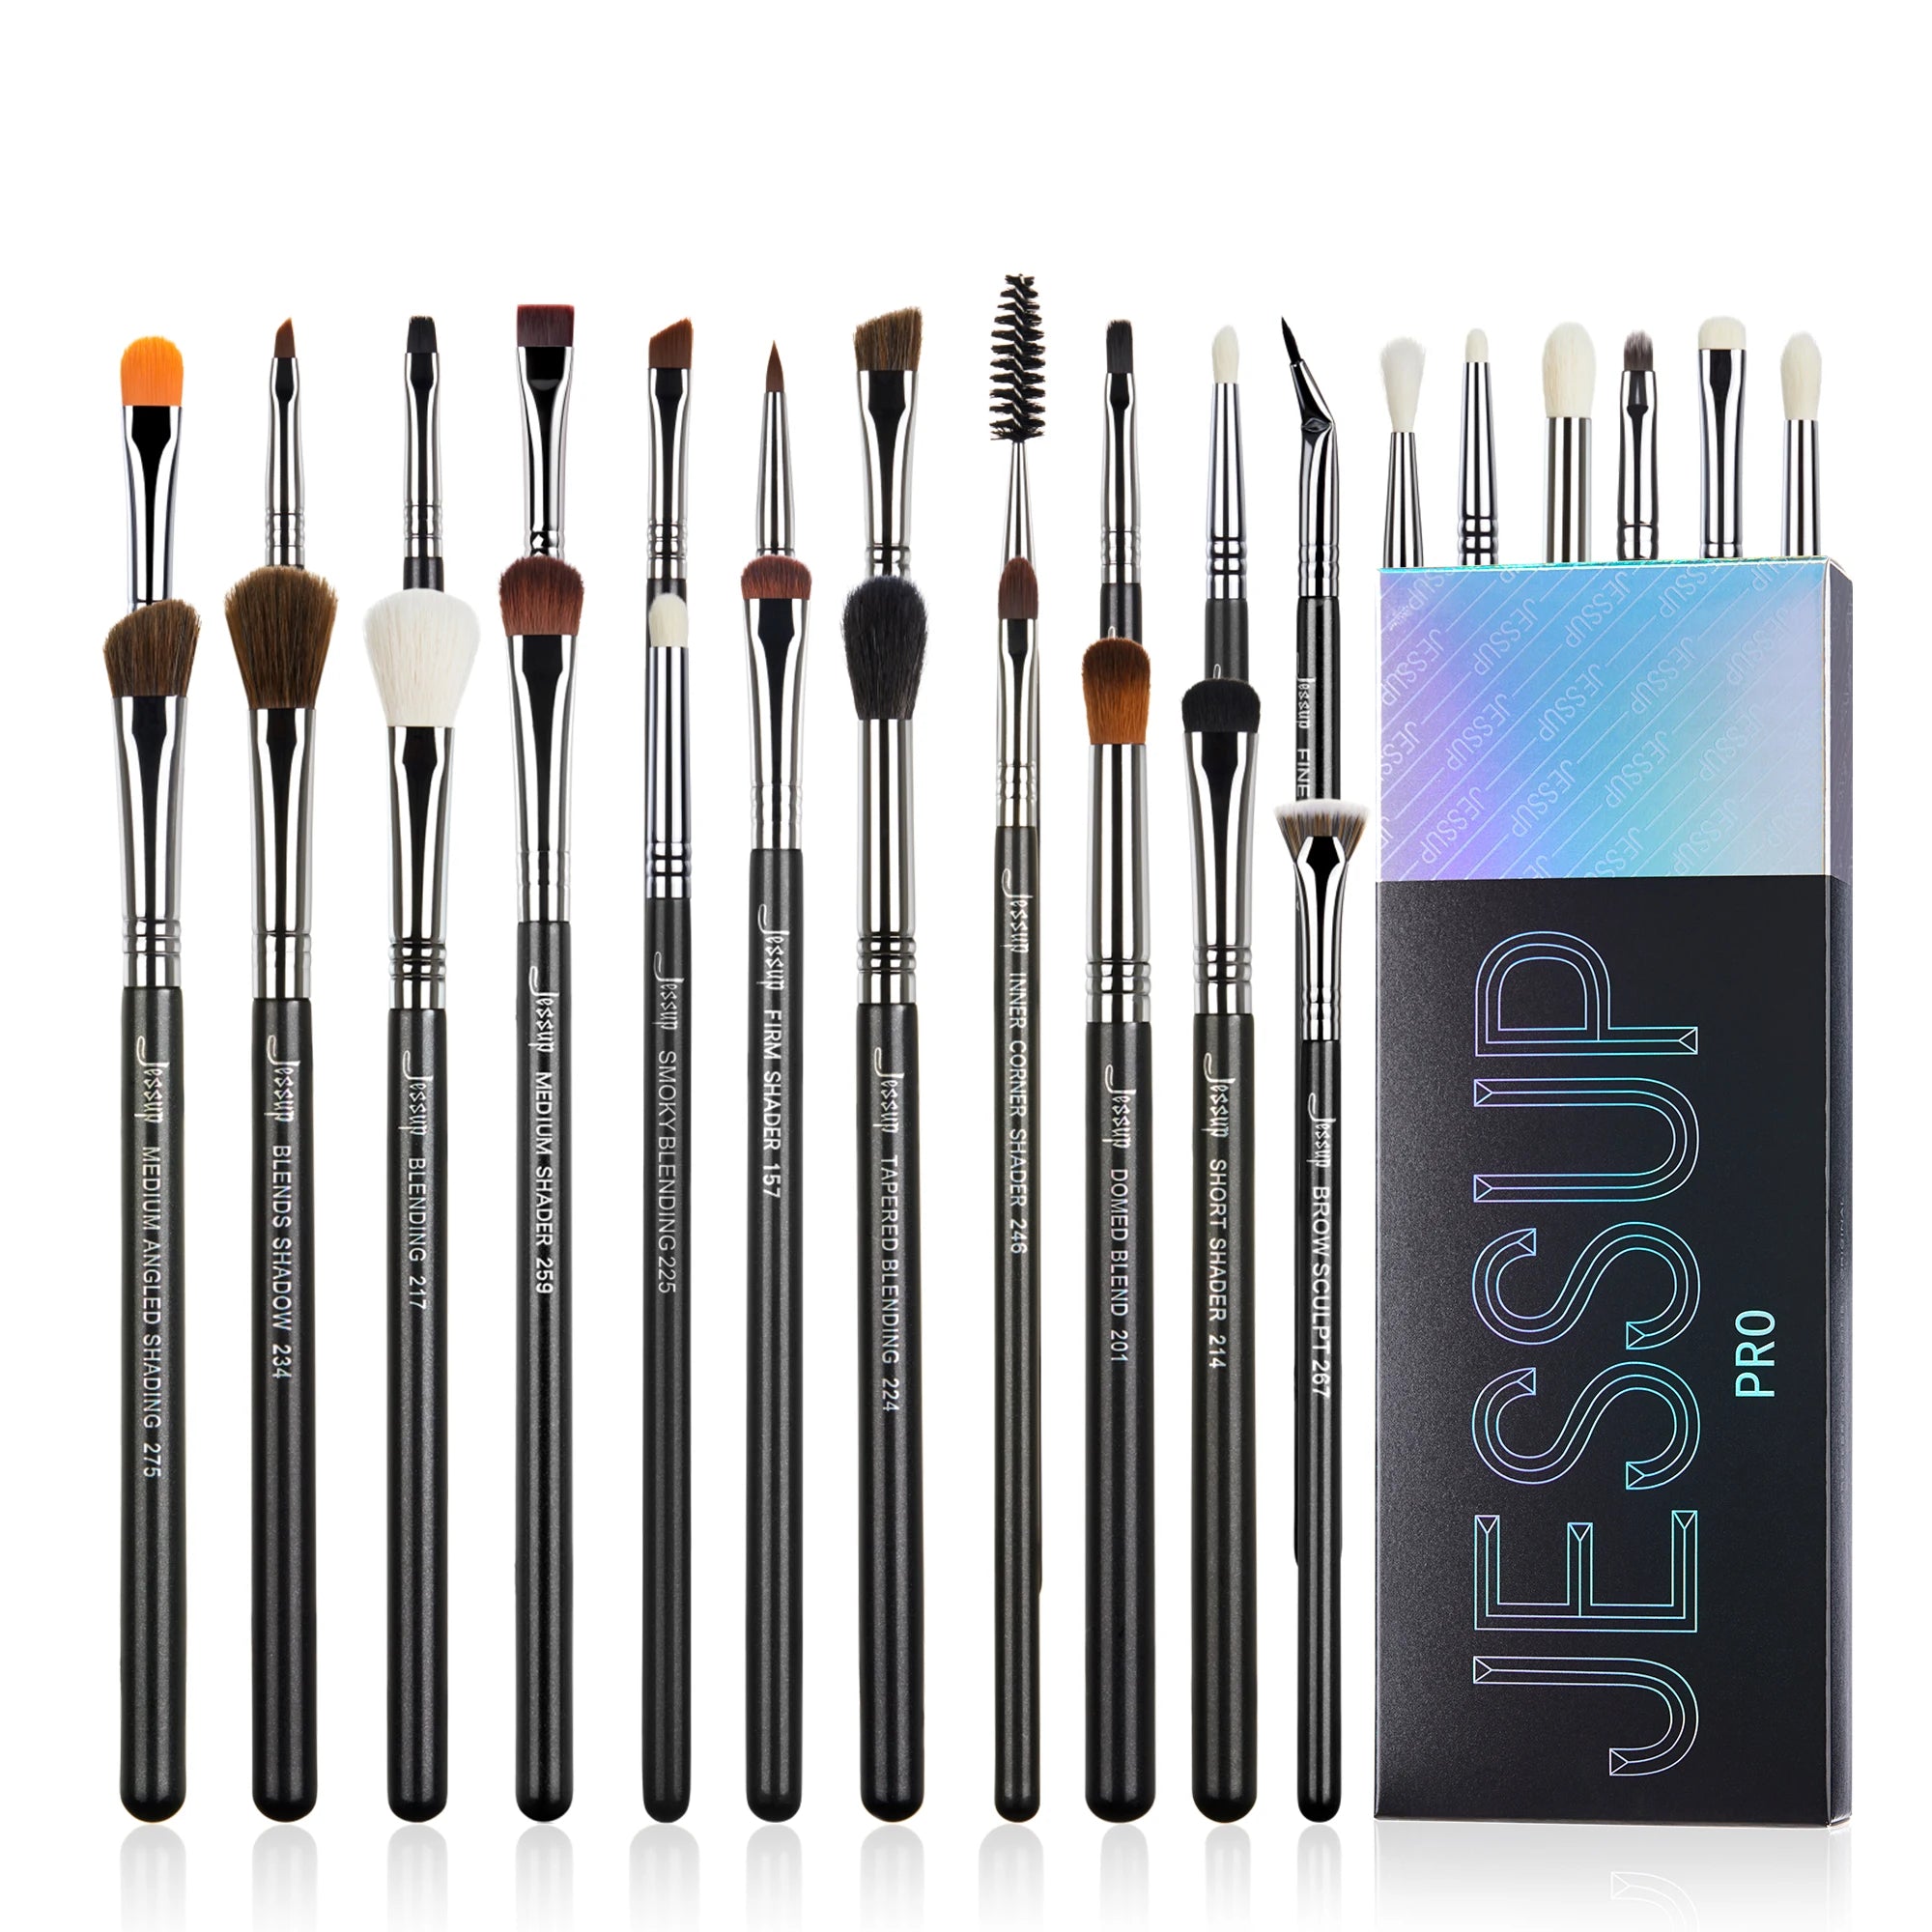
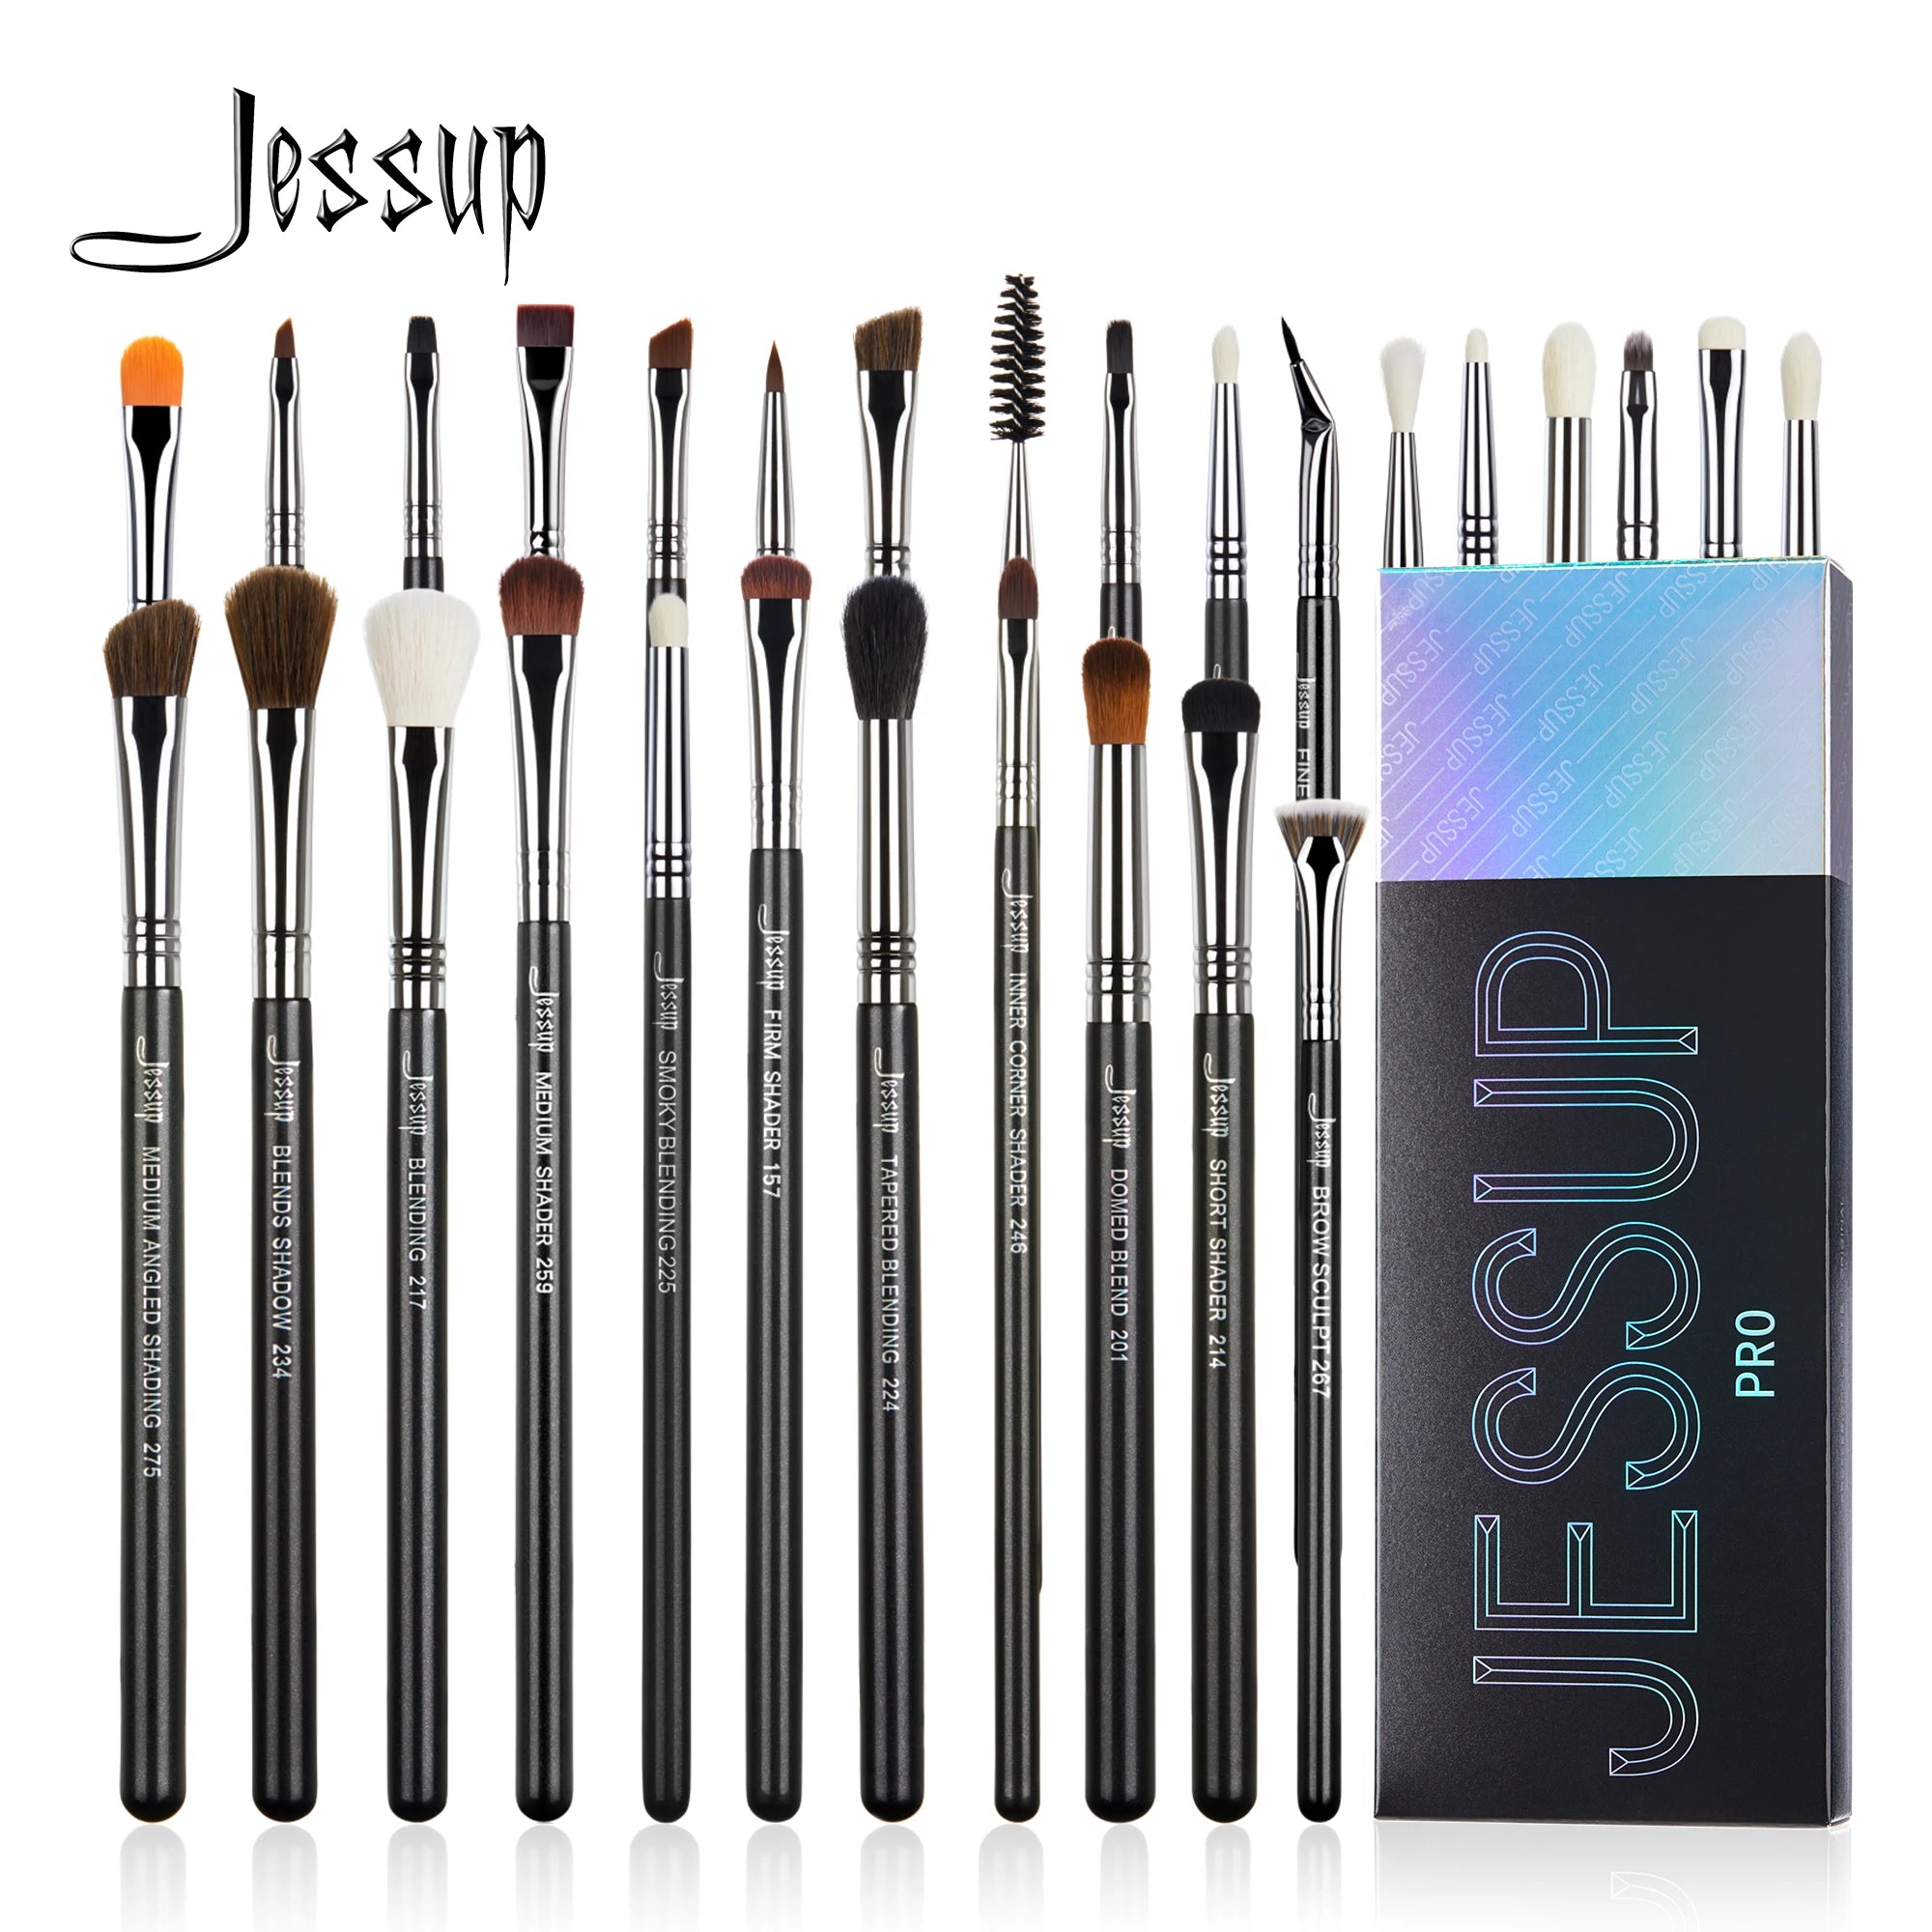
For readers who prefer a coordinated collection, the 28pcs Eye Makeup Brushes Set is one option to consider. Its 28-piece configuration includes multiple eye-focused shapes, including blending, eyeshadow, eyeliner, and eyebrow brushes, so it can make sense for someone who wants more specialized tools rather than a minimal three-brush setup.
How Brush Density, Bristles, and Stiffness Change the Result
Dense vs. Fluffy Bristles
Dense bristles tend to keep more product concentrated in a smaller area. They are useful for packing color, defining edges, and building intensity. Fluffy bristles allow more movement between individual fibers, making them better suited to diffusing color and softening transitions.
Soft vs. Firm Brush Fibers
Softer fibers can feel more forgiving during blending because they distribute pressure over a broader area. Firmer fibers can provide greater resistance and directional control, which is useful for precise placement and lining. The ideal stiffness depends on both the technique and the product.
Synthetic Makeup Brush vs. Natural-Hair Makeup Brush
Synthetic makeup brushes are commonly made from manufactured fibers and can work well with creams, liquids, and powders. They are also generally straightforward to clean and maintain. Natural-hair makeup brushes can have a different feel and may be preferred by some artists for certain powder-blending applications.
There is no universal rule that one fiber type produces a better eye look. Fiber quality, shape, density, construction, and the specific product being applied all affect performance.
Choosing Brush Size for Your Eye Shape
Brush size should relate to the amount of visible working space on your eye. A large fluffy brush may be comfortable on a broad lid but can overwhelm a smaller or more hooded eye area.
For smaller eyes, consider narrower blending and crease brushes that let you work without spreading color too far. For hooded or deep-set eyes, smaller tapered shapes can make it easier to place transition color where it remains visible when the eyes are open. Larger lid areas can accommodate broader brushes for faster application.
Eye Makeup Brush Techniques: Match the Brush to the Look
Everyday Neutral Eyeshadow
Use a shader to place the lid shade, a crease brush to add controlled depth, and a blending brush to soften the transition. Finish with a pencil or small detail brush if you want subtle outer-corner or lower-lash definition.
Smoky Eye
Start with concentrated lid color using a shader. Build depth with a pencil or crease brush, then diffuse the perimeter with a blending brush. A smudge brush can connect the upper and lower lash lines without creating an overly broad band of color.
Cut Crease
Precision comes first. Use a small precision or detail brush for the defined section, then use a flat shader to place the contrasting lid shade. Keep the blending brush outside the most defined edge so the transition remains intentional.
Winged Eyeliner
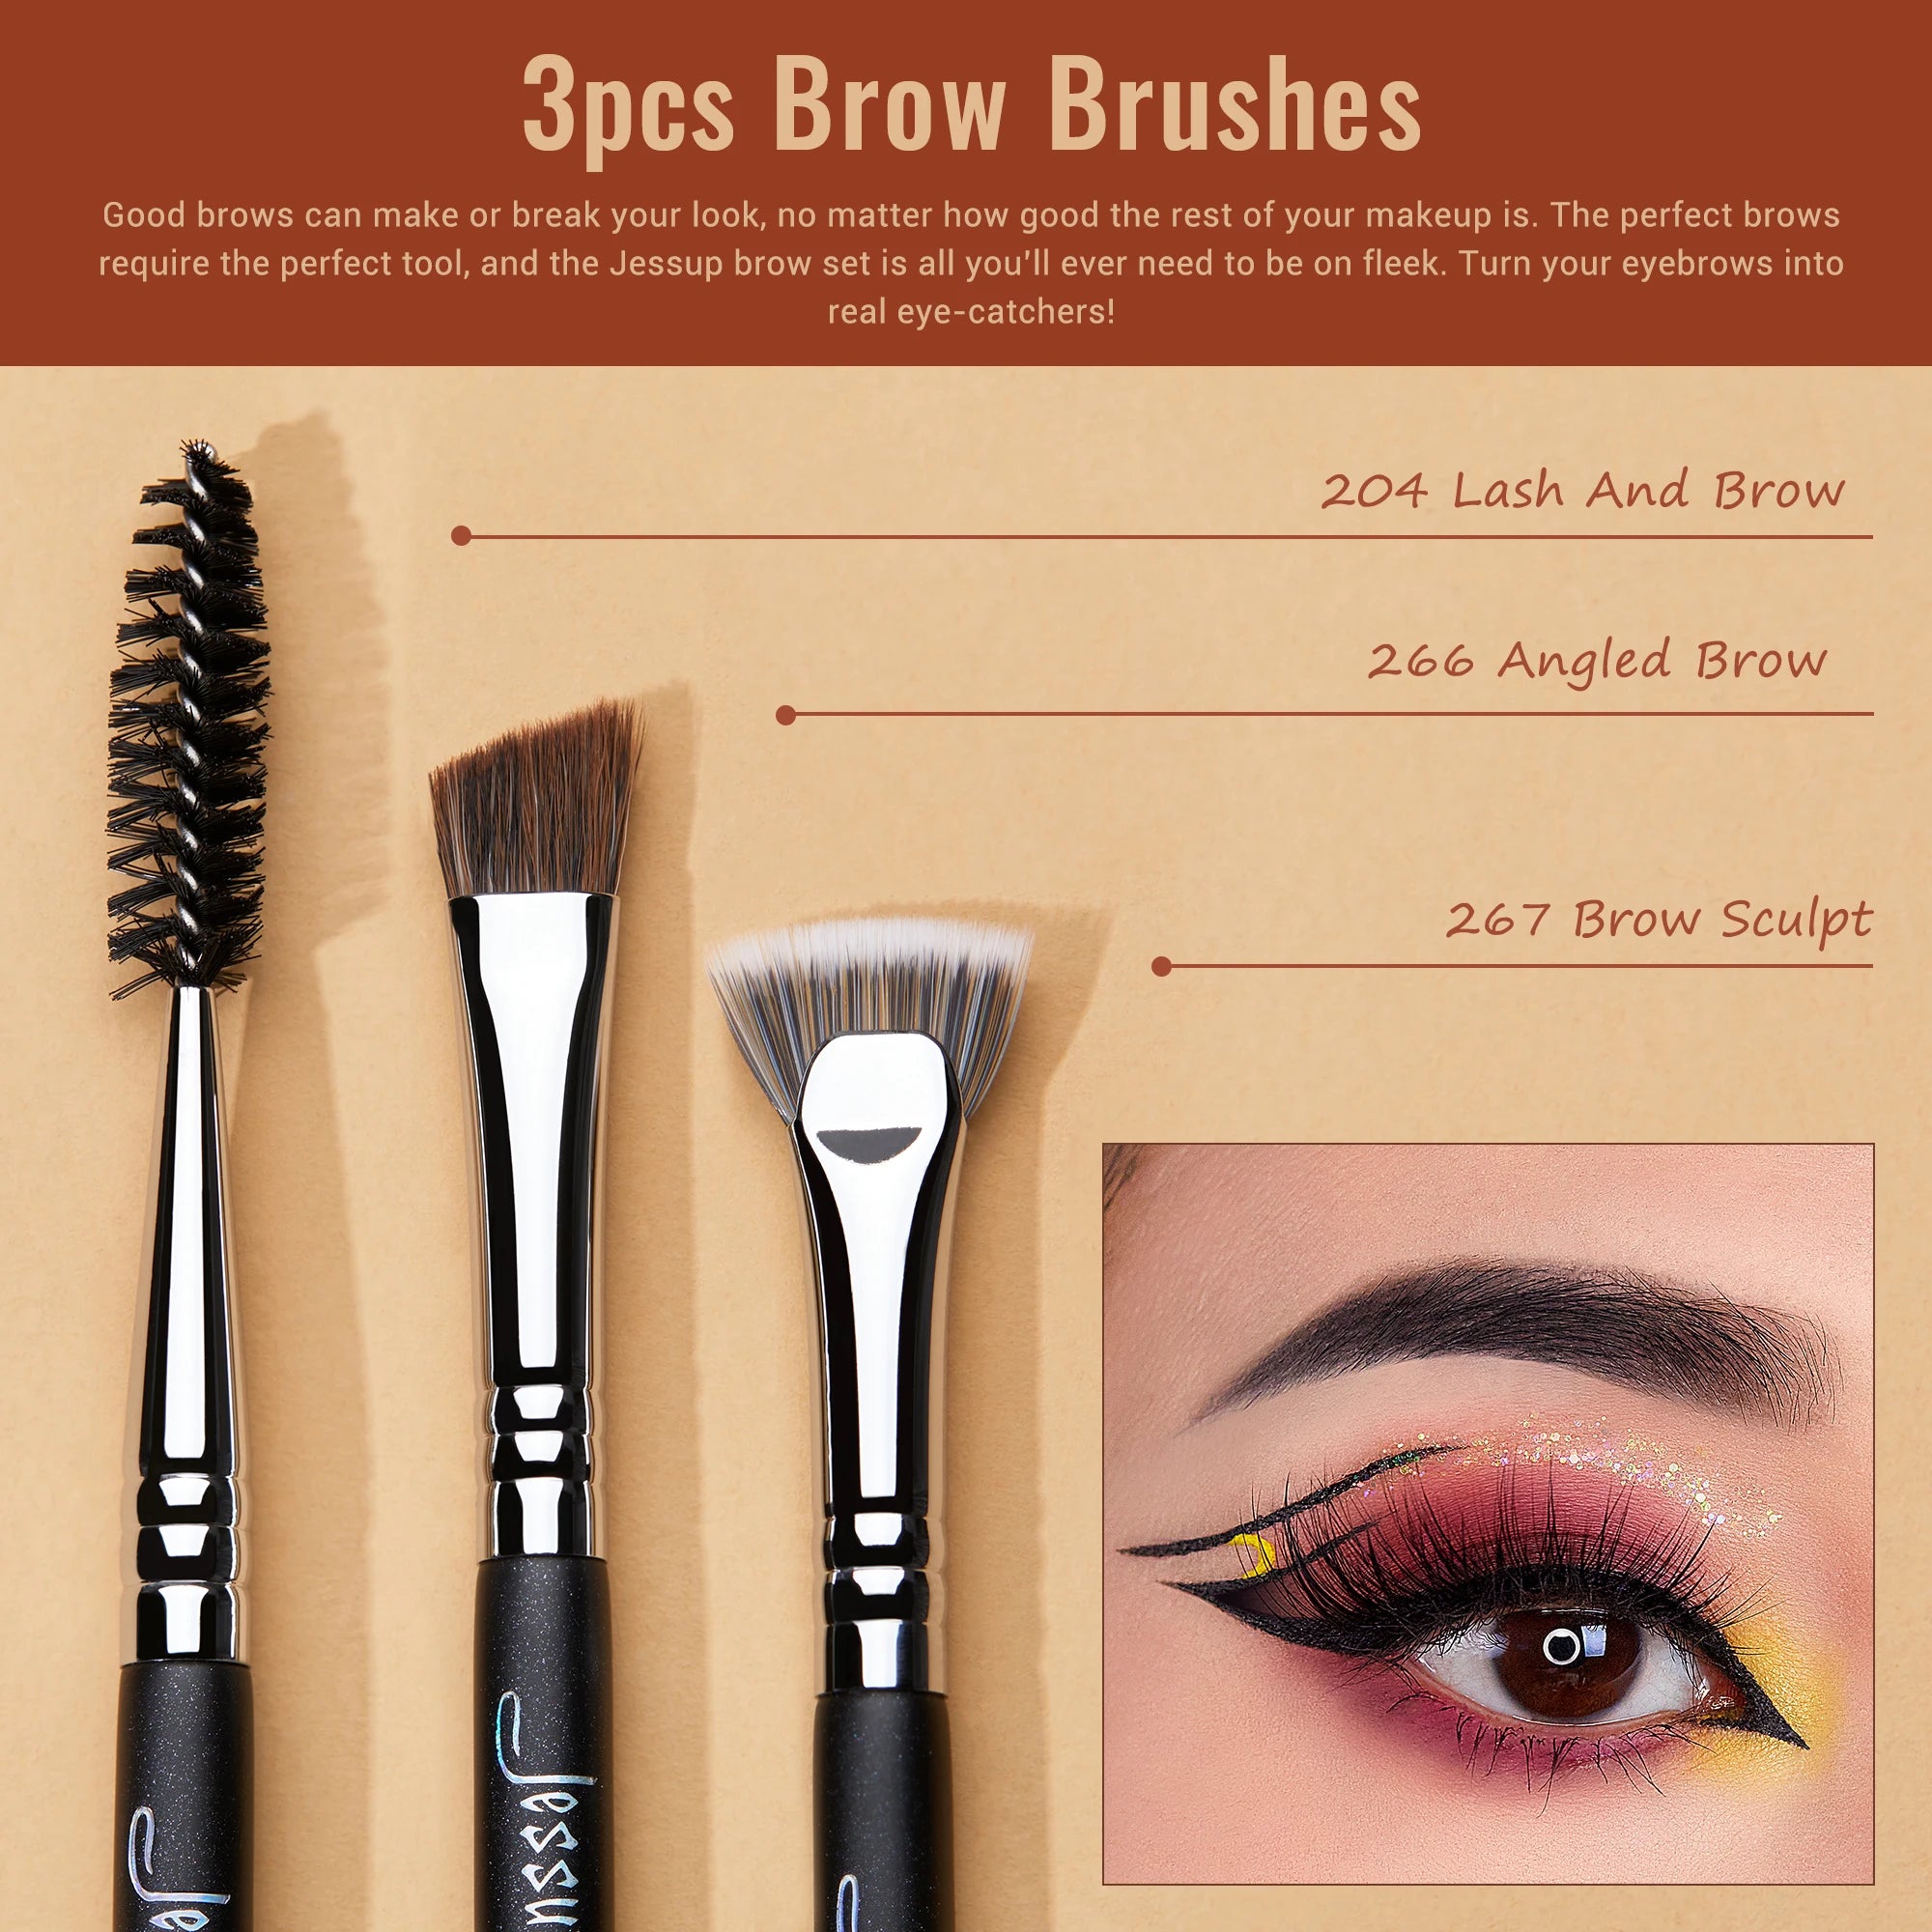
Use an angled brush when you want a stable diagonal edge or a fine eyeliner brush when you want a very narrow line. Build the wing from short strokes and connect it gradually to the upper lash line.
Lower-Lash Definition
Choose a pencil brush for concentrated eyeshadow, a detail brush for a narrow application, or a smudge brush when you want to soften pencil or liner. Keep pressure light and begin with less product than you think you need.
Inner-Corner Highlight
A precision or detail brush is usually more controlled than a full-size shader. Pick up a small amount of highlight, tap away excess, and place it directly at the intended point. You can expand the highlight afterward if needed.
Common Eye Makeup Brush Mistakes to Avoid
Using a Blending Brush to Pack on Pigment
Fluffy bristles naturally spread product. If you need strong, concentrated color, switch to a denser shader or flat brush and use a pressing motion.
Using Too Much Pressure
Heavy pressure can flatten the brush, spread pigment farther than intended, and reduce the distinction between placement and blending. Light pressure is usually more controllable, especially around the crease and lower lash line.
Using a Brush That Is Too Large for the Eye Area
A brush that is too wide can place transition color outside the area you intended to define. Choose a brush that fits the available lid or crease space rather than assuming larger means faster or better.
Trying to Create Precision With a Soft, Oversized Brush
Precision requires a controlled contact point. If the brush is broad and very flexible, it may distribute product across too much surface area. Switch to a compact, tapered, pointed, or angled brush for small-area work.
How to Choose the Right Eye Makeup Brush in Seconds
Want to Pack on Color? Choose a Shader
Reach for a dense, flat brush when the goal is strong, controlled pigment placement on the lid.
Want to Blend? Choose a Blending or Crease Brush
Use a fluffy blending brush for broad diffusion. Choose a more tapered crease brush when you first need to place depth in a specific fold or outer area.
Want Tiny, Exact Placement? Choose a Precision or Detail Brush
For inner-corner highlights, cut-crease accents, small corrections, and targeted lower-lash color, a compact precision or detail brush gives you the most control.
Want Soft Lash-Line Definition? Choose a Pencil or Smudge Brush
A pencil brush concentrates eyeshadow near the lashes, while a smudge brush is especially useful for softening liner and creating a smoky edge.
Want a Sharp Line? Choose an Angled or Eyeliner Brush
Choose an angled brush for a stable diagonal edge and controlled definition, or a fine eyeliner brush when maximum line precision matters.
Final Takeaway
The best way to understand the types of eye makeup brushes is to stop thinking of them as a long list of names and start thinking in terms of jobs. Shader brushes pack color. Blending brushes diffuse it. Crease brushes place depth. Pencil and smudge brushes shape the lash line. Detail and precision brushes handle small areas. Angled and eyeliner brushes create controlled lines.
Once you understand how density, shape, stiffness, and size influence the result, you can build a much smaller and more useful brush collection. Start with the techniques you use most often, then add specialized brushes only when a particular application requires more control.
If you are comparing eye brush collections, focus first on whether the shapes match your preferred looks. A set with several brushes
Pillar Article: Good Affordable Brush Set: Best Picks for Eye Makeup













