

⏱ 7 min read
How to Clean Nail Tools the Right Way?
To clean nail tools properly, first wash with warm soapy water to remove debris, then disinfect using a hospital-grade solution or autoclave. Always dry thoroughly before storing. This prevents bacterial growth, ensures safety, and keeps your manicure tools long-lasting and salon-grade clean.
If you clean nail tools the wrong way, you might be spreading more bacteria than you remove. Learn why cleaning manicure tools and nail cleaner tools require more than just alcohol wipes. Discover how pros disinfect nail cleaning brushes properly to keep every client safe and your tools lasting longer. Ready to master the salon-level sterilization secrets they never teach in beauty school?
💡 Clean nail tools with confidence — discover how pros do it right
👉 Discover the safest and fastest way to keep your nail tools bacteria-free with salon-grade results.
Learn how it supports your hygiene setupWhy Cleaning Nail Tools Matters More Than You Think
Your manicure tools touch skin, cuticles, and sometimes tiny nicks—making them the perfect environment for bacteria to thrive. Regular cleaning is more than just a hygiene routine; it’s a professional responsibility that protects clients and your reputation.
Think about it: even the tiniest leftover dust or residue can carry pathogens. If your disinfecting process isn’t thorough, you’re risking cross-contamination with every client session.
Types of Nail Tools You Should Clean Regularly
Not all tools are created equal—each requires specific care. Here’s a quick breakdown of what to clean daily versus weekly.
| Tool Type | Cleaning Frequency | Disinfection Method |
|---|---|---|
| Metal Cuticle Pushers | After each use | Autoclave or Barbicide |
| Nail Clippers | After each use | Soak in disinfectant 10 mins |
| Buffers & Files | Daily (replace if porous) | Spray disinfectant |
| Nail Cleaning Brushes | After each client | Soap + Disinfectant Rinse |
Step-by-Step Cleaning Routine for Every Tool
1. Pre-Clean: Remove Debris
Start by scrubbing tools gently with warm water and mild soap. Use a small brush to dislodge buildup from hinges or handles.
2. Disinfect: Kill Germs Effectively
Soak metal tools in a hospital-grade disinfectant for 10 minutes. For nail cleaner tools with rubber parts, spray instead of soak to prevent degradation.
3. Rinse & Dry
Rinse under clean water and pat dry using a lint-free towel. Always air dry before sealing tools in containers to avoid moisture-induced rust.
4. Store Properly
Store in a closed, dry cabinet or UV sterilization box to maintain cleanliness between uses.

💡 Nail cleaning brushes deserve extra care — learn the right way to protect your investment
👉 Learn step-by-step how to keep your nail station spotless and client-safe.
Explore essential nail care devicesHow to Clean Nail Brushes Without Damaging Bristles
Nail cleaning brushes often trap debris at the base, creating hidden bacteria spots. Here’s how to clean them properly:
- Rinse under warm water to remove visible product.
- Apply antibacterial soap and gently work through bristles.
- Soak in disinfectant for 5 minutes, then rinse thoroughly.
- Lay flat to dry — never upright, as water may loosen glue.
This process prevents bristle fraying and keeps your brushes hygienic and odor-free.
Disinfection vs. Sterilization: What’s the Difference?
Disinfection kills most bacteria and viruses on tools’ surfaces, while sterilization eliminates all microorganisms—including spores. In salons, sterilization (via autoclave) is ideal for metal tools, while disinfection is adequate for brushes or plastic components.
Pro Tips to Extend Tool Lifespan and Avoid Rust
- Never soak tools longer than recommended.
- Use rust inhibitor sprays after drying.
- Store tools in silicone sleeves or UV cabinets.
- Inspect hinges monthly for buildup or residue.
Proper maintenance ensures longevity, saving replacement costs and maintaining professional standards.
Common Cleaning Mistakes That Spread Bacteria
Even pros make errors that undo their cleaning efforts. Avoid these pitfalls:
- Using alcohol wipes only — they don’t sterilize.
- Storing damp tools in closed containers.
- Skipping cleaning nail brushes after dusting off acrylics.
- Reusing disposable files between clients.
Recommended Nail Cleaner Tools for Professionals
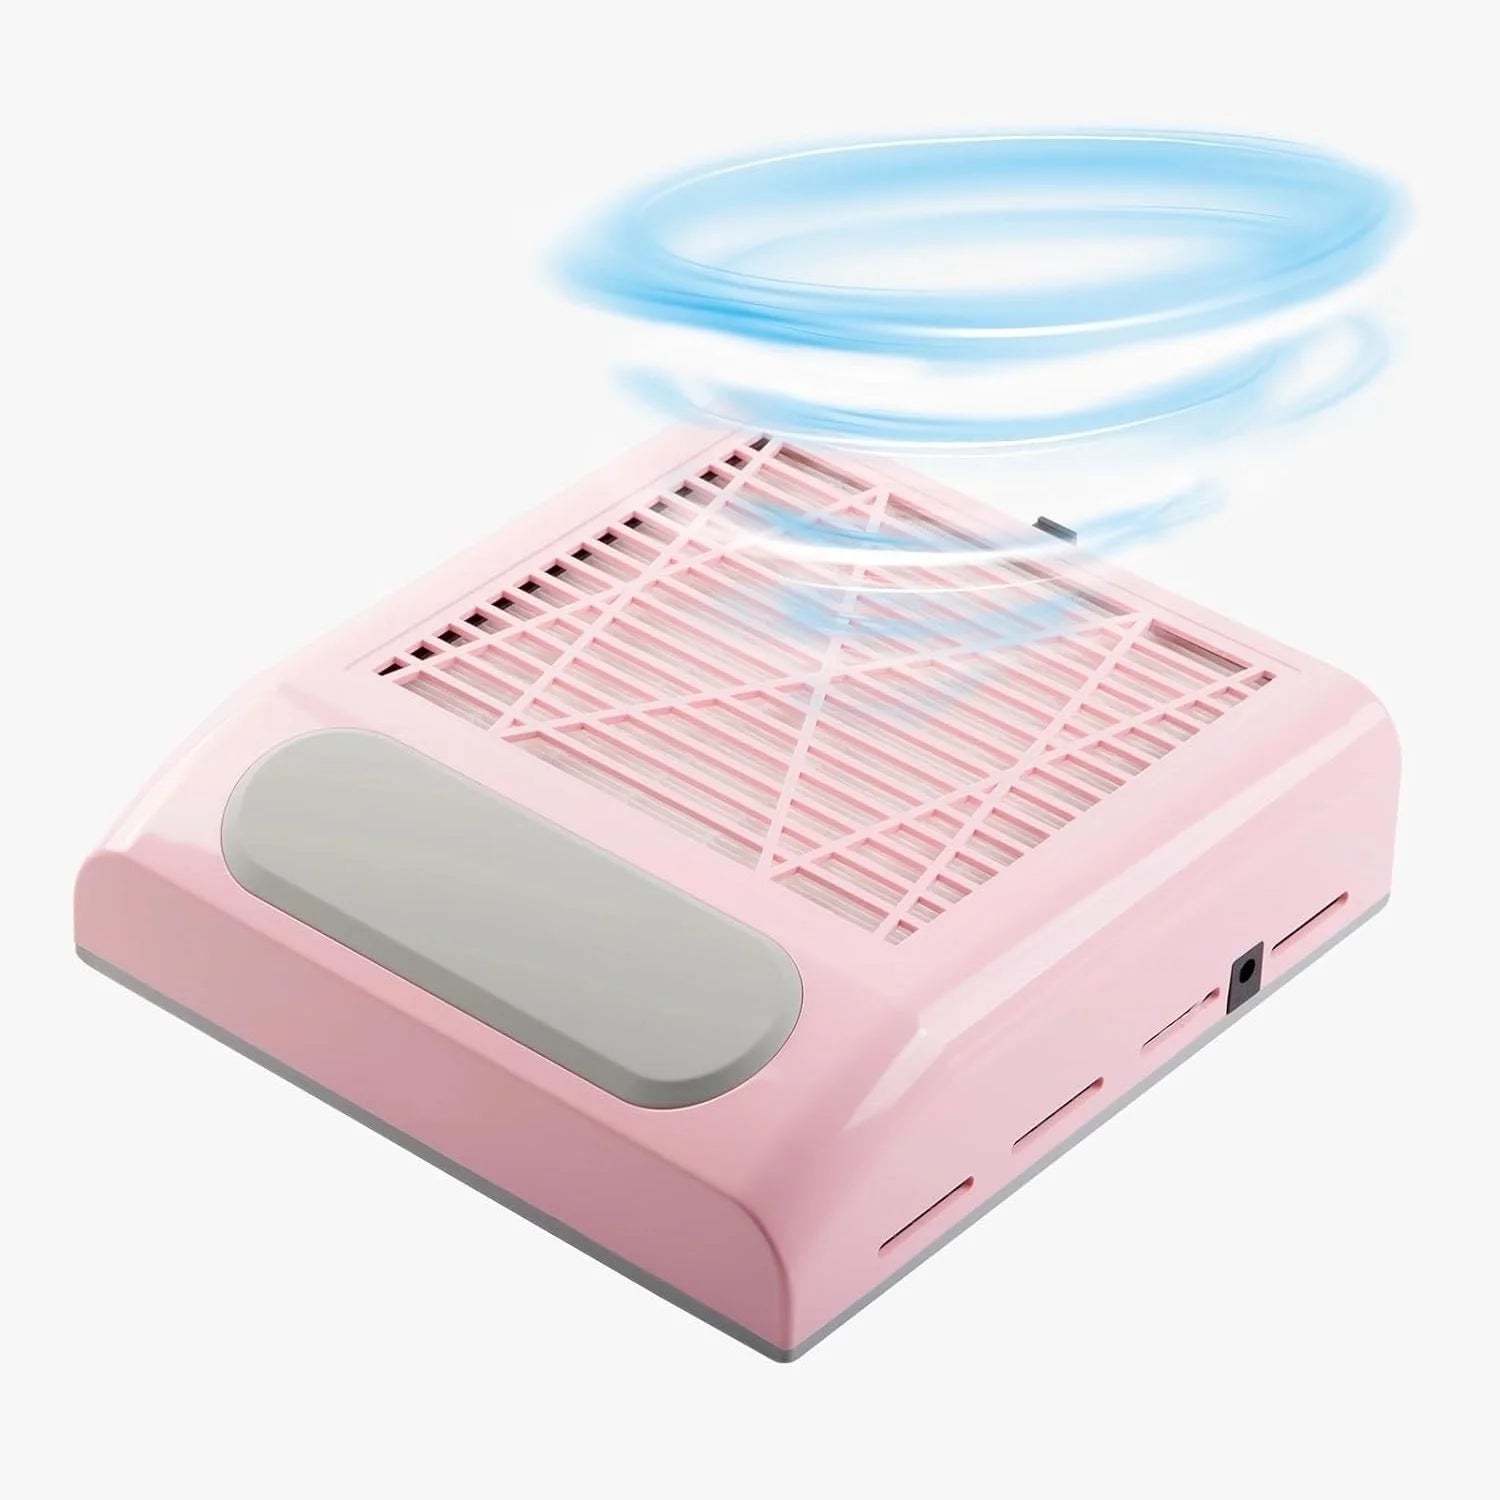
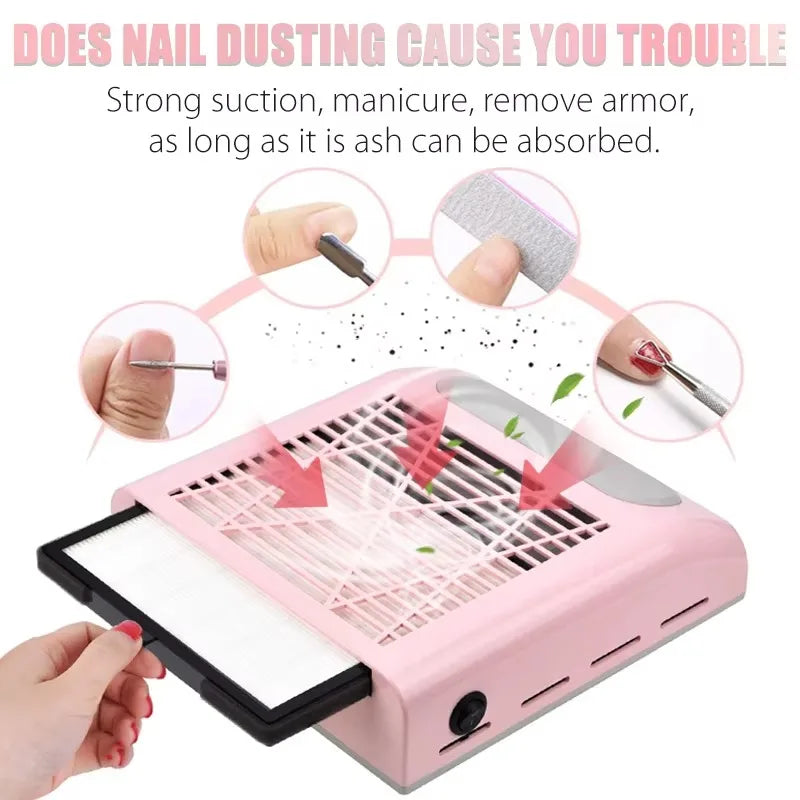
If you’re serious about sanitation, invest in reliable devices designed for salon-level hygiene. The KentDO Nail Dust Collector efficiently captures airborne particles, reducing contamination risks while you work.
Pair it with high-quality disinfectants and sterilization equipment from our Nail Care Devices collection to complete your professional cleaning setup.
💡 Clean nail tools effortlessly — pair with KentDO Nail Dust Collector for professional results
👉 Get yours now — limited stock!
Shop KentDO Nail Dust CollectorFAQ
How often should I clean nail tools?
Clean and disinfect after every use. Deep sterilize metal tools daily or after multiple clients.
Can I use alcohol instead of disinfectant?
Alcohol helps but doesn’t kill all bacteria or spores. Use hospital-grade disinfectants or autoclaves for full sterilization.
What’s the best way to store clean tools?
Store dry tools in sealed containers or UV cabinets to prevent contamination and rust.
Do I need to replace nail brushes regularly?
Yes. Replace every 3–6 months or sooner if bristles fray, discolour, or retain odor despite cleaning.
Tags: clean nail tools, cleaning manicure tools, cleaning nail brush, nail cleaning brushes, nail cleaner tools, nail hygiene, tool sterilization, salon safety, nail care routine, disinfecting tools
📚 Continue learning: Explore more expert hygiene and beauty guides on our Beauty & Self-Care Blog or dive deeper into our Hair, Skin & Nail insights.
Related Articles:
- Clean Nail Brushes Like a Pro: Keep Tools Bacteria-Free and Long-Lasting
- Cleaning for Nails Done Right: Avoid These 5 Costly Sanitation Mistakes
Pillar Articles:
- Professional Nail Dust Remover Review: Which Model Outperforms in Real Salons
- Clean Nail Salon Secrets: What Inspectors Really Check for Cleanliness
- Does Dust Cause Headaches? The Salon Health Issue Nobody Talks About
- How to Reduce Dust Fast: 5 Proven Salon Habits That Keep Air Fresh
- Dust Nail Collector Showdown: Top 7 Models That Actually Keep Your Air Clean


