Tags: gel polish not curing, gel polish not curing properly, best way to cure gel nail polish, curing times for gel nails, best uv lamp gel nails, gel nail care, gel manicure tips, uv lamp guide, gel polish troubleshooting, nail curing mistakes
⏱ 7 min read
Why is my gel polish not curing properly?
When your gel polish is not curing, it usually means the formula isn’t getting enough UV or LED light exposure. Common causes include using the wrong lamp wattage, applying thick layers, or expired products. To fix it, follow the best way to cure gel nail polish—thin coats, proper lamp strength, and full exposure time.
If your gel polish not curing properly even after minutes under the lamp, you’re not alone. From choosing the wrong lamp to skipping crucial prep steps, small mistakes can ruin your shine and durability. Let’s fix that. This guide reveals the best way to cure gel nail polish, ideal curing times for gel nails, and how to pick the best UV lamp for gel nails—so your manicure finally stays flawless.
💡 Gel polish not curing? Learn how to fix it fast with the right UV lamp.
1. Using the Wrong Lamp Wattage
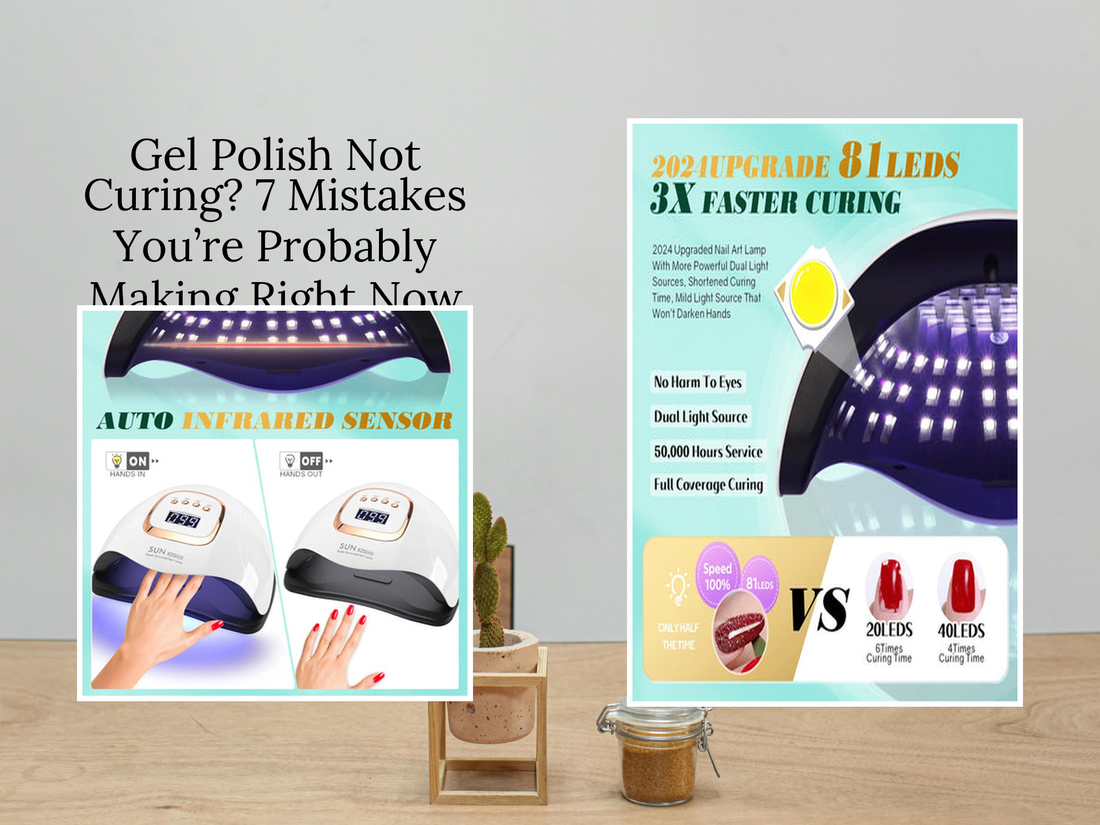
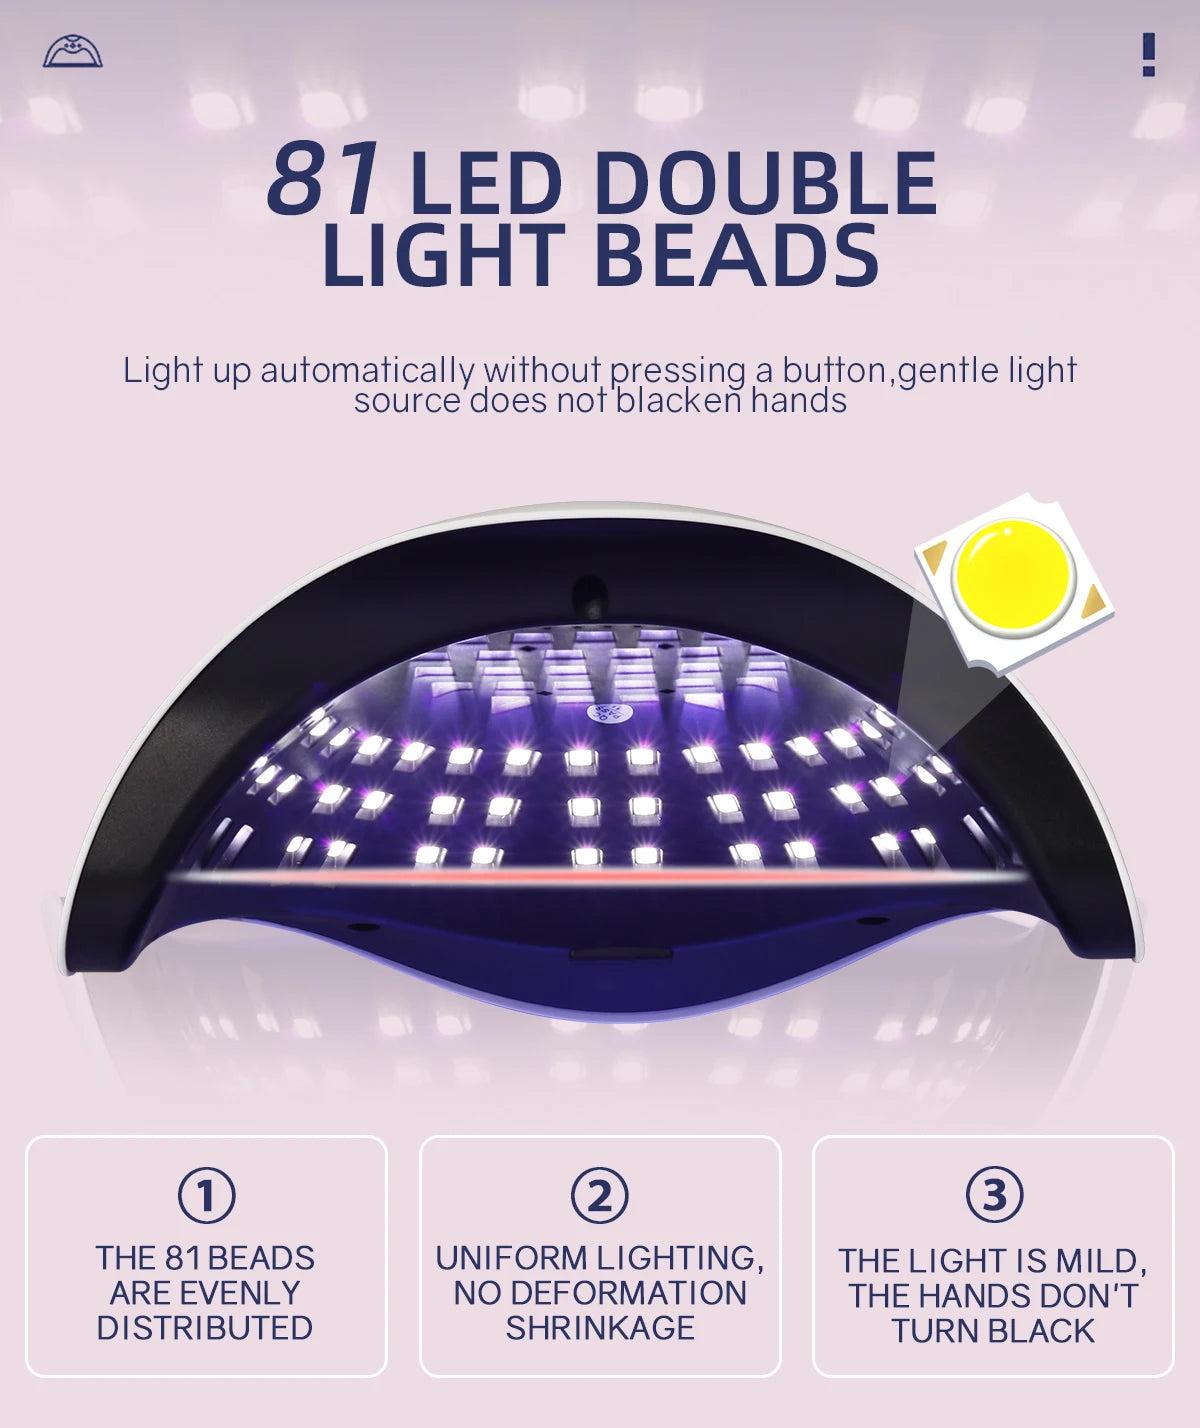
The biggest reason for gel polish not curing is using a low-watt or incompatible lamp. Not all lamps are created equal—some gels require specific light wavelengths or stronger wattage to cure properly.
Quick Fix: Always check your gel polish label. If it says “LED only,” use a 36W or higher LED lamp. For UV gels, opt for a professional UV lamp with at least 48W for full cure coverage.
| Lamp Type | Recommended Wattage | Best Use |
|---|---|---|
| LED Lamp | 36W–54W | Quick cures for LED-only gels |
| UV Lamp | 48W–72W+ | Thicker or darker UV gels |
2. Applying Gel Too Thick
Thick layers trap heat and block light from curing the inner layers, leaving a sticky, soft finish. The gel might look fine on top but stay uncured underneath.
- Apply 2–3 thin coats instead of one thick layer.
- Cure each coat fully before applying the next.
- Use a high-watt lamp for opaque or glitter gels.
💅 Thin, even coats + the best UV lamp = a flawless gel finish.
3. Not Prepping the Nail Surface
Gel polish won’t adhere or cure properly if nails have oil, dust, or moisture. Prep is half the manicure battle.
- Buff gently to remove shine.
- Clean with alcohol or nail cleanser.
- Use a dehydrator and primer before base coat.
Neglecting these steps leads to peeling, uneven curing, and premature chipping. Explore Nail Care Devices to prep efficiently before polishing.
4. Using Expired or Low-Quality Gel Polish
Expired gels lose their photoinitiators—the chemicals that react to UV/LED light. That’s why some old bottles won’t cure no matter how long you try.
Pro Tip: Replace gels every 12–18 months, and store them away from sunlight to extend shelf life.
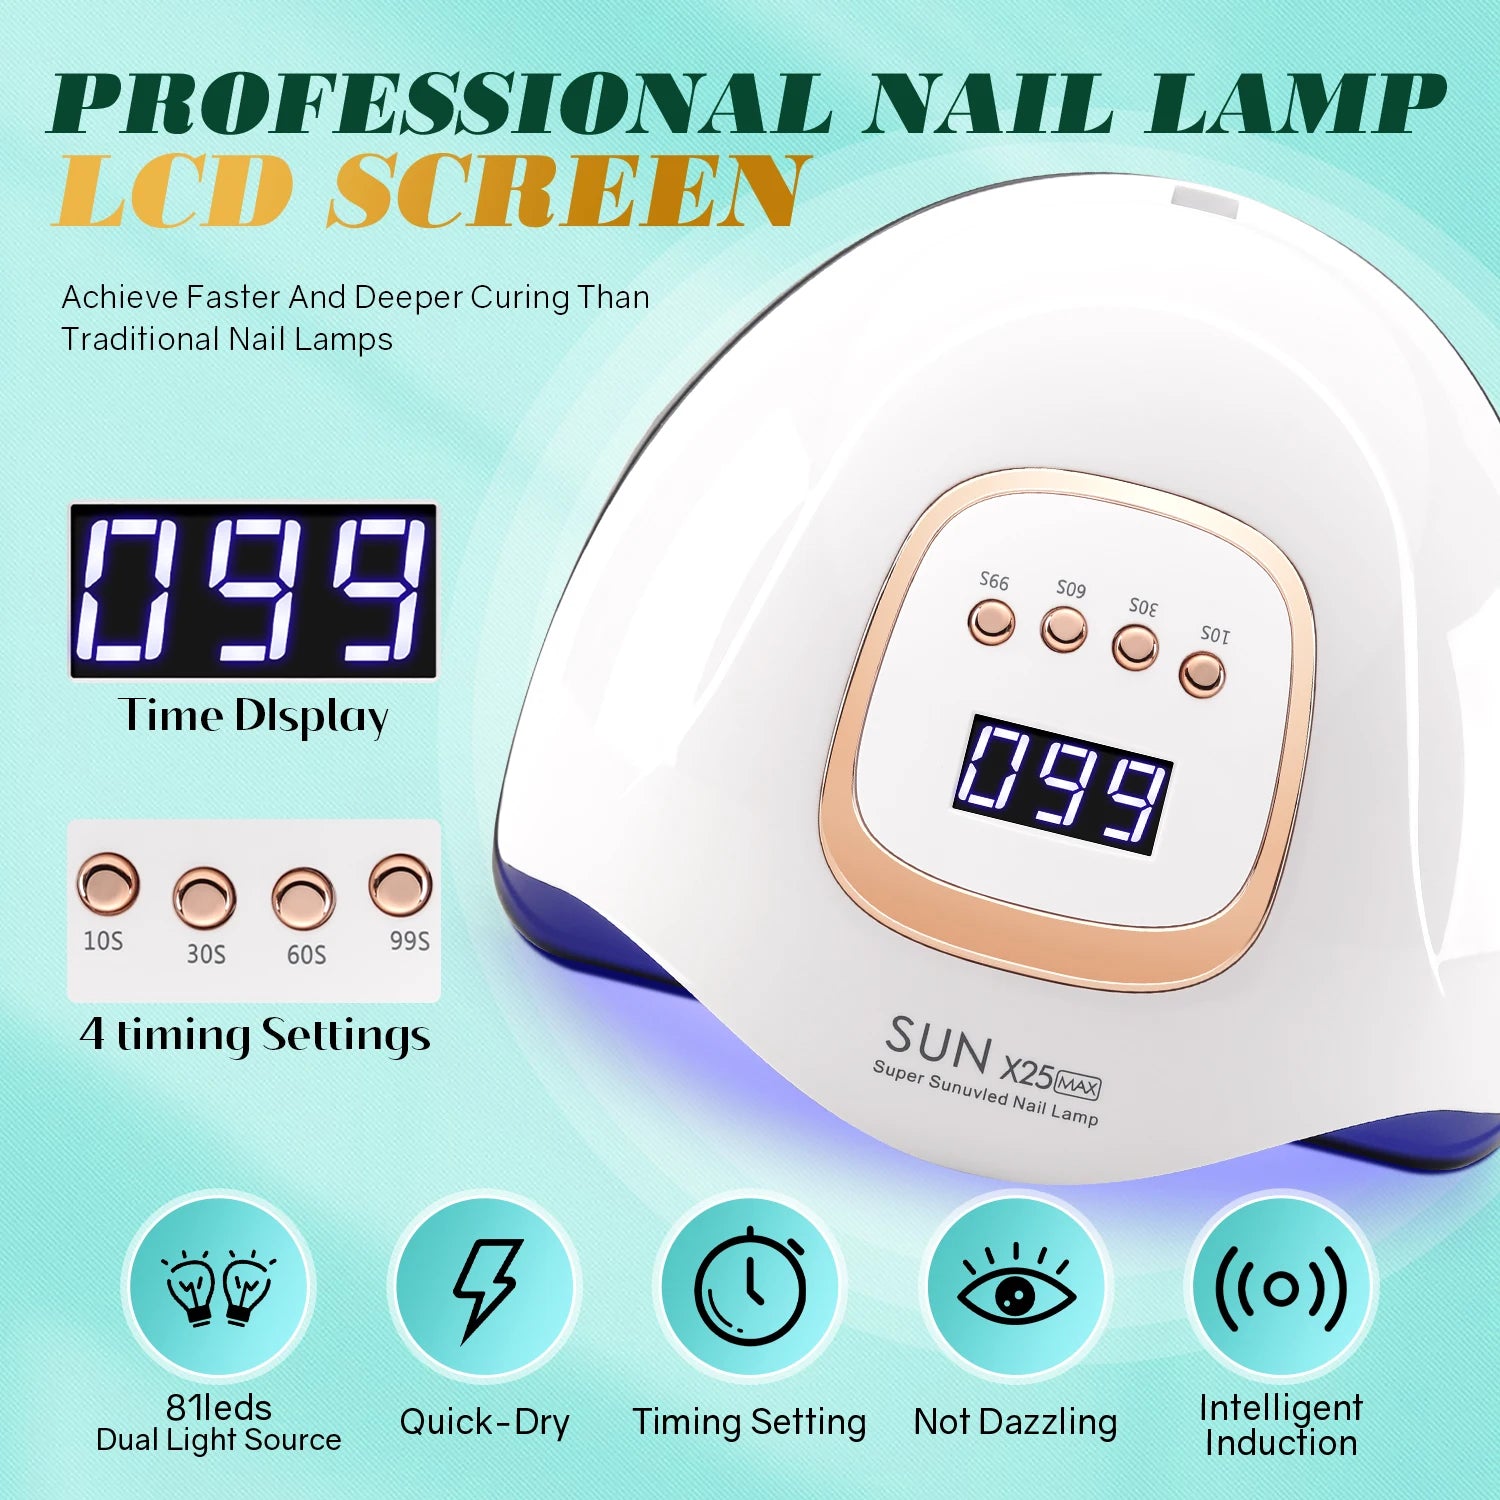
5. Incorrect Curing Times for Gel Nails
Every gel brand has different curing times for gel nails. Curing too short = soft polish; too long = brittle finish.
| Product Type | LED Curing Time | UV Curing Time |
|---|---|---|
| Base Coat | 30 sec | 60 sec |
| Color Coat | 45–60 sec | 90 sec |
| Top Coat | 60 sec | 120 sec |
Invest in a reliable UV/LED combo lamp to cover all gel types and ensure even curing.
6. Skipping the Base or Top Coat Step
Base coats anchor the color; top coats seal and harden it. Skipping either reduces cure efficiency and shine longevity. Even the best UV lamp for gel nails can’t fix missing layers.
- Use a compatible base and top coat set.
- Don’t mix brands unless specified.
- Cap free edges for chip resistance.
7. Ignoring Lamp Maintenance
Dirty bulbs or low battery output cause uneven curing. Wipe your lamp surface weekly and replace bulbs every 6 months for consistent performance.
For portable ease, explore Lifestyle gadgets that simplify at-home beauty routines.
💡 Consistency = cure perfection. Maintain your UV lamp for lasting results.
Best Way to Cure Gel Nail Polish: Step-by-Step
Follow this proven routine to make sure every layer cures flawlessly:
- Prep nails: clean, buff, and dehydrate.
- Apply a thin base coat and cure fully.
- Apply 2–3 thin color layers, curing each one.
- Seal with a top coat, then wipe tacky layer (if needed).
- Moisturize cuticles and enjoy long-lasting shine!
Mini FAQ
-
Why does my gel polish stay sticky after curing?
Answer: That tacky layer is normal—it helps the next coat bond. Wipe it off only after the top coat cures fully. -
Can I overcure gel polish?
Answer: Yes, overcuring can cause brittleness or discoloration. Stick to the recommended curing times for gel nails by your polish brand. -
What’s the best UV lamp for gel nails?
Answer: Choose a high-power, even-distribution model like the 380W UV/LED Gel Dryer for salon-quality results at home.
Still unsure which tools to choose? Explore our curated selection of Nail Care Devices and Hair, Skin & Nail tips to upgrade your beauty routine.
Pillar Article: Best UV Lamp for Nails: Top 7 Models That Deliver Salon-Perfect Cures
Other Related Articles:
- UV LED Nail Dryer Review: 5 Picks That Cut Your Curing Time in Half
- Best UV Nail Lamp for Home Use: What the Pros Don’t Tell You
- UV vs LED Nail Lamp Showdown: Which One Truly Lasts Longer?
- 36 Watt Nail Lamp Review: Is It Still Worth Buying in 2025?
Explore More: