

How to avoid messy nail extensions?
How to avoid messy nail extensions starts with proper nail prep, correct product amount, and controlled dual form placement. Most messy diy nail extension application issues come from excess gel, poor alignment, and rushed curing. With a simple step by step diy nail extension guide, beginners can achieve smooth, even, salon-like results at home.
how to avoid messy nail extensions: Clean DIY Results Every Time
Struggling with uneven shapes, overflow gel, or bulky tips? You’re not alone. Learning how to avoid messy nail extensions can feel frustrating at first—but the truth is, small technique changes make a huge difference. Once you fix a few key mistakes, your results instantly look cleaner, sharper, and more professional.
⏱ 5 min read
If your nail extensions look thick, crooked, or just “off,” it’s not a lack of skill—it’s a lack of the right system. Ready to fix it once and for all?
💡 See it in action - how to avoid messy nail extensions / messy diy nail extension application issues, beginner struggles with dual nail forms, step by step diy nail extension guide, why nail extensions look uneven beginners
✨ Want smoother, cleaner extensions instantly?
👉 Discover tools that simplify your application and reduce mistakes from day one.
Why Your Nail Extensions Look Messy (And How to Fix It Fast)
How to avoid messy nail extensions comes down to control, not complexity. Most messy diy nail extension application issues happen because beginners use too much product, misplace dual forms, or skip proper prep—leading to uneven thickness, overflow, and lifting.
Which mistake sounds familiar?
Are your extensions too thick at the cuticle but thin at the tip? That’s the #1 sign of uneven pressure and product distribution.
- ❌ Too much builder gel → bulky, flooded cuticles
- ❌ Incorrect dual form angle → crooked nails
- ❌ Poor prep → lifting and uneven finish
- ❌ Rushing curing → dents and smudges
Fixing these instantly upgrades your results.
Step-by-Step DIY Nail Extension Guide for Clean, Even Results
- Prep like a pro – Push cuticles, buff lightly, and cleanse oils completely.
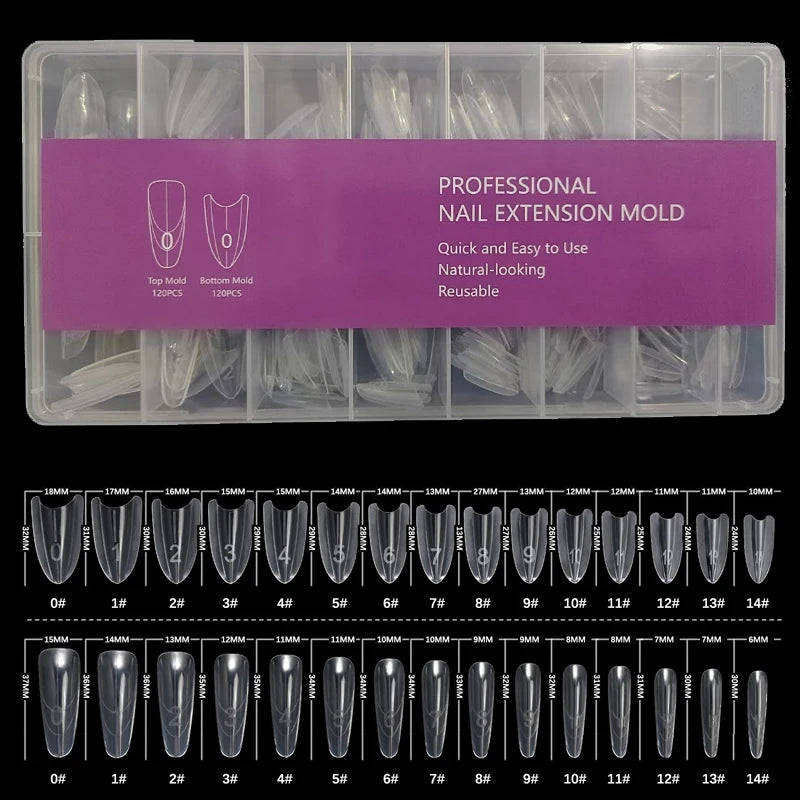
- Choose the right dual form size – It should fit sidewalls perfectly without pressure.
- Use less product than you think – A thin, even layer prevents overflow.
- Press gently from cuticle to tip – This spreads gel evenly and avoids air bubbles.
- Clean edges before curing – Remove excess gel with a brush or stick.
- Cure fully and evenly – Avoid partial curing that leads to dents.
💡 Want a smoother learning curve?
👉 Learn step-by-step how to style at home with tools designed for precision.
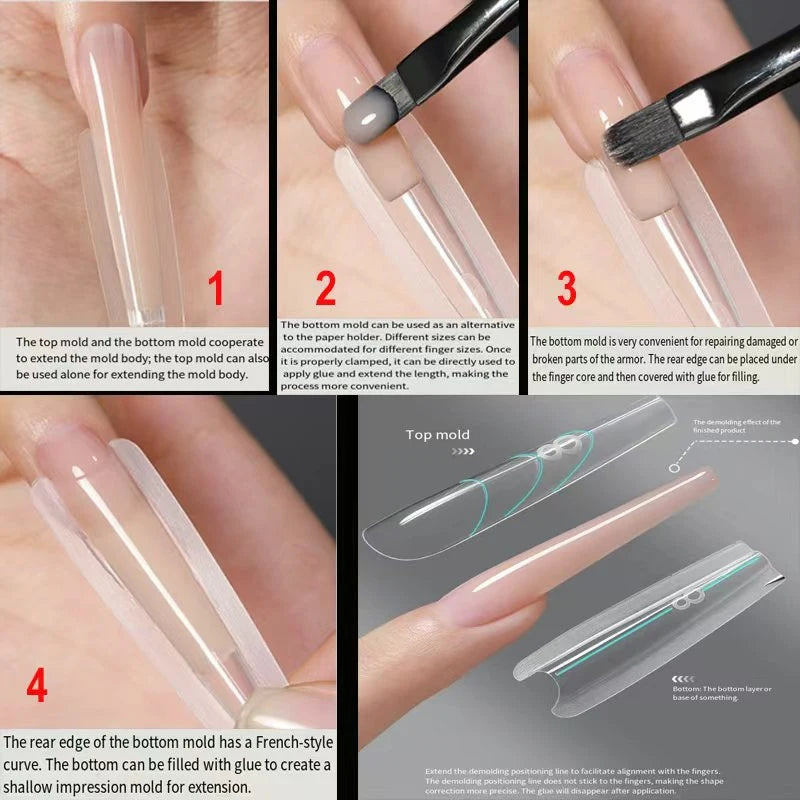
How Dual Nail Forms Instantly Improve Precision and Clean Finish
Beginners often struggle because traditional sculpting requires advanced control. Dual forms simplify everything.
- ✅ Pre-shaped structure → consistent nail shape
- ✅ Controlled gel placement → less mess
- ✅ Faster application → save time
- ✅ Smooth underside → less filing needed
Using a high-quality kit like dual nail forms kit removes guesswork and helps you focus on technique instead of fixing mistakes.
💡 See it in action - how to avoid messy nail extensions / messy diy nail extension application issues, beginner struggles with dual nail forms, step by step diy nail extension guide, why nail extensions look uneven beginners
Common Beginner Mistakes (And Instant Fixes)
| Problem | Cause | Quick Fix |
|---|---|---|
| Thick cuticle area | Too much product near base | Use thinner layer, spread evenly |
| Uneven shape | Wrong dual form size | Choose snug fit for sidewalls |
| Gel overflow | Too much pressure | Press gently, clean edges before curing |
| Lifting after 2 days | Poor nail prep | Dehydrate and buff properly |
Clean vs Messy Nail Extensions: What’s the Difference?
-
Clean Application:
- ✔ Smooth surface
- ✔ Even thickness
- ✔ Natural apex curve
- ✔ Minimal filing needed
-
Messy Application:
- ❌ Bulky and uneven
- ❌ Flooded cuticles
- ❌ Crooked shape
- ❌ Time-consuming fixes
The difference? Precision tools and better technique.
Pro Tips That Make Your DIY Extensions Look Salon-Quality
- Use a thin base layer before building structure
- Work one nail at a time for better control
- Always check side angles before curing
- Invest in tools that guide your shape automatically
Many users report:
- “My nails stopped looking bulky after just one try”
- “I cut my application time in half”
- “Finally looks like salon work at home”
Explore more tools in Nail Care Devices or upgrade your routine with Skin and Beauty Care Devices.
💡 See it in action - how to avoid messy nail extensions / messy diy nail extension application issues, beginner struggles with dual nail forms, step by step diy nail extension guide, why nail extensions look uneven beginners
FAQs
Why do my nail extensions look uneven?
Uneven extensions usually come from incorrect dual form placement or uneven product distribution. Applying too much gel or pressing unevenly causes thickness imbalance.
How can beginners avoid messy nail extensions?
Start with proper nail prep, use less product, and choose correctly sized dual forms. Clean edges before curing to prevent overflow.
Are dual nail forms better for beginners?
Yes, they simplify shaping and reduce errors. They guide structure automatically, making it easier to achieve clean, even extensions at home.
Pillar Article: nail step by step: Easy Guide to Salon-Perfect Nails at Home
Other Related Articles:
- nail forms for acrylic nails: Step-by-Step Shaping Guide
- nail tips with builder gel: Fix Lifting and Weak Nails Fast
- nail tips gel: How to Apply for Smooth Long-Lasting Finish
Explore More:


