

How to remove powder dip nails quickly and cleanly?
To remove powder dip nails fast and clean at home, gently buff the topcoat, soak nails in acetone for 10–15 minutes under foils or clips, then use a silicone pusher or orangewood stick to lift residue. This method minimizes dust, protects nail health, and preserves nail clean integrity.
How to Remove Powder Dip Nails Fast and Clean at Home
Wondering how to remove powder dip nails without wrecking your manicure? Skip the salon hassle and discover a clean, dust-free way to get nail clean at home while protecting nail salon air quality. Learn how pros manage reducing dust and avoid breathing in nail dust during removal. Want your dip nails gone fast without the mess or fumes? You’ll love this pro-approved trick.
⏱ 6 min read
💡 See this clean removal in action: how to remove powder dip nails at home
Why Nail Dust and Air Quality Matter During Dip Nail Removal
One of the biggest fears when removing dip nails is breathing in nail dust or fine powder. Many salons struggle with nail salon air quality, especially when multiple clients are filing, buffing, or removing enhancements at once.
That’s why mastering a clean, low-dust removal method at home helps you care for your nails and your lungs.
What Tools You Need for Clean Dip Nail Removal
Here’s a checklist for a neat, dust-reduced removal setup:
- 180/240 grit buffer or file (to thin topcoat)
- Pure acetone (100%) or dip removal solution
- Foil wraps or reusable clips
- Silicone pusher or orangewood sticks
- Lint-free cotton or pads
- Small glass dish or bowl
- Nail brush (soft) and cuticle oil
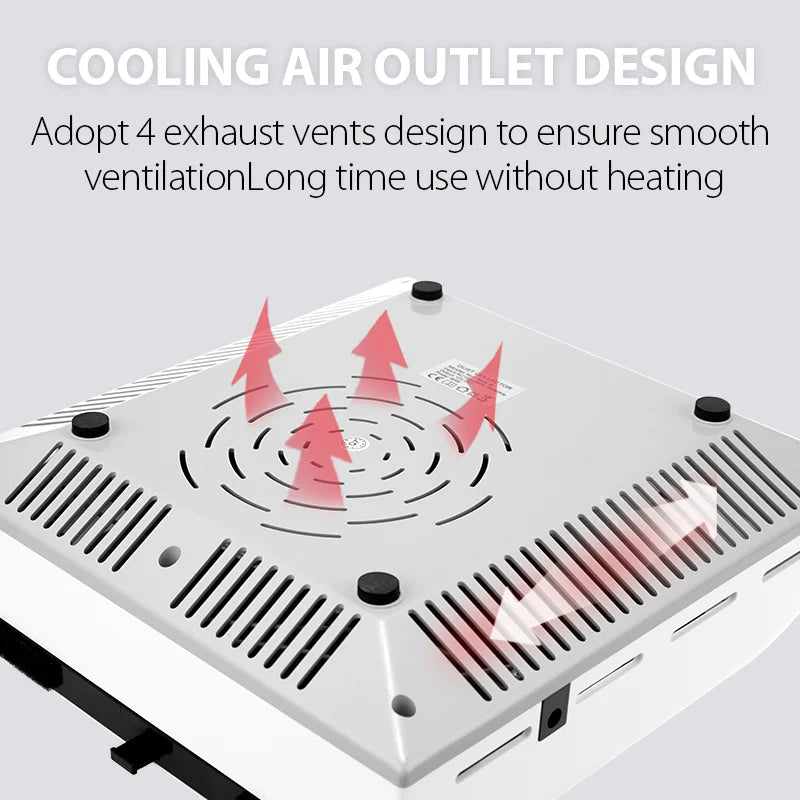
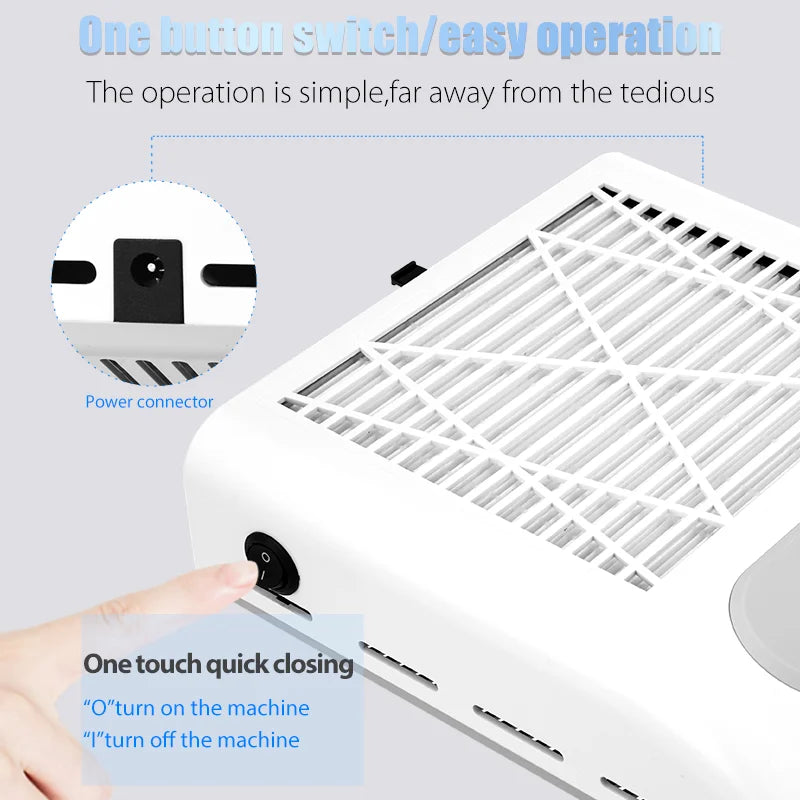
- Optional: **nail dust collector device** (to reduce airborne particles) — see below
Using a **nail dust collector** can dramatically cut how much fine dust floats in your space. Consider browsing the Nail Care Devices collection to find a model that pairs with your dip removal routine.
Step-by-Step: How to Remove Powder Dip Nails Fast and Clean at Home
Here’s the complete removal method (MOFU, actionable). Follow these steps in order for best results:
- Thin the surface. Use a 180/240 grit buffer to carefully remove the shiny topcoat and break the seal. This reduces resistance and lets the acetone penetrate faster.
- Soak the nails. Saturate lint-free cotton with acetone and place it over the nail. Wrap fingertip with foil or use reusable clips. Leave for 10–15 minutes.
- Check softness. After soaking, gently press—if the dip starts to lift or feels soft, proceed. Do not force it if still rigid.
- Push off residue. Use a silicone pusher or orangewood stick to slide the softened dip off the natural nail. Do this gently and steadily—patience ensures minimal damage.
- Brush and clean. Use a soft nail brush and acetone to remove remaining flakes. Follow with warm soapy water to neutralize residue.
- Hydrate and restore. Apply cuticle oil and hydrating treatment to your nails and cuticles. Let nails rest before applying polish again.
Each step helps you maintain nail clean at home while reducing mess and risk of over-filing.
💡 Watch dust fall away: clean dip nail removal in progress
Safety Tips to Prevent Breathing in Nail Dust
Because fine particles from buffing or filing dip nails can linger, protecting your lungs and environment is crucial.
- Use a dust collector or vacuum hood when filing or buffing—this greatly improves nail salon air quality at home.
- Wear a respirator mask (P100/N95) during buffing or removal.
- Ventilate well. Open windows, use a fan, or run an air purifier while working.
- Avoid dry filing. Always do wet or soaked removal, never aggressive dry sanding.
- Clean workspace regularly. Wipe surfaces and vacuum after each use to keep airborne dust low.
Best Devices & Tools to Reduce Dust During Removal
Comparing common options to see which one helps most in reducing dust while you remove dip nails:
| Device / Tool | Benefit | Drawback |
|---|---|---|
| Handheld nail vacuum / dust collector | Catches airborne dust at source | May be noisy, needs cleaning filter |
| Negative air workstation (hood) | Encloses debris, protects room air | Bulky, costly |
| Wet buffing with liquid | Virtually dust-free | Slower process, needs cleanup |
| Traditional dry filing | Fastest initial removal | Produces heavy dust, risks inhalation |
The best balance for home use is a dust collector paired with wet or soaked removal. If you want a trusted option to reduce mess, check out the **KentDO Nail Dust Collector – 80W** via this link. This device captures debris while you file, helping you avoid breathing in nail dust.
Case Study & User Reviews: Real Users Remove Dip Nails at Home
Case Study – Sarah, 28, remote worker: After trying salons repeatedly and feeling clogged with dust at home, she purchased a nail dust collector and followed the step-by-step removal above. After one session, she reported 90% less airborne dust and nails stronger than ever.
User Review: “I used to hate removing dip nails — my lungs would feel scratchy afterward. But now with the dust collector and soaking method, there’s zero mess. I feel confident doing it at home.” — Maya T.
These stories prove that a clean removal isn’t just possible—it’s empowering.
💡 Clean workspace, clean nails: avoid dust inhalation
FAQ
Can I soak dip nails overnight?
No — extended soaking can weaken your natural nails. Stick with 10–15 minute intervals.
Does filing too much damage nails?
Yes — aggressive dry filing weakens the nail plate. Use gentle pressure, buff just enough to break the seal, and let acetone do the work.
Is a dust collector really necessary?
While not mandatory, a **nail dust collector** greatly improves air quality, minimizes inhalation risk, and gives a cleaner experience when removing dip nails at home.
How often can I safely remove dip nails?
We recommend leaving at least a 7–10 day break between dip applications to let your nails recover and stay healthy.
Pillar Article: How to Clean Dirt Under Nails Safely: Tested Salon Techniques
Other Related Articles:
Explore More:


