
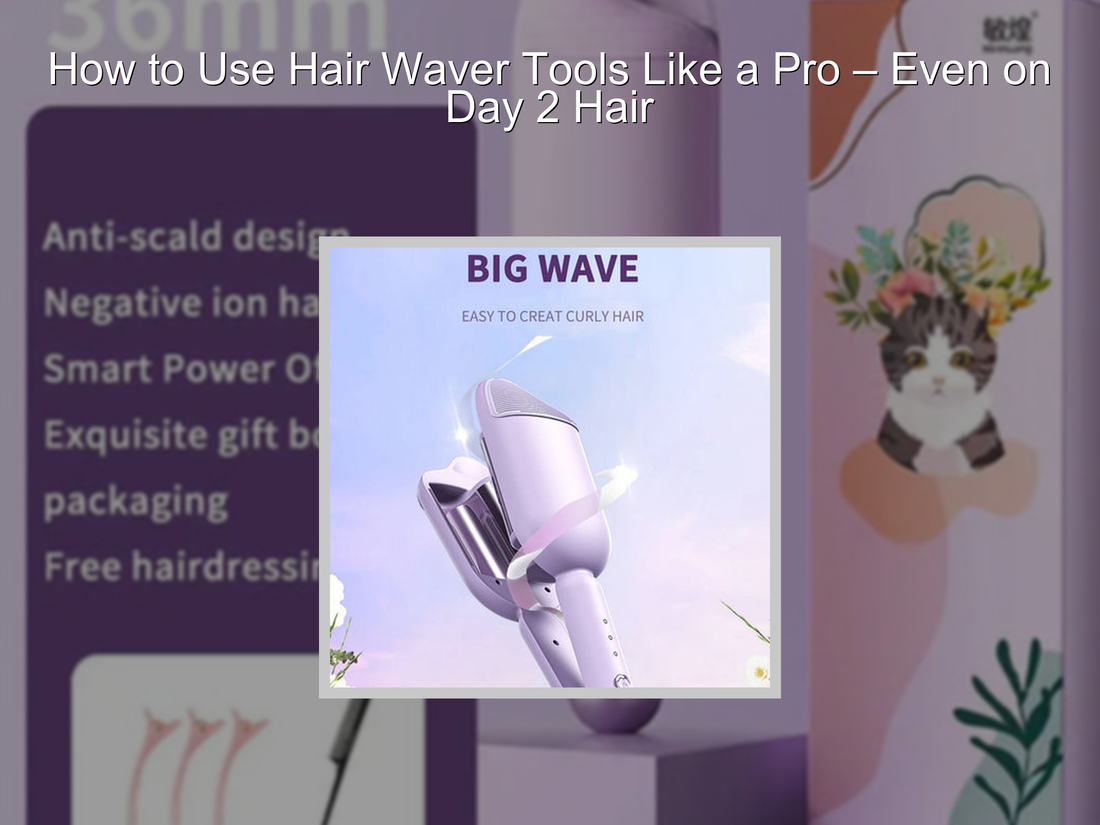
How to Use a Hair Waver: Step-by-Step Tutorial for Perfect Waves
Quick Steps:
- Prep dry, detangled hair
- Apply heat protection
- Section hair evenly
- Clamp and move downward
- Finish, separate, and set waves
Hair waver tools make it easy to create soft beach waves, deep mermaid waves, or textured volume in minutes—even if you're not a professional stylist. Whether you're styling freshly washed strands or refreshing second-day hair, learning how to use a hair waver correctly can transform flat hair into salon-worthy waves with minimal effort.
In this expert guide, you’ll learn exactly how hair waver tools work, how to prepare your hair before styling, and the step-by-step technique professionals use to create consistent waves. You'll also discover techniques for different hair lengths, hair types, troubleshooting common mistakes, and tips for making waves last longer.
⏱ 7 min read
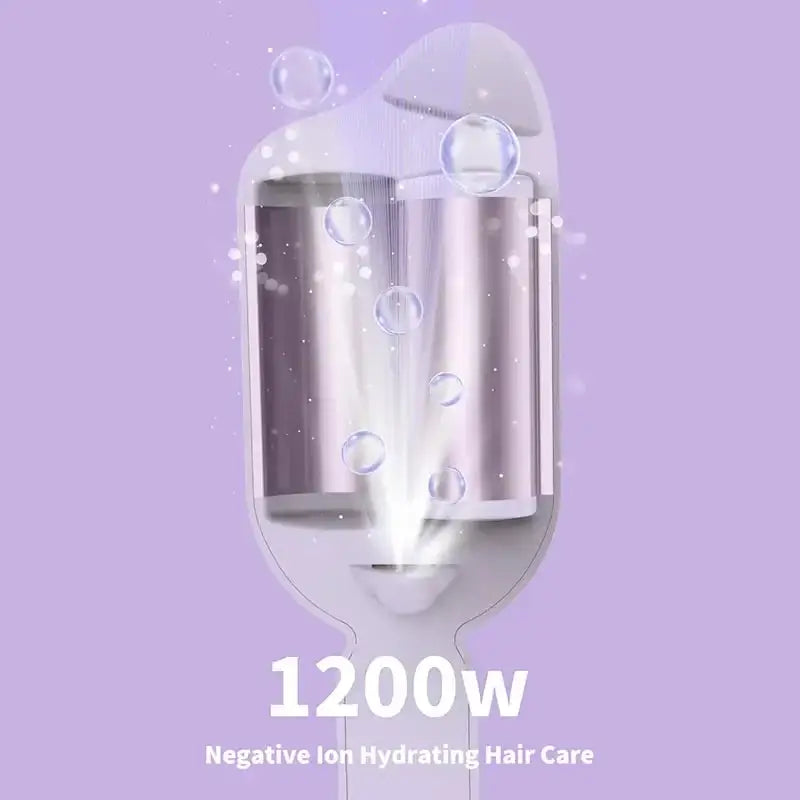
See it in action: hair waver tools transform flat strands into glam waves instantly
What Is a Hair Waver and How Does It Create Waves?
A hair waver is a heated styling tool designed to create uniform S-shaped waves by pressing sections of hair between multiple heated barrels. Unlike a curling iron that wraps hair into curls, a waver creates loose beach waves, mermaid waves, or deeper textured waves depending on the barrel size.
How a Hair Waver Tool Works
A hair waver uses heat and pressure to temporarily reshape the hair strand. The tool clamps sections of hair for a few seconds, creating a wave pattern that can be customized by adjusting the hold time, section size, and styling technique.
Hair Waver vs Curling Iron vs Flat Iron
- Hair waver: Creates uniform waves quickly using a clamp-and-release motion.
- Curling iron: Produces spiral curls by wrapping hair around a heated barrel.
- Flat iron: Can create waves and bends but requires more advanced styling skills.
Because of its simple technique, a hair waver is often considered one of the easiest hot tools for beginners who want consistent results.
Deep Waver vs Regular Hair Waver: What’s the Difference?
A deep waver has larger barrels that create wider, more dramatic waves with a mermaid-inspired finish. A regular hair waver typically creates softer everyday waves that resemble natural beach texture.
- Deep waver: bigger waves, more volume, stronger definition
- Regular waver: softer waves, casual texture, easier daily styling
- Smaller barrels: tighter and more noticeable wave patterns
For more styling inspiration, explore our guides on best hair styling tools, heat styling techniques, and curling tool comparisons throughout our blog collection.
How to Prepare Your Hair Before Using a Hair Waver
Proper preparation helps your waves look smoother, last longer, and reduces unnecessary heat damage. Always start with completely dry hair before using a heated waver tool.
Start With Dry, Detangled Hair
Brush through your hair thoroughly to remove knots before styling. Tangled sections can create uneven waves and prevent the barrels from making full contact with the hair.
Apply Heat Protectant and Styling Products
Apply a heat protectant spray before using a hair waver. For fine hair, a lightweight volumizing mousse or texture spray can improve hold. For thicker hair, a smoothing cream or serum can help reduce frizz and enhance shine.
Always allow products to distribute evenly through the hair before applying heat.
Section Hair for Even Waves
Divide hair into manageable sections using clips. Smaller sections create more defined waves, while larger sections create a softer, more relaxed finish. Consistent sectioning also helps maintain a uniform wave pattern from roots to ends.
You can also improve results by following a consistent hair care routine and using frizz-control techniques between styling sessions.
How to Use a Hair Waver (Step-by-Step Tutorial)
If you're wondering how to use a hair waver tool correctly, follow this professional step-by-step method for smooth, long-lasting waves.
-
Step 1: Choose the Right Heat Setting
Select a temperature based on your hair type. Fine, color-treated, or damaged hair usually performs best with lower heat settings, while thicker hair may require more heat to hold a wave pattern.
-
Step 2: Divide Hair Into Small Sections
Separate your hair into sections before styling. Smaller sections allow the waver to create clearer, more defined waves with even heat distribution.
-
Step 3: Clamp the Hair Waver Near the Roots
Place the waver close to the roots without touching your scalp. Hold the tool in place for several seconds until the wave pattern forms.
-
Step 4: Hold, Release, and Move Down the Section
Release the clamp and move the tool downward. Align the barrels with the previous wave and overlap slightly to create a continuous pattern from roots to ends.
-
Step 5: Finish and Shape Your Waves
Allow waves to cool completely before touching them. Loosen the texture with your fingers or a wide-tooth comb for a softer, more natural finish.
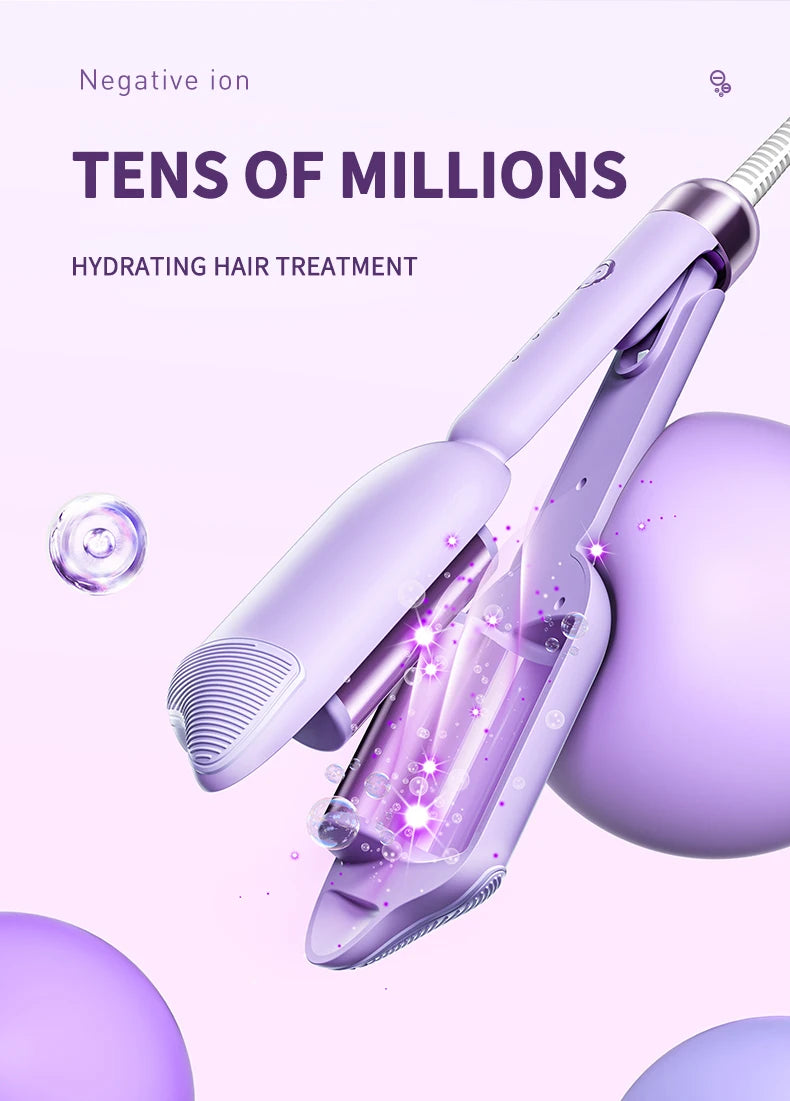
Effortless glam: ceramic curling iron hot tools revive Day 2 hair in minutes
How to Use a Deep Waver for Mermaid Waves
A deep waver creates larger, more dramatic waves by forming deeper curves in the hair. The technique is similar to using a regular hair waver, but section size and placement significantly affect the final look.
How to Create Defined Deep Waves
Work with medium-sized sections and keep the waver aligned horizontally for consistent waves. Repeat the pattern down each section until the entire head is styled.
For extra definition, allow each section to cool before touching it and finish with a lightweight texture spray.
How to Prevent Crimped or Uneven Waves
- Avoid holding the tool too long in one spot
- Keep section sizes consistent throughout styling
- Do not clamp over previously formed waves too aggressively
- Align the barrels carefully when moving down each section
For additional inspiration, explore beach wave tutorials and mermaid hair styling ideas that showcase different deep-wave finishes.
How to Use a Hair Waver on Different Hair Lengths
Short Hair Hair Waver Technique
For short hair, work with smaller sections and begin slightly below the roots. This helps prevent the waves from appearing too tight while maintaining movement and volume.
Medium-Length Hair Waves
Medium-length hair works well with most triple-barrel wavers. Start near the roots and continue the wave pattern down the full length of the hair for balanced texture.
Long Hair Deep Wave Technique
Long hair benefits from smaller, controlled sections. This ensures the wave pattern remains consistent from top to bottom and prevents the ends from looking under-styled.
How to Use a Hair Waver for Different Hair Types
Fine Hair
Use lower heat settings and lightweight styling products. Fine hair often holds waves better when texture spray is applied before styling.
Thick or Coarse Hair
Work in smaller sections to ensure heat reaches every strand. Thick or coarse hair may require a slightly higher temperature and a longer cooling period to lock in the wave pattern.
Curly, Frizzy, or Textured Hair
For smoother waves, blow-dry hair first and apply a frizz-reducing serum. This creates a more polished finish and helps the wave pattern appear more uniform.
Common Hair Waver Mistakes and How to Fix Them
Waves Look Too Tight or Crimped
If waves appear overly defined, gently separate them with your fingers or a wide-tooth comb after they cool. Using larger sections can also create a softer result.
Waves Fall Flat Quickly
Apply a lightweight styling product before waving and use a flexible-hold finishing spray afterward. Smaller sections generally hold their shape longer.
Hair Looks Dry or Frizzy
Excessive heat, lack of moisture, or skipping heat protection can contribute to frizz. Lower the temperature setting and finish with a smoothing serum to improve shine.
Hair Waver Tips for Longer-Lasting Waves
Use the Correct Finishing Products
Lightweight texture spray or flexible-hold styling products can help waves stay defined without making hair stiff or crunchy.
Brush Out Waves for a Natural Look
Wait until the hair cools completely before brushing. Gently separating waves creates a softer, more natural hairstyle with improved movement.
Make Waves Last Overnight
Protect your waves while sleeping by loosely tying your hair back or using a silk or satin pillowcase to reduce friction and preserve the style.
Hair Waver Safety and Tool Care
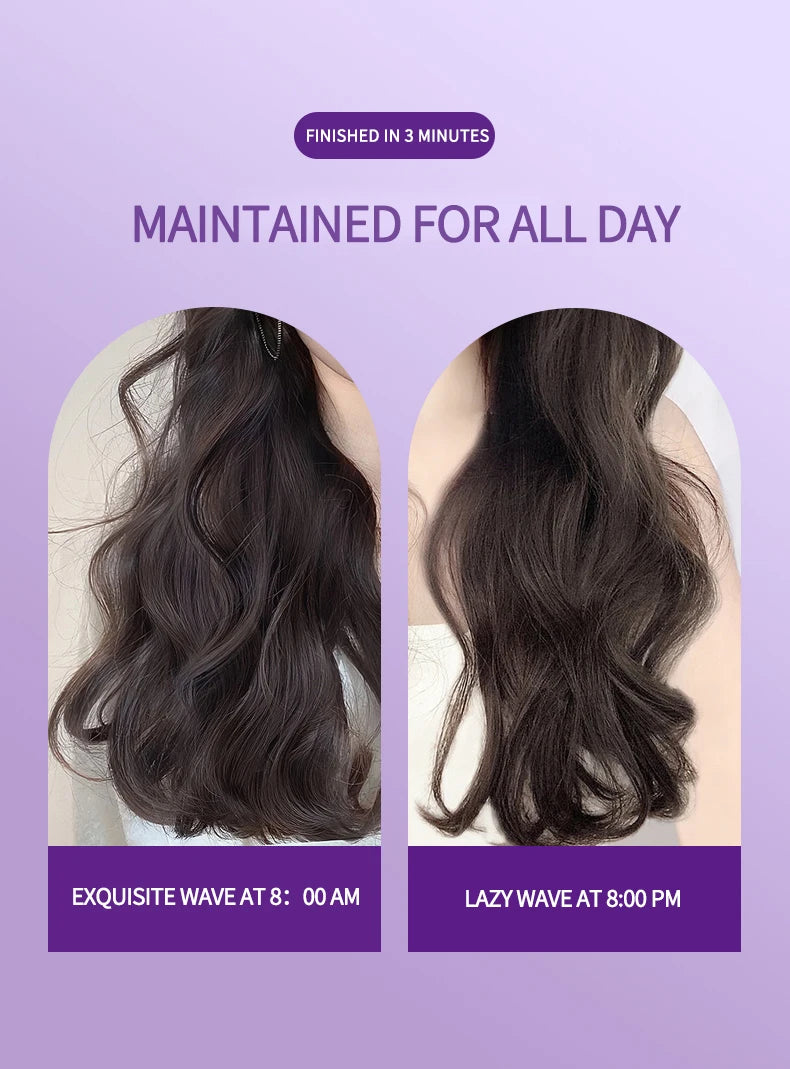
Heat styling made safe: hair waver tools with ceramic barrels reduce frizz and breakage
Avoid Heat Damage
Limit heat styling to a few times per week and always use a heat protectant product. Lower heat settings are often sufficient for creating waves while minimizing stress on the hair cuticle.
Clean Your Hair Waver Properly
Allow the tool to cool completely before cleaning. Use a soft cloth to remove styling product buildup from the barrels and store the tool in a dry location.
FAQ: How to Use a Hair Waver
How long should you hold a hair waver on each section?
Most hair types require holding a hair waver for about 5–8 seconds. Fine hair generally needs less time, while thicker hair may need slightly longer to create a defined wave.
Can you use a hair waver on short hair?
Yes. Hair wavers work well on short hair when you use smaller sections and focus on the mid-lengths rather than placing the tool directly at the roots.
How do you curl hair with a waver?
To create waves using a waver, clamp the tool near the roots, hold briefly, release, and move downward while aligning the barrels with the previous wave pattern.
Can you use a hair waver every day?
Daily heat styling is not recommended for most hair types. Limiting use and applying heat protection before every session helps reduce the risk of dryness and breakage.
What is the difference between a deep waver and regular waver?
A deep waver creates larger, more dramatic mermaid-style waves using larger barrels, while a regular hair waver creates softer, more natural-looking beach waves.
Related Articles:
- How to Use a Ceramic 2 Inch Curling Iron for Natural Waves
- Your Deep Waver Hair Tool Isn’t Working? Try This Fix
- Can a 3 Curler Barrel Actually Save You Styling Time?
- Deep Waver Hair Tutorial for Long Hair (Step-by-Step)
- The Best Way to Use a Waver Hair Tool Without Damaging Hair
Pillar Articles:













