
Share
Nail Dotting Tool How to Use: A Beginner’s Guide to Easy Nail Art
Learning how to use a nail dotting tool is one of the easiest ways to create professional-looking nail art at home. With just a few simple techniques, beginners can design beautiful patterns like polka dots, flowers, hearts, and gradient effects without advanced nail art skills.
This step-by-step nail dotting tool tutorial will show you exactly how to use a dotting tool, how to control dot size, and how to create beginner-friendly designs you can practice right away.
Why Nail Dotting Tools Are a Must-Have for Beginners
A nail dotting tool is one of the easiest nail art tools for beginners because it simplifies complex-looking designs into simple dot patterns. Even if you have no nail art experience, a dotting tool allows you to create detailed designs quickly and consistently.
With a little practice, you can use dotting tools to create:
- Polka dot nail art
- Simple floral nail designs
- Heart patterns and cute accents
- Gradient dot effects
- Galaxy-style nail art
Because dotting tools come in different tip sizes, they also allow you to control the size of each dot. This makes them perfect for beginners who want precise nail art without needing professional brushes.
What Are Manicure Dotting Tools?
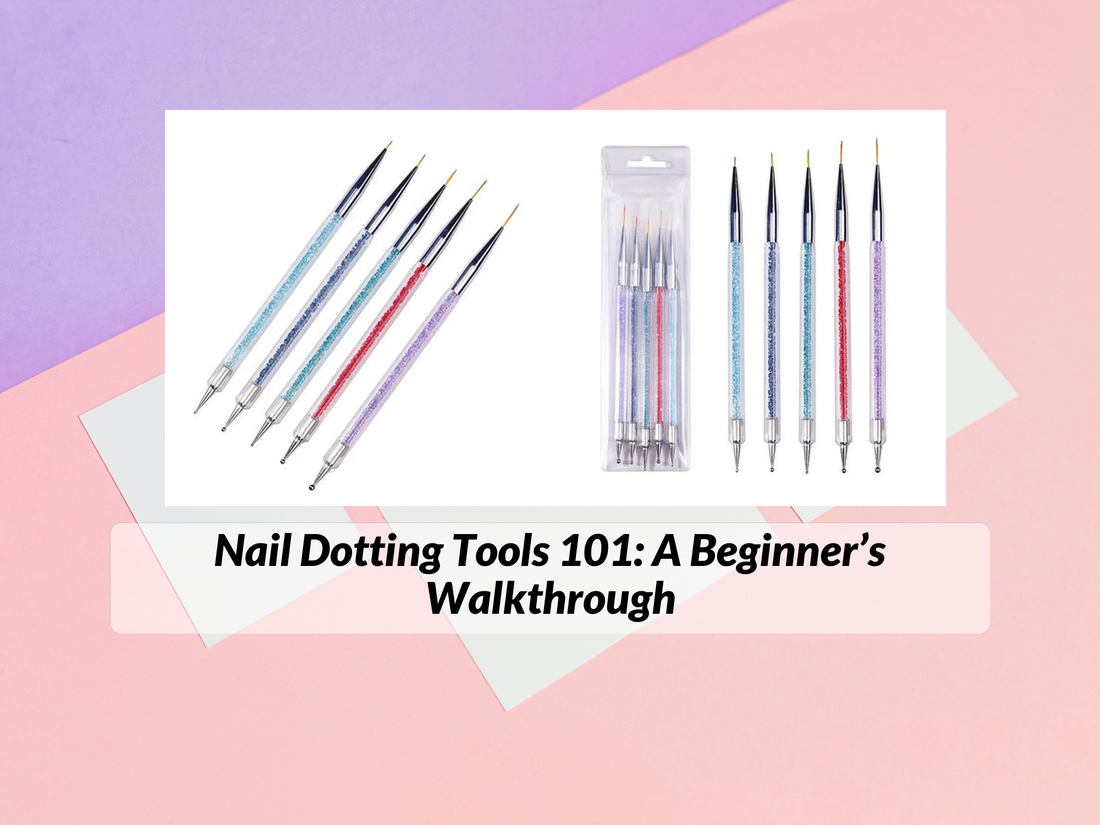
A nail dotting tool is a small manicure tool designed to create perfectly round dots on nails. It typically has a metal ball tip attached to a handle, and many tools feature two different tip sizes on each end.
Each tip size produces a different dot size:
- Small tips: fine details and tiny accents
- Medium tips: flower petals and pattern designs
- Large tips: bold polka dots and statement patterns
Because they are simple to use and very affordable, dotting tools are one of the most popular tools in beginner nail art kits. Many beginners start with a professional dotting tool and nail art brush set, which provides multiple tip sizes for experimenting with different designs.
Beginner Dotting Tool Nail Art: Where to Start
If you’re new to nail art, starting with simple dot-based designs is the easiest way to learn the technique. Before practicing beginner dotting tool nail art, prepare your nails and tools so the polish applies smoothly.
Once your nails are prepped, you can begin practicing basic dotting patterns that gradually build your control and precision.
What You’ll Need:
- Base coat and top coat
- 2–3 nail polish colors
- A dotting tool set
- Nail polish remover and cotton pads
- Foil, paper, or palette for dipping polish
How to Use Dotting Tool for Nail Art – Step-by-Step
- Apply base coat and base color. Let your polish dry completely before starting nail art.
- Place a small drop of polish on a palette. A piece of foil or plastic works well for loading your dotting tool.
- Dip the dotting tool lightly. Coat the metal tip with a small amount of polish.
- Touch the nail gently. Press the tip straight down to create a clean round dot.
- Repeat for patterns. Continue placing dots to create shapes, flowers, or designs.
- Seal with a top coat. Once the design dries, apply a top coat to protect the artwork.
With practice, this simple nail art dotting technique allows you to create detailed designs using only dots.
Nail Art Dotting Technique: How to Control Dot Size and Shape
Mastering dot size control is the key to creating clean and professional-looking nail art.
- Use different tip sizes. Larger tips create bold dots while smaller tips allow fine details.
- Adjust polish amount. More polish creates larger dots, while a lighter dip produces smaller dots.
- Practice pressure control. Pressing harder creates bigger dots; lighter touches produce delicate dots.
- Reload polish frequently. This keeps dots consistent and prevents fading.
Practicing these techniques helps beginners quickly improve their dotting tool nail art results.
Top 5 Easy Nail Art Designs with Dotting Tool
Once you’re comfortable using the tool, try these beginner-friendly nail art ideas that can be created using simple dots.
1. Classic Polka Dots
Use contrasting colors to create playful polka dot nails. Space the dots evenly across the nail or vary the sizes for a fun textured effect.
2. Daisy Flowers
Create a yellow center dot, then add five white dots around it to form petals. This design is one of the most popular beginner nail art looks.
3. Galaxy Nails
Start with a dark base color like navy or black. Add white, silver, and pastel dots of different sizes to mimic stars and cosmic dust.
4. Gradient Dots
Place larger dots near the cuticle and gradually switch to smaller dots toward the nail tip. This creates a subtle gradient effect.
5. Heart Tips
Place two dots side-by-side and gently drag them downward with a small tool to form a heart shape. This design is perfect for romantic or holiday-themed manicures.
Tips for Perfecting Your Technique
- Practice on paper before working on your nails.
- Work with slightly thick polish to keep dots round.
- Allow each layer to dry before adding new dots.
- Use contrasting colors so patterns stand out.
- Start with simple designs before attempting complex patterns.
These small adjustments can dramatically improve your beginner nail art results.
Common Mistakes Beginners Make (And How to Avoid Them)
- Using too much polish: This causes large uneven dots.
- Dragging the tool: Always lift the tool straight up to keep dots round.
- Working on wet polish: Let the base layer dry completely.
- Not cleaning between colors: This can muddy your design.
Avoiding these mistakes will help your nail art look cleaner and more professional.
What to Use If You Don’t Have a Nail Dotting Tool
If you don't have a nail dotting tool yet, you can still create simple nail dotting designs using everyday household items.
- Bobby pins
- Toothpicks
- Ballpoint pens
- Sewing pins
- Hairpins
These alternatives work well for practicing beginner dotting tool nail art until you purchase a professional tool.
How to Clean and Store Your Dotting Tools
Proper maintenance extends the life of your tools and keeps your designs sharp.
- Wipe clean with acetone or nail polish remover after each use.
- Store in a clean, dry place away from dust or direct sunlight.
- Keep them in a pouch or small organizer to avoid losing tips.
Beginner Nail Dotting Designs to Practice Daily
If you're learning how to use a dotting tool, practicing a few simple patterns regularly can help improve your control.
- Single row dots
- Triangle dot patterns
- Flower petals
- Heart shapes
- Dot gradients
Practicing these simple nail dotting designs will quickly improve your precision and creativity.
Frequently Asked Questions About Using a Nail Dotting Tool
How do beginners use a nail dotting tool?
Beginners can use a nail dotting tool by dipping the tip into nail polish and gently pressing it onto the nail surface to create dots or patterns.
What can I use instead of a dotting tool?
You can use household items like toothpicks, bobby pins, or sewing needles to create dot nail art designs.
Do you use wet or dry polish for dotting?
Most designs work best when the base color is fully dry before adding dots.
How do you make different dot sizes?
Use different dotting tool tips, adjust polish amount, or vary the pressure when touching the nail.
Upgrade Your Nail Art Game: Must-Have Tools
Once you're comfortable with dotting techniques, expanding your nail toolkit can help improve results and make nail art easier.
- Electric nail files for smoother nail preparation
- UV or LED lamps for gel manicures
- Cuticle care tools for clean nail edges
Beginners often start with a versatile set like the Kentdo Dotting Tool & Nail Art Brush Set, which includes multiple dotting tips and brushes for experimenting with different nail art styles.
Final Thoughts: Confidence Starts with Creativity
Learning nail dotting tool techniques is one of the easiest ways to begin your nail art journey. With simple tools and a little practice, you can create beautiful designs that look professionally done.
Start with basic dot patterns, experiment with color combinations, and gradually explore more creative designs. Over time, you'll develop the precision and confidence needed to turn simple dots into stunning nail art.
Pillar Article: The Ultimate How-To Guide: Using Dotting Tools for Salon-Quality Nail Art
Other Related Articles:


