

The dental resin composite procedure delivers smooth, predictable restorations when you use the right dental composite resin ingredients, proper composite filling procedure instruments, and an organized composite set up. Following step-by-step best practices ensures longer-lasting results, faster chair time, and a patient-friendly experience every time.
Your Quick Guide to Dental Resin Composite Procedure for Success
⏱ 8 min read
Mastering a dental resin composite procedure starts with understanding the right materials, instruments, and workflow. Struggling with unclear steps or inconsistent results is common, even for experienced dentists. This guide reveals actionable strategies to streamline your composite restorations, enhance precision, and minimize patient chair time.
💡 Master the dental resin composite procedure using the right resin ingredients & instruments — See it in action!
Why Use a Dental Resin Composite Procedure?
The dental resin composite procedure allows minimally invasive restorations with excellent esthetic results. Unlike traditional amalgams, composites bond to tooth structure, preserving more enamel while providing a natural-looking finish. Dentists benefit from predictable handling, reduced post-op sensitivity, and improved patient satisfaction.
Key Benefits at a Glance:
- ✅ Preserves natural tooth structure
- ✅ Provides long-lasting, esthetic results
- ✅ Minimizes chair time with efficient workflow
- ✅ Allows customization of shade and layering
- ✅ Compatible with modern adhesive systems
Essential Dental Composite Resin Ingredients
Understanding dental composite resin ingredients is critical for success. A high-quality resin ensures smooth application, proper curing, and longevity.
- Bis-GMA / UDMA: Base resin providing strength and durability.
- Inorganic Fillers: Silica or glass particles that enhance polishability and wear resistance.
- Photoinitiators: Initiate polymerization when exposed to curing light.
- Modifiers & Coupling Agents: Improve handling and adhesion to tooth surfaces.
- Pigments & Opacifiers: Allow shade matching to natural teeth.
Knowing your resin components helps predict behavior during layering, sculpting, and finishing, reducing errors and revisions.
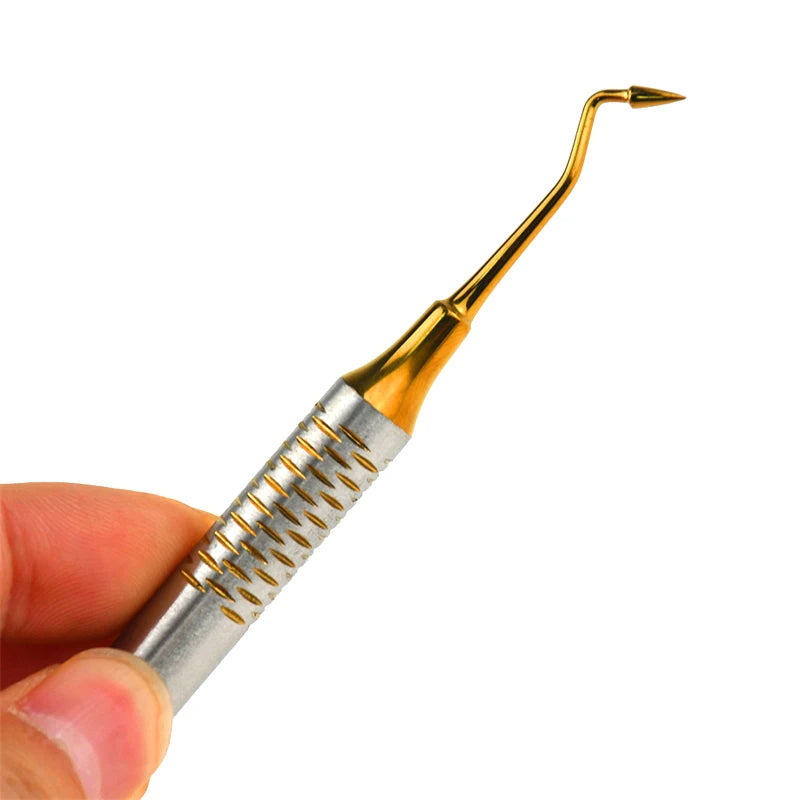
Choosing the Right Composite Filling Procedure Instruments
Selecting precise composite filling procedure instruments is as important as choosing the resin. Instruments affect adaptation, shaping, and final polish.
- Sculpting instruments (e.g., gold-plated, titanium) for fine margins
- Condenser or plugger tools for incremental placement
- Microbrushes for adhesive application
- Finishing and polishing tips for smooth surfaces
💡 Tip: Keep instruments organized by size and function for seamless transitions during the procedure.
Optimal Composite Set Up for Efficiency
Having an organized composite set up streamlines your workflow and reduces mistakes. Arrange instruments, curing lights, and resin shades within easy reach.
- Pre-select resin shades for the patient’s tooth
- Use a compact instrument tray for accessibility
- Ensure curing light is positioned correctly
- Keep cotton rolls, wedges, and matrix bands ready
- Label composite syringes for quick identification
💡 Perfect your composite set up for smoother dental resin composite procedures — Ready to try?
Step-by-Step Dental Resin Composite Procedure
Which style suits you best? Read on for a clear, repeatable workflow that ensures excellent results.
- Isolation: Use rubber dam or cotton rolls to prevent contamination.
- Tooth Preparation: Remove decay conservatively, preserving enamel.
- Etching & Bonding: Apply phosphoric acid, rinse, dry, then use adhesive.
- Composite Placement: Place incrementally using proper instruments; avoid air bubbles.
- Shaping & Sculpting: Contour with titanium instruments to replicate natural anatomy.
- Curing: Light-cure each layer according to manufacturer instructions.
- Finishing & Polishing: Use finishing burs, discs, and polishing paste for smooth, esthetic surface.
- Final Check: Verify occlusion, margins, and patient comfort.
Pro Tips & Common Mistakes to Avoid
- ✅ Avoid over-drying the dentin to reduce sensitivity
- ✅ Incremental layering prevents shrinkage and voids
- ✅ Keep instruments clean to prevent resin sticking
- ✅ Match resin shade in natural light for better esthetics
- ❌ Don’t skip curing steps—partial polymerization weakens restoration
- ❌ Avoid excessive finishing immediately after curing—wait a few minutes
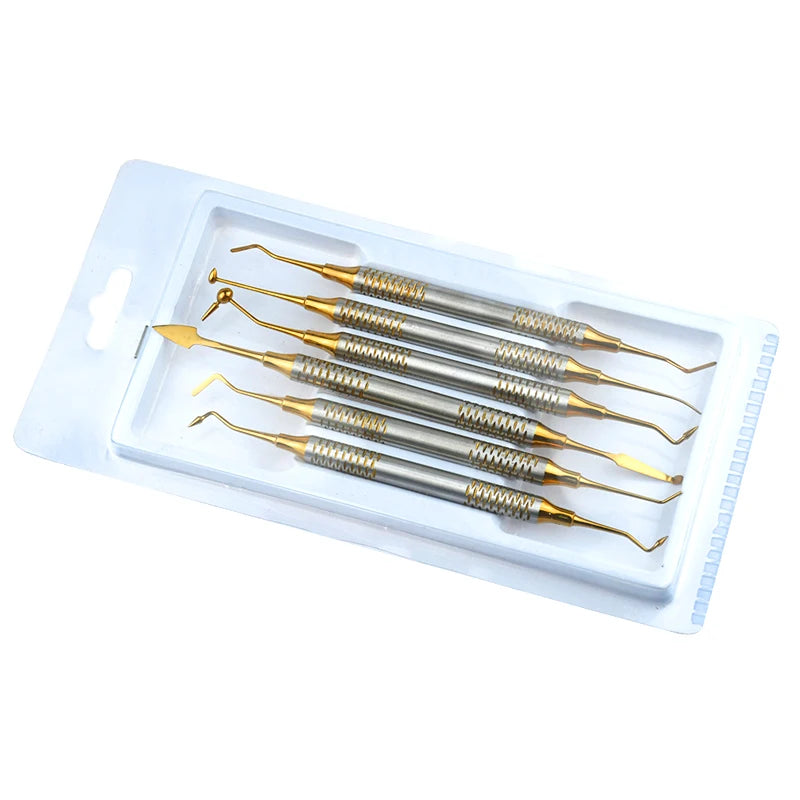
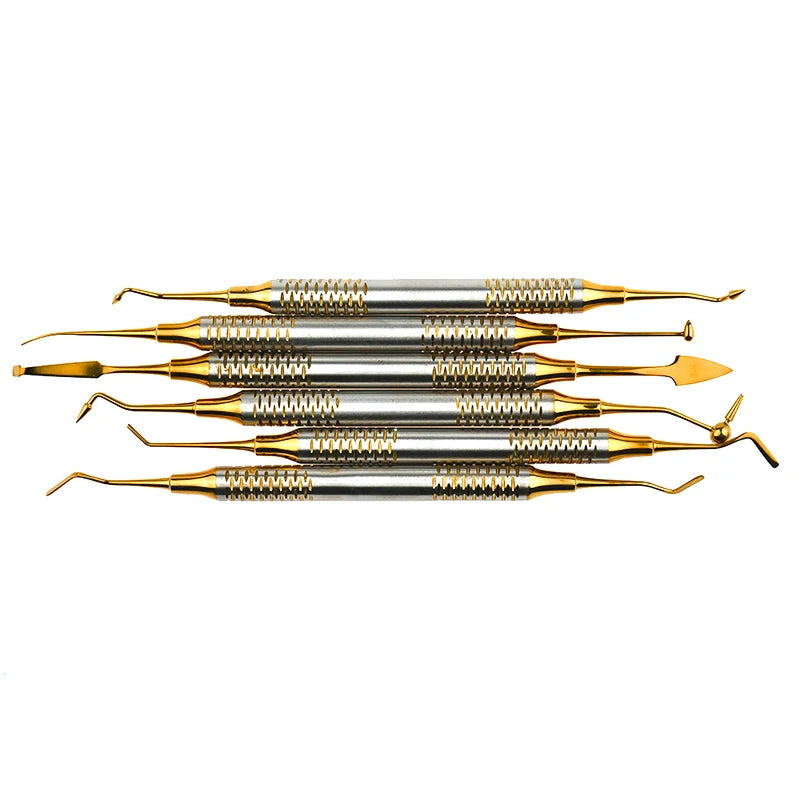
Product Recommendation & Comparison
For dentists aiming to streamline their workflow, the KentDO Dental Composite Filling Set offers a complete kit of precision instruments. This set simplifies placement, sculpting, and finishing.
| Feature | KentDO Composite Set | Standard Instruments |
|---|---|---|
| Material | Titanium | Stainless steel |
| Number of Tools | 6 | Varies |
| Ergonomic Design | Yes | Limited |
| Patient Comfort | High (precision tips) | Moderate |
| Price | $$$ | $ |
💡 Ensure precise, patient-friendly results with the KentDO dental resin composite procedure kit — Grab yours now!
Mini FAQ
What is a dental resin composite procedure?
It is a minimally invasive restoration technique where composite resin materials are bonded to tooth structure to repair cavities or defects while preserving natural enamel.
Which instruments are essential for composite placement?
Key instruments include titanium sculpting tools, condensers, microbrushes for adhesive application, and polishing tips for finishing surfaces.
How can I reduce composite shrinkage?
Use incremental layering, avoid over-curing in one step, and select high-quality resin composites with proper filler content.
Pillar Article: How to Use a Dental Cavity Repair Kit Safely at Home (Step-by-Step)


