

Hand Rehabilitation Exercises: Step-by-Step Guide for Recovery, Strength & Mobility
⏱ 7 min read
Recovering hand strength, flexibility, and coordination after an injury, surgery, or neurological condition takes patience and consistent practice. The right hand rehabilitation exercises can improve mobility, rebuild grip strength, restore dexterity, and make everyday tasks easier over time. This guide explains evidence-based hand therapy exercises, stage-based recovery plans, and when assistive rehabilitation tools may help support safe progress at home.
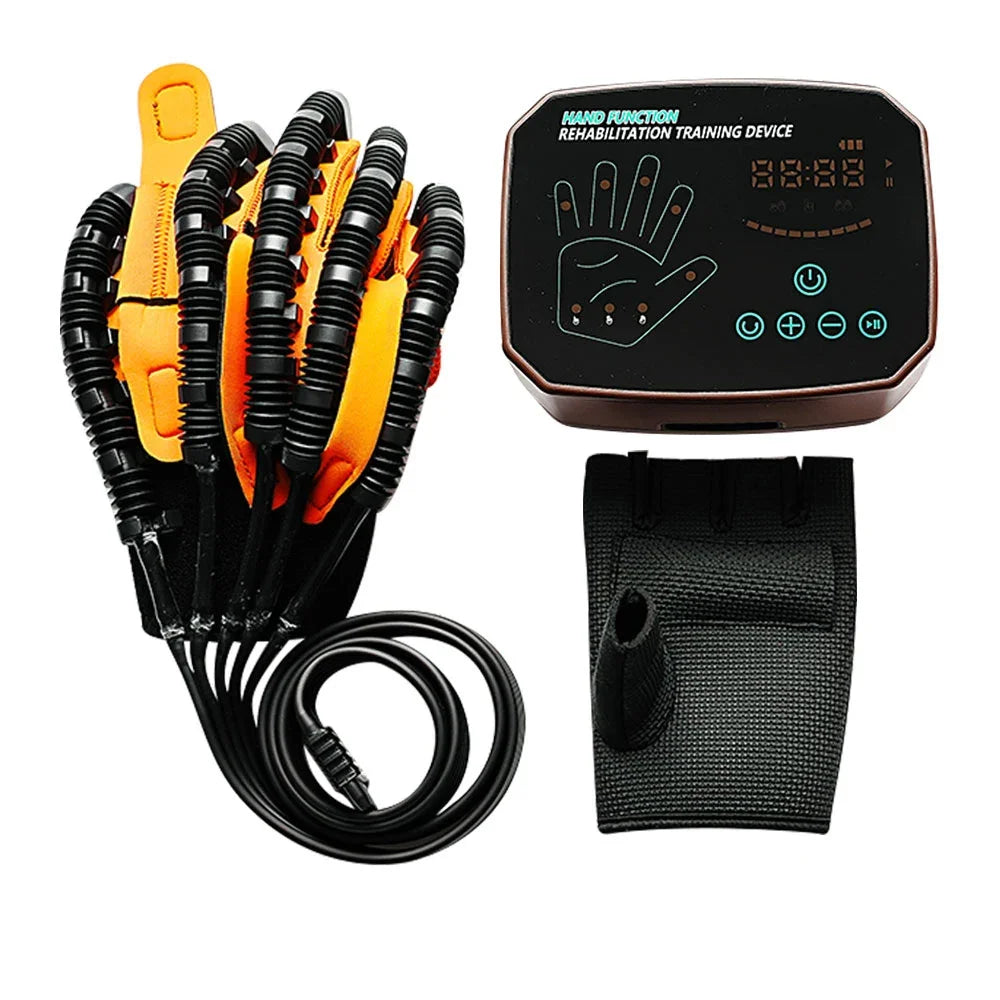
Hand rehab tool supporting daily recovery. See it in action.
What Are Hand Rehabilitation Exercises?
Hand rehabilitation exercises are structured movements that help restore hand function after injury, surgery, or neurological conditions. A complete rehabilitation program typically targets four key areas: restoring joint mobility, rebuilding muscle strength, improving finger dexterity, and retraining coordination needed for everyday activities such as writing, buttoning clothes, opening jars, and gripping objects.
Whether you're recovering from a stroke, tendon repair, fracture, or arthritis flare-up, consistent hand rehab exercises encourage gradual improvements while helping reduce stiffness and maintain healthy movement patterns. Recovery timelines vary depending on the underlying condition, but performing appropriate exercises regularly is often more effective than occasional intensive sessions.
Who Needs Hand Rehab?
Hand therapy exercises may benefit anyone experiencing reduced hand function due to injury, illness, or prolonged immobilization. Common candidates include people recovering from:
- Stroke with weakness or limited hand mobility
- Tendon, ligament, or nerve injuries
- Hand, wrist, or finger fractures after medical clearance
- Post-operative stiffness following hand surgery
- Arthritis affecting grip strength and joint movement
- Extended casting or splinting that reduced mobility
Common Conditions Treated
Although every rehabilitation plan should be tailored to the individual, hand rehabilitation exercises are commonly incorporated into recovery programs for:
- Stroke rehabilitation and neurological recovery
- Flexor and extensor tendon injuries
- Peripheral nerve injuries
- Trigger finger and overuse injuries
- Osteoarthritis and rheumatoid arthritis
- Post-fracture stiffness of the hand or wrist
- Reduced grip strength caused by prolonged inactivity
Benefits of Consistent Hand Therapy
Regular practice helps the body adapt gradually while minimizing unnecessary strain. When performed correctly and progressed appropriately, hand rehabilitation exercises can:
- Increase finger and wrist range of motion
- Improve hand mobility and overall flexibility
- Restore grip and pinch strength
- Enhance fine motor control and dexterity
- Reduce stiffness associated with inactivity
- Support better coordination during everyday tasks
- Improve confidence and independence throughout recovery
Does a Hand Rehab Tool Really Work?
Yes. Hand rehabilitation tools can complement a structured exercise program by providing guided assistance, controlled resistance, and high-repetition practice. They do not replace therapeutic exercise, but they can make it easier to perform consistent training, particularly for people recovering from stroke, nerve injuries, or significant hand weakness.
When Tools Help vs When Exercises Alone Are Enough
- Hand therapy tools are most helpful when: hand mobility is limited, grip strength is significantly reduced, repetitive assisted movement is needed, or motivation improves with guided training.
- Exercises alone may be sufficient when: joint mobility has largely returned, strength deficits are mild, and the primary goal is maintaining flexibility or gradually improving endurance.
For many people browsing Body Care and Health Devices, combining structured hand therapy exercises with appropriate rehabilitation equipment provides a practical approach to home-based recovery while complementing advice from a healthcare professional.
Beginner to Advanced Hand Rehabilitation Exercise Plan
Recovery is typically most successful when exercises progress in stages instead of advancing too quickly. Move to the next phase only when you can complete the previous exercises with good control, minimal discomfort, and no lasting increase in pain or swelling.
Phase 1: Early Mobility
Goal: Restore comfortable movement and reduce stiffness.
This stage focuses on gentle, assisted movements with low repetition and slow control.
- Assisted finger bends using the opposite hand
- Passive stretching for fingers and thumb
- Table-supported finger lifts
- Gentle wrist range-of-motion exercises
Suggested dosage: 1–2 sets of 8–10 repetitions once or twice daily.
Phase 2: Active Motion
Goal: Regain independent movement and improve coordination.
- Active finger opening and closing
- Finger tapping patterns
- Thumb-to-fingertip opposition drills
- Light object pickups using household items
Progress when: movements are smooth and can be completed without compensating with the shoulder or opposite hand.
Phase 3: Strength & Coordination
Goal: Build functional strength while maintaining mobility.
- Soft therapy ball squeezes
- Rubber band finger extensions
- Light therapy putty exercises
- Pinch grip drills
Suggested dosage: 2–3 sets of 10–15 repetitions, allowing adequate rest between sets.
Phase 4: Functional Recovery
Goal: Return to everyday activities requiring grip, dexterity, and endurance.
- Grip trainers or therapy putty exercises
- Pinch strength variations
- Object manipulation using coins, buttons, or cards
- Functional household tasks that challenge coordination
At this stage, hand strengthening exercises should closely resemble real-world movements while remaining comfortable and controlled. Progress resistance gradually rather than increasing repetitions and resistance simultaneously.
Step-by-Step Hand Rehabilitation Exercises (Follow Along)
Perform each exercise slowly using controlled movements rather than speed. Unless your therapist recommends otherwise, complete 1–3 sets with a brief rest between exercises. Stop if you experience sharp pain, increasing numbness, or significant swelling.
Finger Lifts & Extensions
Purpose: Improves finger independence, extension strength, and coordination.
- Place your hand flat on a table with your fingers comfortably spread.
- Lift one finger at a time while keeping the remaining fingers on the surface.
- Hold for 2–3 seconds before lowering slowly.
- Repeat 8–10 repetitions for each finger.
Avoid: Lifting the wrist or rotating the hand to compensate.
Tendon Glides
Purpose: Promotes smooth tendon movement and helps reduce stiffness after injury or surgery.
- Begin with your fingers straight.
- Form a hook fist, then return to the starting position.
- Make a full fist before reopening the hand completely.
- Perform 5–10 slow cycles.
Finger Spreads
Purpose: Strengthens the muscles responsible for finger abduction and improves hand stability.
- Place your hand flat on a table.
- Spread your fingers apart as far as comfortable.
- Hold for 3 seconds.
- Relax and repeat 10–15 times.
Finger Walking
Purpose: Builds dexterity and fine motor control.
- Place your hand on a tabletop.
- Walk your fingers forward using small alternating movements.
- Reverse the direction to return.
- Repeat for 30–60 seconds.
Fist Formation & Release
Purpose: Restores full finger flexion and extension while improving circulation.
- Start with your fingers fully extended.
- Slowly curl your fingers into a gentle fist.
- Hold for 3 seconds.
- Open the hand completely and spread the fingers.
- Repeat 10–15 repetitions.
Avoid: Squeezing tightly if pain or swelling increases.
Thumb Opposition
Purpose: Improves thumb mobility and precision needed for grasping objects.
- Touch your thumb to the tip of each finger.
- Pause for 1–2 seconds with each contact.
- Return to the starting position.
- Complete 10 full cycles.
Finger Pinch Variations
Purpose: Strengthens pinch grip used for everyday activities.
- Pinch a soft foam block or therapy putty between your thumb and index finger.
- Repeat with the middle, ring, and little fingers.
- Hold each pinch for 3–5 seconds.
- Perform 8–12 repetitions for each finger.
Grip Strength Squeeze
Purpose: Improves overall grip strength and muscular endurance.
- Hold a soft therapy ball or hand exerciser.
- Squeeze comfortably without causing pain.
- Hold for 3–5 seconds.
- Release slowly.
- Repeat 10–15 repetitions.
Rubber Band Extensions
Purpose: Strengthens finger extensors that are often weaker than the gripping muscles.
- Place a light resistance band around your fingers.
- Open your fingers against the resistance.
- Hold for 2 seconds.
- Return slowly and repeat 10–15 times.
Wrist Flexion & Extension
Purpose: Restores wrist mobility and supports stronger hand function.
- Rest your forearm on a table with your hand over the edge.
- Slowly bend the wrist upward.
- Lower through a comfortable range.
- Repeat 10–15 controlled repetitions.
Pronation & Supination
Purpose: Improves forearm rotation needed for turning keys, opening doors, and using utensils.
- Keep your elbow at your side and bent to 90 degrees.
- Rotate your palm upward.
- Rotate your palm downward.
- Perform 10–15 slow repetitions.
Dexterity & Object Transfer
Purpose: Improves fine motor skills and functional hand control.
- Pick up small objects such as coins, buttons, or blocks.
- Transfer each item into a container.
- Repeat using different finger combinations.
- Continue for 2–5 minutes.
Hand Rehabilitation Exercises for Specific Conditions
Stroke Hand Exercises
Stroke hand exercises emphasize repetitive, task-specific practice to encourage neuroplasticity. Begin with assisted movement if active control is limited, then gradually progress toward independent motion.
- Guided finger opening and closing
- Mirror therapy sessions
- Assisted grasp-and-release practice
- Thumb opposition exercises
- Light object transfer activities
Hand Recovery After Stroke Progression
Recovery generally progresses from passive range of motion to active movement, followed by strengthening and functional task practice. Advance only when movements can be completed smoothly without excessive fatigue or increased muscle tone.
Tendon & Nerve Injury
Recovery after tendon or nerve injury requires careful progression and should follow the timeline recommended by your surgeon or therapist.
- Tendon gliding exercises
- Gentle range-of-motion drills
- Light resistance only after medical clearance
- Gradual return to gripping activities
Fracture Recovery
After immobilization, the initial goal is restoring joint motion before focusing on strength. Start with gentle mobility exercises and increase resistance gradually once healing has been confirmed.
- Finger and wrist mobility exercises
- Gentle grip strengthening
- Functional reaching and grasping tasks
Arthritis
People with arthritis often benefit from shorter exercise sessions performed consistently. Warm joints before exercising and avoid forceful gripping during painful flare-ups.
- Warm-up stretches
- Gentle range-of-motion exercises
- Soft grip squeezes
- Light finger spread exercises
Carpal Tunnel & Trigger Finger
Exercises for these conditions should emphasize mobility without aggravating symptoms. If numbness, locking, or severe pain worsens, seek medical advice before continuing.
- Median nerve gliding exercises when prescribed
- Gentle tendon glides
- Light wrist mobility exercises
- Frequent movement breaks during repetitive activities
Hand Therapy Tools and Equipment
When Tools Help
Hand therapy tools are most useful when additional resistance, guided movement, or higher repetition is needed to complement a structured exercise program. They work best alongside consistent hand rehabilitation exercises rather than as a replacement for them.
Best Tools for Hand Rehabilitation
- Grip strength trainers
- Therapy putty
- Finger resistance bands
- Therapy balls
- Robotic or assisted movement devices
Household Alternatives
- Rolled towels for gentle squeezing
- Rubber bands for finger extension
- Coins or marbles for dexterity drills
- Clothespins for light pinch-strength practice
Choosing the Right Resistance
Start with resistance that allows controlled movement while maintaining proper technique. If you cannot complete your target repetitions without compensating or increasing pain, reduce the resistance and progress gradually over time.
A simple home routine may include 5 minutes of mobility exercises, 10–15 minutes of strengthening, and 5 minutes of functional practice. Consistency remains more important than high intensity.
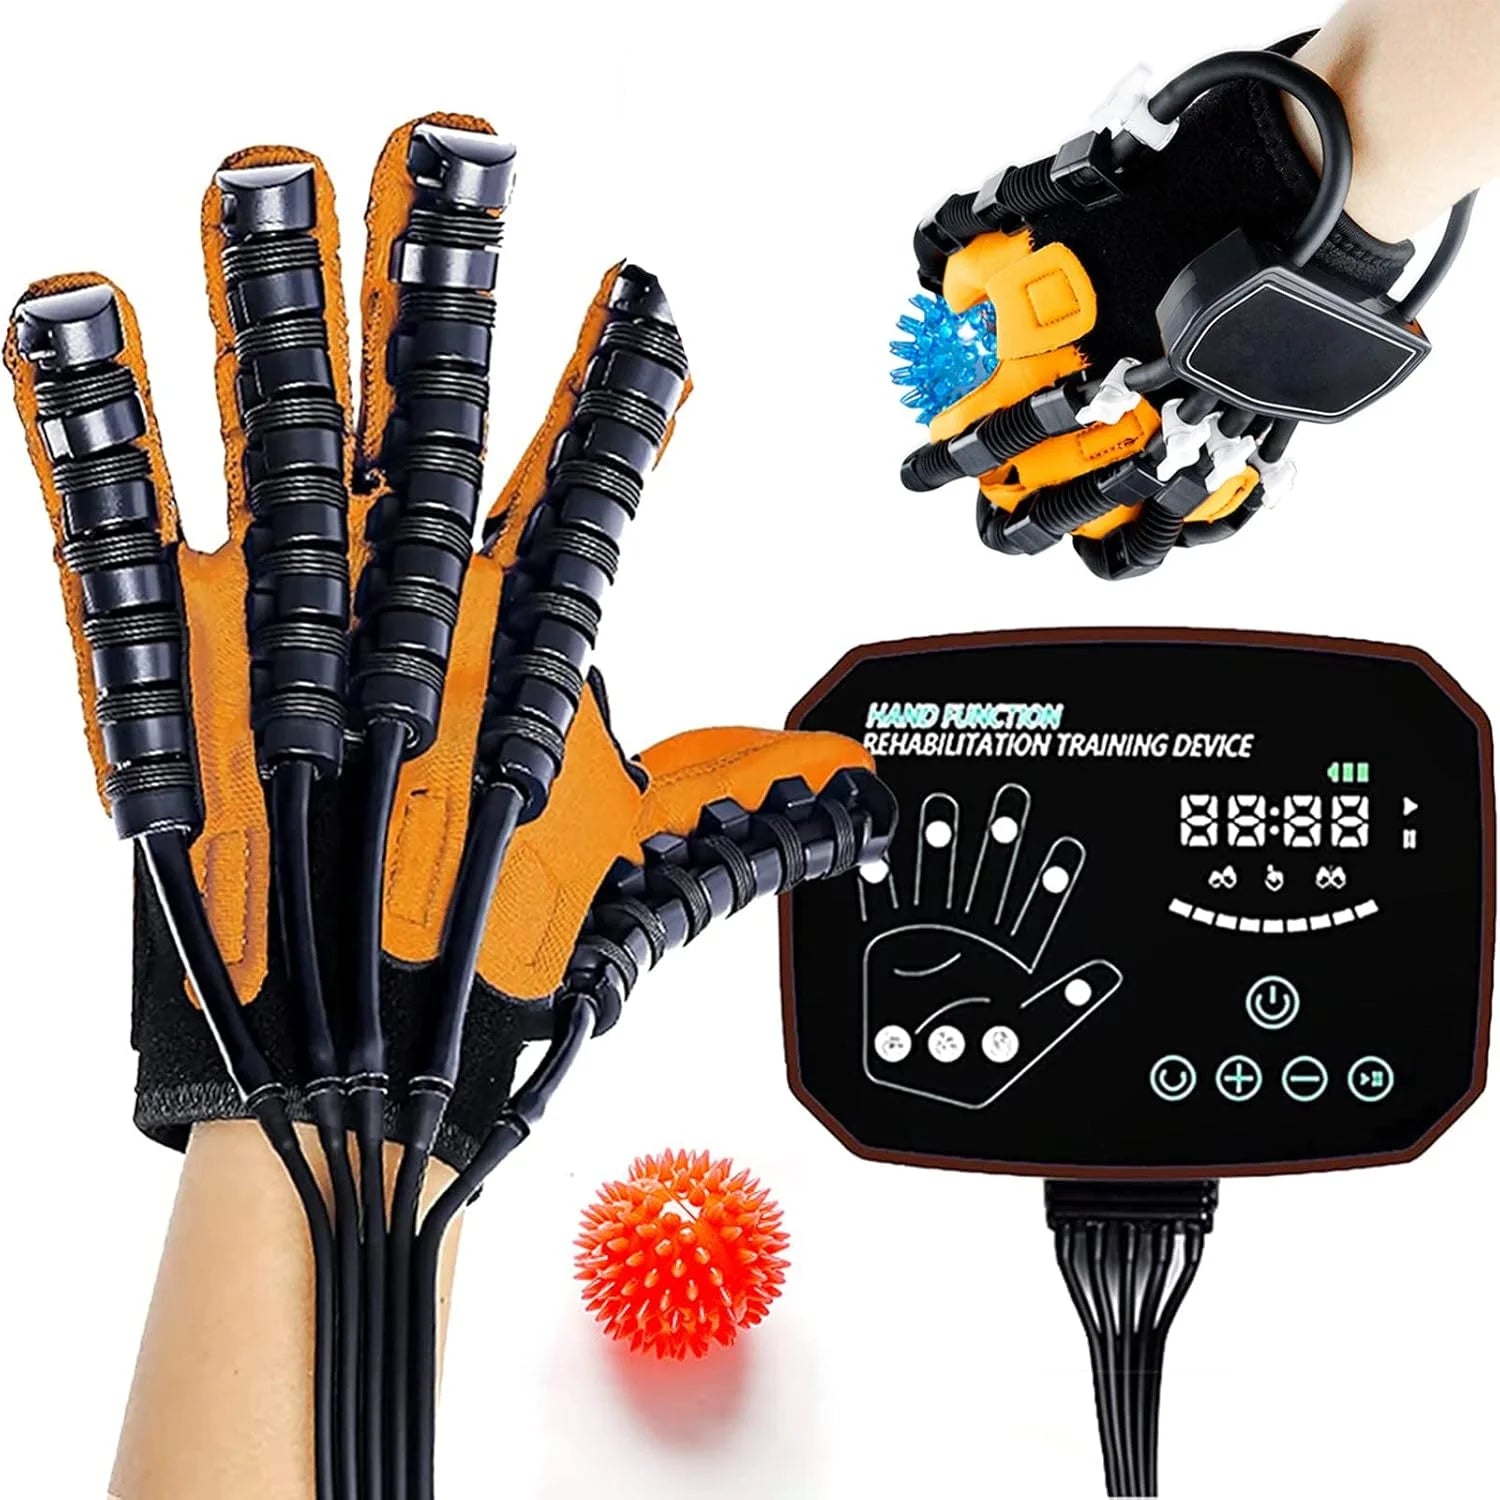
Hand therapy tools improving coordination. Mid-recovery progress.
Recovery Timeline and Progress Tracking
Weekly Milestones
Recovery speed varies depending on your diagnosis, age, overall health, and consistency with your exercise program. Rather than comparing your progress with others, focus on gradual improvements in comfort, movement quality, and daily function.
- Weeks 1–2: Reduced stiffness, improved range of motion, and greater comfort performing gentle exercises.
- Weeks 3–6: Noticeable improvements in grip endurance, finger coordination, and light functional tasks.
- Weeks 6–12: Increased strength, better dexterity, and greater confidence during everyday activities.
- Beyond 12 weeks: Continued gains through progressive strengthening and task-specific practice when appropriate.
Grip Strength Tests
Monitor grip strength using the same object or hand exerciser every one to two weeks. Improvements may include:
- Holding a squeeze for a longer period
- Completing more repetitions without fatigue
- Using slightly greater resistance with good technique
- Experiencing less discomfort during gripping activities
Dexterity Checks
Simple household tasks provide useful indicators of functional recovery. Track your ability to:
- Button a shirt or zip a jacket
- Pick up coins or small objects
- Write comfortably for several minutes
- Open containers safely
- Use eating utensils with improved control
When to Progress
Increase repetitions, resistance, or exercise complexity only when you can complete your current routine with controlled movement, minimal fatigue, and no increase in pain or swelling lasting into the next day. Progress only one training variable at a time.

Hand rehab tool for grip strength recovery. Functional improvement.
Safety Tips: Avoid Injury During Hand Rehab
Perform hand rehabilitation exercises with slow, controlled movements and adequate rest between sessions. Good technique and consistent practice produce better long-term results than exercising with excessive intensity.
Common Mistakes
- Progressing resistance too quickly
- Performing exercises through sharp pain
- Skipping warm-up mobility exercises
- Holding your breath while gripping
- Using fast, jerky movements instead of controlled repetitions
- Ignoring persistent swelling after training
Warning Signs to Stop
Stop exercising and seek medical advice if you experience any of the following:
- Sharp or worsening pain during movement
- Significant swelling that persists after exercise
- New numbness or tingling
- Loss of coordination or sudden weakness
- Redness, excessive warmth, or signs of infection after surgery
Safe Progression Guidelines
- Begin with low resistance and increase gradually.
- Maintain smooth, controlled movements throughout each repetition.
- Allow adequate recovery between strengthening sessions.
- Reduce exercise volume temporarily if soreness lasts longer than 24 hours.
- Prioritize consistent daily mobility work over occasional high-intensity workouts.
If your symptoms continue to worsen, your hand function declines, or you are not making measurable progress after several weeks of consistent training, consult an occupational therapist, certified hand therapist, or your healthcare provider for an individualized rehabilitation program.
Printable Daily Hand Rehabilitation Routine
10-Minute Beginner Plan
- 2 minutes: Gentle finger and wrist mobility
- 3 minutes: Finger lifts and thumb opposition
- 3 minutes: Tendon glides and fist formation exercises
- 2 minutes: Light grip or pinch practice
20-Minute Progressive Routine
- 5 minutes: Warm-up and mobility exercises
- 5 minutes: Finger coordination and dexterity drills
- 5 minutes: Grip strengthening and resistance exercises
- 5 minutes: Functional activities using everyday objects
Weekly Schedule
- Monday–Friday: Full rehabilitation routine
- Saturday: Mobility and light functional practice
- Sunday: Gentle stretching, recovery, and progress assessment
Print or save this routine and record your repetitions, resistance level, and comfort after each session. Tracking small improvements over time can help maintain motivation while ensuring your exercises continue to progress safely.
Frequently Asked Questions
How long before I see results?
Many people notice small improvements in hand mobility within 2–4 weeks of consistent daily practice. More significant gains in grip strength, dexterity, and functional use often require several weeks to a few months, depending on your condition, the severity of the injury, and how consistently you follow your rehabilitation program.
How often should I do hand rehab exercises?
Mobility and range-of-motion exercises are commonly performed every day, while strengthening exercises are often completed 3–5 times per week or according to your therapist's recommendations. Always follow the program prescribed for your specific condition.
Can I exercise if my hand is swollen?
Mild swelling may improve with gentle range-of-motion exercises, but you should avoid aggressive strengthening if swelling increases during or after exercise. If swelling is severe, accompanied by significant pain, redness, or loss of movement, consult your healthcare provider before continuing.
Which exercises improve grip strength fastest?
Grip strength typically improves through progressive resistance rather than any single exercise. Therapy ball squeezes, therapy putty exercises, finger pinch drills, rubber band extensions, and functional gripping tasks provide the best long-term improvements when combined with mobility exercises.
What are the best tools for hand rehabilitation?
Commonly recommended hand therapy tools include therapy putty, grip strength trainers, finger resistance bands, therapy balls, and assisted movement devices. The best option depends on your stage of recovery, current strength, and rehabilitation goals.
Can these exercises replace occupational therapy?
Home hand rehabilitation exercises are an important part of recovery but should not completely replace occupational or hand therapy for complex injuries, recent surgery, severe neurological conditions, or persistent loss of function. Professional assessment helps ensure your exercises remain appropriate as your recovery progresses.
Which exercises are safest after stroke?
Stroke hand exercises should begin with gentle, repetitive movements such as assisted finger opening, thumb opposition, mirror therapy, and grasp-and-release practice. Progress gradually under the guidance of your rehabilitation team whenever possible.
How do I know I'm progressing?
Signs of improvement include greater range of motion, stronger grip, reduced stiffness, easier performance of daily activities, and the ability to complete more repetitions or slightly higher resistance without increasing pain. Tracking these milestones weekly can help you measure meaningful progress.
Related Guide: Hand Rehab Equipment Review: Real Results













