

How to Analyze Facial Skin: A Step-by-Step Guide
Learning how to analyze facial skin is about more than deciding whether your skin is oily, dry, or combination. A useful facial skin analysis looks at several factors at the same time, including oil production, hydration, sensitivity, texture, pores, pigmentation, and breakouts. Because these characteristics can vary across the face and change over time, a systematic approach is more useful than a one-time skin-type quiz.
This guide shows you how to perform a repeatable facial skin analysis at home, how to separate your baseline skin type from temporary skin conditions, how to record changes by facial zone, and when professional skin analysis or digital imaging may provide additional information.
What Is Facial Skin Analysis?
Facial skin analysis is a structured assessment of the appearance and condition of facial skin. Depending on the method, it can involve visual observation, touch, magnification, imaging, or digital analysis. The goal is to identify patterns that may help guide general skincare decisions rather than to diagnose a medical skin disorder.
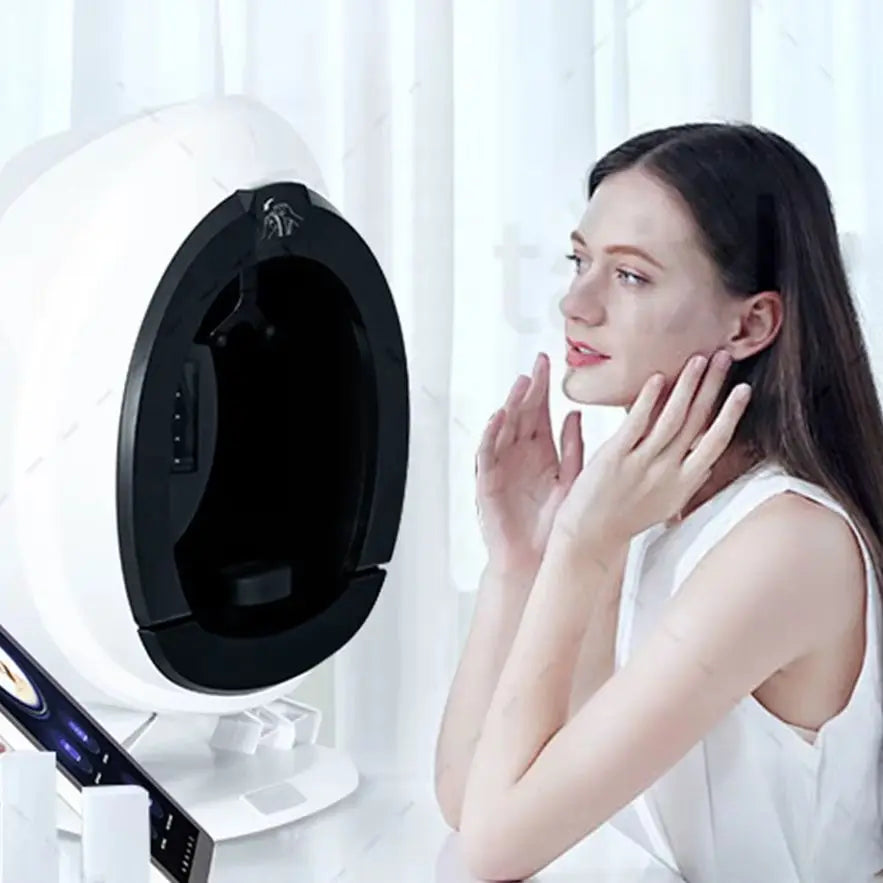
Skin Type vs. Skin Condition
One of the most important distinctions in skin analysis is the difference between skin type and skin condition.
Skin type generally describes relatively consistent oil-production patterns. Common categories include normal or balanced, dry, oily, and combination skin. Sensitivity is often considered separately because reactive skin can occur alongside different oil or hydration patterns.
Skin condition describes what is happening to the skin at a particular point in time. Hydration, redness, breakouts, pigmentation, roughness, and irritation can change because of weather, skincare products, cleansing habits, stress, hormones, or other factors.
For example, someone with an oily skin type can experience dehydrated-feeling skin, while someone with a normally balanced skin type may temporarily develop dryness or redness. Treating every temporary change as a permanent skin type can lead to inaccurate conclusions.
What a Facial Skin Analysis Can Reveal
A systematic assessment can examine:
- Oiliness and sebum distribution
- Hydration and signs of dryness or dehydration
- Visible redness and sensitivity
- Skin texture and roughness
- Facial pores and congestion
- Pigmentation and uneven skin tone
- Acne, blemishes, blackheads, and whiteheads
- Visible fine lines and wrinkles
- Differences between individual facial zones
For people interested in broader skincare technology, skin and beauty care devices can provide context for how consumer and professional tools are used to observe different aspects of skin condition.
How to Analyze Facial Skin at Home: Step-by-Step
A reliable at-home analysis should be performed under similar conditions each time. The objective is not to produce a medical diagnosis. Instead, it is to create a consistent baseline that makes changes easier to recognize.
Step 1: Prepare Your Skin
Start with a gentle cleanse to remove makeup, sunscreen, excess oil, and surface products. Avoid immediately applying moisturizer, facial oil, makeup, or other skincare products before the assessment because they can change how the skin looks and feels.
Allow the skin to settle before evaluating it. If you have just exercised, spent time in extreme temperatures, or taken a hot shower, waiting until your skin returns to its usual appearance can make the assessment more representative.
Step 2: Observe Your Face in Natural Light
Natural, even lighting is useful for identifying differences in skin appearance. Examine the forehead, nose, cheeks, chin, and jawline rather than judging the face as one uniform surface.
Look for visible shine, dullness, redness, dark spots, uneven tone, blemishes, rough patches, and areas that appear different from the surrounding skin. Avoid relying exclusively on very bright overhead lighting because shadows can exaggerate pores, lines, or texture.
Step 3: Assess Oiliness and Sebum
Look at where shine develops and how persistent it appears. The forehead and nose commonly produce more visible oil than the cheeks, but patterns vary between individuals.
Persistent shine across multiple facial zones may suggest higher sebum production. If the T-zone becomes noticeably oily while the cheeks remain comparatively dry or comfortable, the pattern may be consistent with combination skin.
Remember that surface shine alone does not provide a complete assessment of sebum production. Cleansing, climate, skincare products, and recent activity can all influence what you see.
Step 4: Check Skin Hydration
Assess how comfortable and supple the skin feels. Tightness, flaking, roughness, and a dull appearance can be useful observations when considering hydration.
It is important to distinguish dehydrated skin from dry skin type. Dry skin generally refers to lower oil production, while dehydration refers to insufficient water in the outer layers of the skin. A person can have an oily skin type and still experience dehydration-related tightness or discomfort.
Because ordinary observation cannot precisely quantify moisture levels, an at-home assessment should be treated as an observation rather than an exact moisture measurement.
Step 5: Evaluate Skin Sensitivity
Document whether your skin frequently becomes red, stings, burns, feels uncomfortable, or reacts after using certain products or encountering environmental changes.
Sensitivity should not automatically be treated as a skin type. Instead, record it as a separate characteristic. For example, your analysis might show combination skin with areas that are also reactive or easily irritated.
Step 6: Examine Texture and Facial Pores
Look closely at the surface of the skin and compare different facial zones. Notice whether the skin feels smooth, rough, uneven, congested, or flaky.
Visible pores are also worth recording, but pore appearance varies naturally and can look different depending on lighting, oil levels, hydration, and image magnification. Avoid interpreting pore visibility by itself as evidence of a specific skin problem.

Step 7: Look for Pigmentation and Breakouts
Check for areas of uneven pigmentation, dark spots, visible redness, blemishes, blackheads, whiteheads, or recurring breakout areas.
When analyzing pigmentation, compare similar areas of the face rather than judging a single spot in isolation. For breakouts, note both their location and whether the pattern appears occasional or recurring.
Do not use an at-home visual analysis to diagnose acne disorders, infections, suspicious lesions, or other medical conditions. Persistent, painful, rapidly changing, or unusual findings should be evaluated by an appropriate healthcare professional.
Step 8: Record Your Findings by Facial Zone
A simple facial-zone record makes your analysis more useful over time. Instead of writing only “combination skin,” record observations for each area.
- Forehead: oiliness, texture, pores, pigmentation, and breakouts
- Nose: sebum, visible pores, congestion, and texture
- Cheeks: hydration, redness, texture, pigmentation, and sensitivity
- Chin: oiliness, congestion, texture, and breakouts
- Jawline: dryness, sensitivity, pigmentation, and recurring blemishes
Repeat the assessment under similar lighting and at similar points in your skincare routine. Consistency makes it easier to distinguish a meaningful pattern from a temporary change.
How to Tell What Type of Skin You Have
Normal or Balanced Skin
Balanced skin generally has relatively even oil distribution, comfortable hydration, and limited persistent dryness or excessive shine. Small variations between facial zones are still normal.
Dry Skin
Dry skin is generally associated with lower oil production. The skin may feel tight or appear rough or flaky, particularly when environmental conditions are dry.
Oily Skin
Oily skin tends to produce more sebum, which can create persistent shine and make pores appear more prominent. Oiliness may be particularly noticeable across the forehead, nose, and chin.
Combination Skin
Combination skin combines different patterns across facial zones. The T-zone may be noticeably oily while the cheeks are comparatively normal or dry. This is why analyzing individual zones can be more informative than assigning one label to the entire face.
Sensitive or Reactive Skin
Sensitivity describes how readily skin reacts to products, environmental conditions, or other triggers. It can coexist with oily, dry, combination, or balanced skin, so it is best recorded separately.
How to Interpret Your Facial Skin Analysis Results
Separate Baseline Skin Type From Temporary Changes
A single observation should not necessarily determine your long-term skincare strategy. Weather, humidity, temperature, recent products, cleansing frequency, stress, hormonal changes, and other factors can affect how skin looks and feels.
If your skin normally appears balanced but becomes temporarily dry after exposure to cold weather, that observation should not automatically redefine your baseline skin type.
Create a Simple Skin Analysis Record
Record the same categories each time: oiliness, hydration, sensitivity, texture, pores, pigmentation, and breakouts. Add the date and note unusual circumstances such as major weather changes or a recently introduced skincare product.
Photographs can also help with visual comparisons, provided they are captured with similar lighting, distance, camera position, and facial expression. Consistency is more valuable than simply taking a larger number of photographs.
Turn Findings Into Skincare Priorities
Your findings can help organize general skincare priorities. For example, you might identify hydration as a priority while separately monitoring oiliness, or focus on maintaining a consistent routine while tracking changes in visible pigmentation.
The purpose is to make skincare decisions more structured, not to turn a cosmetic assessment into a medical diagnosis.
At-Home vs. Professional Facial Skin Analysis
At-home observation is accessible and useful for routine monitoring, but professional skin analysis can add magnification, controlled imaging, structured reporting, and trained interpretation. The two approaches are not necessarily competing methods; they can serve different purposes.
| Factor | At-Home Analysis | Professional Analysis |
| Accessibility | Easy to perform regularly | Requires access to a professional setting |
| Primary method | Visual observation and touch | Observation combined with specialized equipment |
| Consistency | Depends heavily on lighting and technique | Can use more standardized imaging conditions |
| Measurement depth | Mostly visible characteristics | May provide additional imaging-based indicators |
| Tracking | Requires manual notes and consistent photographs | Digital systems may support image and data tracking |
| Medical diagnosis | Not appropriate | Requires qualified medical professionals when diagnosis is needed |
At-Home Skin Analysis
The main advantages of at-home analysis are convenience and repeatability. You can regularly observe oiliness, hydration-related discomfort, visible texture, pores, pigmentation, and breakouts without specialized equipment.
Its main limitation is that ordinary observation is affected by lighting, camera quality, viewing distance, skin preparation, and personal interpretation.
Professional Skin Analysis
Professional analysis can combine visual examination with specialized imaging and trained consultation. Depending on the system, professionals may evaluate a broader set of skin characteristics and create standardized records for subsequent comparisons.
This can be particularly useful for beauty salons, estheticians, skincare clinics, and other professional settings where consultations need a structured way to document observations and discuss skincare priorities.
Common Professional Skin Analysis Technologies
Magnified examination enlarges the appearance of the skin surface so professionals can inspect texture, pores, congestion, and other visible characteristics more closely.
UV imaging uses ultraviolet illumination to produce images that can make certain surface or pigmentation patterns appear differently from ordinary visible-light photography. Results depend on the technology and should not be interpreted as a medical diagnosis by themselves.
Polarized imaging can alter reflected light and help produce clearer visual information about certain surface characteristics, depending on the system used.
Digital skin scanners combine cameras, controlled illumination, software, and analysis functions to create structured digital assessments. Some professional systems use multiple imaging conditions or spectra to provide a broader view than a conventional photograph.
For professionals exploring related technology categories, body care and health devices provides a broader look at device-based approaches to personal care.
When Should You Get a Professional Skin Analysis?
When At-Home Analysis Is Usually Enough
Self-assessment is often reasonable when your goal is simply to understand your general skin type, observe oiliness or dryness, track visible texture, or create a consistent skincare record.
It can also be useful when you want to compare how your skin responds to routine changes without trying to determine whether a particular medical condition is present.
Signs You Should Seek Professional Evaluation
Consider seeking professional evaluation when a skin change is persistent, worsening, painful, unusual, rapidly changing, or concerning to you. A qualified dermatologist or other appropriate healthcare professional can evaluate findings that fall outside the scope of cosmetic skin analysis.
In particular, do not rely on a consumer or salon skin scanner to determine whether a suspicious lesion, severe inflammation, infection, or other potentially medical concern is harmless.
Why Skin Analysis Technology Does Not Replace a Dermatologist
Digital imaging can organize observations and help visualize patterns, but imaging results are not equivalent to a medical diagnosis. A dermatologist can combine history, physical examination, clinical judgment, and additional testing when medically appropriate.
The distinction is important: a professional facial analysis system can support skincare consultation and documentation, while medical diagnosis belongs within the appropriate clinical process.
Facial Skin Analysis Checklist
8 Things to Check During a Skin Analysis
- Prepare the skin: Cleanse gently and allow the skin to settle before assessment.
- Check natural-light appearance: Examine the forehead, nose, cheeks, chin, and jawline.
- Assess oiliness: Note where shine and apparent sebum are concentrated.
- Check hydration: Look for tightness, flaking, roughness, dullness, or comfortable suppleness.
- Observe sensitivity: Record redness, stinging, burning, or recurring reactivity.
- Examine texture and pores: Compare smooth, rough, congested, and visibly porous areas.
- Document pigmentation and breakouts: Note dark spots, uneven tone, redness, blemishes, blackheads, and whiteheads.
- Record the results: Keep observations by facial zone and repeat them under similar conditions.
Choosing a Digital Skin Analysis Tool
If you need more consistent documentation than ordinary photographs can provide, a digital skin analysis system may add value. The right choice depends on what you need to observe, how often you will use the system, and whether it is intended for personal observation or professional skincare consultations.

What to Look for in a Digital Skin Scanner
- Imaging consistency: Look for controlled and repeatable imaging rather than relying only on ordinary room lighting.
- Measurement categories: Consider whether the system evaluates the characteristics relevant to your consultations, such as pores, pigmentation, moisture, sebum, wrinkles, acne, tone, or elasticity.
- Reporting clarity: Results should be presented in a format that is understandable and useful during a consultation.
- Repeatability: Image tracking can be valuable when comparing observations over time.
- Workflow: Professional users should consider how easily imaging and reports fit into consultations and record keeping.
- Intended use: Confirm whether the system is designed for cosmetic skincare assessment rather than assuming it is a medical diagnostic device.
- Data handling: Professional operators should also consider how facial images and associated customer information are stored and managed.
When a Digital Skin Scanner Adds Value
A digital system can be especially useful when a professional wants to move from a subjective “your skin looks dry” conversation toward a more structured visual assessment. Consistent imaging can make it easier to compare observations over time and discuss changes with clients.
For example, the AI Skin Analyzer for Professional 3D Facial Skin Analysis is designed for professional beauty salons, skincare clinics, and skin management businesses. Its stated capabilities include a 36MP industrial HD camera, 8-spectrum imaging, AI-powered analysis, and reporting across indicators such as acne, pigmentation, pores, wrinkles, moisture, sebum, skin tone, and elasticity.

The system is intended to turn facial imaging into structured analysis reports that can support skincare consultations and ongoing image tracking. That makes it more relevant to a professional workflow than a basic smartphone photograph, although the results should still be interpreted within the limitations of cosmetic imaging technology.
For professionals comparing equipment options, the Beauty & Self-Care Blog can also provide broader context around skincare devices and personal-care technology.
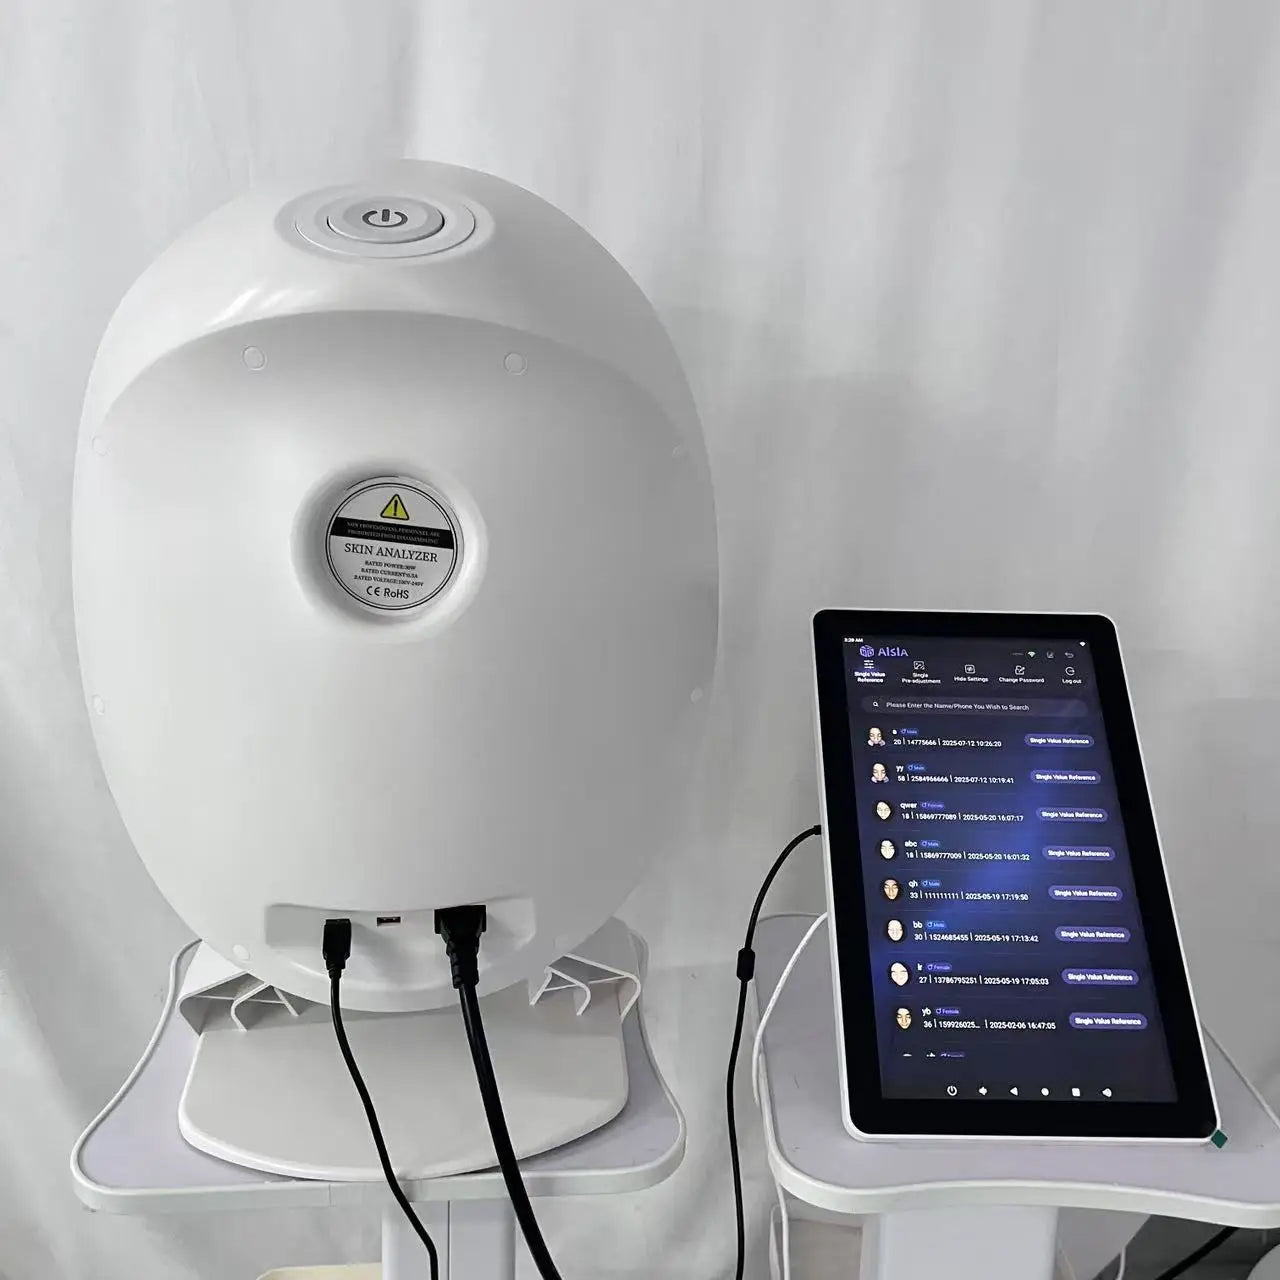
If a professional setting requires a dedicated imaging workflow, you can explore the professional AI skin analyzer to review its imaging, analysis, reporting, and tracking capabilities before deciding whether it fits your consultation process.
Conclusion: Make Facial Skin Analysis More Systematic
The most useful answer to how to analyze facial skin is not a single test or skin-type quiz. Start by preparing the skin, observe it under consistent natural lighting, evaluate oiliness and hydration, check sensitivity, examine texture and pores, document pigmentation and breakouts, and record findings by facial zone.
Most importantly, separate your baseline skin type from temporary skin conditions. A repeatable record can help you recognize patterns instead of reacting to what your skin looks like on one particular day.
When ordinary observation is not detailed or consistent enough for a professional skincare workflow, digital facial imaging can provide additional structure. A system such as the AI Skin Analyzer for Professional 3D Facial Skin Analysis may be worth exploring for salons and skincare businesses that want high-definition imaging, spectrum-based analysis, structured reports, and ongoing image tracking. It should complement—not replace—appropriate professional or dermatological evaluation when a medical concern is present.
Pillar Article: AI Facial Analyzer for Estheticians: Best Options Compared













