

Tips for Leakproof Mug Maintenance: Stop Spills Before They Start
Even the best leak proof coffee tumbler can develop frustrating drips if the lid, silicone gasket, or sealing surfaces aren't properly maintained. These practical tips for leakproof mug care explain why leaks happen, how to spot problems early, and what you can do to keep your spill proof mugs or best leak proof travel coffee mug performing reliably for years. Before replacing your favorite mug, learn the simple checks that prevent spills and extend its lifespan.
⏱ 7 min read
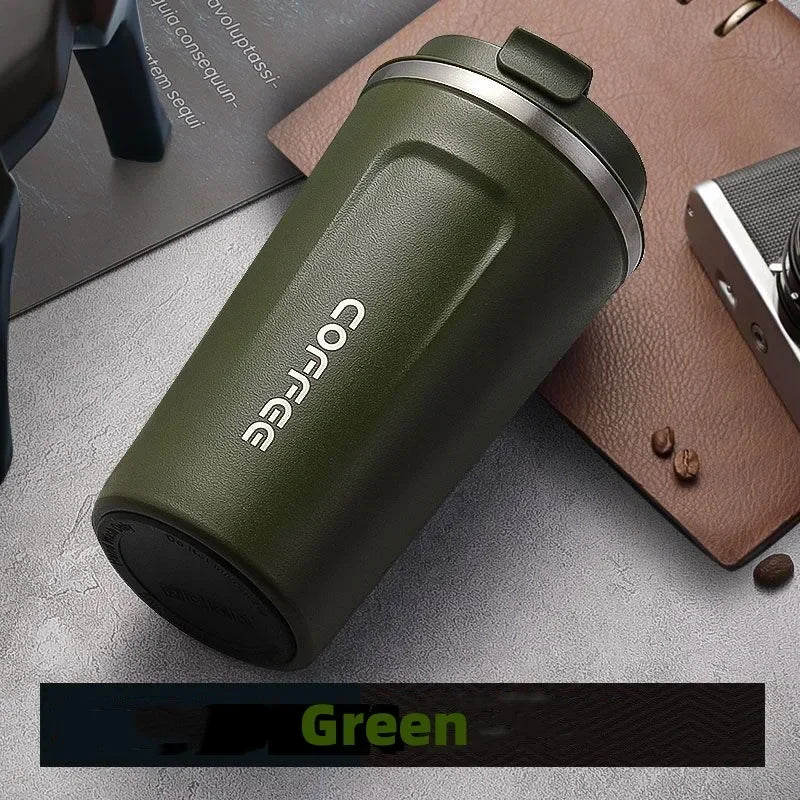
A few minutes of routine maintenance can help your best leak proof travel coffee mug stay dependable through daily commuting, travel, and office use.
Why Even the Best Leakproof Mugs Eventually Leak
If your once-reliable leak proof coffee tumbler has started dripping around the lid, the problem is usually maintenance rather than manufacturing. Most leaks develop gradually as silicone seals collect coffee residue, lid threads wear down, or small assembly mistakes prevent the gasket from sealing evenly.
Daily exposure to hot beverages, repeated opening and closing, and frequent washing slowly affect every reusable travel mug. Even premium spill proof mugs rely on flexible silicone components that must remain clean, properly positioned, and free from damage to maintain a watertight seal.
Before assuming your mug needs replacing, inspect these common trouble spots:
- Silicone gasket coated with coffee oils or milk residue.
- Lid threads that are slightly cross-threaded or not fully seated.
- Small cracks caused by accidental drops or impacts.
- Warped plastic components after repeated exposure to excessive dishwasher heat.
- Debris trapped between the lid and sealing surface.
Diagnosing the source of a leak first helps you avoid unnecessary replacements. In many cases, a thorough cleaning, correct reassembly, or replacing an inexpensive gasket restores full leak protection.
How to Preserve Seal Performance and Prevent Drips
A leakproof mug depends on several small components working together. Regular maintenance keeps the silicone seal flexible, ensures the lid closes evenly, and reduces wear that eventually leads to unexpected leaks.
- Clean the gasket weekly: Remove the silicone or rubber seal and wash it with warm water and mild dish soap to remove coffee oils, milk residue, and fine particles that prevent a tight seal.
- Dry every component completely: Moisture trapped inside the lid threads or beneath the gasket can encourage odor, residue buildup, and improper sealing after reassembly.
- Keep the silicone in good condition: Inspect the gasket regularly for stiffness, stretching, or flattening. If recommended by the manufacturer, a light application of food-grade silicone lubricant can help maintain flexibility.
- Align the lid carefully: Thread the lid on gently until it seats evenly. If you feel resistance, back it off and try again instead of forcing it, which can damage both the threads and the seal.
- Replace worn sealing parts promptly: A cracked, torn, or permanently compressed gasket is one of the most common causes of persistent leaks and should be replaced as soon as possible.
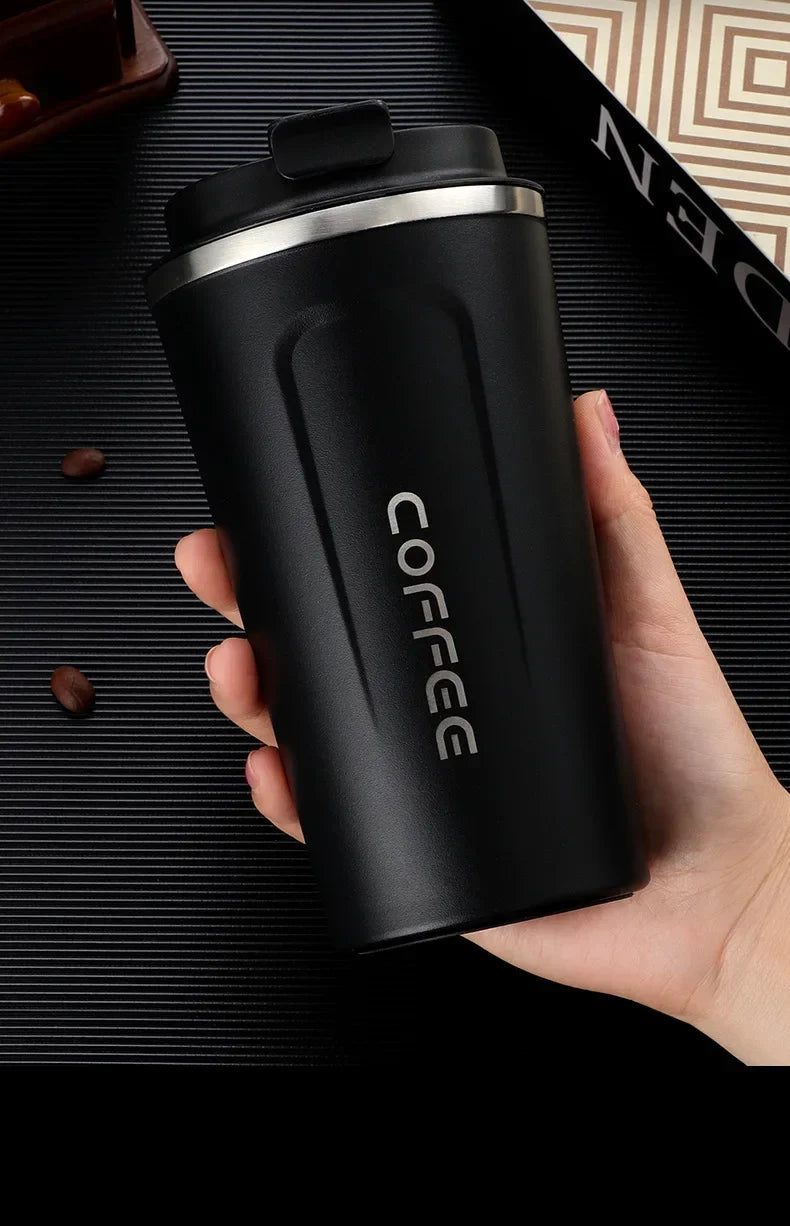
Routine maintenance helps preserve the sealing performance and lifespan of your best leak proof travel mug .
Cleaning and Odor Control: The Hidden Key to Longevity
Proper cleaning does more than eliminate odors—it also protects the sealing surfaces that keep a leak proof travel coffee mug from dripping. Coffee oils, tea residue, and dried milk can accumulate inside lid channels where they interfere with the silicone gasket.
- Disassemble removable lid components before washing so residue doesn't remain hidden beneath the seal.
- Soak stubborn buildup in a vinegar-and-water solution or use a manufacturer-approved cleaning method.
- Use a narrow bottle brush or small cleaning brush to reach vents, drinking ports, and gasket grooves.
- Rinse thoroughly to remove soap residue that can affect taste.
- Allow every component to air-dry completely before reassembling and storing the mug.
- Store the mug with the lid slightly open whenever possible to reduce trapped moisture and odor buildup.
These simple habits help maintain both freshness and leak resistance while extending the life of the lid and sealing components.
Weekly Maintenance Checklist
Follow this quick routine to help your travel mug maintain a reliable seal and reduce the risk of unexpected leaks.
- Wash the lid, gasket, and drinking port with warm, soapy water.
- Inspect the silicone seal for cracks, stretching, or trapped residue.
- Allow all components to air-dry completely before reassembly.
- Deep-clean hard-to-reach areas with a soft brush once a week.
- Check that the lid closes evenly without cross-threading.
- Store the mug with the lid slightly open when not in use.
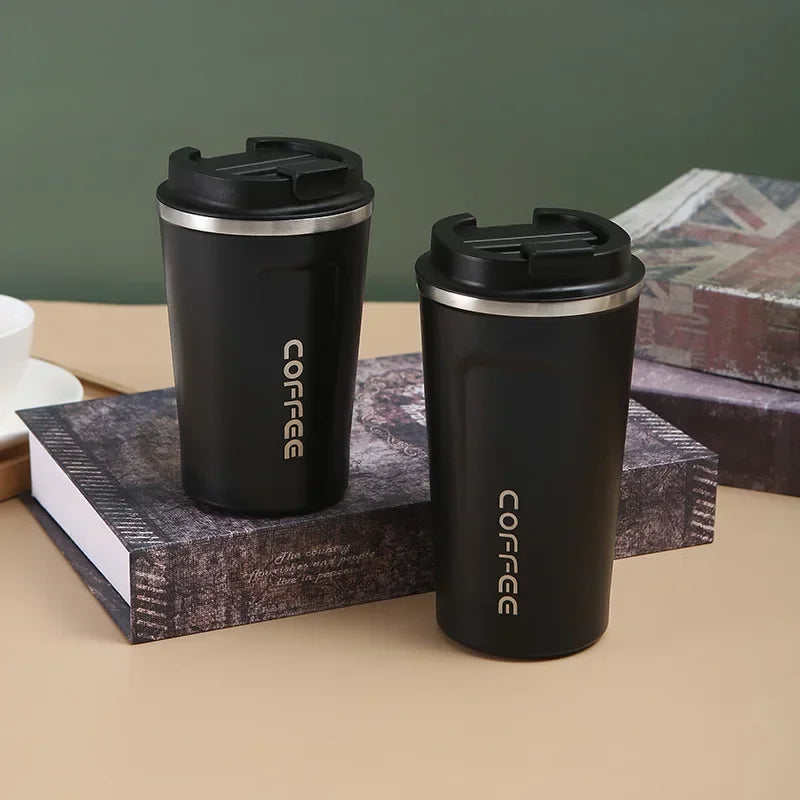
Consistent maintenance helps your spill proof mug deliver dependable, leak-resistant performance day after day.
FAQ: KeepCup Leaking
Why is my KeepCup leaking even when the lid is tight?
A tight lid does not always create a proper seal. Check that the silicone gasket is clean, correctly seated, and free from cracks. Cross-threading or debris around the rim can also prevent a complete seal.
Are KeepCup-style mugs completely leakproof?
Not always. Many reusable coffee cups are designed to be splash-resistant rather than completely leakproof. If you regularly carry your mug inside a backpack or work bag, choose a model specifically designed as a best leak proof travel coffee mug .
How do I fix a leaking silicone seal?
Remove the gasket, clean away coffee residue, inspect it for stretching or damage, and reinstall it carefully. If it no longer sits securely or has visible wear, replace it with a compatible gasket.
Can overfilling cause a travel mug to leak?
Yes. Filling above the recommended maximum level leaves no room for pressure changes and may force liquid through the drinking port or around the lid during transport.
How often should I replace the gasket?
For most frequently used mugs, inspect the gasket every few months and replace it whenever it becomes cracked, flattened, stretched, or no longer forms a reliable seal.
Can dishwasher heat damage the lid seal?
Repeated exposure to high dishwasher temperatures may warp some plastic lids or reduce the flexibility of certain silicone seals. Follow the manufacturer's cleaning recommendations whenever possible.
How do I test whether my cup is leakproof after cleaning?
Fill the mug with cold water, secure the lid, and gently invert it over a sink for several seconds. If no drips appear, perform a gentle shake test before carrying it in a bag.
Should I replace the lid or the entire cup if it still leaks?
If the body remains undamaged, replacing a worn lid or gasket is usually sufficient. Replace the entire mug only if the cup itself is cracked, dented around the sealing surface, or no longer closes securely. If you're ready for an upgrade, Shop it here .
Pillar Article: How to Clean Thermal Mug the Right Way—And Prevent Odor Buildup Forever
Other Related Articles:
Explore More:













