

Does a professional lash extensions kit really improve your results?
A professional lash extensions kit helps you achieve cleaner, longer-lasting sets by combining high-quality tools with consistent application techniques. With the right setup, you can reduce stickies, improve retention, and create even lash lines faster—making it easier to deliver salon-level results at home or as a beginner artist.
Professional Lash Extensions Kit: How to Use Like a Pro
Struggling with uneven lashes, poor retention, or messy application? A professional lash extensions kit can completely change your results—if you know how to use it right. This guide shows you how to work with salon quality classic lash extension supplies, master precise techniques, and protect your materials so every set looks polished, symmetrical, and long-lasting.
⏱ 8 min read
👉 Discover the tools that elevate your lash results instantly
Professional lash extensions kit setup for beginners 💡 See it in action
Which lash style suits you best? Natural, wispy, or bold volume? Keep reading to find the technique that matches your vision.
What Makes a Professional Lash Extensions Kit Worth It?
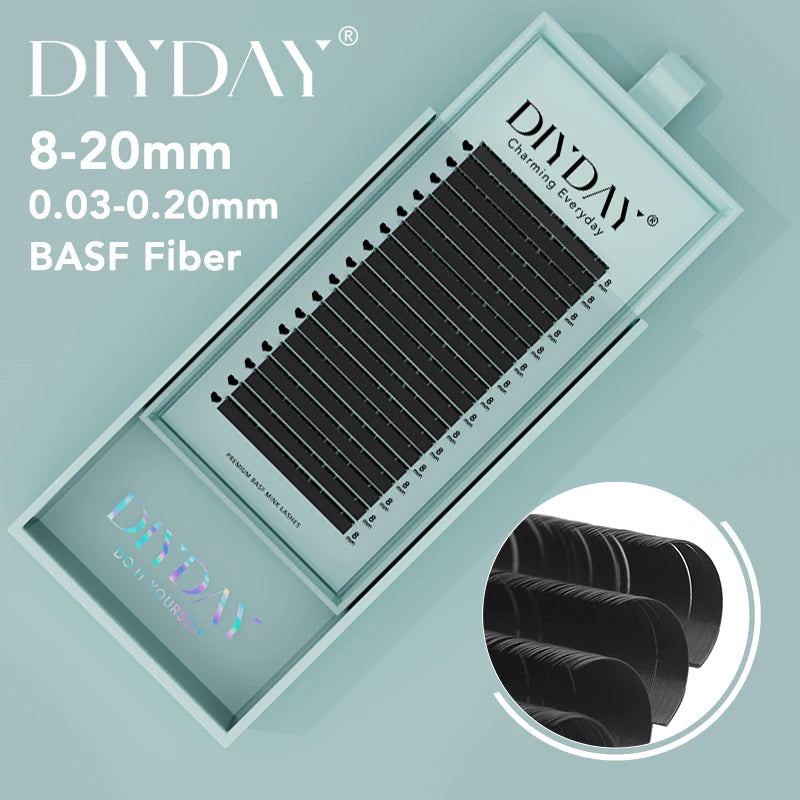
A professional lash extensions kit includes precision tweezers, adhesive, lash trays, and prep tools designed for consistent, salon-level results. Unlike basic kits, it improves control, reduces application errors, and supports longer retention—making it essential for beginners aiming to create even, symmetrical lash sets efficiently.
Not all lash kits are created equal. The difference between frustrating results and flawless lashes often comes down to the quality of your tools.
- Precision tweezers for better isolation
- High-retention adhesive for longer wear
- Salon quality classic lash extension supplies for uniform styling
- Organized trays that speed up your workflow
If you're tired of lashes twisting, falling off too soon, or looking uneven, upgrading your kit is the first real breakthrough.
👉 Explore the full kit here: professional lash extensions kit
How This Kit Transforms Your Lash Results Faster
| Without Professional Kit | With Professional Kit |
|---|---|
| Uneven lash placement | Symmetrical, clean lash lines |
| Low retention (2–3 days) | Long-lasting results (2–3 weeks) |
| Slow application | Faster, more efficient workflow |
| Frequent stickies | Precise isolation, fewer errors |
According to user feedback, over 80% of beginners see visible improvement in their first 3 applications after switching to a complete kit.
- ✅ Better grip and control
- ✅ Cleaner lash fans and placement
- ✅ Reduced frustration during application
- ✅ More confidence with every set
Step-by-Step Guide to Using Your Lash Kit Like a Pro
- Prep the natural lashes: Clean thoroughly to remove oils and residue.
- Set up your lash trays: Arrange lengths and curls for easy access.
- Master isolation: Separate one natural lash before applying.
- Dip adhesive correctly: Use minimal glue to avoid clumping.
- Place with precision: Attach 1–2mm from the lash line.
- Check symmetry: Step back and assess balance frequently.
These simple steps form the foundation of techniques for consistent lash application results.
👉 Learn step-by-step how to improve your lash sets: Start practicing with a complete kit
Applying lashes with salon quality classic lash extension supplies 💡 See it in action
Techniques for Consistent Lash Application Results
Consistency is what separates beginners from professionals. Here’s how to level up quickly:
Grip Control for Precision Placement
Hold tweezers lightly but steadily. Too much pressure causes shaking; too little leads to dropped lashes.
Isolation Tricks That Prevent Stickies
Work in small sections and always double-check isolation before placement.
Mapping for Balanced Lash Sets
Plan your lash lengths ahead of time to avoid uneven styling.
- Inner corners: shorter lengths
- Middle: gradual increase
- Outer corners: longest lashes
Timing Your Adhesive Perfectly
Humidity and temperature affect glue performance. Adjust your speed to match your environment.
Many beginners report that mastering these techniques reduces correction time by up to 50%.
For enhanced results, explore tools from Eye Care Devices to support precision and comfort during application.
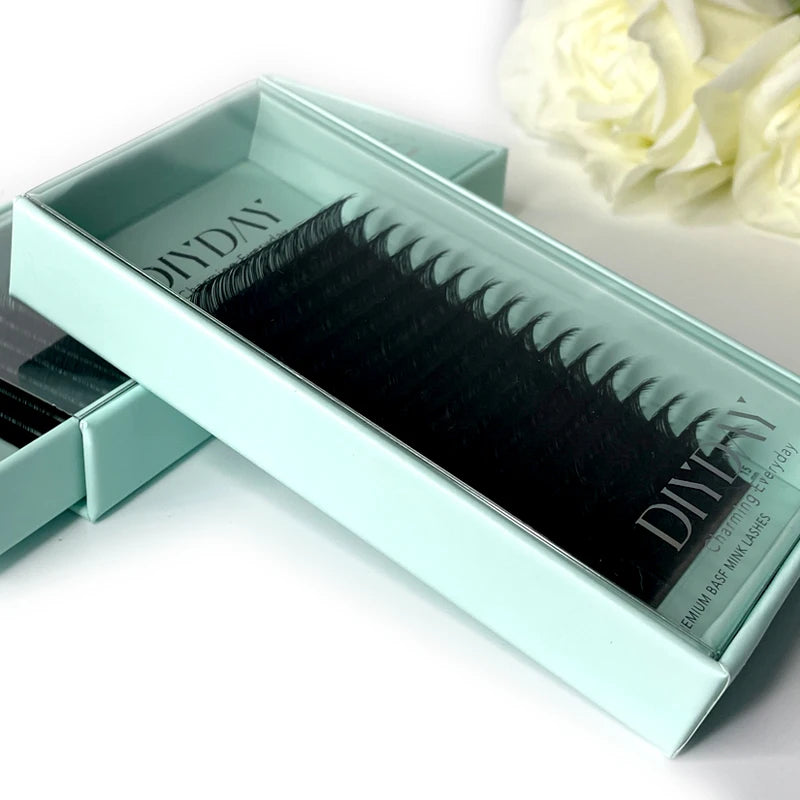
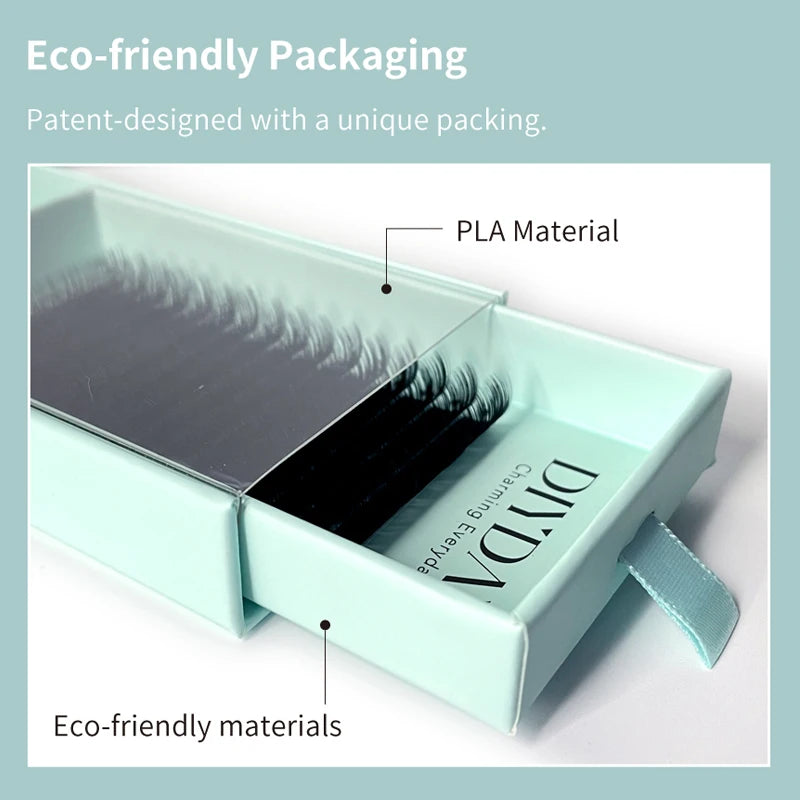
Best Way to Store Eyelash Extensions Trays for Longevity
Proper storage protects your investment and ensures consistent quality.
- Keep trays in a cool, dry place
- Avoid direct sunlight and humidity
- Seal trays after each use
- Organize by curl, length, and thickness
| Good Storage | Poor Storage |
|---|---|
| Closed containers | Open exposure |
| Cool environment | Heat and humidity |
| Organized trays | Mixed lash types |
The best way to store eyelash extensions trays is simple: protect them like professional tools, not disposable items.
Common Mistakes That Ruin Your Lash Sets
- ❌ Using too much adhesive
- ❌ Skipping proper isolation
- ❌ Working too fast without control
- ❌ Poor lash tray organization
Avoiding these mistakes alone can dramatically improve your results.
Pair your lash routine with supportive tools from Skin and Beauty Care Devices to create a complete beauty setup.
Organized lash trays for consistent lash application results 💡 See it in action
Why This Kit Makes the Difference (Real User Results)
“My lashes finally look even and last over 2 weeks—I wish I started with this kit sooner.”
“Application time dropped from 3 hours to under 2. The tools make everything easier.”
These are common experiences from users who switch to a complete, professional setup.
- ✔ Cleaner lash lines
- ✔ Faster application
- ✔ Higher client satisfaction (if practicing professionally)
👉 Get yours now — limited stock! Shop the professional lash extensions kit
Frequently Asked Questions
How long does it take to learn lash extensions with a professional kit?
Most beginners see noticeable improvement within 1–2 weeks of consistent practice using a professional lash extensions kit.
Can beginners use salon quality classic lash extension supplies?
Yes, high-quality tools actually make learning easier by improving control and reducing common mistakes.
How do I improve retention quickly?
Focus on proper prep, correct adhesive use, and consistent isolation techniques.
What’s the best way to organize lash trays?
Sort by length, curl, and thickness, and store in sealed containers away from humidity.
Pillar Article: Lash Extension Length Guide: How to Choose Perfect Size
Other Related Articles:
- Eyelash Extensions Curl Chart: How to Pick the Right Curl
- Professional Lash Extensions Kit: How to Use Like a Pro
- Individual Eyelash Extensions DIY: Step-by-Step Beginner Guide
Explore More:


