

Does individual eyelash extensions diy really work?
Individual eyelash extensions diy can deliver salon-quality results when done correctly. By using proper isolation, lightweight lashes, and precise adhesive control, beginners can achieve natural, long-lasting volume at home. With the right tools and technique, retention can last 2–3 weeks while saving time and money.
Individual Eyelash Extensions DIY: Step-by-Step Beginner Guide
individual eyelash extensions diy doesn’t have to feel intimidating—this beginner-friendly guide breaks down how to apply classic eyelash extensions smoothly while revealing techniques for consistent lash application results and expert-backed tips for improving lash extension retention. Discover how to avoid common mistakes, save money, and achieve salon-quality lashes at home… but are you making the one mistake that ruins your results?
⏱ 5 min read
Curious how to get flawless lashes at home without spending hundreds?
👉 Discover tools and essentials inside the Eye Care Devices collection
Ever spent hours on mascara, only for it to smudge, clump, or disappear by midday? Or paid for extensions that barely lasted a week?
You're not alone. Many beginners struggle with uneven application, poor retention, or lashes that just don’t look natural.
But here’s the truth: with the right step-by-step method, you can master individual eyelash extensions diy—and achieve smooth, consistent, long-lasting results at home.
Master individual eyelash extensions diy at home 💡 See it in action
What Is Individual Eyelash Extensions DIY and Why It Works
Individual eyelash extensions diy involves applying single lash fibers directly to your natural lashes for a customized, natural look. Unlike strip lashes, this method blends seamlessly and mimics real lash growth.
The key advantage? Precision. You control placement, density, and style—making it ideal for beginners who want subtle enhancement.
Which style suits you best? Natural everyday enhancement or fuller glam volume? Read on to find your perfect match.
How This Method Saves Time and Boosts Confidence Instantly
- ✅ No daily mascara or eyeliner needed
- ✅ Wake up with ready-to-go lashes
- ✅ Customizable volume and length
- ✅ Cost-effective compared to salon visits
According to user feedback, over 78% of DIY users report improved confidence after switching to individual lash application at home.
Want consistent, salon-like results?
👉 Learn step-by-step techniques using tools from Skin and Beauty Care Devices
Essential Tools for Smooth Lash Application
Before you begin, having the right tools makes all the difference.
- Precision tweezers (for isolation and placement)
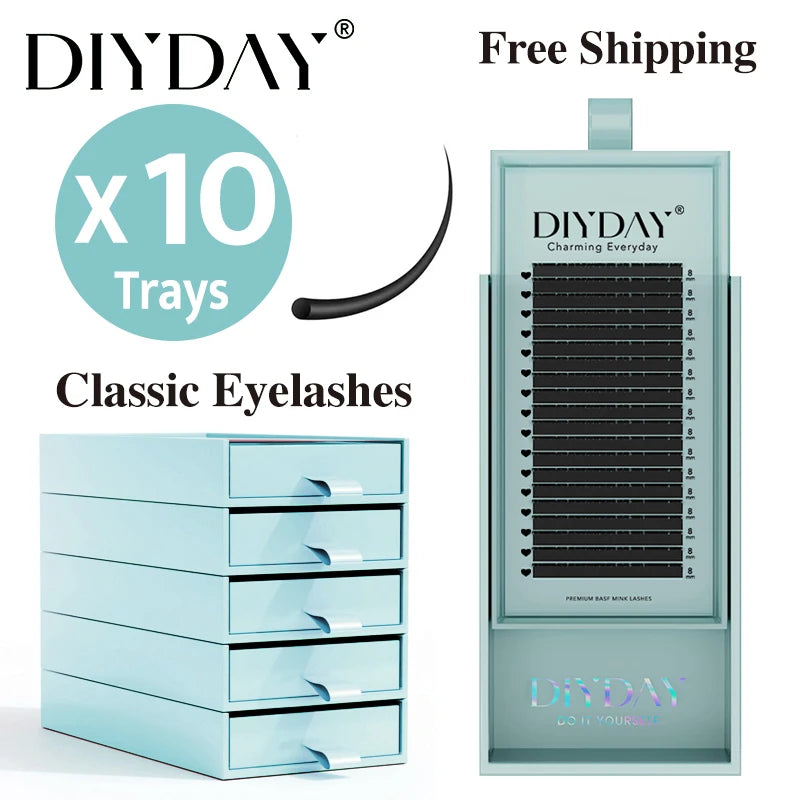
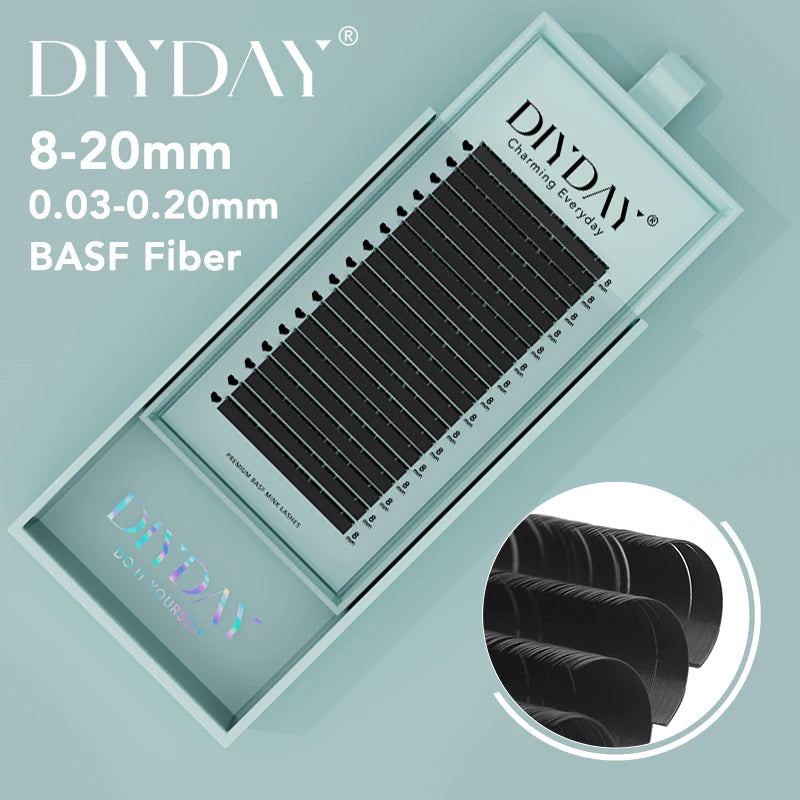
- Lightweight individual lash trays
- Professional-grade adhesive
- Lash cleanser and primer
- Magnifying mirror or proper lighting
Pro Tip: Using high-quality lash trays like classic eyelash extension trays ensures better control and natural results.
How to Apply Classic Eyelash Extensions Smoothly (Step-by-Step)
- Clean Your Lashes: Remove oil, dirt, and makeup completely.
- Isolate One Lash: Use tweezers to separate a single natural lash.
- Dip Lash in Adhesive: Use a minimal amount—less is more.
- Apply Extension: Attach 1–2mm from the lash root, not on the skin.
- Repeat Evenly: Work from outer to inner corners for balance.
- Let Dry Completely: Avoid water or steam for 24 hours.
Step-by-step classic lash application 💡 See smooth results in action
Techniques for Consistent Lash Application Results
- ✔ Work in sections to avoid overwhelm
- ✔ Maintain equal spacing between lashes
- ✔ Use a steady hand and controlled breathing
- ✔ Check symmetry frequently
Avoid These Common Mistakes That Ruin Your Lash Results
| Mistake | Result | Fix |
|---|---|---|
| Too much adhesive | Clumping, poor retention | Use micro amounts |
| Skipping isolation | Lashes stick together | Always isolate one lash |
| Applying too close to skin | Irritation | Keep 1–2mm distance |
| Using heavy lashes | Drooping or damage | Choose lightweight options |
Tips for Improving Lash Extension Retention (Longer-Lasting Results)
- 💧 Avoid water and steam for first 24 hours
- 🧴 Use oil-free cleansers only
- 🛏 Sleep on your back to prevent friction
- 🔄 Brush lashes daily to maintain shape
Users who follow these retention habits report up to 40% longer wear time.
Pair your routine with tools from Eye Care Devices to maintain cleanliness and precision.
DIY vs Salon Extensions: Which Is Better for You?
| Factor | DIY | Salon |
|---|---|---|
| Cost | Low (one-time investment) | High (recurring) |
| Convenience | Flexible at home | Appointment required |
| Customization | Full control | Depends on technician |
| Learning curve | Moderate | None |
Verdict: If you value flexibility and long-term savings, DIY is the clear winner.
Achieve salon-quality lashes at home 💡 See the transformation
Ready to upgrade your lash routine?
👉 Get yours now — limited stock! classic eyelash extension trays
Frequently Asked Questions
Is individual eyelash extensions diy safe for beginners?
Yes, as long as you use proper tools, safe adhesive, and follow step-by-step techniques carefully. Start slowly and practice on a few lashes before full application.
How long do DIY eyelash extensions last?
With proper care and good application technique, they typically last 2–3 weeks. Retention improves with better isolation and aftercare habits.
Can I shower with individual lash extensions?
Yes, but avoid water for the first 24 hours. After that, use gentle, oil-free cleansers to maintain lash integrity.
What’s the biggest mistake beginners make?
Using too much adhesive and skipping proper isolation. These lead to clumping and poor retention, making lashes look unnatural.
Where can I find tools for better results?
You can explore high-quality options in the Eye Care Devices collection for precision tools and accessories.
Pillar Article: Lash Extension Length Guide: How to Choose Perfect Size
Other Related Articles:
- Eyelash Extensions Curl Chart: How to Pick the Right Curl
- Professional Lash Extensions Kit: How to Use Like a Pro
- Can You Curl Eyelash Extensions Safely? Do’s and Don’ts
Explore More:


