

How to Apply Classic Lashes: A Complete 1:1 Guide
Learning how to apply classic lashes starts with one non-negotiable principle: one extension is attached to one isolated natural lash. Unlike volume techniques, classic lash extensions rely on precision, clean isolation, controlled adhesive use, and consistent direction rather than attaching multiple fibers to one natural lash. For beginners, speed should come later; accurate placement and safe technique come first.
This guide walks through the complete professional 1:1 workflow, from client preparation and lash mapping to isolation, adhesive control, placement, direction, finishing, retention, and troubleshooting.
Classic Lash Application at a Glance
The 1:1 Rule
Classic lash extensions use a one-to-one application method. Each individual extension is bonded to one appropriate natural lash, not several natural lashes at once. The extension should be positioned securely without touching the skin and without creating unwanted tension on the natural lash.
A clean classic set depends on five fundamentals: healthy natural-lash assessment, complete isolation, appropriate extension selection, controlled adhesive, and consistent placement direction.
10-Step Application Workflow
- Sanitize the workstation, hands, and reusable tools.
- Consult with the client and assess the natural lashes.
- Cleanse the natural lashes and eye area thoroughly.
- Create a lash map based on the client's desired result and natural features.
- Isolate one healthy natural lash completely.
- Pick up one extension and control the adhesive amount.
- Place the extension with clean, stable contact.
- Match the extension direction to the natural lash and map.
- Check for stickies, uneven placement, twisting, and direction problems.
- Complete the final inspection and explain appropriate aftercare.
Tools and Setup for Classic Lash Extensions
A professional-looking application begins before the first extension is picked up. Organize everything within easy reach so you do not repeatedly change hand position or interrupt the application.
Essential Lash Extension Tools
- Classic individual lash extension trays
- Isolation tweezers
- Pickup or application tweezers
- Professional eyelash extension adhesive appropriate for the artist's skill level
- Under-eye pads and medical-grade lash tape intended for professional use
- Lash cleanser or appropriate pre-application cleansing solution
- Micro brushes and lint-free applicators
- Clean spoolies
- Adhesive palette or suitable disposable adhesive surface
- Bright, adjustable task lighting
- Appropriate disposable and sanitation supplies
Choose Lash Curl, Length, and Diameter
Do not choose an extension simply because a particular length or curl looks attractive on a lash strip. Start with the natural lash. Consider its length, thickness, direction, strength, and ability to support the proposed extension.
Common curl options can produce noticeably different effects. Softer curls may create a more understated result, while stronger curls can provide greater lift. Length should also be customized rather than applied uniformly across the entire lash line. A natural lash that cannot comfortably support the selected extension is a signal to reduce the length or diameter.
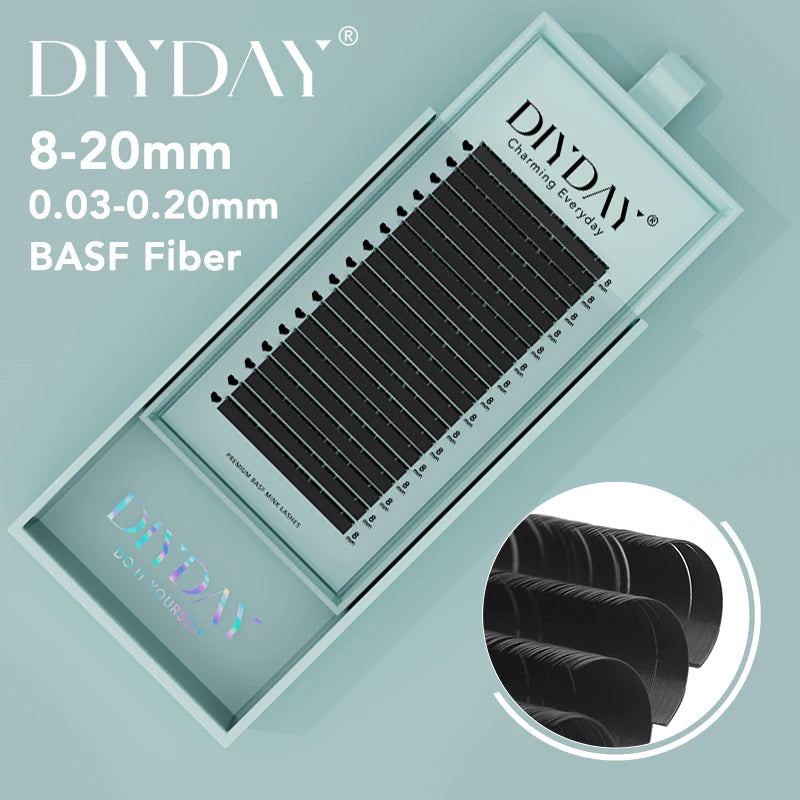
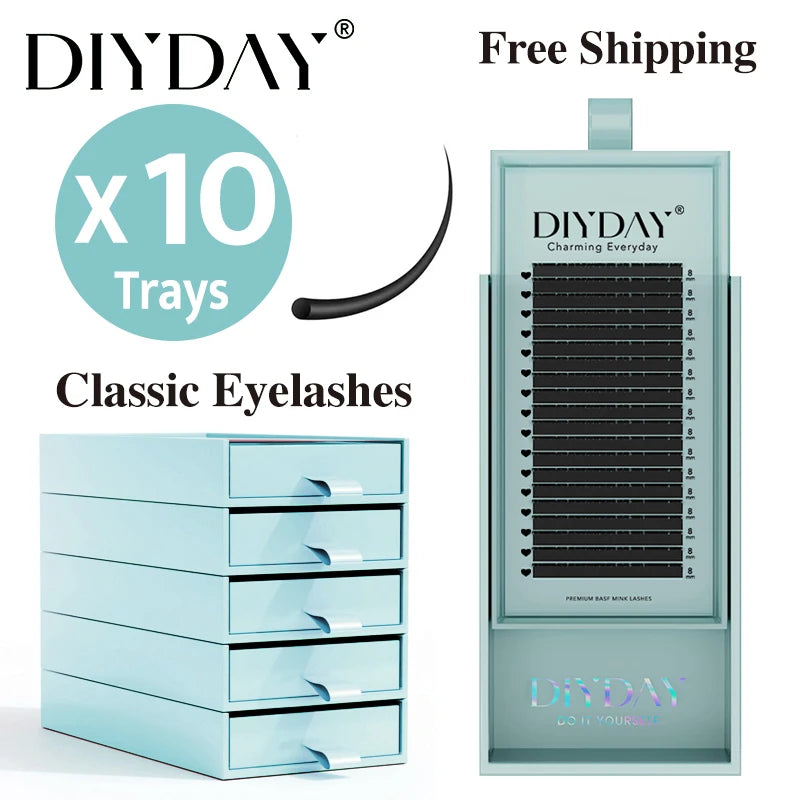
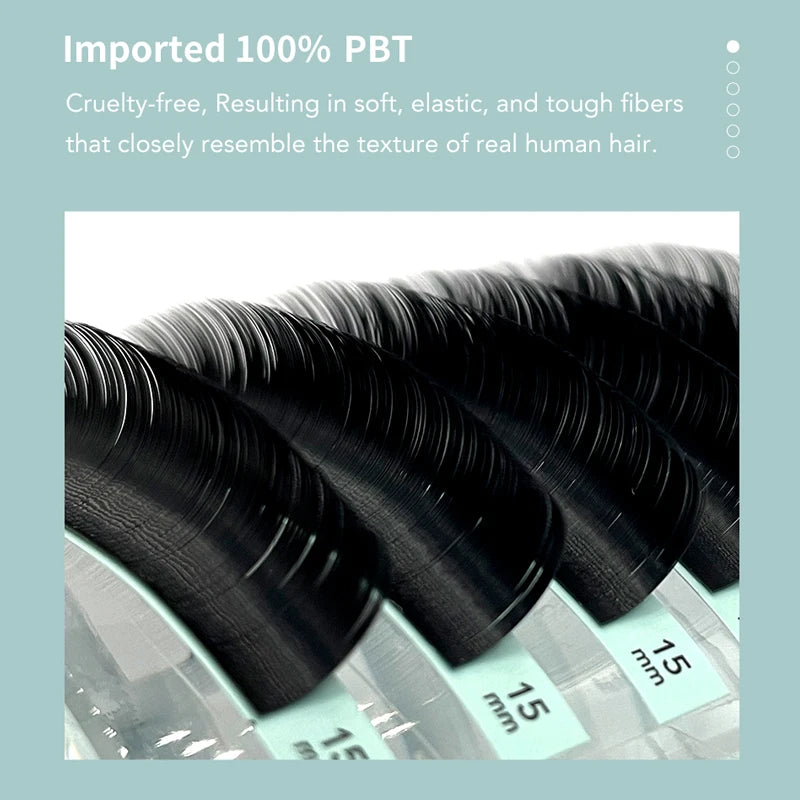
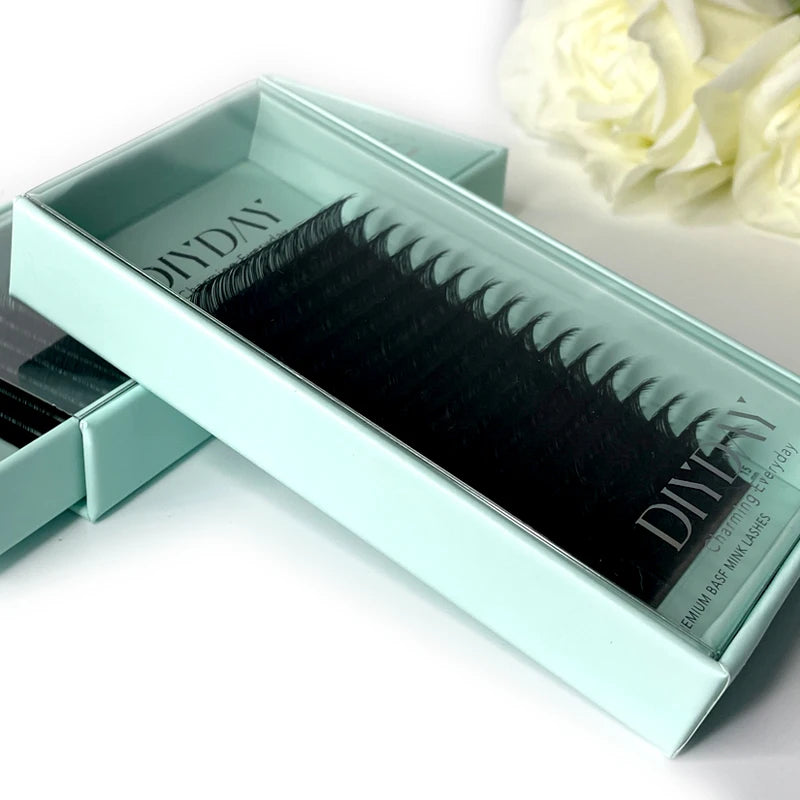
The Classic Eyelash Extension 10 Trays Soft Natural Volume Pro+ collection is one practical option when an artist wants multiple curl and length choices available during mapping. The trays offer B, C, CC, D, DD, L, L+, LU, LC, and LD curls with lengths from 7–25 mm, giving artists flexibility when adapting a map to different natural-lash characteristics.
Explore the Classic Eyelash Extension 10 Trays if you need a broader selection of individual extensions for classic styling practice.
Prepare the Lash Station
Use a clean, organized workstation with good lighting, suitable ventilation, and a stable client position. Keep adhesive away from unnecessary heat, moisture, and contamination according to the adhesive manufacturer's instructions. Reusable instruments should be properly cleaned and disinfected between clients, while disposable items should not be reused.
For broader beauty-related equipment and tools, you can also browse the Skin and Beauty Care Devices collection or explore the Eye Care Blog for related eye-care topics.
Prepare the Client and Natural Lashes
Client Consultation and Natural Lash Assessment
Before application, determine the client's desired appearance and compare it with the condition of the natural lashes. Examine lash density, thickness, length, direction, curl, gaps, and obvious differences between the two eyes.
This assessment determines what is realistic. If the natural lashes are fine or weak, a shorter or lighter extension may be more appropriate than trying to reproduce a dramatic reference photo. Mapping is a customization tool, not a rigid formula.
Cleanse and Isolate the Eye Area
Makeup, oil, skincare residue, and other contaminants can interfere with adhesive bonding. Cleanse the natural lashes according to your professional protocol and ensure the lashes are properly prepared before beginning.
After cleansing, position the under-eye pads and tape so the lower lashes remain securely separated without placing unnecessary pressure on the skin. The client should remain comfortable throughout the service.
Sanitation and Safety Checks
Wash or sanitize hands appropriately before beginning and maintain a clean working surface. Use disinfected reusable tools and fresh single-use materials where required. Follow the adhesive manufacturer's handling, storage, ventilation, and curing instructions.
Do not proceed when the eye area is visibly irritated, injured, infected, or otherwise unsuitable for the service. Professional lash application is a cosmetic procedure performed close to the eye, so sanitation and client comfort should never be treated as optional details.
Create a Classic Lash Mapping Plan
How to Choose a Lash Map
A lash map divides the lash line into sections and assigns a target length and, when appropriate, curl to each section. The purpose is to control visual balance and create a predictable transition from one area of the eye to another.
A useful map considers both the desired style and the client's natural lash direction. The longest extension is not automatically placed at the outer corner or center. Instead, determine where additional length will create the most balanced appearance without compromising the natural lashes.
Classic Lash Mapping Examples by Eye Shape
- Round eyes: A carefully controlled center-focused design can enhance openness, but excessive length directly over the center may exaggerate roundness.
- Hooded eyes: Strategic lift and appropriate curl can help extensions remain visually apparent beneath the lid structure. Avoid excessive length that becomes hidden or creates unnecessary weight.
- Downturned eyes: A softer outer transition can help avoid visually pulling the eye downward. Longer extensions should be used selectively.
- Upturned eyes: The natural upward angle can accommodate balanced transitions, but the map should still follow the client's actual lash direction.
- Close-set eyes: Slightly greater emphasis toward the outer area may visually create more separation, provided the natural lashes can support it.
These are starting points rather than rules. Natural lash direction, lid structure, density, and client preference should determine the final design.
When to Adjust Length or Curl
Adjust the map when the extension sits awkwardly, disappears beneath the lid, points in an undesirable direction, or appears too heavy for the natural lash. A stronger curl is not automatically better, and greater length is not automatically more flattering.
How to Apply Classic Lashes Step by Step
Step 1: Isolate One Natural Lash
Use the isolation tweezer to separate a single healthy natural lash from its neighbors. Look closely at the base and along the length of the lash. If another natural lash is still touching or crossing the isolated lash, continue separating before placement.
Why it matters: Attaching one extension across multiple natural lashes can create stickies and unwanted tension as the natural lashes grow at different rates.
Step 2: Pick Up the Extension Correctly
Use the pickup tweezer to grasp one extension in a controlled position. Avoid crushing, bending, or contaminating the fiber. The extension should remain aligned and easy to place without requiring excessive manipulation.
Step 3: Control the Eyelash Extension Adhesive
Work with a fresh adhesive drop according to the manufacturer's recommended replacement interval and environmental requirements. Pick up only the amount needed to create a secure bond. Too little adhesive may produce poor contact; too much can create bulky bonds, increase stickies, and make direction control harder.
Adhesive performance is affected by factors such as temperature, humidity, adhesive age, and working speed. Developing artists should follow the adhesive manufacturer's specifications rather than guessing when a product is curing too quickly or too slowly.
Step 4: Place the Extension on the Natural Lash
Bring the extension toward the isolated natural lash with controlled movement. Create clean contact along the appropriate attachment zone without placing the extension directly against the skin. The bond should be stable and visually neat rather than thick or lumpy.
Step 5: Match the Direction and Angle
Direction is one of the easiest details to overlook. The extension should flow naturally from the lash line and match the intended map. Avoid twisting, crossing, or allowing one extension to project at a noticeably different angle from neighboring lashes.
Think of each placement as creating a line from the natural lash root toward the extension tip. Consistent lines create a cleaner final set.
Step 6: Repeat the 1:1 Pattern
Move systematically through the lash line rather than randomly jumping between areas. Isolate, pick up, control adhesive, place, and check direction. This repeatable sequence reduces skipped lashes and helps develop consistent muscle memory.
Step 7: Check for Stickies and Uneven Placement
Regularly check neighboring lashes before the adhesive has fully set. If two or more natural lashes are bonded together, separate them carefully with the appropriate tweezer technique. Do not wait until the entire set is finished to discover widespread stickies.
Step 8: Complete the Final Quality Check
Inspect both eyes for symmetry, direction, attachment consistency, isolation, coverage, comfort, and adherence to the original map. Look at the set from different angles rather than relying on one frontal view.
Placement Rules That Improve Classic Lash Results
Isolation Before Placement
Never prioritize speed over isolation. If you cannot clearly identify the individual natural lash, you are not ready to place the extension. Clean isolation is the foundation of the 1:1 technique.
Consistent Attachment and Direction
Place extensions with a consistent relationship to the lash line. Large differences in attachment position or angle can make an otherwise full set appear uneven.
Match the Extension to the Natural Lash
Extension length, diameter, weight, and curl should be selected according to the natural lash and desired design. If an extension looks impressive on the strip but appears heavy once placed, change the selection rather than forcing the natural lash to support it.
Classic Lash Placement Decision Matrix
| Application observation | Likely adjustment | Primary quality check |
|---|---|---|
| Extension appears too heavy | Reduce length or diameter | Natural-lash strength and comfort |
| Extension points downward or outward | Reassess curl, angle, or placement direction | Natural lash direction and map |
| Bond looks bulky | Reduce adhesive amount and improve pickup control | Attachment cleanliness |
| Neighboring lashes are bonded | Improve isolation and separate before curing | Complete 1:1 isolation |
| Set looks visually uneven | Review map, density, lengths, and direction | Symmetry and section transitions |
How to Improve Lash Extension Retention
Before Application: Clean Natural Lashes
Clean lashes provide a better starting point for adhesive bonding. Remove makeup, oil, and residue using an appropriate professional cleansing process, then ensure the lashes are properly prepared before placement.
During Application: Use Consistent Adhesive Control
Retention problems are not always caused by the adhesive itself. Weak or inconsistent bonds can result from poor preparation, insufficient contact, excessive adhesive, unsuitable working conditions, or an attachment that is not stable.
Use adhesive according to its technical instructions and working environment. If the adhesive behaves differently from normal, check environmental conditions, product age, storage, and your application speed before changing your technique.
After Application: Give Clear Lash Aftercare
Explain that clients should avoid unnecessary pulling, picking, or rubbing and should maintain appropriate lash hygiene. Gentle cleansing is important because buildup around the lash line can affect appearance and comfort. Aftercare should follow the adhesive manufacturer's recommendations and the professional's service protocol.
For additional beauty and self-care education, readers can visit the Beauty & Self-Care Blog.
Classic Lash Application Troubleshooting
Why Are My Lash Extensions Sticking Together?
The most common causes are incomplete isolation, excessive adhesive, or failure to separate neighboring lashes before the adhesive sets. Slow down the isolation process and inspect the base before every placement.
Why Are Lash Extensions Pointing in Different Directions?
Inconsistent direction can result from uneven pickup, changing placement angles, natural lash direction, or an unsuitable map. Recheck the natural lash before placement and keep the extension aligned with the intended direction.
Why Are the Bonds Weak or Extensions Shedding Early?
Investigate the entire workflow instead of automatically blaming the adhesive. Check natural-lash preparation, contamination, adhesive condition, environmental conditions, amount of adhesive, attachment quality, and aftercare. Normal natural-lash shedding can also cause individual extensions to fall as their attached lashes complete their growth cycle.
What If the Extension Feels Too Heavy?
Remove or adjust the unsuitable extension and reassess the length and diameter. A classic extension should be appropriate for the natural lash supporting it. Increasing length or thickness simply to create a more dramatic effect can compromise comfort and lash health.
What If the Application Looks Uneven?
Inspect the map first, then evaluate section lengths, curl transitions, density, and direction. Unevenness may come from inconsistent placement rather than insufficient fullness. A systematic final inspection can identify the problem before the client leaves.
Common Classic Lash Application Mistakes to Avoid
Skipping Proper Isolation
Attaching an extension to multiple natural lashes defeats the 1:1 technique and can create uncomfortable tension. If isolation is inconsistent, reduce your working speed and improve visibility before continuing.
Using Too Much Adhesive
More adhesive does not necessarily mean stronger retention. Excess can create bulky attachment points and increase the likelihood of stickies. Aim for controlled, repeatable adhesive pickup.
Ignoring Natural Lash Direction
Every natural lash has its own growth direction. Placing extensions without accounting for that direction can produce crossed, twisted, or visually inconsistent results.
Choosing Extensions That Are Too Heavy
Do not select extensions based solely on the desired dramatic effect. Length and diameter should be appropriate for the individual natural lash, with the final design adapted when necessary.
Classic Lash Application Quick Reference
Before You Start
- Sanitize hands, tools, and the workstation.
- Assess natural lash strength, density, direction, and condition.
- Cleanse the natural lashes and prepare the eye area.
- Organize tweezers, extensions, adhesive, pads, tape, and disposables.
- Create a map that suits the natural lashes and desired result.
During Application
- Isolate one natural lash completely.
- Pick up one extension without damaging the fiber.
- Use a controlled amount of adhesive.
- Place the extension with clean attachment.
- Match direction and angle to the natural lash and map.
- Check repeatedly for stickies and inconsistent placement.
Before the Client Leaves
- Check every section for unwanted stickies.
- Inspect direction and attachment consistency.
- Compare symmetry between the two eyes.
- Confirm the set feels comfortable and appropriate.
- Explain gentle cleansing and aftercare.
Successful classic lash application is less about moving quickly and more about repeating a precise process. Assess the natural lashes first, select an appropriate extension, isolate completely, control the adhesive, create clean 1:1 contact, and check direction throughout the service.
As your technique develops, the goal is not simply to apply more extensions faster. It is to make each placement deliberate, comfortable, consistent, and appropriate for the individual natural lash. That discipline is what turns a basic classic lash application into a polished professional result.
For more related beauty education, explore the Hair, Skin & Nail Blog and Lifestyle collection.
Pillar Article: Lash Extension Curl Retention: What Pros Should Look For













