

5 Easy Steps to Perfect Nails Using a Nail Buffer Block
Want salon-quality nails at home? Discover how a nail sanding block can transform your nail game in just five simple steps. Learn how to use a sanding block for fingernails and why it's more effective than a sanding nail bit for smooth, shiny results. Say goodbye to ridges and hello to flawless nails—with zero guesswork!
⏱ Estimated reading time: 6 minutes
💡 See it in action — transform your nails with the KentDO nail sanding block in minutes!
Why Use a Nail Sanding Block?
If your nails feel uneven, look dull, or chip easily, the problem might not be your polish—it’s your prep. A nail sanding block is a simple yet powerful tool that smooths out ridges, preps the nail surface, and boosts shine without damaging your natural nail.
Unlike a sanding nail bit—which requires an electric drill and steady hands—this manual buffer block gives you total control. It’s perfect for beginners, DIY nail lovers, or anyone craving healthy, polished nails without the salon visit.
5 Easy Steps to Use a Nail Buffer Block
Step 1: Start with Clean Nails
Wash your hands and remove any old polish using a non-acetone remover. Trim and file your nails to your desired shape.
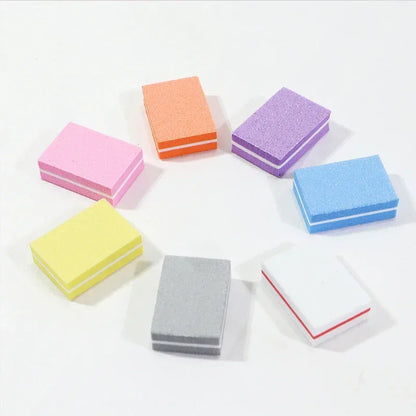
Step 2: Identify the Buffer Sides
Most sanding blocks have 3–4 sides with different textures. Here’s what each side is for:
- Grit 1: Coarse – for smoothing rough nail surface
- Grit 2: Medium – for refining and shaping
- Grit 3: Fine – for light buffing
- Grit 4: Superfine – for shining and sealing
Step 3: Smooth the Surface
Use the coarse side (Grit 1) in gentle, even strokes across the nail plate. Buff only in one direction to avoid splitting.
Step 4: Buff and Shine
Gradually move to finer sides of the nail buffer block. Grit 3 and 4 will bring out a natural shine—no polish needed!
Step 5: Hydrate and Finish
Apply cuticle oil or hand cream to restore moisture. Buffing may thin the top layer, so hydration is key for healthy nails.
✅ Perfect for your daily routine — the ultimate tool for sanding block fingernails at home
Sanding Block vs. Sanding Nail Bit: What’s Better?
| Feature | Nail Sanding Block | Sanding Nail Bit |
|---|---|---|
| Ease of Use | ✅ Beginner-friendly | ❌ Requires tool & skill |
| Portability | ✅ Travel-friendly | ❌ Bulky tool needed |
| Risk of Damage | ✅ Low | ❌ Higher with overuse |
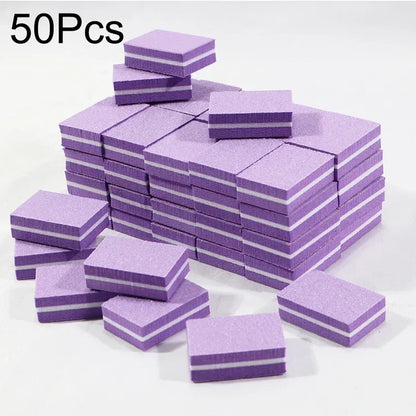
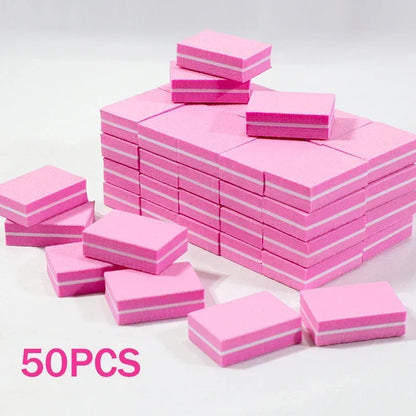
| Where to Buy | 👑 View best seller | Varies by drill brand |
Still wondering which one’s right for you? If you're focused on safety, convenience, and results—you’ll love the sanding block.
Pro Tips for Long-Lasting Results
- Buff every 2 weeks: Over-buffing can weaken nails.
- Use light pressure: Let the grit do the work.
- Clean your block: Wash with soap after use and let dry.
- Pair with care products: See our Nail Care Devices for best results.
✨ Pro tip: Want a glass-like shine without polish? Use the superfine side with circular motions.
👉 Discover how this works — elevate your nail care with KentDO’s premium nail buffer block
Mini FAQ: Nail Sanding Block
How often should I use a nail sanding block?
Every 2–3 weeks is ideal. Overuse can thin your nail plate.
Is it safe for natural nails?
Yes! Just use gentle pressure and follow the correct grit sequence.
Can I use it with gel polish?
Use the coarse side before applying gel to improve adhesion. Avoid buffing the gel directly after curing.
What’s the difference between a sanding nail bit and a sanding block?
A sanding nail bit is mechanical and fast, but riskier. A sanding block is manual, safer, and easier to control.
Pillar Article: How to Use a Nail Buffer Block Like a Pro—Step-by-Step Guide


