❓ How do you use a nail buffer block properly?
A nail buffer block is used step by step: start with clean nails, shape with a file, then use each textured side—coarse, medium, fine, and shiner—to smooth ridges, polish, and add shine. Done correctly, it boosts natural gloss, improves texture, and preps nails for polish without damage.
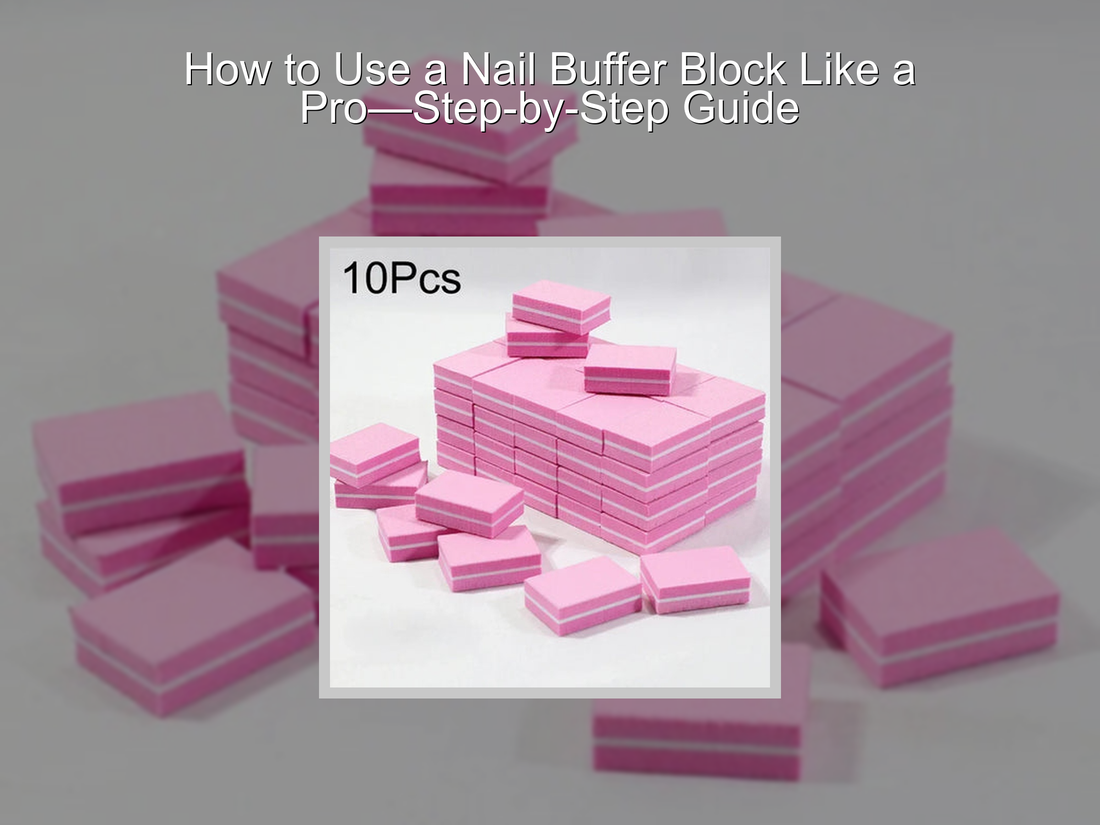
How to Use a Nail Buffer Block Like a Pro—Step-by-Step Guide
Curious about nail buffing block how it works? Discover how to use this handy tool to smooth, shine, and prep your natural nails like a pro. From sanding nails with a block to using a sanding nail bit safely, we’ll walk you through every step. Say goodbye to rough edges and hello to salon-worthy results at home.
⏱ Estimated reading time: 7 min
👉 Discover how this works and upgrade your nail care with the nail buffing block.
What Is a Nail Buffer Block?
A nail buffer block is a multi-sided manicure tool used to smooth, refine, and polish the surface of natural nails. Most buffer blocks have three or four sides with different grit levels that gradually refine the nail surface.
Each side performs a different step in the nail buffing process:
- Coarse grit: smooths ridges and uneven nail surfaces
- Medium grit: refines the nail plate
- Fine grit: prepares the nail for polishing
- Shine surface: creates a natural glossy finish
Unlike nail files, which are designed mainly to shape nail edges, buffer blocks are specifically made to improve the surface of the nail. When used correctly, they can make nails look smoother, healthier, and naturally shiny without polish.
What Does a Nail Buffer Do? (And Why It Makes Nails Shine)
Nail buffing works by gradually smoothing the microscopic ridges on the nail plate. Natural nails contain tiny grooves that scatter light, which is why they sometimes appear dull or uneven.
A nail buffer gently removes these irregularities in stages using finer abrasive surfaces. As the nail surface becomes smoother, it reflects light more evenly and produces a natural glossy finish.
When done correctly, buffing can:
- Smooth nail ridges
- Improve nail texture
- Create a healthy natural shine
- Prepare nails for polish application
- Enhance the appearance of natural nails without polish
Because buffing removes a very thin layer from the nail surface, it should always be done gently and not too frequently.
Why Use a Nail Buffer Block?
A nail buffer block is one of the easiest tools for improving the look and feel of natural nails. It helps smooth small ridges, refine the nail surface, and create a polished appearance without requiring nail polish.
Many people use buffing blocks as part of a basic manicure routine because they help prepare nails for polish, improve texture, and restore shine to dull nails. When used correctly, buffing can make nails appear healthier and more even in just a few minutes.
How Nail Buffers Work: Grit Levels and Buffer Sides Explained
Nail buffer blocks typically include multiple sides with different grit levels. The grit number indicates how coarse or fine the surface is. Lower numbers are rougher, while higher numbers are smoother.
A typical 4-way nail buffer may include:
- 180–240 grit: smooths nail ridges and uneven areas
- 240–400 grit: refines the nail surface
- 400–600 grit: buffs the nail plate
- 1000+ grit: polishes the nail for shine
Many buffer blocks label each side with numbers or steps such as 1. File, 2. Buff, 3. Smooth, 4. Shine. Following these steps in order helps refine the nail gradually and prevents over-buffing.
Starting with the roughest surface and finishing with the smoothest side ensures the nail becomes progressively smoother and more reflective.
Step-by-Step: How to Use a Nail Buffer Block
Follow these steps to transform your nails at home:
Step 1: Start with Clean Nails
Remove any polish and wash your hands. Dry thoroughly before you begin to prevent tearing or splitting.
Step 2: Shape the Nail with a File
Use a nail file to shape the edges of your nails before buffing. Buffer blocks are designed for surface refinement, not shaping.
Step 3: Use the Coarse Side to Smooth Ridges
Gently glide the coarse side over the nail surface in one direction. Focus on visible ridges or uneven areas while applying light pressure.
Step 4: Refine the Surface with Medium Grit
Switch to the medium grit side to smooth the nail plate and remove minor imperfections left by the previous step.
Step 5: Buff with the Fine Grit Side
Use the fine surface in light circular motions to refine the nail plate and prepare it for polishing.
Step 6: Polish with the Shine Side
Finish by gliding the shine side across each nail. This step creates the natural glossy finish associated with professional manicures.
💡 See it in action and give your natural nails a healthy, radiant finish.
Common Nail Buffing Mistakes (And How to Avoid Them)
Buffing nails is simple, but improper technique can weaken the nail plate. Avoid these common mistakes:
- Buffing too frequently: Over-buffing can thin the nail surface.
- Applying too much pressure: Gentle strokes work best.
- Using the wrong side first: Always move from coarse to fine.
- Buffing wet nails: Nails should always be dry to prevent tearing.
- Skipping aftercare: Moisturizing nails helps maintain strength and flexibility.
How Often Should You Buff Your Nails?
Nails should generally be buffed no more than once every two to four weeks. Buffing too often can thin the nail plate because each session removes a small layer from the nail surface.
If your nails are naturally smooth, buffing once a month is usually enough to maintain shine. People with visible ridges may benefit from occasional gentle buffing, but aggressive buffing should always be avoided.
To keep nails healthy between buffing sessions:
- Apply cuticle oil regularly
- Keep nails trimmed and shaped
- Wear gloves when using cleaning chemicals
- Moisturize hands and nails daily
Key Benefits of Using a Nail Buffer on Natural Nails
- Boosts shine without polish
- Improves nail texture and smoothness
- Enhances polish adhesion for longer wear
- Removes light stains and discoloration
- Helps nails look healthier and more even
Buffer Blocks vs. Electric Nail Drill Sanding Bits
For those considering professional manicure tools, it helps to understand the difference between manual buffer blocks and sanding bits used with electric nail drills.
| Feature | Buffer Block | Sanding Nail Bit |
|---|---|---|
| Ease of Use | ✅ Beginner-friendly | ❌ Requires practice |
| Precision | ✅ Great for general buffing | ✅ Excellent for detailed cuticle work |
| Portability | ✅ Compact and travel-ready | ❌ Needs power source/device |
| Best For | Natural nail maintenance | Advanced shaping & prep |
| Product | 👑 View best seller | 💡 See nail sanding devices |
How to Clean and Maintain a Nail Buffer Block
Maintaining your buffer block helps extend its lifespan and ensures better hygiene.
- Store the block in a dry, clean place
- Brush away nail dust after each use
- Keep it separate from other manicure tools
- Replace the block every 2–3 months if used regularly
✅ Perfect for your daily routine—simple, fast, effective nail care.
Troubleshooting Nail Buffing Problems
Why do my nails look dull after buffing?
Dull nails after buffing usually mean the final shine step was skipped or not done long enough. The highest-grit side of the buffer creates the reflective finish, so spend extra time polishing the nail surface with gentle strokes.
Why do my nails peel after buffing?
Peeling nails may occur if the buffer was too coarse or if buffing was done too frequently. Over-buffing removes layers from the nail plate and weakens the nail structure.
Can buffing damage natural nails?
Yes, excessive buffing can thin the nail plate and make nails weaker. Always use light pressure and limit buffing sessions to once every few weeks.
FAQs: Nail Buffer Blocks and Nail Buffing
How often should I buff my nails?
Once every 2–4 weeks is generally recommended. Buffing too often can thin the nail plate over time.
Can I use a nail buffer block on gel or acrylic nails?
Yes, but use a gentle side and light pressure. Buffing is typically used to smooth the surface of gel or acrylic enhancements before polishing or finishing.
What’s the difference between a sanding block and a sanding nail bit?
Sanding blocks are manual manicure tools used for natural nails. Sanding bits attach to electric nail drills and are designed for professional nail shaping and artificial nail enhancements.
What is nail buffing?
Nail buffing is the process of smoothing and polishing the surface of natural nails using a buffer tool. The process removes small ridges and imperfections to create a smoother and shinier nail surface.
How do nail buffers work?
Nail buffers work by gradually smoothing the nail surface with finer abrasive layers. As the nail becomes smoother, light reflects more evenly, creating a natural glossy appearance.
Related Articles:
- Why You Should Switch to a Mini Nail Buffer for Travel Now
- Avoid These Common Nail Buffering Mistakes Starting Today!
- How Does a Nail Buffer Work? Uncover the Secrets of Smooth Nails
- Master Nail Buffing: Why Your Buffer Might Be Damaging Nails
- 5 Easy Steps to Perfect Nails Using a Nail Buffer Block
Pillar Articles: