

Does cleaning an electric shaver really make a difference?
Answer: Yes — learning how to clean an electric shaver restores cutting performance, reduces skin irritation, and extends the life of a USB rechargeable electric shaver. A quick daily rinse plus a weekly deep-clean and lubrication can improve shave comfort and save you from early replacements.
⏱ 12 min readHow to Clean an Electric Shaver: Step-by-Step Guide
Learning how to clean an electric shaver keeps your skin smooth, reduces irritation, and helps every shave feel salon-fresh. This guide walks you through fast daily steps, a careful weekly deep clean, and monthly upkeep so your USB rechargeable electric shaver lasts longer and performs better—plus real tips users miss that make the biggest difference.
Quick guide to pick a shaver that matches your daily routine.
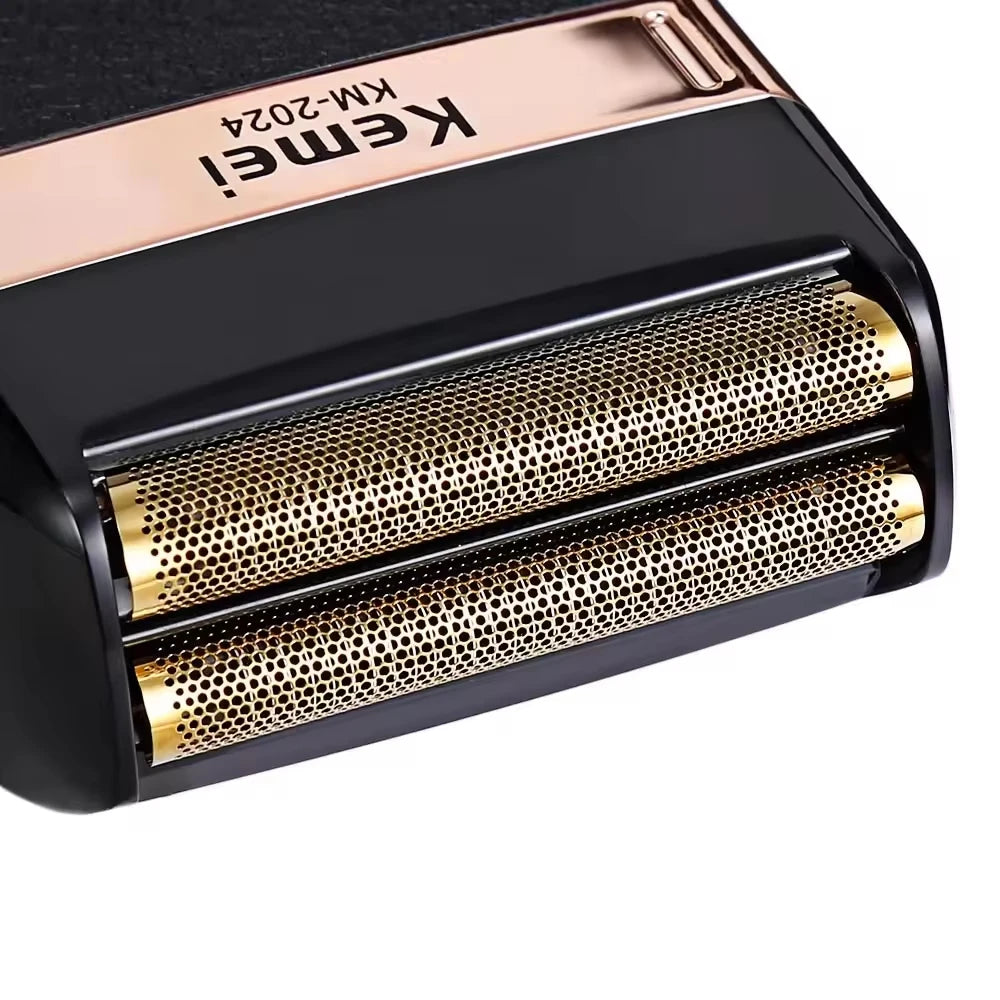
how to clean an electric shaver — clean electric shaver parts for better results 💡 See it in action. Get the KentDO shaver
Which style suits you best? Read on!
Quick solution: Clean your shaver in under 5 minutes
Want the fastest way to restore smoothness? Right after shaving, flip open the head, tap loose hairs out, and rinse under running water (if your model is washable). Finish with a light shake and air-dry head-up for 10–20 minutes. That routine keeps most issues away.
Why cleaning an electric shaver matters
- Better shave quality: Hair and skin oils clog blades, blunt the cutters, and reduce contact with skin — cleaning restores performance.
- Less irritation: Trapped debris harbors bacteria. Cleaning and occasional sanitizing lowers the risk of bumps and redness.
- Longer life: Simple maintenance like lubrication and replacing foils when worn prevents motor strain and overheating.
- Battery efficiency: A clean head spins more freely, which can slightly improve the runtime of a USB rechargeable electric shaver.
How this simple habit saves time and money in minutes
Taking 2–5 minutes after each shave keeps blades sharp and reduces the need for replacement parts, so your device stays reliable longer.
Daily routine: Fast post-shave clean (5 steps)
- Turn off and unplug: Always switch the shaver off and disconnect from the charger.
- Open the head: Remove the cutter block or foil plate according to the manual.
- Tap & brush: Lightly tap the head on the sink edge to dislodge hairs, then use the small brush provided to sweep away residue.
- Rinse if washable: Rinse the foil and cutter under lukewarm running water. Avoid hot water as it can warp plastic parts.
- Air dry & reassemble: Let parts air dry for 10–20 minutes before reassembly. Store with the protective cap on.
Quick tip: If your shaver is not fully waterproof, use a damp cloth instead of rinsing. Always consult your user manual for 'washable' labeling.
Daily checklist (copy & keep)
- Switch off & unplug
- Tap loose hairs
- Brush or rinse parts
- Dry and store upright
Weekly deep clean: Remove build-up and sanitize
Direct answer: To deep clean an electric shaver, remove the foil or cutter, rinse or soak removable parts in a mild solution, brush the inner housing, dry fully, and add a drop of clipper oil to moving parts—this keeps blades sharp and reduces irritation (40–60 words).
Weekly care removes oils and residue that daily rinsing misses. Follow these steps every 7–10 shaves for best results.
Weekly deep-clean steps
- Gather supplies: Small brush, mild dish soap, warm water, 70% isopropyl alcohol (optional), cloth, and a few drops of light lubricating oil made for shavers.
- Remove head assembly: Carefully detach the foil or cutter block; set small parts on a clean towel.
- Soak removable parts: Soak metal cutters/foils in warm soapy water for 3–5 minutes if the manual allows. Do NOT soak motors or electronic housings.
- Brush housing: Use the small brush to sweep inside the housing and around the motor area to remove trapped debris.
- Rinse and dry: Rinse the foils and cutters, then dry thoroughly with a lint-free cloth and allow to air-dry completely.
- Optional sanitizing: Lightly dab foils with an alcohol wipe or 70% isopropyl alcohol to disinfect—avoid soaking.
- Lubricate: Add one drop of oil to each cutter and run the shaver for a few seconds to spread the oil evenly.
- Reassemble: Put everything back once completely dry and test for normal operation.
| Step | Why it matters |
|---|---|
| Remove head | Prevents damage to delicate foils and exposes trapped debris. |
| Soak & rinse | Removes oils that blunt cutters over time. |
| Lubricate | Maintains smooth movement and reduces wear. |
Monthly maintenance: Replace parts, lubricate, inspect
Once a month, inspect foils and cutters for wear, check seals for damage (important on waterproof models), and test the battery and charging port. Replace foil or cutter blocks when they show visible dents, tears, or reduced performance.
- Replace schedule: Foils and cutters typically last 12–18 months with regular cleaning; high-use users may replace every 6–12 months.
- Battery care: For USB rechargeable electric shaver models, avoid leaving the device plugged in constantly. Follow manufacturer charge cycles.
- Storage: Store with the protective cap, in a dry, ventilated place. Avoid storing in a sealed damp bag.
How to tell if parts need replacement
- Reduced cutting performance after proper cleaning
- Visible nicks or folds in foils
- Increased tugging or noise from the motor
Troubleshooting common cleaning problems
Shaver smells or stings after cleaning
Cause: Residual moisture or alcohol residue. Solution: Let parts dry fully before reassembly. Use only a light alcohol wipe, not soaking.
Foil dents after cleaning
Cause: Rough handling or tapping against hard surfaces. Solution: Use the brush and gentle taps into a towel; never press foils into the sink edge or hard surfaces.
Motor runs but blades don't cut well
Cause: Dull cutters or misaligned parts. Solution: Clean thoroughly, lubricate, then check alignment per the manual; if performance is still poor, replace cutter block.
Compare cleaning options & accessories
Different users prefer fast rinses, ultrasonic cleaners, or commercial cleaning stations. Here’s a compact comparison to help choose:
| Method | Pros | Cons |
|---|---|---|
| Rinse & brush | Quick, free, safe for most washable models | May not remove grease entirely |
| Ultrasonic cleaner | Deep clean small crevices | Requires separate device and correct fluids |
| Manufacturer cleaning stations | Convenient, sanitizes and lubricates automatically | Ongoing cost for cleaning cartridges |
Which option fits your routine?
- Daily quick rinse: ideal for travel and busy mornings.
- Weekly deep clean: best for regular users who want longevity.
- Cleaning station: suits users who want “set-and-forget” convenience and don’t mind refill costs.
Shop the KentDO electric shaver for reliable performance and easy cleaning.

clean electric shaver — electric shaver cleaning tips in action 💡 See it in action. Check the model
Product spotlight: pairing cleaning with the right shaver
For many users the easiest transformation is pairing a simple cleaning routine with a reliable USB rechargeable electric shaver. Models designed for easy head removal, washable parts, and visible spare parts make maintenance painless.
Why the KentDO model stands out
Direct answer: The KentDO electric shaver is built for simple cleaning — removable washable heads, a durable cutter block, and USB charging that supports frequent use. Proper cleaning keeps its performance steady and reduces irritation for daily users (40–60 words).
Pairing that design with the weekly and monthly steps above makes the KentDO an easy-to-maintain daily shaver. Replace foils on schedule and use a drop of oil to keep it running smoothly.
Related product categories to explore: Body Care and Health Devices, Hair Care and Styling Devices, and Skin and Beauty Care Devices.
Before & after: real results and reviews
Here are short, anonymized quotes from users who followed the cleaning routine:
"After two weeks of the daily rinse plus weekly deep clean, my shaver cuts smoother and no more post-shave redness." — R.J., daily user
"Swapping foils at 10 months and staying on top of monthly lubrication halved the noise and made the battery last longer." — M.K., busy professional
Small consistent maintenance delivers big perceived value: fewer pulls, cleaner skin, and longer device life.
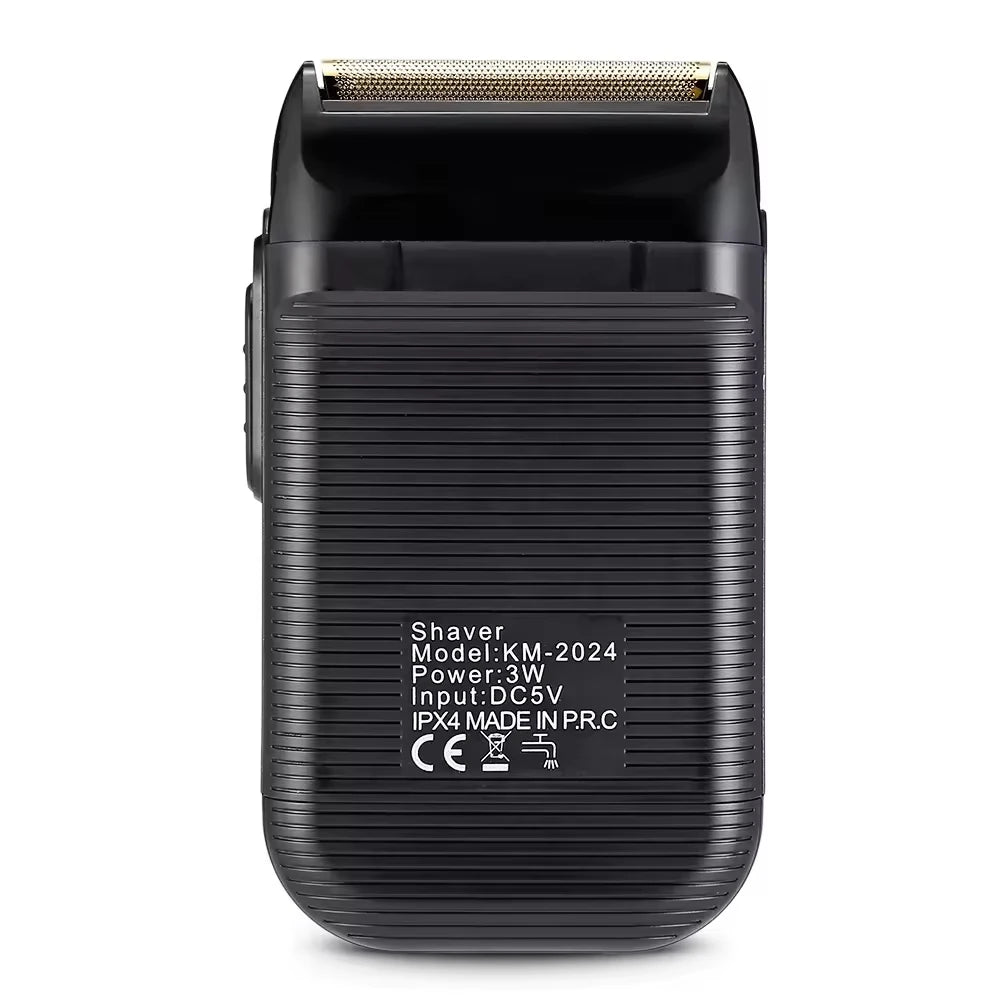
electric shaver cleaning — before and after maintenance 💡 See it in action. Shop KentDO
Maintenance checklist for the year
- Daily: Quick tap, brush, and rinse (if applicable).
- Weekly: Deep clean, optional disinfect, lubricate.
- Monthly: Inspect foils/cutters, test battery behavior, check seals.
- Every 6–18 months: Replace foil and cutter according to wear and usage.
Advanced tips & things most users miss
- Always dry metal parts fully before reassembly — moisture is the main cause of odor and corrosion.
- Use only a single drop of oil per moving surface — excess oil attracts dust.
- Keep the charging port clean and dry; a microfibre cloth around the port prevents lint build-up.
- When traveling, use a protective travel cap and avoid storing in damp gym bags.
Mini-FAQ (schema-ready)
How often should I clean my electric shaver?
Quick rinse and brush after each shave; a deeper clean (remove the head and sanitize) every 7–10 shaves; inspect and replace foils/cutters every 6–18 months depending on use.
Can I use water to clean my shaver?
Only if the model is labeled washable or waterproof. For non-washable models, use the brush and damp cloth. Never submerge the motor housing or USB port.
What is safe for sanitizing?
Use a 70% isopropyl alcohol wipe applied lightly to metal foils and cutters. Do not soak. Allow parts to dry fully before reassembly.
How long do foils and cutters last?
Typically 12–18 months with regular use, but heavy users may need replacements every 6–12 months. Replace when you notice decreased cutting performance despite cleaning.
How do I lubricate an electric shaver?
Apply one drop of shaver oil to each cutter surface, run the shaver for 3–5 seconds to spread the oil, then wipe excess. Do this after a deep clean or monthly.
Final thoughts — keep shaving simple and smooth
Cleaning your shaver is the single most impactful habit to improve daily shaving comfort. The routine is short, the benefits are immediate, and the result is cleaner skin, longer device life, and fewer replacements.
- After each shave: tap, brush, rinse (if washable).
- Weekly: remove head, deep clean, sanitize, lubricate.
- Monthly: inspect and replace parts as needed.
👉 Discover the best options for your hair type — explore related devices: Body Care and Health Devices, Skin and Beauty Care Devices, Hair Care and Styling Devices.
Tags: how to clean an electric shaver, clean electric shaver, electric shaver cleaning, usb rechargeable electric shaver, electric shaver use, shaver maintenance, grooming tips, shaver hygiene, mens grooming, shaving care
Related Articles:
- Best Shave Technique for a Smooth Finish Every Time
- Can You Use an Electric Razor in the Shower? Pros and Cons
- How to Prevent Shaving Irritation: Tips That Work
- Proper Technique for Shaving: Avoid Cuts and Irritation
Pillar Articles:
- How to Clean Electric Shaver Heads: Perfect for Daily Use
- Good Electric Shaver for Men: Best Choices for Every Hair Type
- Top Rated Electric Shavers for Sensitive Skin: Features and Benefits
- How to Get a Close Shave with an Electric Razor: Step-by-Step Tips
- Best Electric Shaver for Men: Top Picks and Honest Reviews













