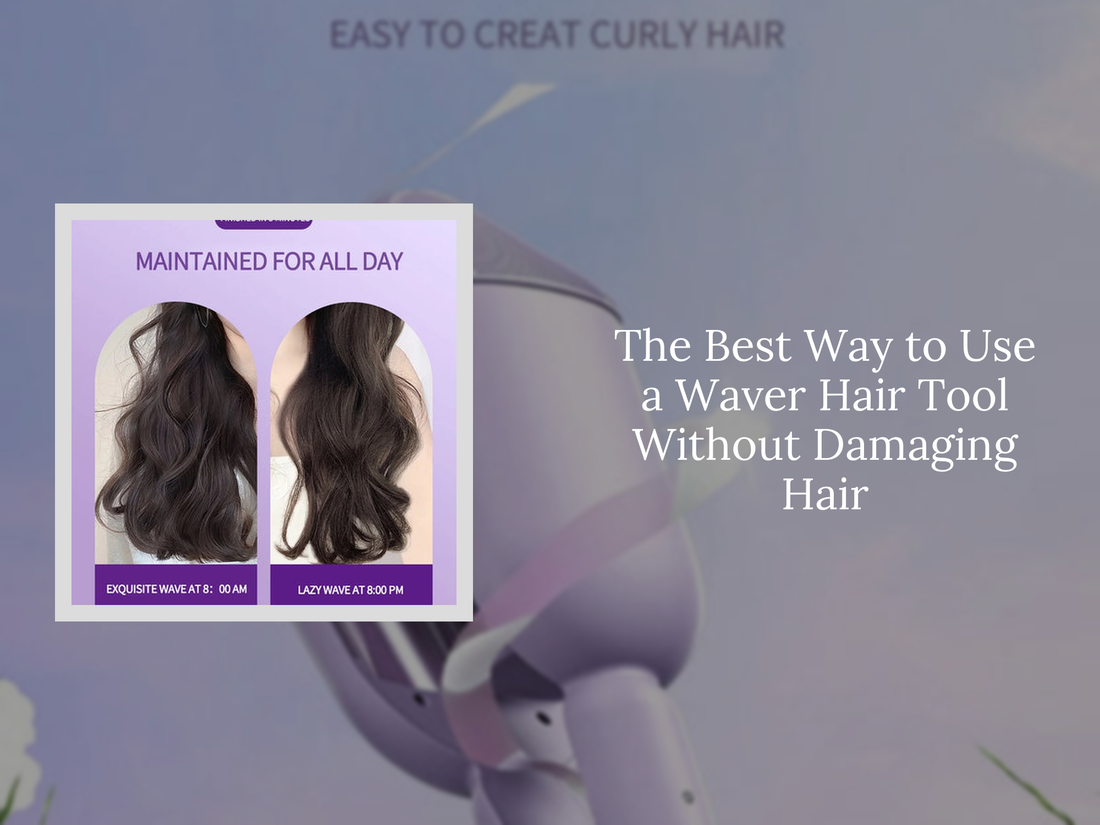
The Best Way to Use a Waver Hair Tool Without Damaging Hair
Using a waver hair tool the wrong way can fry your strands fast—but there’s a smarter method. Learn how the ceramic 2 inch curling iron compares, why the deep wave hair tool isn’t one-size-fits-all, and which of the best hair tools for waves give salon results without the heat damage. Ready to wave smarter, not harder?
⏱ 7 min read

💡 See it in action: waver hair tool delivers heatless-looking beach waves fast
What Is a Hair Waver?
A hair waver is a heated styling tool designed to create consistent S-shaped waves instead of traditional curls. Unlike a curling iron that wraps hair around a barrel, a deep waver uses multiple heated plates that clamp hair into a wave pattern.
This design makes it easier to produce uniform beach waves or deep vintage waves across the entire head. Because the plates shape the hair automatically, beginners often find a waver heat tool easier to use than a curling iron.
What Does a Deep Waver Do to Hair?
A deep waver presses hair between curved plates to create structured wave patterns. Each clamp forms one section of the wave, and moving the tool down the hair continues the pattern.
- Creates defined S-shaped waves
- Adds texture and volume
- Works well for beach waves or mermaid waves
- Produces consistent styling across all hair sections
Do Hair Wavers Work for All Hair Types?
Yes. Hair wavers work on most hair types, though heat settings and section sizes may need adjustment. Fine hair typically requires lower heat, while thick or coarse hair benefits from slightly higher temperatures and longer clamp times.
How to Use a Hot Tools Deep Waver (Step-by-Step Tutorial)
Learning how to use a Hot Tools deep waver is easier than mastering a curling iron because the plates shape the wave for you. Follow these steps to create smooth, consistent waves.
Step 1: Prep Hair With Heat Protectant
Start with completely dry hair and apply a heat protectant spray. This helps prevent heat damage while keeping waves smooth and shiny.
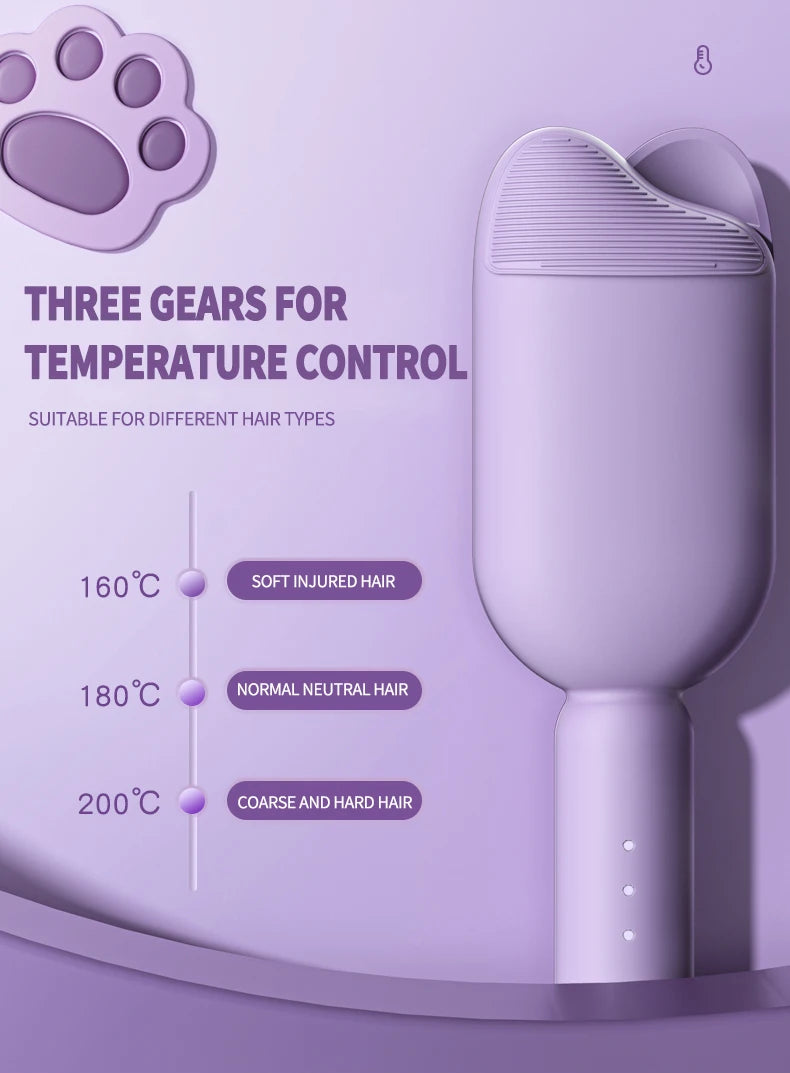
Step 2: Choose the Right Heat Setting
- Fine hair: 250–300°F
- Medium hair: 300–350°F
- Thick or coarse hair: 350–410°F
Step 3: Section Your Hair Properly
Divide hair into 1–2 inch sections using clips. Smaller sections allow the waver heat tool to create more defined waves.
Step 4: Clamp the Waver Correctly
Place the deep waver near the root and clamp gently for about 3–5 seconds. Avoid holding the tool too long to prevent creases or heat damage.
Step 5: Continue the Wave Pattern
Move the tool down the hair so the next clamp aligns with the previous wave. This keeps the pattern continuous and natural looking.
Step 6: Finish and Set the Waves
Once all sections are waved, allow hair to cool before brushing lightly. Finish with texture spray or light hairspray to help the waves last longer.
💡 Deep wave hair tool results that last — even on thick hair
Hair Prep Before Using a Waver Heat Tool
Proper hair preparation helps waves form more evenly and last longer. Taking a few minutes to prep your hair can significantly improve results.
Should Hair Be Completely Dry?
Yes. Hair should always be fully dry before using a heated styling tool. Using a deep waver on damp hair can cause uneven waves and increase the risk of heat damage.
Products That Help Waves Last Longer
- Heat protectant spray
- Lightweight mousse for hold
- Texture spray for beachy waves
- Flexible hairspray for long-lasting style
Why Heat Damages Hair (and How to Prevent It)
Heat styling tools temporarily reshape the protein bonds inside hair strands. When the temperature is too high or applied too frequently, the hair cuticle weakens and loses moisture.
This leads to dryness, frizz, and breakage over time. Fortunately, simple precautions can significantly reduce heat damage when using a waver heat tool.
- Use ceramic tools that distribute heat evenly.
- Always apply a heat protectant before styling.
- Keep temperatures moderate whenever possible.
- Avoid daily heat styling to maintain hair health.
Common Mistakes When Using a Deep Waver
Even though a waver heat tool is beginner-friendly, a few common mistakes can lead to uneven waves or unnecessary heat damage.
Using Sections That Are Too Thick
Thick sections prevent the plates from shaping hair evenly. For the best results, use sections about 1–2 inches wide.
Holding the Clamp Too Long
Leaving the waver in one place for too long can create harsh creases or damage hair. Most hair types only need 3–5 seconds per clamp.
Starting Waves Too High on the Head
Beginning too close to the scalp can create unnatural volume. Start slightly below the roots for a more relaxed, beachy look.
How to Make Waves Last All Day
If your waves fall flat quickly, a few styling adjustments can help them hold their shape longer.
- Use mousse or volumizing spray before styling.
- Allow waves to cool completely before touching them.
- Finish with texture spray rather than heavy hairspray.
- Sleep with loose braids to preserve waves overnight.
Waver vs Curling Iron: Which Tool Is Better?
Both styling tools create waves or curls, but they work differently and produce different looks.
Hair Waver vs Curling Iron Results
- Hair waver: Creates consistent S-shaped waves across the entire section.
- Curling iron: Produces individual curls that can vary in size.
When to Use Each Tool
- Use a hair waver when you want uniform beach waves.
- Use a curling iron when you want loose curls or more styling flexibility.
For beginners, a waver heat tool is often easier because the plates guide the wave shape automatically.
How to Choose the Best Hair Waver for Your Hair Type
The best hair tools for waves vary depending on hair texture and desired results. Here’s how to match the tool to your needs:
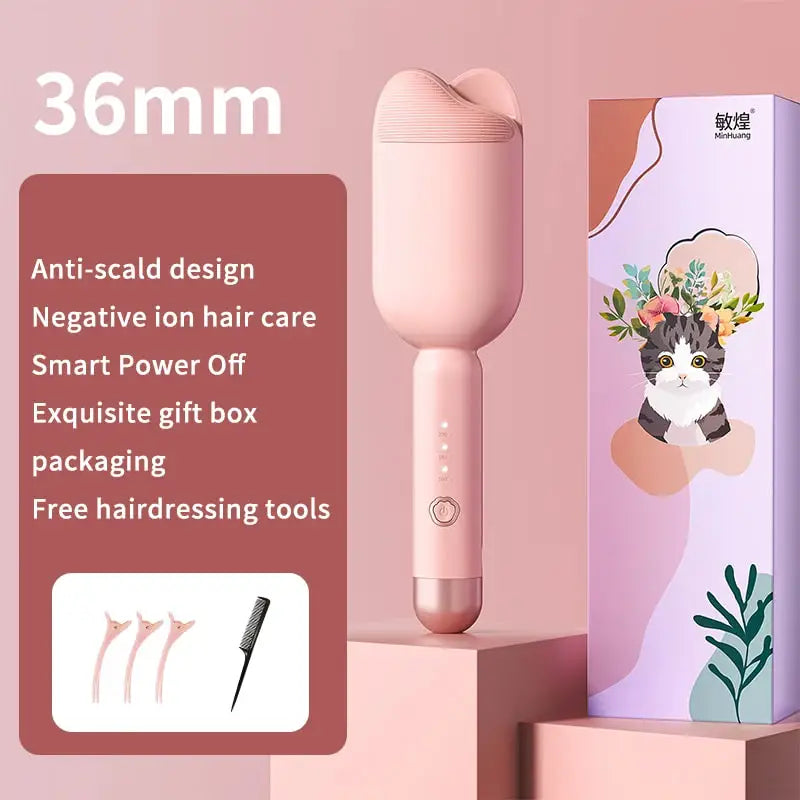
| Hair Type | Tool Type | Recommended Barrel |
|---|---|---|
| Fine / thin hair | Triple barrel ceramic waver | 25mm–32mm |
| Thick / coarse hair | Deep wave hair tool | 32mm–36mm |
| Short hair | Mini waver / wand | 19mm–25mm |
| Long hair | Ceramic 2 inch curling iron | 36mm+ |
✅ Explore more hair styling tools in our collection
Styling Tips for Deep Wave Hair Tools
Beach Waves vs Deep Waves
Beach waves are softer and more relaxed, while deep waves are more defined and structured. To create beach waves, brush them out slightly after styling. For deep waves, leave them untouched.
Creating Volume at the Roots
For added volume, start waving slightly lower on the hair and tease the crown lightly. This creates natural lift without flattening the wave pattern.
Care Tips to Use Heat Tools Safely
Protecting your hair from heat damage is just as important as the styling itself. Follow these care tips:
- Use a heat protectant every time you style.
- Clean tool plates weekly to remove buildup.
- Stick to low-medium temperatures whenever possible.
- Air dry hair before applying heat.
- Limit styling to 2–3 times per week.
💡 Safe hair curling with KentDO’s ceramic waver — perfect for everyday use
FAQ
Is a waver hair tool safe for daily use?
It’s safe when used properly with a heat protectant and at a moderate temperature. However, most experts recommend limiting heat styling to a few times per week.
Can I use a waver hair tool on wet hair?
No. Heated styling tools should only be used on completely dry hair to prevent breakage and severe heat damage.
What's the difference between a deep wave tool and a curling iron?
A deep wave tool creates consistent S-shaped patterns using plates, while curling irons wrap hair around a barrel to form round curls.
How do I make the waves last longer?
Use a heat protectant with light hold, allow waves to cool before touching them, and finish with a texture spray for flexible hold.
Can beginners easily use a hair waver?
Yes. Many beginners prefer waver tools because the plates guide the wave shape automatically, making it easier to create consistent results compared to curling irons.
📚 Want more styling tips and device guides? Visit our Hair, Skin & Nail blog.
Pillar Article: How to Use Hair Waver Tools Like a Pro – Even on Day 2 Hair
Other Related Articles:
- How to Use a Ceramic 2 Inch Curling Iron for Natural Waves
- Your Deep Waver Hair Tool Isn’t Working? Try This Fix
- Can a 3 Curler Barrel Actually Save You Styling Time?
- Deep Waver Hair Tutorial for Long Hair (Step-by-Step)
Explore More: