

What Is a Nail Buffer Block Used For? (Complete Guide to Nail Buffing)
Ever wondered how a nail buffer transforms rough nails into a glossy finish? Discover the science behind this essential nail sanding tool and how buffing blocks, nail sanding sticks, and sanding nails the right way can improve nail health and shine. Learn the secret behind their multi-sided design and why they’re more than just beauty tools.
⏱ Estimated reading time: 8 min
Beautiful, glossy nails are no longer just a salon luxury—they're now possible in your own home. If you've ever struggled with brittle, dull, or uneven nails, you know how frustrating it is to maintain a polished look. But there’s a quiet hero in the world of nail care: the humble nail buffer.
These simple-looking buffing blocks and nail sanding sticks can dramatically improve the look and texture of natural nails. By gently smoothing the nail plate and polishing its surface, a buffer block helps create a healthy shine without nail polish or harsh chemicals.
💡 See it in action — Discover how this nail buffer brings salon-quality shine to your fingertips
What Is a Nail Buffer Block?
A nail buffer block is a manicure tool designed to smooth, polish, and shine the surface of natural nails. Unlike a traditional nail file that mainly shortens or shapes the nail edge, a buffer block works across the nail plate to refine texture and improve appearance.
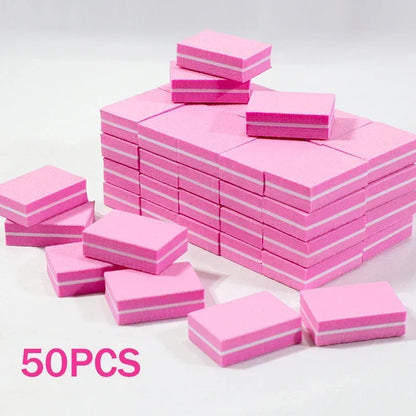
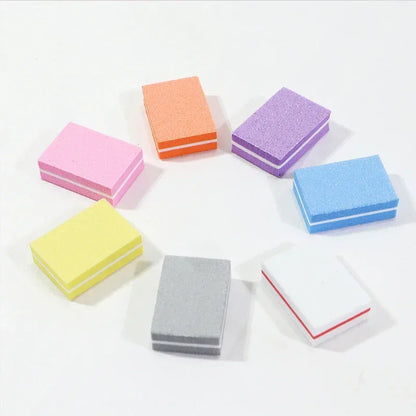
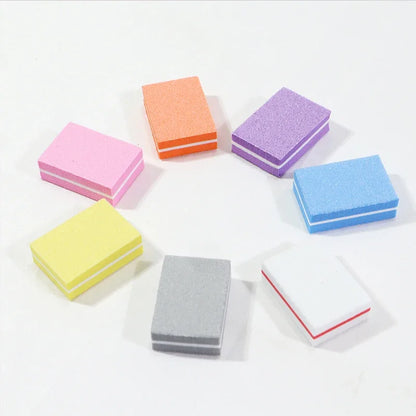
Most buffer blocks are rectangular foam tools covered with fine abrasive surfaces. Each side typically has a different grit level designed for a specific step in the nail buffing process, such as smoothing ridges, refining the nail surface, and creating a glossy finish.
Nail technicians and at-home manicure enthusiasts use buffer blocks to improve nail texture, prepare nails for polish, and create a natural shine without applying nail polish.
- Smooths ridges and uneven nail surfaces
- Prepares nails before polish or gel application
- Enhances natural nail shine
- Improves overall manicure results
How Does a Nail Buffer Work?
A nail buffer works by using very fine abrasive surfaces to gently remove microscopic layers from the top of the nail plate. This process smooths irregularities in the nail’s keratin structure and creates a more even surface.
The Keratin Layer Science Behind Nail Buffing
Human nails are made of compact layers of keratin. Over time, these layers can develop small ridges or uneven textures. Buffing lightly polishes these layers, leveling the surface and making nails feel smoother to the touch.
Why Buffing Creates Natural Shine
When the nail surface becomes smoother, it reflects light more evenly. This increased light reflection is what produces the glossy shine many people notice after buffing their nails.
The final “shine” side of a buffer block typically uses ultra-fine grit designed to polish the nail surface rather than remove material.
The Purpose of a Nail Buffer in a Manicure Routine
In both professional salons and at-home manicures, a nail buffer block plays an important role in refining the nail surface before finishing the manicure.
Smoothing Nail Ridges
Many people develop vertical ridges on their nails due to aging, dryness, or minor nail damage. A buffer block gently smooths these ridges so the nail surface becomes more even.
Preparing Nails for Polish
Buffing removes small surface imperfections and oils, helping nail polish adhere better and appear smoother once applied.
Buffing Nails for Natural Shine
The polishing side of a buffer block can create a healthy shine without using nail polish, making it ideal for natural manicures and minimalist beauty routines.
Understanding the Different Sides of a Nail Buffer Block
Most nail buffer blocks include multiple sides with different grit levels. Each surface performs a specific step in the buffing process.
File or Shape Surface
The roughest side helps shape the nail edge and refine the nail’s basic form before buffing begins.
Smooth or Refine Surface
This side smooths the nail plate and reduces small ridges or uneven areas.
Buff Surface
The buffing surface uses finer grit to polish the nail plate and create a uniform texture.
Shine Surface
The smoothest side polishes the nail to produce a natural glossy finish without polish.
What Does Buffing Nails Do?
Buffing nails improves the surface of the nail plate by gently smoothing tiny ridges and polishing the top keratin layer. This process creates a more even texture, allowing nails to reflect light and appear naturally glossy.
- Reduces visible nail ridges
- Creates a natural shine without polish
- Improves polish adhesion
- Enhances the appearance of natural nails
- Helps manicures look smoother and more professional
✅ Perfect for your daily routine — Smooth and shine with this all-in-one nail sanding stick
Nail Buffer vs Nail File: What’s the Difference?
Although nail buffers and nail files may look similar, they serve different purposes in nail care.
- Nail file: Shapes and shortens the nail edge.
- Nail buffer: Smooths and polishes the surface of the nail plate.
A nail file is typically used at the beginning of a manicure to shape the nails, while a buffer block is used afterward to refine and polish the nail surface.
Using both tools together helps create smoother, more professional-looking manicures.
| Feature | Buffing Blocks | Traditional Nail Files |
|---|---|---|
| Main Purpose | Smooth and polish nail surface | Shape nail edges |
| Use Stage | After shaping | First step of manicure |
| Ease of Use | Beginner-friendly | Very easy |
| Cost | 💡 See price & colors | Low |
How to Use a Nail Buffer Block Correctly
Step-by-Step Nail Buffing Guide
- Start with clean, dry nails.
- Use the shaping side to refine nail edges if needed.
- Gently buff the nail surface with the smoothing side using light strokes.
- Switch to the buff side to polish the nail plate.
- Finish with the shine side to create a glossy finish.
- Apply cuticle oil or moisturizer to keep nails hydrated.
Common Buffing Mistakes to Avoid
- Buffing the same spot repeatedly
- Applying too much pressure
- Buffing too frequently
- Using coarse grit on natural nails
💡 Tip: Limit buffing to once every 2–3 weeks to avoid thinning nails.
How Often Should You Buff Your Nails?
Most nail experts recommend buffing natural nails no more than once every two to four weeks. Buffing too frequently can thin the nail plate over time.
If your nails already appear smooth and shiny, light buffing or skipping the process entirely may be the best option to maintain nail strength.
Does Buffing Nails Damage Them?
Buffing nails is generally safe when done gently and not too often. However, excessive buffing can thin the nail plate because the process removes tiny layers of keratin.
- Use a fine-grit buffer block
- Apply light pressure
- Buff no more than once every few weeks
- Keep nails hydrated with cuticle oil
When used correctly, nail buffers help improve nail appearance without weakening natural nails.
Who Should Use a Nail Buffer?
Nail buffer blocks are useful for many different people and nail care routines.
- People with ridged or uneven nails
- Anyone who prefers a natural manicure without polish
- Individuals preparing nails for gel or regular polish
- Those looking for quick at-home nail maintenance
How to Care for and Replace a Nail Buffer Block
Proper care helps maintain hygiene and performance when using nail buffing tools.
- Wipe the surface with a dry cloth after use
- Avoid soaking the buffer in water
- Store it in a dry place
- Replace every 3–6 months depending on usage
Keeping a clean nail buffer ensures consistent results and safer nail care.
Conclusion: Why Nail Buffing Is a Simple Upgrade for Healthy Nails
Nail buffing is one of the simplest ways to improve the appearance of natural nails. A quality nail buffer block smooths ridges, enhances shine, and prepares nails for polish in just a few minutes.
👉 Discover how this works — Achieve salon-quality shine at home with a nail sanding tool
Nail Buffing FAQ
How often should I use a nail buffer?
Use your nail buffer every 2–3 weeks to maintain healthy nails without over-thinning them.
Can I use a nail buffer on acrylic or gel nails?
Yes, but be gentle and use only the polishing side to add shine without damaging overlays.
Is it safe for sensitive nails?
Yes. Buffing blocks are designed to be gentle when used with light pressure.
Do nail buffers really make nails shiny?
Yes. Buffing smooths the nail surface so it reflects light more evenly, which creates a natural glossy shine.
What grit is best for natural nails?
For natural nails, fine grit buffers between 240 and 400 are typically recommended because they polish the nail surface without removing too much keratin.
Related Articles:


