

How to Blow Dry Hair Properly: Step-by-Step Salon Method at Home
Frizz, flat roots, uneven drying, or heat damage—these are the most common problems people face when trying to blow dry their hair at home. The difference between a professional salon blowout and a DIY attempt isn’t just the tool—it’s the technique. Once you understand the system hairstylists use, you can replicate smooth, shiny, long-lasting results yourself.
This guide introduces a proven Blow Dry Framework: Prep → Protect → Section → Dry → Finish. Master this system, and you’ll not only improve your results—you’ll protect your hair’s long-term health too.
The Blow Dry Framework: A Salon System You Can Follow at Home
This structured method removes guesswork and ensures consistent results for all hair types.
Step 1: Prep Your Hair the Right Way
Start with clean, towel-dried hair. Hair should be about 60–70% dry before using heat. Use a microfiber towel or cotton T-shirt to reduce friction and frizz.
Detangle gently using a wide-tooth comb. Avoid brushing soaking wet hair—it’s more prone to breakage.
For a full routine, explore tools inside the Hair Care and Styling Devices collection to support healthy prep habits.
Step 2: Protect Against Heat Damage
Heat protection is non-negotiable. Blow dryers can reach temperatures that weaken protein bonds in your hair.
- Use heat protectant sprays or creams
- Focus on mid-lengths and ends
- Avoid over-saturating roots
Pairing heat protection with hydration tools from the Skin and Beauty Care Devices collection can also improve overall hair texture.
Step 3: Section for Control and Efficiency
Divide hair into 3–6 sections depending on thickness. Clip each section separately.
This allows:
- Even drying
- Better airflow control
- Faster results
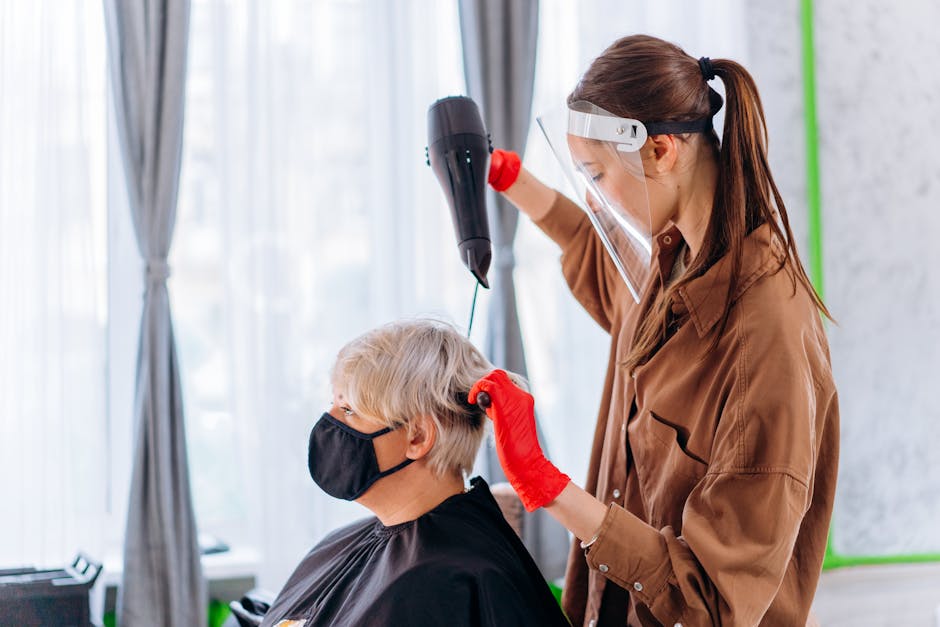
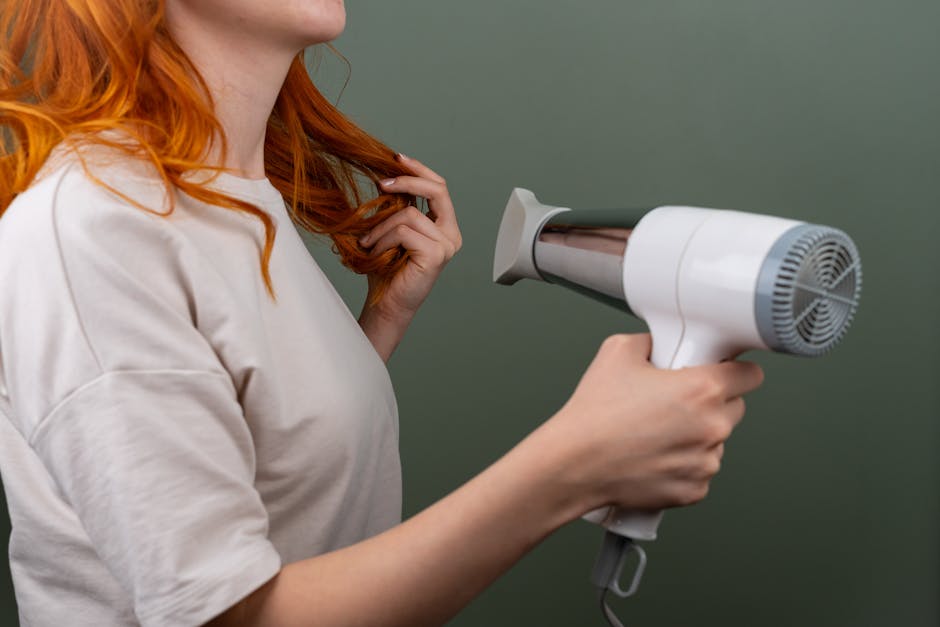
Step 4: Dry with Controlled Airflow
Always direct airflow from roots to ends. This smooths the cuticle and reduces frizz.
- Use medium heat for most of the process
- Keep dryer 15–20 cm away
- Move continuously to avoid overheating
Step 5: Finish for Shine and Hold
Use the cool shot button to seal the cuticle and lock in style.
This final step adds shine and helps your blowout last longer.
Step-by-Step: How to Blow Dry Hair Properly (Beginner to Pro Method)
Exact Step Order for Best Results
- Gently towel dry hair
- Apply heat protectant
- Detangle with a wide-tooth comb
- Section hair into manageable parts
- Pre-dry roots with fingers (no brush)
- Use a brush for shaping while drying
- Direct airflow downward
- Work section by section
- Finish with cool air
- Apply lightweight serum if needed
Common Mistakes to Avoid While Blow Drying
- Using high heat immediately
- Skipping heat protection
- Drying hair while soaking wet
- Pointing airflow randomly
- Overusing heavy styling products
Blow Dryer Technology Explained: Choose the Right Tool

Ionic vs Ceramic vs Tourmaline: What Actually Matters?
Ionic technology breaks down water molecules faster, reducing drying time and frizz. Ceramic distributes heat evenly, while tourmaline enhances smoothness.
For a real-world example, tools like the 7-in-1 Hair Dryer Brush – Ionic High-Speed Styling Tool combine multiple technologies for faster drying and smoother results.

Why Airflow Power Is More Important Than Heat
Stronger airflow removes moisture faster without relying on excessive heat. This minimizes damage while improving efficiency.
Attachments That Change Results (Nozzle, Diffuser, Brush)
- Nozzle: Concentrates airflow for precision
- Diffuser: Preserves curls and reduces frizz
- Brush: Shapes hair while drying
Explore more versatile tools in the Hair Care and Styling Devices collection for different styling needs.
Brush Selection Logic: Which Brush Gives Which Result?

Round Brush Blowout Technique (Volume & Curl)
Use a round brush to lift roots and create volume. Wrap hair around the brush and rotate while applying heat.
Paddle Brush for Sleek Straight Hair
Best for long or thick hair. Paddle brushes help create a smooth, straight finish with less effort.
Hot Air Brush vs Traditional Blow Dryer
Hot air brushes combine drying and styling into one step, making them ideal for beginners.
For example, the KentDO™ LISAPRO 3-in-1 Hot Air Brush – Dryer & Volumizer simplifies the process by drying and volumizing simultaneously.

Hair Science: Why Technique Matters for Frizz-Free Results

Understanding Hair Cuticle Structure
The cuticle is the outer layer of your hair. When it lies flat, hair appears smooth and shiny. Incorrect airflow lifts the cuticle, causing frizz.
Hair Porosity Types and Drying Behavior
- Low porosity: Slow to absorb water, needs gentle heat
- High porosity: Dries quickly but loses moisture fast
How Heat and Airflow Affect Moisture Balance
Too much heat evaporates internal moisture, weakening hair. Balanced airflow preserves hydration while drying effectively.
How to Blow Dry Different Hair Types (Customized Methods)

Fine Hair: Add Volume Without Damage
Use low heat and lift roots with a round brush. Avoid heavy products.
Thick Hair: Faster Drying Strategy
Divide into more sections and use high airflow with medium heat.
Curly Hair: Diffuser Method Without Frizz
Use a diffuser attachment and avoid touching hair too much during drying.
Damaged or Dry Hair: Low-Heat Technique
Stick to low heat and longer drying time to minimize further damage.
Troubleshooting Guide: Fix Common Blow Dry Problems
Why Is My Hair Still Frizzy After Blow Drying?
Likely causes:
- Incorrect airflow direction
- No heat protection
- Over-drying
Why Does My Hair Look Flat?
Lift roots using a round brush and avoid heavy conditioners near the scalp.
Why Does Blow Drying Take So Long?
Hair may be too wet at the start or improperly sectioned.
Speed Techniques: How to Blow Dry Hair Faster at Home
Pre-Dry Methods That Cut Time in Half
- Use microfiber towels
- Air dry for 10–15 minutes before styling
High-Airflow Strategy for Faster Results
Use tools designed for strong airflow and efficient drying. This reduces total exposure to heat.
You can explore efficient styling options inside the Lifestyle collection for everyday convenience tools.
Daily vs Occasional Blow Drying: What’s Healthiest?
Is It Better to Air Dry or Blow Dry?
Air drying reduces heat damage but can cause frizz if done incorrectly. Blow drying with proper technique often results in smoother hair.
How Often Should You Blow Dry Your Hair?
2–3 times per week is ideal for most people. Daily blow drying requires extra care and protection.
For recovery and maintenance, tools from the Wellness & Relaxation collection can support scalp health and stress reduction.
Frequently Asked Questions
How do you blow dry hair properly step by step?
Follow the framework: prep, protect, section, dry with airflow control, and finish with cool air.
What is the healthiest way to blow dry hair without damage?
Use medium heat, strong airflow, and always apply heat protection.
How can I blow dry my hair faster at home?
Pre-dry with a towel, section properly, and use high-airflow tools.
How do you blow dry curly hair without frizz?
Use a diffuser, low heat, and minimal handling during drying.
Is it better to air dry or blow dry hair?
Both can be healthy if done correctly. Blow drying offers more control and styling precision.
Conclusion
Blow drying isn’t just about heat—it’s a system. When you follow the Blow Dry Framework and understand how airflow, heat, and technique interact, you can consistently achieve salon-quality results at home.
Explore more tools and routines in the Hair, Skin & Nail Blog to keep improving your hair care routine.
Pillar Article: Hair Care Routine: Build Your Perfect System for Healthy, Frizz-Free Hair


