
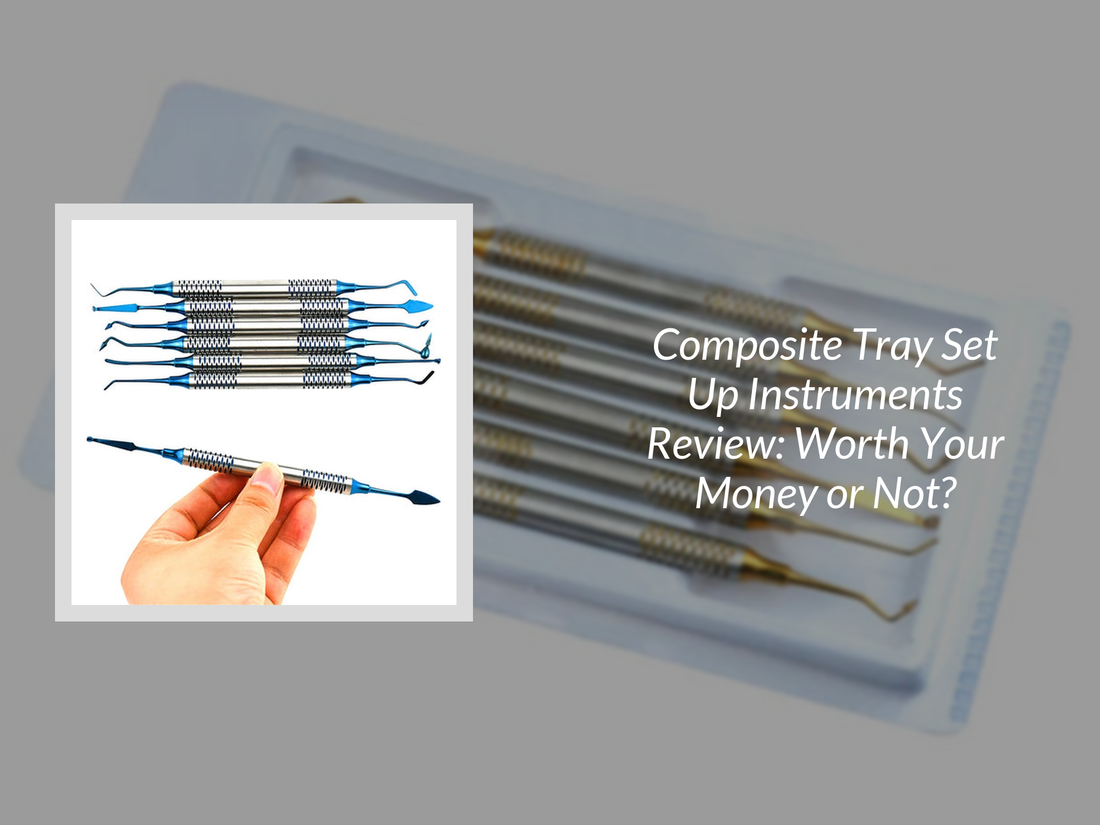
Are composite tray set up instruments worth it?
Composite tray set up instruments help organize the essential tools required for restorative procedures, making composite fillings more efficient, consistent, and predictable. A properly organized tray reduces chairside delays, improves workflow, and supports accurate restorations. While dedicated kits require an initial investment, they often save time and contribute to smoother clinical procedures over the long term.
| ✅ Pros | ❌ Cons |
|---|---|
| Improves chairside efficiency | Initial investment cost |
| Supports precise composite placement | Requires familiarity with instrument organization |
| Reduces procedure interruptions | Some kits may omit specialized instruments |
Composite Tray Instruments and Setup Review: Complete Guide to Composite Filling Tray Setup
A complete guide to composite tray instruments, dental composite tray setup, and the ideal filling tray setup sequence. Learn which instruments are required, how each tool is used, and how an organized composite setup improves restorative workflow while maintaining consistent restorative results.
Whether you're a dental assistant, student, or restorative clinician, understanding composite tray organization is essential for efficient procedures. This guide explains the purpose of each instrument, recommended tray layouts, workflow tips, and practical considerations when choosing a composite instrument kit.
⏱ 7 min read
Ready to elevate your restorative dentistry? See price — stock low!
Composite tray set up instruments - see it in action with KentDO
What Is a Composite Tray Setup in Dentistry?
A composite tray setup is the organized arrangement of instruments and materials required to complete a direct composite restoration. Preparing the tray before treatment ensures every instrument is immediately available throughout the procedure, allowing clinicians to work efficiently without unnecessary interruptions.
A well-organized dental filling tray setup improves procedural flow, minimizes chairside delays, and helps maintain restoration quality from preparation through finishing.
Why Composite Restorations Require a Dedicated Tray
Composite restorations involve incremental placement, contouring, adaptation, curing, and finishing. A dedicated tray ensures that each instrument is available exactly when needed, reducing unnecessary movement and supporting predictable restorative outcomes.
Procedures That Use a Composite Filling Tray Setup (Class I–V)
- Class I posterior restorations
- Class II proximal restorations
- Class III anterior restorations
- Class IV incisal restorations
- Class V cervical restorations
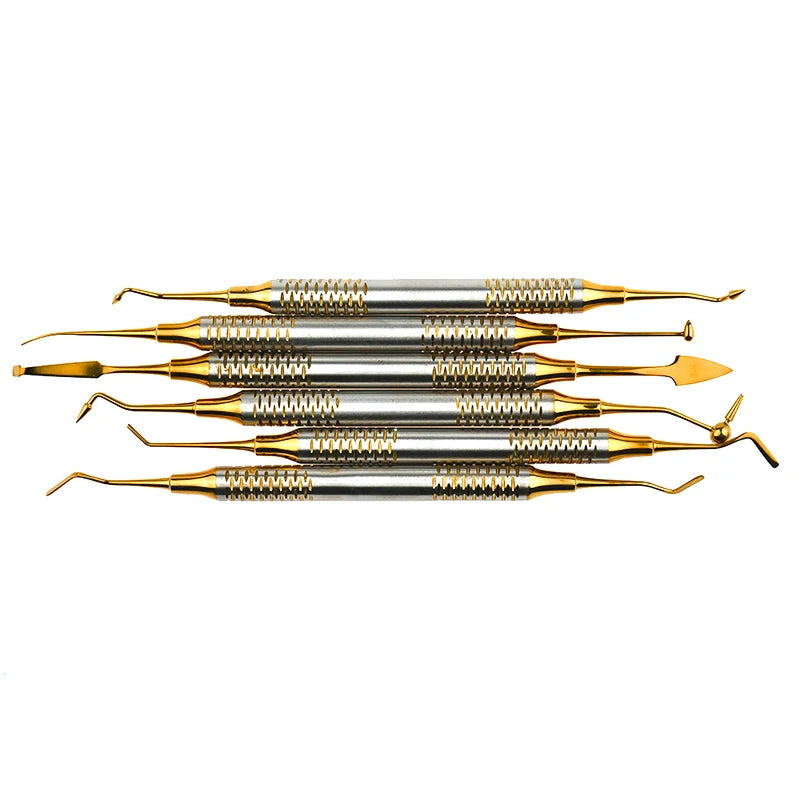
Complete Composite Tray Set Up List for Dental Fillings
A proper composite tray setup includes instruments for isolation, preparation, composite placement, contouring, finishing, and polishing. Organizing these tools according to procedural sequence allows dental teams to maintain an efficient workflow.
- Diagnostic instruments for examination and cavity evaluation
- Isolation tools including matrix systems and wedges
- Composite placement instruments
- Carving and contouring instruments
- Finishing and polishing instruments
- Accessories that improve restorative efficiency
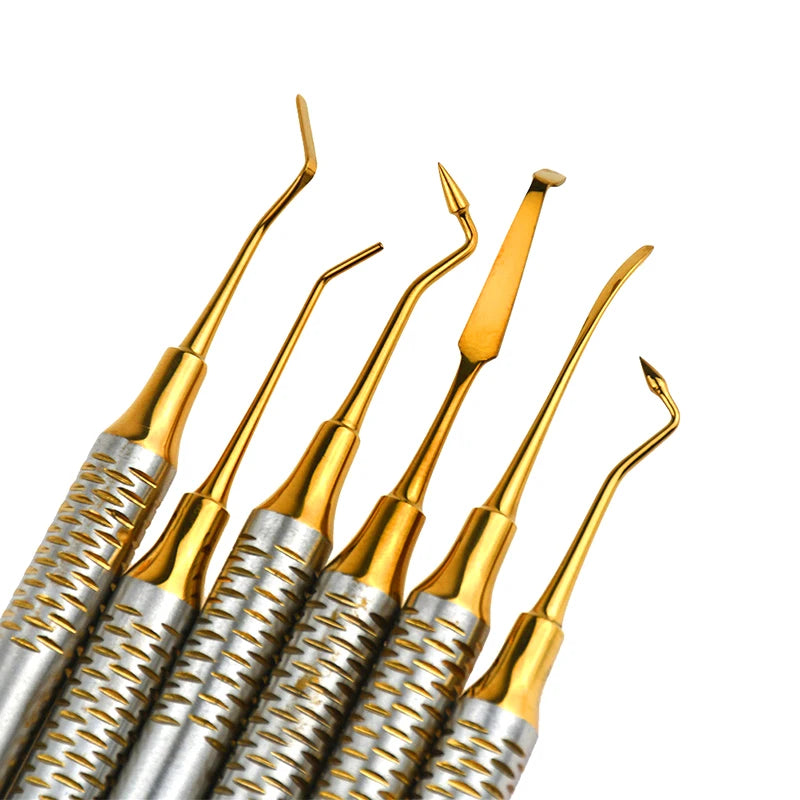
Essential Instruments in a Composite Filling Tray Setup
The core composite filling tray setup includes instruments that support every stage of restoration.
- Mouth mirror: Improves visibility throughout treatment.
- Explorer: Evaluates margins and restoration adaptation.
- Composite placement instrument: Transfers and shapes composite resin.
- Composite plugger: Adapts material into cavity walls and corners.
- Burnisher: Creates smooth contours and anatomical form.
- Carver: Defines occlusal anatomy and removes excess material.
- Finishing instruments: Produce a smooth final restoration.
- Cotton pliers: Handle small materials safely.
Optional Instruments That Improve Composite Workflow
- Composite sculpting instruments
- Microbrush applicators
- Matrix placement instruments
- Finishing burs and polishing accessories
- Articulating paper holder
Beginner vs Professional Composite Setup Tray Differences
Tray organization often varies according to clinical experience.
- Beginner setups: Focus on essential instruments for easier identification.
- Professional setups: Include additional contouring, finishing, and isolation instruments.
- Advanced restorative trays: Often incorporate specialized anterior and posterior composite instruments.
Composite Tray Instruments Explained: Function, Purpose, and Clinical Use
Understanding each instrument's purpose helps clinicians prepare trays efficiently and perform restorations with fewer interruptions.
Key Instruments Used in a Composite Filling Tray Setup
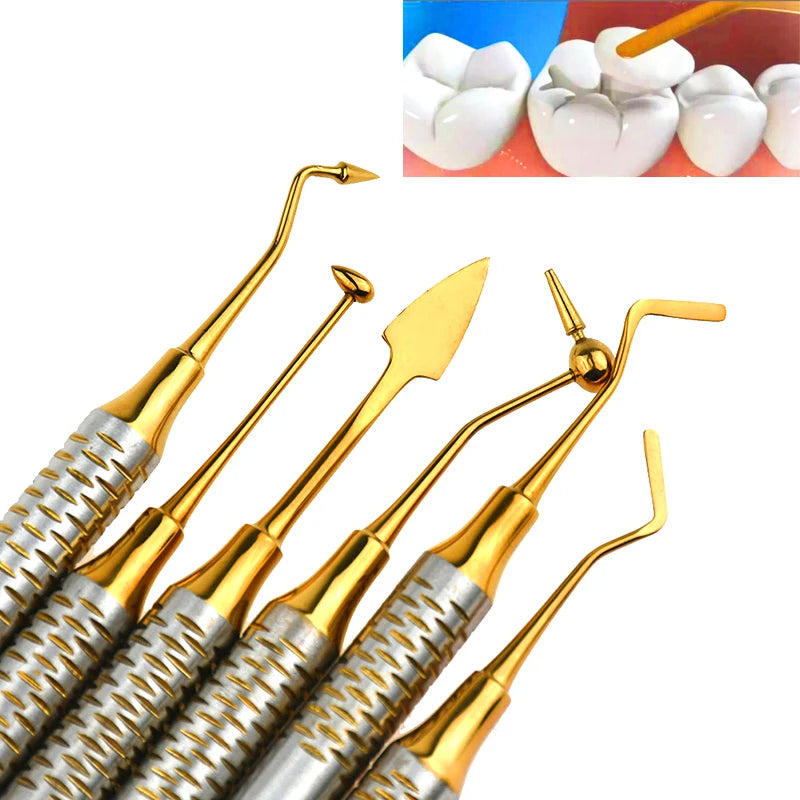
Composite Placement Instrument (Plastic Filling Instrument)
This instrument transfers composite resin into the cavity preparation while minimizing sticking. Different tip designs assist with both anterior and posterior restorations.
Condenser and Composite Plugger
Condensers adapt composite into internal angles and cavity walls, helping eliminate voids and improve adaptation between composite layers.
Burnisher for Contouring and Anatomy
Burnishers smooth restorative surfaces and assist with reproducing natural tooth anatomy before light curing.
Explorer and Carver for Margin Refinement
Explorers evaluate marginal adaptation, while carvers remove excess composite and refine anatomical details before finishing.
Composite Spatula and Mixing Instruments
Composite spatulas assist with handling restorative materials and transferring small increments during layered restorations.
Matrix, Wedge, and Isolation Instruments
Isolation plays an important role in restorative success.
- Matrix bands: Recreate proximal contours.
- Wedges: Improve adaptation and reduce overhangs.
- Cotton rolls: Help maintain moisture control.
- Additional isolation accessories: Improve visibility and consistency.
Composite tray instruments and setup review – organized, efficient, and precise
✨ Don't compromise on precision. Shop the KentDO 6-piece titanium composite set now!
Step-by-Step Dental Tray Setup for Composite Filling Procedures
Preparing the Tray Before the Procedure
Verify sterilization, inspect instrument condition, organize disposable materials, and ensure restorative materials are available before seating the patient.
Recommended Instrument Order for Faster Chairside Workflow
The most efficient setup follows the natural sequence of treatment.
- Diagnostic instruments.
- Isolation and preparation instruments.
- Composite placement instruments.
- Contouring and carving instruments.
- Finishing and polishing instruments.
Infection Control and Sterilization Considerations
All reusable instruments should undergo proper cleaning, packaging, sterilization, and inspection according to clinical protocols before reuse.
Composite Placement Workflow: Preparation to Finishing
- Prepare and isolate the treatment area.
- Complete cavity preparation.
- Place and adapt composite.
- Shape anatomy.
- Finish, polish, and verify occlusion.
Composite Tray Instruments and Setup Review: Clinical Efficiency Evaluation
A high-quality composite tray setup should be evaluated by organization, accessibility, ergonomics, durability, and compatibility with routine restorative procedures.
- Efficient instrument arrangement
- Comfort during repeated procedures
- Easy instrument identification
- Long-term durability
- Support for modern restorative techniques
Ergonomics, Accessibility, and Chairside Efficiency
An organized tray minimizes unnecessary hand movement, reduces procedure time, and helps assistants anticipate each clinical step.
Durability Comparison: Titanium-Coated vs Conventional Instruments
Titanium-coated and conventional stainless-steel instruments both perform effectively when properly maintained.
- Titanium-coated instruments may offer improved resistance to surface wear.
- Conventional stainless-steel instruments remain a dependable and economical option.
- Proper cleaning and sterilization significantly influence instrument longevity regardless of material.
Pros and Cons of Dedicated Composite Instrument Kits
Advantages for Dental Assistants and Students
- Standardizes tray preparation
- Improves procedural efficiency
- Reduces missing instruments
- Supports restorative training
Limitations to Consider Before Choosing a Kit
- Some clinicians prefer customized trays.
- Lower-quality kits may not withstand repeated sterilization.
- Additional specialty instruments may be required for complex procedures.
KentDO composite tray set up instruments — professional precision for every restoration
Limited stock alert! Order your composite tray set today and transform chairside efficiency.
Common Mistakes When Setting Up a Composite Tray
Missing Instruments That Slow Down Procedures
Double-check trays before every procedure to avoid interruptions caused by missing restorative instruments.
Incorrect Instrument Order
Arrange instruments according to the treatment sequence to improve efficiency and simplify instrument transfer.
Overloading the Tray
Including unnecessary instruments creates clutter and reduces workflow efficiency. Keep the tray organized and procedure-specific.
Composite Tray Setup FAQs
What instruments are needed for a composite filling?
A typical setup includes a mirror, explorer, composite placement instrument, plugger, burnisher, carver, cotton pliers, finishing instruments, matrix system, wedges, and occlusion-checking accessories.
Why is a composite tray setup important?
Proper organization improves efficiency, reduces interruptions, and supports predictable restorative outcomes.
Is a titanium composite instrument kit better?
Titanium-coated instruments may provide improved surface durability and reduced sticking, while conventional stainless-steel instruments remain reliable for many practices. The best choice depends on clinical preferences, maintenance routines, and procedure volume.
Can dental assistants benefit from a dedicated composite tray?
Yes. Standardized trays simplify preparation, improve instrument transfer, and reduce treatment delays.
How should composite instruments be arranged?
Arrange instruments in procedural order, beginning with examination tools, followed by isolation instruments, composite placement instruments, contouring instruments, and finishing tools. This sequence minimizes unnecessary movement and supports efficient chairside workflow.
Explore related care tools in our Oral Care Devices collection or read more in our Oral Care Blog .
Pillar Article: Tooth Filling Tools Reviewed: Which Brand Really Delivers Precision?
Explore More:


