

How to Use an Ultrasonic Cleaner for Dental Instruments the Right Way
Using an ultrasonic cleaner for dental instruments isn't just effective—it’s essential for deep, thorough sanitation. Whether you're working with a dental ultrasonic instrument cleaner or maintaining ultrasonic cleaner dental equipment, the right technique matters. Pair it with the correct ultrasonic denture cleaning solution, and you’ll extend instrument life while slashing manual scrubbing time. But what’s the one mistake professionals make that compromises cleanliness?
⏱ 7 min read
💡 See it in action — ultrasonic cleaner for dental instruments with KentDO
Why Use an Ultrasonic Cleaner for Dental Instruments?
The ultrasonic cleaner for dental instruments provides a powerful, hands-free method of removing microscopic debris and contaminants from complex tools, ensuring optimal hygiene and regulatory compliance.
If you're a dental professional, you already know that traditional scrubbing just isn’t enough. Intricate tools with hinges, grooves, and serrations trap biofilm and organic matter invisible to the naked eye. That’s where ultrasonic cleaning technology shines—it penetrates every crevice using high-frequency sound waves and cavitation.
- Removes plaque, blood, and bacteria more effectively than manual cleaning
- Reaches microscopic crevices that brushes can't
- Reduces cleaning time and physical strain on staff
- Prepares instruments for proper sterilization
- Meets OSHA and CDC hygiene guidelines
Which style suits your clinic best? Read on to discover the proper technique that preserves your instruments and reputation.
How to Use an Ultrasonic Cleaner for Dental Instruments
To use an ultrasonic cleaner for dental instruments correctly, fill the tank with an approved cleaning solution, arrange the tools in the basket without crowding, run the cleaning cycle (typically 5–10 minutes), rinse thoroughly, then sterilize. Always follow the device’s specific instructions.
- Pre-rinse instruments: Quickly rinse tools under warm water to remove large debris before ultrasonic treatment.
- Prepare the cleaning solution: Use an ultrasonic denture cleaning solution or enzyme-based cleaner diluted per manufacturer’s instructions.
- Load instruments correctly: Place tools in the basket without overlapping. Avoid direct contact with the tank bottom.
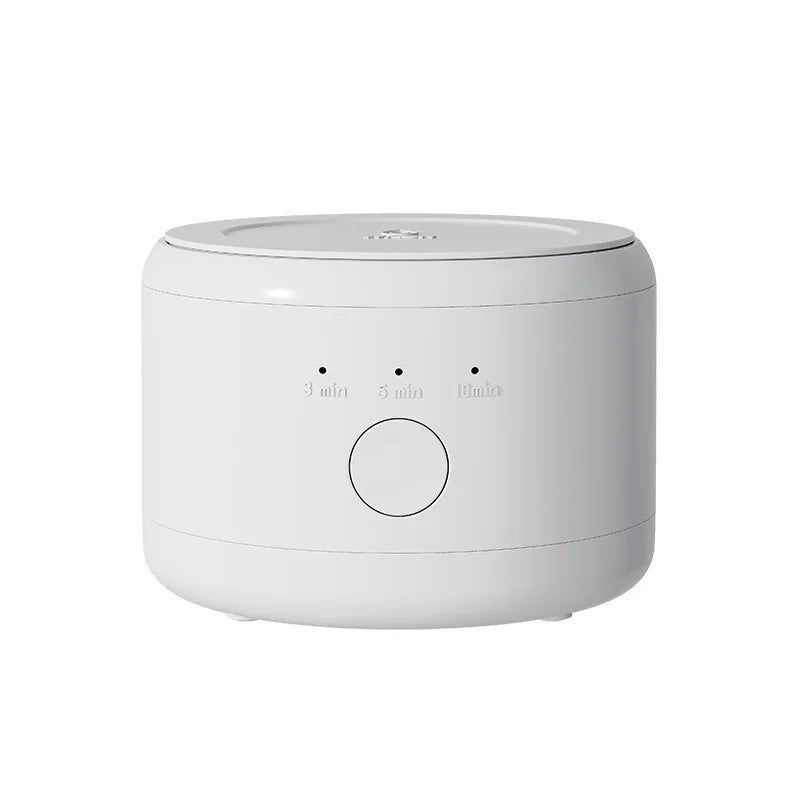
- Start the cleaning cycle: Most cycles run 5–10 minutes. Use a degas setting if available on your ultrasonic cleaner dental equipment.
- Rinse and dry: Once complete, rinse instruments in distilled water and dry thoroughly with a lint-free cloth.
- Sterilize as usual: Ultrasonic cleaning is not a substitute for autoclaving. Always follow up with proper sterilization.
💡 See it in action — ultrasonic cleaner dental equipment makes clinic hygiene effortless
What Solution to Use in a Dental Ultrasonic Cleaner?
Use a medical-grade ultrasonic denture cleaning solution or enzymatic concentrate specifically formulated for dental ultrasonic instrument cleaners to maximize effectiveness and protect tool integrity.
Regular dish soap or generic cleaners can damage instruments or reduce cleaning power. Choose a solution that:
- Breaks down organic matter like blood and saliva
- Is non-corrosive to stainless steel and delicate surfaces
- Contains anti-foaming agents to prevent machine damage
- Supports infection control protocols
Follow dilution instructions precisely. Over-concentrating doesn’t make it stronger—it can shorten the life of your tools.
Maintenance Tips for Ultrasonic Cleaner Dental Equipment
Your ultrasonic cleaner for dental instruments is an investment. Here’s how to keep it running like new:
- Empty and rinse the tank daily to remove residue
- Wipe down exterior and control panels with a non-abrasive cloth
- Check baskets and lids for cracks or wear regularly
- Degas new solutions before each use if the unit allows
- Change solution daily or more often if visibly soiled
Prevent cross-contamination by cleaning between batches of different instrument sets. This is especially critical in multi-patient clinics.
✅ Pros and ❌ Cons of Using an Ultrasonic Dental Cleaner
| ✅ Pros | ❌ Cons |
|---|---|
| Deep cleaning in hard-to-reach areas | Doesn’t replace autoclaving |
| Reduces manual labor and staff fatigue | Requires special solution |
| Preserves tool sharpness and structure | May require routine descaling |
| Improves patient safety and confidence | Initial investment cost |

💡 See it in action — keep your dental ultrasonic instrument cleaner working at peak performance
FAQs
How often should I change the ultrasonic denture cleaning solution?
Change the solution at least once daily or more frequently if it becomes visibly soiled. Always follow your clinic's hygiene protocol.
Is ultrasonic cleaning enough to sterilize dental tools?
No, ultrasonic cleaning removes debris and biofilm but must be followed by autoclaving for full sterilization.
Can I clean dental handpieces in the ultrasonic cleaner?
Only if the handpieces are manufacturer-approved for ultrasonic cleaning. Otherwise, damage may occur.
What temperature should the solution be?
Most solutions perform best between 45–60°C (113–140°F). Use your device’s heater if applicable.
Where can I learn more about oral care and device hygiene?
Explore more expert resources in our Oral Care Devices and Oral Care Blog.
Pillar Article: How to Make an Ultrasonic Cleaner at Home—Step-by-Step Guide


