

How to Make an Ultrasonic Cleaner at Home (DIY Step-by-Step Guide)
Curious about how to make an ultrasonic cleaner at home that actually works? Whether you're restoring delicate jewelry, cleaning ultrasonic cleaner dental equipment, or freshening up retainers, this guide shows multiple proven DIY methods—plus when to upgrade to a professional solution.
⏱ 7 min read
What Is an Ultrasonic Cleaner and How Does It Work?
An ultrasonic cleaner uses high-frequency sound waves (typically 20–40 kHz) to create microscopic bubbles in a liquid. This process, called cavitation, produces tiny shockwaves that remove dirt, grease, and contaminants from surfaces—even in hard-to-reach areas.
The Science Behind Ultrasonic Cavitation
When ultrasonic waves pass through a liquid, they create alternating high- and low-pressure cycles. During low pressure, tiny vacuum bubbles form. These bubbles collapse during high pressure, releasing energy that dislodges particles from surfaces without damaging the object.
Why DIY Versions Still Work (and Their Limits)
A homemade ultrasonic cleaner can replicate this effect using piezoelectric transducers or vibration sources. However, DIY models usually operate at lower power and may not clean as deeply or as quickly as commercial units. They are best suited for light cleaning tasks like jewelry, glasses, and small tools.

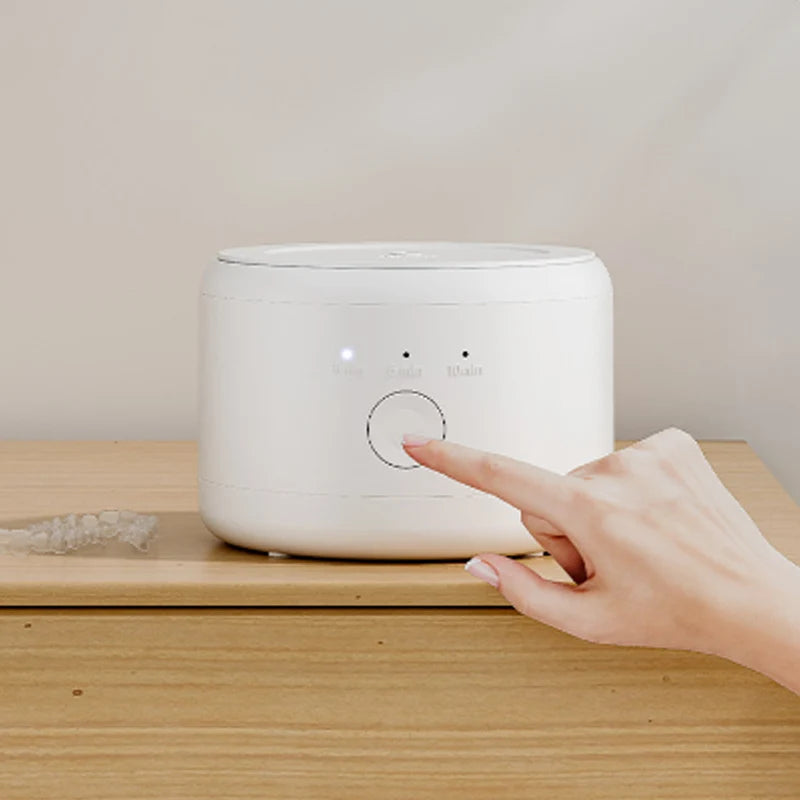
💡 See it in action: DIY meets science in this ultrasonic retainer cleaner alternative
👉 See price — stock low!
Materials and Tools You’ll Need
- Stainless steel or metal container
- Piezoelectric transducer (or vibration source)
- Ultrasonic frequency generator or driver board
- Power supply
- Epoxy or strong adhesive
- Cleaning solution (water + detergent or DIY mix)
- Optional: thermometer to monitor liquid temperature
How to Make an Ultrasonic Cleaner (Step-by-Step DIY Methods)
Method 1 – Using a Piezo Transducer (Most Effective DIY Build)
- Attach a piezoelectric transducer to the bottom of a metal container using epoxy.
- Connect the transducer to an ultrasonic frequency generator module.
- Place the container on a stable surface and fill it with water or cleaning solution.
- Power the system and submerge the item without touching the base.
This method produces the closest results to a real ultrasonic cleaner.
Method 2 – Using an Electric Toothbrush or Motor (Budget Hack)
- Secure an electric toothbrush or small motor against a container.
- Fill the container with water and mild detergent.
- Turn on the device to create vibration in the liquid.
This is not true ultrasonic cleaning but can help loosen surface debris.
Method 3 – DIY Ultrasonic Cleaner Kit (Prebuilt Components)
- Purchase a DIY ultrasonic cleaner kit with a driver board and transducer.
- Mount the transducer onto a stainless steel container.
- Wire the components following the kit instructions.
- Test with water before adding items.
This option balances ease of setup with better cleaning performance.
Ultrasonic Cleaning Solution (Homemade Options That Work)
The cleaning solution plays a major role in how effective your DIY ultrasonic cleaner will be. While water alone works, adding the right ingredients significantly improves results.
Can You Use Baking Soda in an Ultrasonic Cleaner?
Yes, baking soda can be used in small amounts to enhance cleaning power. However, it should be fully dissolved to avoid residue and should not be used on delicate materials.
Best DIY Cleaning Solutions by Use Case
- Jewelry: Warm water + a few drops of dish soap
- Glasses: Water + mild detergent
- Metal tools: Water + vinegar (light mix)
- Grease removal: Water + small amount of baking soda
What Can You Clean with a Homemade Ultrasonic Cleaner?
Jewelry, Glasses, and Metal Tools
DIY ultrasonic cleaners are effective for removing dirt and oils from rings, necklaces, eyeglasses, and small metal parts.
Dental Tools and Retainers (Important Warnings)
While ultrasonic cleaning can be used for dental items, homemade devices may not provide full sterilization. Always rinse thoroughly and consider a professional solution for medical-grade hygiene.
What NOT to Clean
- Soft gemstones (like opals or pearls)
- Electronics or items with exposed wiring
- Fragile or glued components
DIY vs. Store-Bought Ultrasonic Cleaners: Key Differences
| Feature | DIY Ultrasonic Cleaner | Store-Bought Cleaner |
|---|---|---|
| Cost | Under $20 | $70–$150+ |
| Effectiveness | Moderate | High and consistent |
| Ease of Use | Manual setup | Plug-and-play |
| Longevity | Short-term | Durable long-term |
DIY builds are ideal for experimentation and light cleaning. For consistent results and hygiene, a dedicated ultrasonic cleaner for dental equipment offers better reliability.
Safety Tips and Common Mistakes to Avoid
- Never operate electrical components near water without proper insulation.
- Avoid touching the liquid while the device is running.
- Do not run the cleaner dry—it can damage the transducer.
- Monitor temperature, as excessive heat reduces cavitation efficiency.
- Use appropriate cleaning solutions for different materials.
Want a ready-to-use option that handles this automatically? Explore our lifestyle tech tools.
💡 Ultrasonic vibrations work deep into grooves—perfect for ultrasonic retainer cleaners and dental tools
👉 Explore the KentDO model now
Troubleshooting Your DIY Ultrasonic Cleaner
Weak or No Cleaning Effect
Check the transducer connection and ensure the frequency generator is working properly. Low power is the most common issue.
Overheating Issues
If the liquid becomes too hot, turn off the device and allow it to cool. Excess heat reduces cleaning effectiveness.
Noise but No Results
Vibration alone is not enough. Ensure your setup is producing ultrasonic frequencies, not just mechanical shaking.

💡 Clean smarter: dental ultrasonic instrument cleaner results, DIY price
👉 KentDO ultrasonic cleaner — shop now
Frequently Asked Questions
Can I clean dental tools with a homemade ultrasonic cleaner?
Yes, but use non-corrosive, oral-safe solutions and understand that DIY units may not fully sterilize. For higher hygiene standards, use a professional oral care device.
Is it safe for plastic retainers?
Yes, as long as you avoid heat and harsh chemicals. Use mild detergent or retainer-safe tablets.
How often should I clean my retainer this way?
Daily light cleaning is fine. Limit deep ultrasonic cleaning to a few times per week.
Do I need special solutions?
No. Warm water and mild soap work well, though specialized tablets can improve results.
Related Articles:
- Clean Retainers Like a Pro: Use an Ultrasonic Retainer Cleaner Daily
- How to Use an Ultrasonic Retainer Cleaner—Without Ruining It
- What Not to Put in an Ultrasonic Cleaner: 7 Items to Avoid
- How to Use an Ultrasonic Cleaner for Dental Instruments the Right Way
- Stop Wasting Time! Here’s How to Clean Your Ultrasonic Cleaner
Pillar Articles:


