

Does Electrical Muscle Stimulation Pad Placement Really Affect Results?
Yes. Correct electrical muscle stimulation pad placement determines how effectively the electrical current reaches targeted nerves or muscles. Proper electrode positioning can improve muscle contraction during EMS training and provide better pain relief when using TENS therapy. Incorrect placement may reduce effectiveness, create uncomfortable sensations, or stimulate unintended muscles.
For the best results, always position pads around the target muscle or painful area rather than directly over joints or bony prominences. Following body-specific placement recommendations also helps produce more even stimulation and improves comfort during each session.
Electrical Muscle Stimulation Pad Placement: Complete EMS & TENS Placement Guide by Body Area
Electrical stimulation pad placement can make or break your pain relief and muscle recovery results. Many beginners struggle not because the device fails—but because electrode positioning is slightly off. This complete EMS and TENS placement guide shows you how to position pads safely and effectively using reliable options like best adhesive tens pads for home use, universal tens pads 2mm connector compatible designs, and non woven tens electrode pads strong adhesion—so every session works exactly as intended.
⏱ 7 min read
Ever feel like your TENS or EMS device isn’t working as expected? Small placement adjustments can dramatically improve performance, comfort, and results.
Body Care and Health Devices
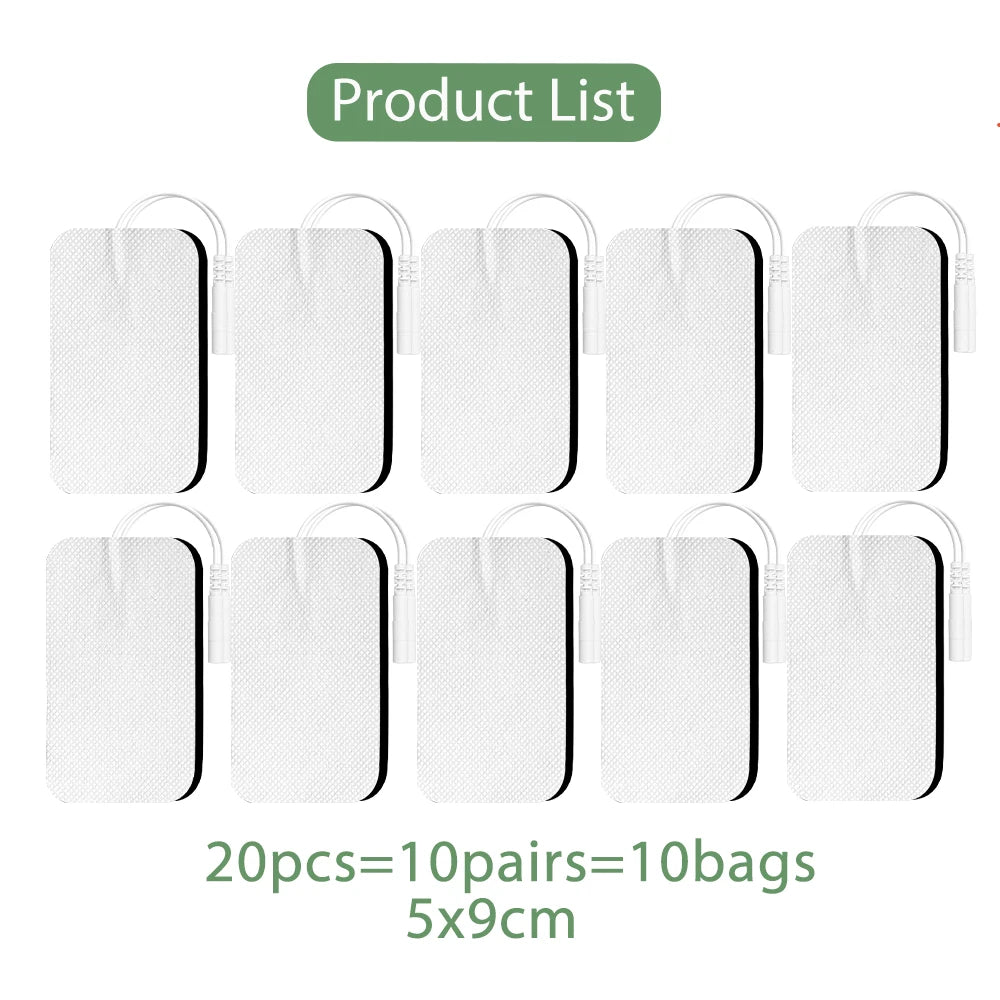
See it in action - electrical stimulation pad placement / best adhesive tens pads for home use, universal tens pads 2mm connector compatible, non woven tens electrode pads strong adhesion
EMS vs. TENS Pad Placement: Understanding the Difference Before You Begin
Although EMS and TENS devices often use similar adhesive electrodes, they serve different purposes.
- EMS (Electrical Muscle Stimulation) places electrodes over the muscle belly to create controlled muscle contractions.
- TENS (Transcutaneous Electrical Nerve Stimulation) positions pads around painful areas or along nerve pathways to reduce discomfort.
Knowing whether your goal is muscle activation or pain management helps determine the safest and most effective electrode placement.
General Rules for Electrical Stimulation Pad Placement
Clean and Prepare the Skin
Wash and dry the treatment area before applying electrodes. Remove lotions, oils, or excessive hair that may reduce adhesion.
Proper Pad Spacing Guidelines
Keep electrodes approximately 1–2 inches (2.5–5 cm) apart unless your device manual recommends otherwise. Pads placed too closely may concentrate stimulation, while pads placed too far apart can weaken effectiveness.
Electrode Orientation
Position pads so the electrical current travels through the target muscle or painful region rather than across unrelated muscles.
Choosing the Correct Pad Size
Larger muscles generally benefit from larger electrodes, while smaller muscles require smaller pads for more focused stimulation.
Adjust Intensity After Placement
Always position the electrodes before increasing intensity. Gradually raise the stimulation until contractions or sensations are comfortable but effective.
How to Place TENS and EMS Pads Correctly Step by Step
- Identify the muscle or painful area you want to treat.
- Clean and dry the skin.
- Attach both electrodes according to the muscle or nerve pathway.
- Turn on the device at the lowest intensity.
- Gradually increase intensity until comfortable stimulation is achieved.
- Reposition the electrodes if contractions feel uneven or discomfort occurs.
- Remove pads carefully after treatment and store them on the protective liner.
Explore reusable TENS electrode pads
Electrical Muscle Stimulation Pad Placement by Body Area
Neck
Place electrodes on the muscles beside the cervical spine. Never place pads on the front of the neck.
Shoulders
Position pads over the upper trapezius or posterior shoulder muscles while avoiding the shoulder joint itself.
Upper Back
Place electrodes on either side of the spine over the targeted muscle group without positioning pads directly on the vertebrae.
Lower Back
Position one pad on each side of the painful muscles while avoiding direct placement over the spinal column.
Abs
Center electrodes over the abdominal muscle bellies while maintaining even spacing between pads.
Biceps
Place one electrode near the upper muscle belly and another toward the lower portion without crossing the elbow.
Triceps
Align both pads along the triceps muscle fibers to encourage balanced contractions.
Forearms
Place electrodes along the muscle groups responsible for wrist movement rather than directly over the wrist joint.
Glutes
Center pads over the gluteal muscles while avoiding the tailbone.
Quadriceps
Position one electrode near the upper thigh and another toward the lower quadriceps.
Hamstrings
Align pads lengthwise along the hamstring muscles.
Calves
Place electrodes over the gastrocnemius muscle while avoiding the Achilles tendon.
TENS Pad Placement for Common Pain Conditions
Neck Pain
Place pads beside the painful muscles, not over the throat.
Shoulder Pain
Surround the painful region with electrodes positioned on healthy muscle tissue.
Lower Back Pain
Position electrodes on both sides of the painful muscles instead of directly over the spine.
Sciatica
Follow the painful nerve pathway beginning near the lower back and extending toward the buttock or leg if recommended by your clinician.
Knee Pain
Position pads above and below the knee joint instead of directly over the kneecap.
Tennis Elbow
Place electrodes over the forearm muscles associated with the painful tendon.
Plantar Fasciitis
Apply electrodes around the heel and arch while avoiding direct placement on damaged skin.
Areas Where You Should Never Place Electrical Stimulation Pads
- Front of the neck
- Across the chest where current could pass through the heart
- Head or eyes unless specifically prescribed
- Broken or infected skin
- Areas with significantly reduced sensation
- Over implanted electronic medical devices
- During pregnancy unless approved by a healthcare provider
Common Electrical Stimulation Pad Placement Mistakes
- Placing pads directly over joints.
- Positioning electrodes too close together.
- Spacing electrodes excessively far apart.
- Using damaged or dried-out adhesive pads.
- Increasing intensity before checking placement.
- Ignoring manufacturer placement recommendations.
Troubleshooting Weak or Uneven Muscle Stimulation
Weak Muscle Contractions
Move electrodes closer to the muscle belly and verify adequate intensity.
Skin Irritation
Clean the skin, replace worn pads, and rotate treatment locations.
Uneven Stimulation
Reposition one electrode slightly until contractions become balanced.
Pads Won't Stick
Replace old electrodes once adhesion noticeably decreases or after the manufacturer's recommended lifespan.
How Pad Quality and Electrode Condition Affect Performance
Signs Pads Need Replacement
Replace electrodes that no longer adhere well, produce uneven stimulation, or show visible wear.
Cleaning Reusable Pads
Store pads on their plastic liner after each use and keep them free of dust and debris.
Storage Tips
Seal electrodes inside their original packaging or resealable bag to reduce moisture loss and extend usability.
High-quality options like non woven tens electrode pads strong adhesion provide better skin contact and durability, making each session more effective.
Quick Electrical Stimulation Pad Placement Reference Chart
- Neck: beside cervical muscles only
- Shoulders: upper trapezius and deltoids
- Upper back: beside the spine
- Lower back: surrounding painful muscles
- Abs: over abdominal muscle bellies
- Arms: along muscle fibers
- Glutes: centered over glute muscles
- Legs: align with major muscle groups
- Calves: over gastrocnemius muscles
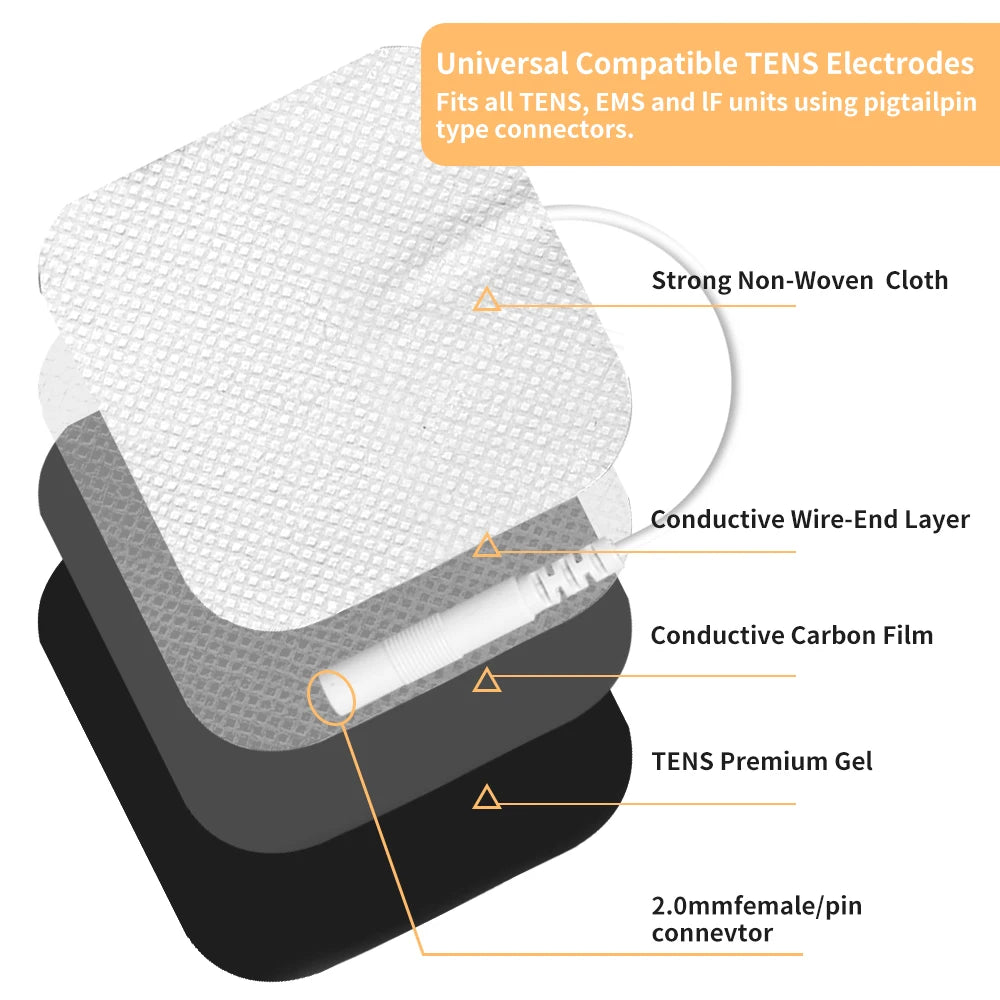
See it in action - electrical stimulation pad placement / best adhesive tens pads for home use, universal tens pads 2mm connector compatible, non woven tens electrode pads strong adhesion
Shop reusable TENS electrode pads today
Frequently Asked Questions
Where should I place TENS pads for best results?
Place pads around the pain area, not directly on it. Keep spacing consistent and align with muscle direction or nerve pathways.
How far apart should TENS pads be?
Typically 1–2 inches apart. This allows effective signal flow without overwhelming a single spot.
Can I reuse TENS pads?
Yes, high-quality pads can be reused multiple times if kept clean and stored properly.
Why do my TENS pads lose stickiness?
Dirt, oils, or low-quality materials reduce adhesion. Cleaning skin before use helps extend lifespan.
Are universal TENS pads compatible with all devices?
Most universal tens pads 2mm connector compatible designs work with standard TENS units, but always check your device specifications.
Can EMS and TENS use the same pad placement?
No. EMS targets muscle contractions, while TENS focuses on pain relief pathways, so placement differs.
Can pads touch each other?
No, pads should not touch as this can short-circuit the electrical flow and reduce effectiveness.
How often should I change pad placement?
Rotate placement slightly between sessions to avoid skin irritation and improve effectiveness.
Is pad spacing different for large muscles?
Yes, larger muscles often require wider spacing and larger pads for effective stimulation.
How long should pads stay on during one session?
Most sessions last 15–30 minutes depending on your device and treatment goal.
Pillar Article: tens machine for muscle recovery: how to use it step by step
Other Related Articles:
- muscle stimulator tens machine: how to set up safely at home
- what helps muscles recover faster: how to use TENS correctly
- tens pads placement chart: where to place for back pain relief
Explore More:













