

What is an eyeshadow brush guide and how does it help?
An eyeshadow brush guide explains how to use each brush correctly for blending, packing, and defining. By following an eyeshadow brush guide, beginners can achieve smoother color transitions, avoid patchy makeup, and create professional-looking eye looks faster using the right tools for each step.
Eyeshadow Brush Guide: How to Use Each Brush Right
Struggling with uneven blending, harsh lines, or eyeshadow that just won’t stay put? You’re not alone. The truth is, it’s not your skills—it’s how you use your brushes. This eyeshadow brush guide shows you exactly how to master each brush, so you can create polished, effortless eye looks with confidence.
⏱ 8 min read
Which brush should you use first—and why does it matter? Keep reading to unlock the exact system that transforms messy looks into seamless blends.
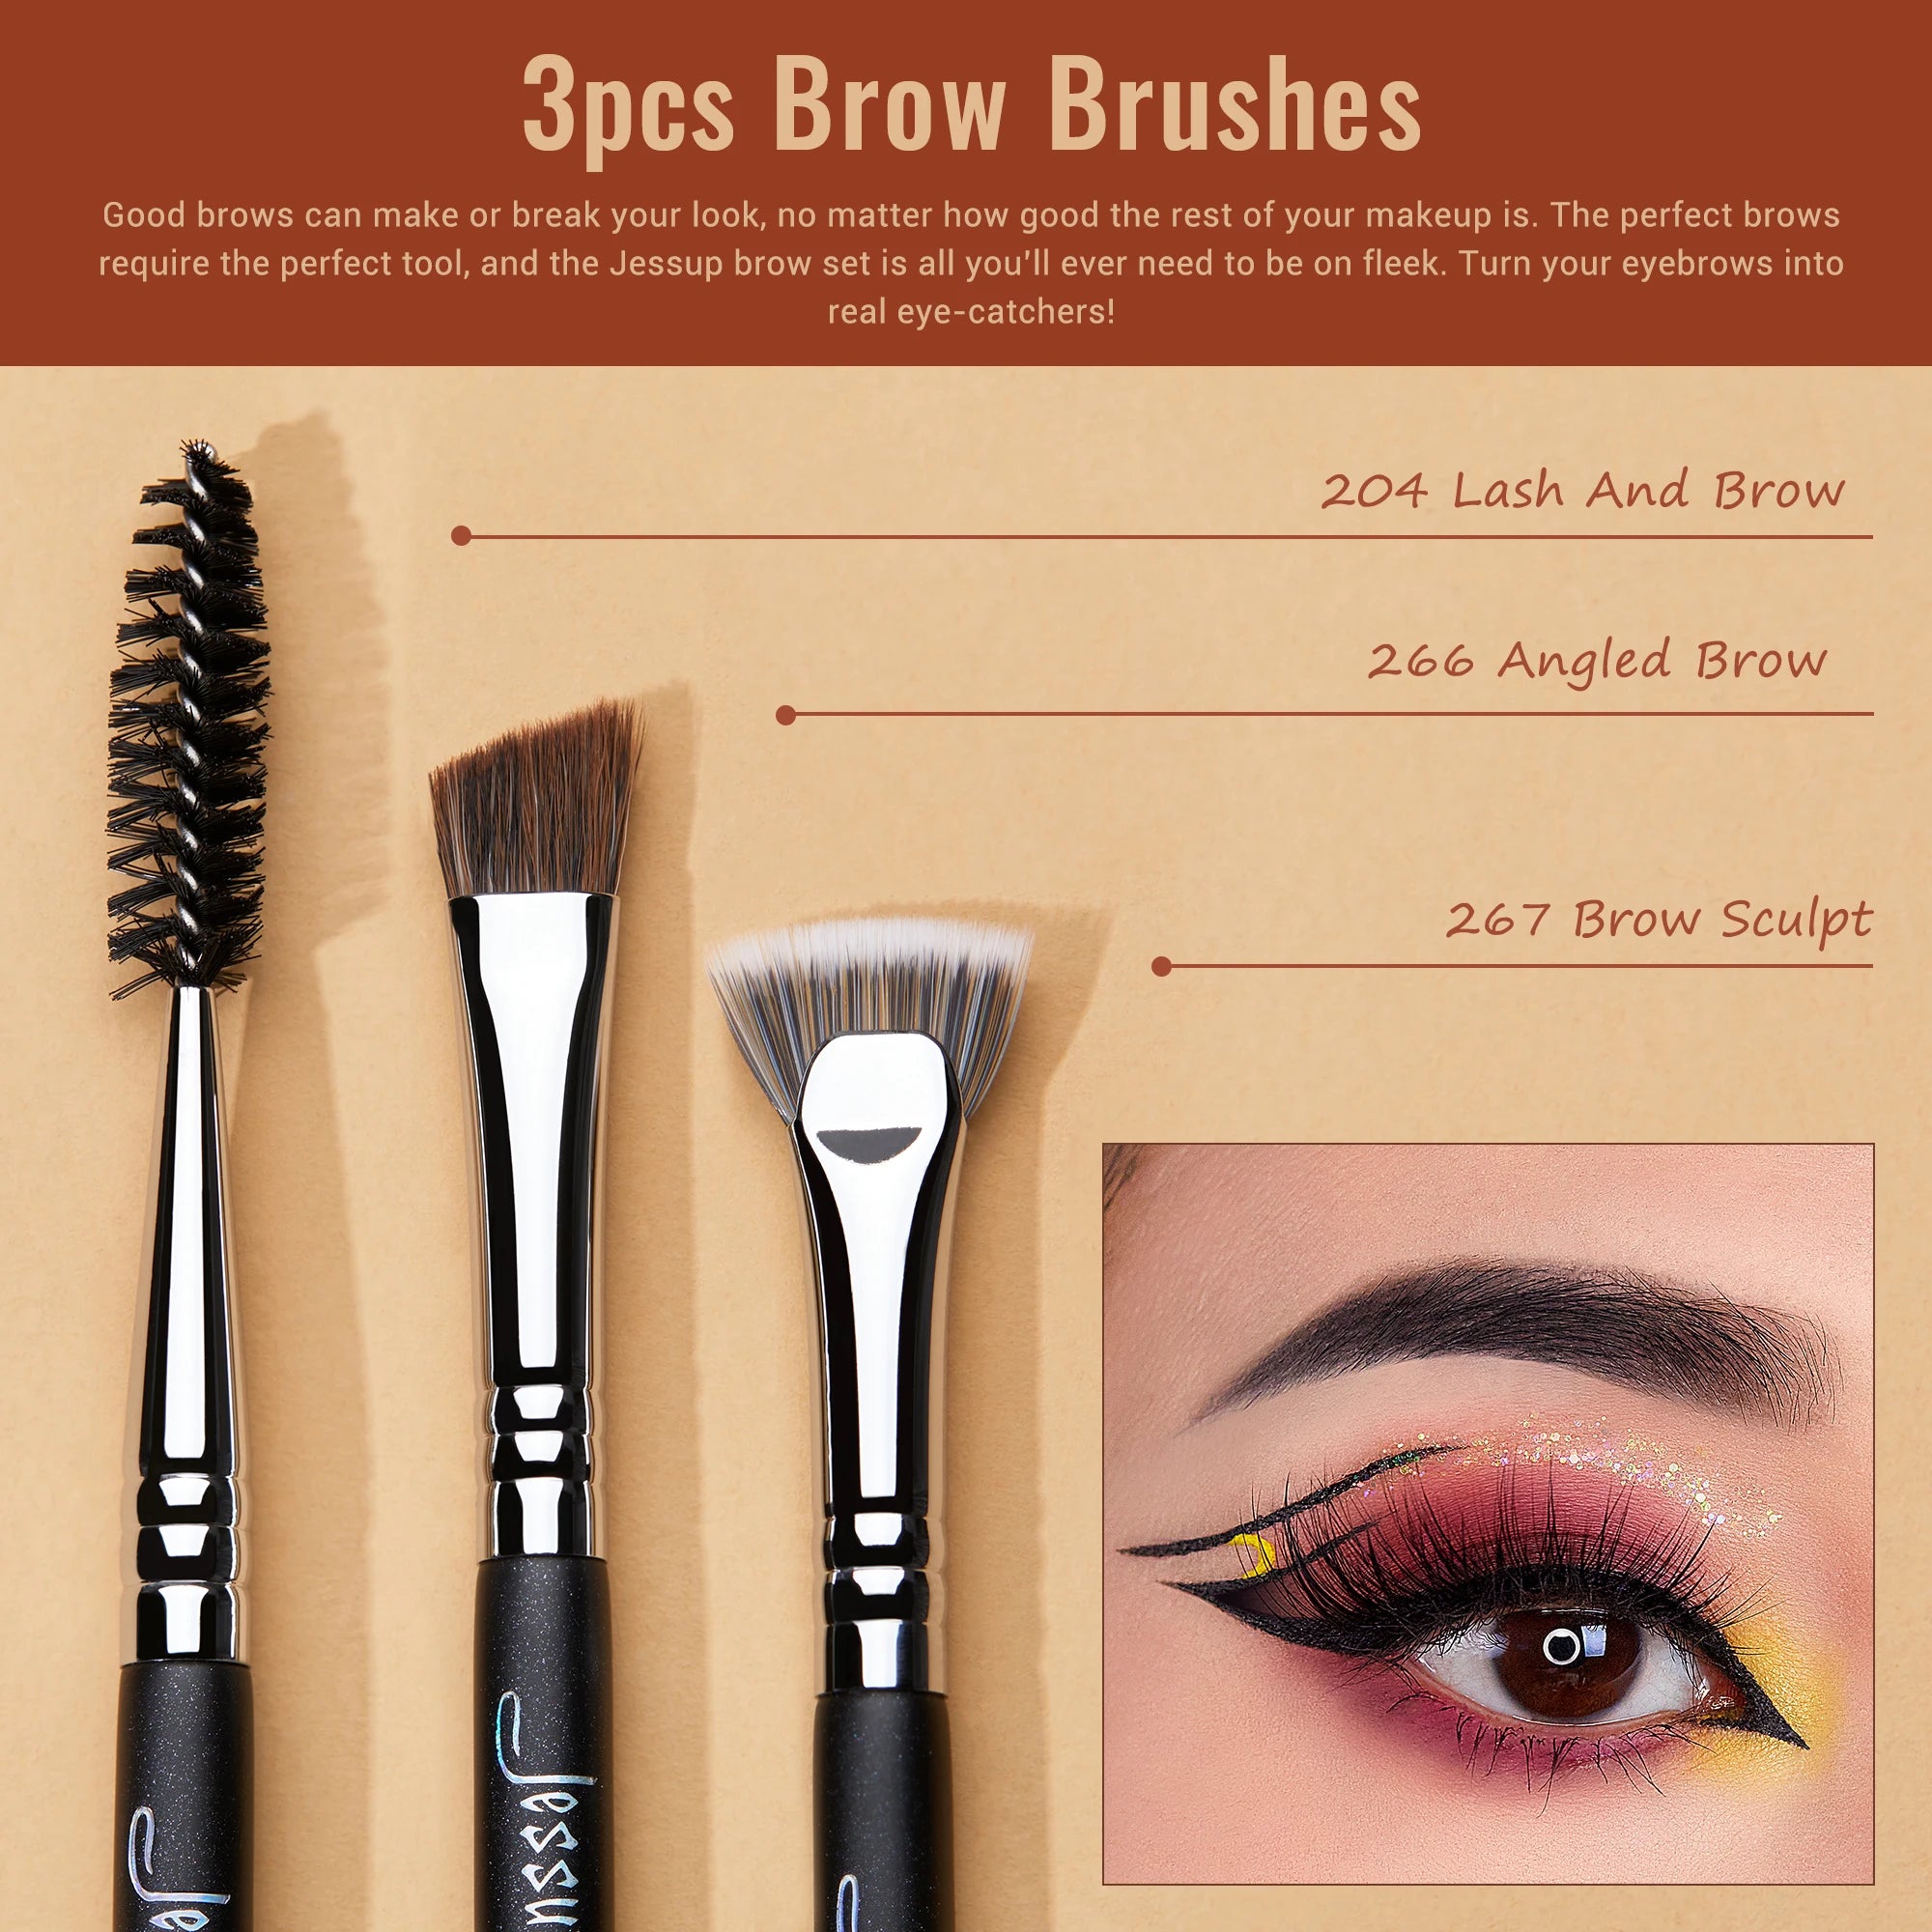
A beginner-friendly eyeshadow brush guide in action — 💡 See it in action
What Is an Eyeshadow Brush Guide and Why It Changes Everything
An eyeshadow brush guide teaches you which brush to use for each step—blending, packing, shading, and detailing. It helps you avoid common mistakes like harsh edges or muddy colors by assigning the right tool to each technique, making your makeup smoother, faster, and more professional.
Many people assume better makeup comes from expensive products. In reality, the biggest transformation happens when you use the right brush for the right job.
- ❌ Using one brush for everything = muddy colors
- ❌ Over-blending = faded pigment
- ❌ Wrong shape = uneven application
- ✅ Correct brush = instant definition and depth
Think of brushes like tools in a toolkit—each one has a purpose. Once you understand that, your results improve overnight.
How Each Eye Brush Transforms Your Makeup Results
Fluffy Blending Brush: Your Secret to Seamless Transitions
This is your most important brush. It diffuses harsh lines and blends colors into a smooth gradient.
- Best for crease blending
- Creates soft transitions
- Prevents patchiness
Packing Brush: Intensify Color Instantly
A flat, dense brush designed to press pigment onto your lid.
- Maximizes color payoff
- Perfect for shimmer or metallic shades
- Reduces fallout
Detail Brush: Precision That Defines Your Look
Small and compact, this brush helps with fine detailing.
- Inner corner highlight
- Lower lash line definition
- Smudging eyeliner
Angled Brush: Sharp, Clean Lines Made Easy
This brush is perfect for creating defined edges.
- Winged liner
- Brow filling
- Outer corner shaping
Step by Step Eye Makeup Brush Guide for Beginners
- Start with a fluffy brush: Apply a transition shade in your crease using circular motions.
- Use a packing brush: Press your main lid color onto the eyelid for maximum intensity.
- Blend edges: Go back with a clean blending brush to soften harsh lines.
- Add depth: Use a smaller brush to apply a darker shade to the outer corner.
- Define details: Use a detail brush along the lower lash line and inner corner.
This system ensures your eyeshadow looks layered, dimensional, and polished—never flat or messy.
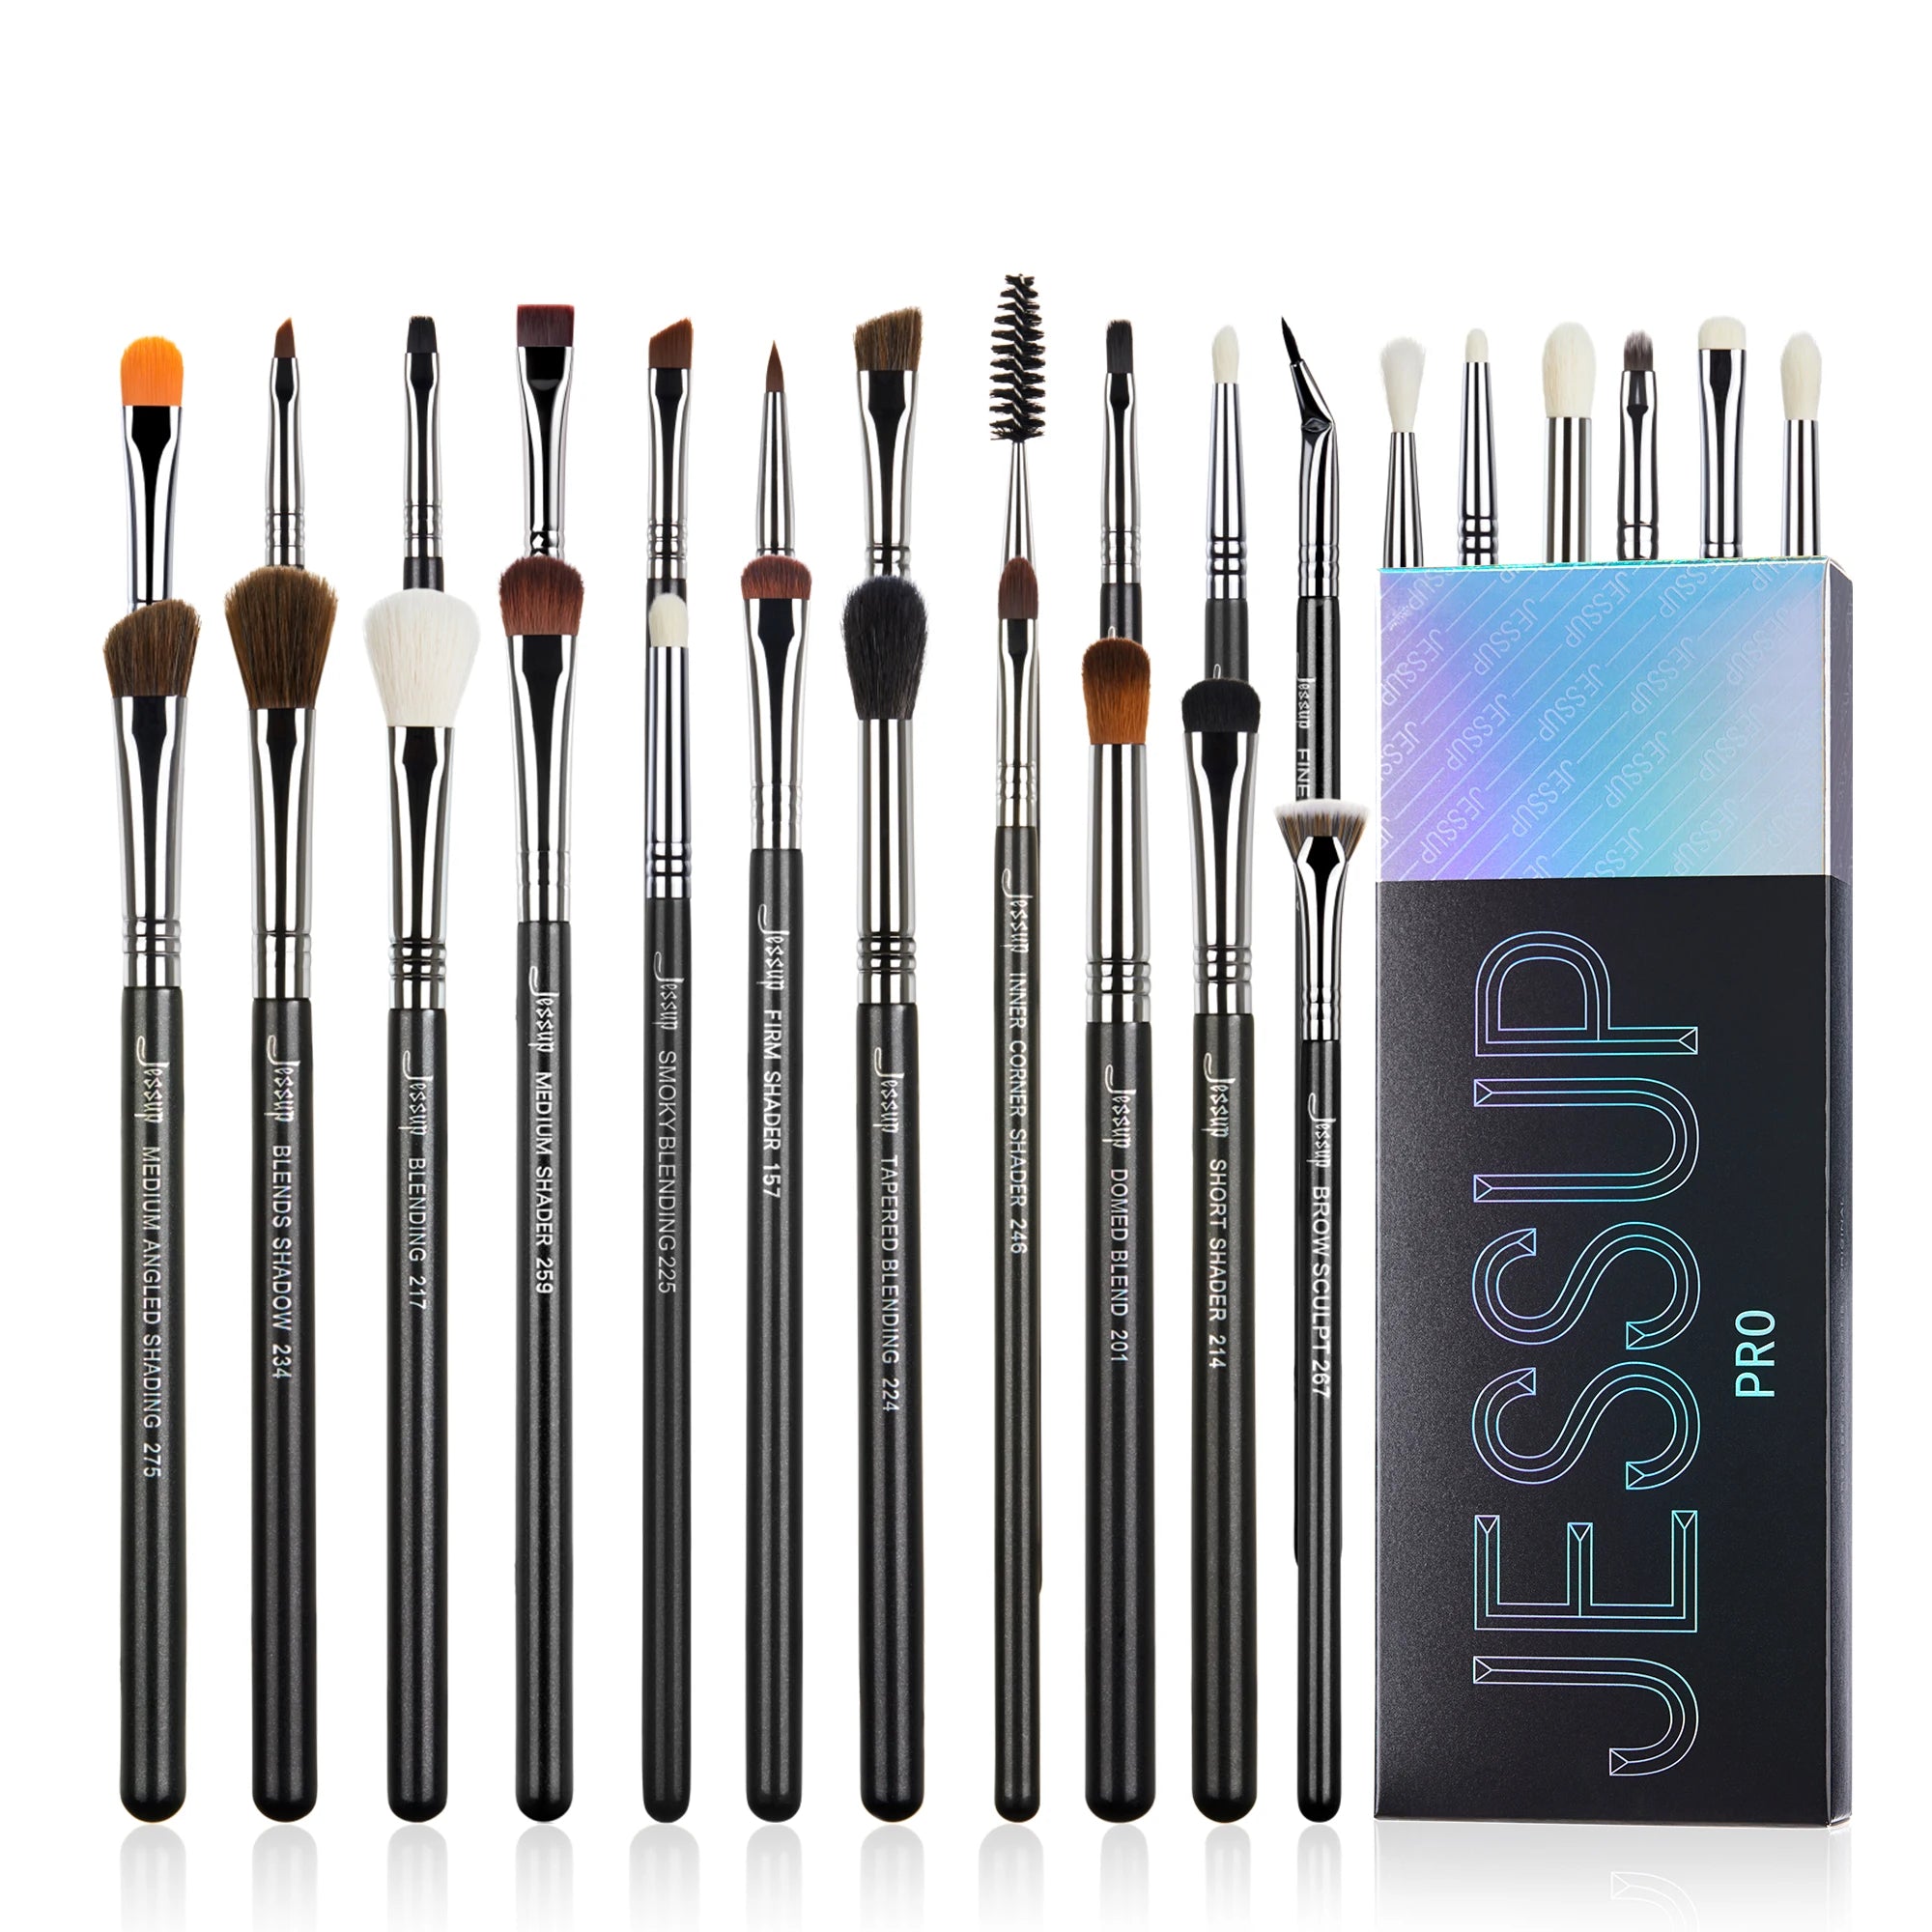
Step by step eye makeup brush guide for flawless blending — 💡 See it in action
How to Choose the Right Eye Brushes for Your Style
Choosing brushes isn’t about quantity—it’s about purpose.
- Small eyes: Use smaller, precise brushes
- Hooded eyes: Use fluffy blending brushes for diffused color
- Bold looks: Use dense packing brushes
- Natural looks: Stick with soft blending brushes
If you’re starting out, a complete set like the 28pcs Eye Makeup Brushes Set simplifies everything—no guessing, no missing tools.
For a complete beauty routine, explore tools from Skin and Beauty Care Devices to enhance your skin prep before makeup.
Mistakes That Ruin Your Eyeshadow (And How to Fix Them)
| Mistake | Result | Fix |
|---|---|---|
| Using one brush for all steps | Muddy colors | Use separate brushes for blending and packing |
| Too much product | Patchy application | Tap off excess before applying |
| No blending | Harsh lines | Blend in circular motions |
| Wrong brush size | Uneven placement | Match brush size to eye shape |
Brush Types Comparison Table
| Brush Type | Best Use | Skill Level |
|---|---|---|
| Fluffy Blending | Soft transitions | Beginner |
| Packing Brush | Color intensity | Beginner |
| Detail Brush | Precision work | Intermediate |
| Angled Brush | Sharp definition | Intermediate |
Pro Tips to Elevate Your Eye Makeup Instantly
- Use clean brushes for blending to avoid muddy colors
- Hold brushes lightly for softer application
- Layer gradually instead of applying too much at once
- Clean brushes regularly for better performance
Users report up to 40% smoother blending when switching to a structured brush system instead of random tools.
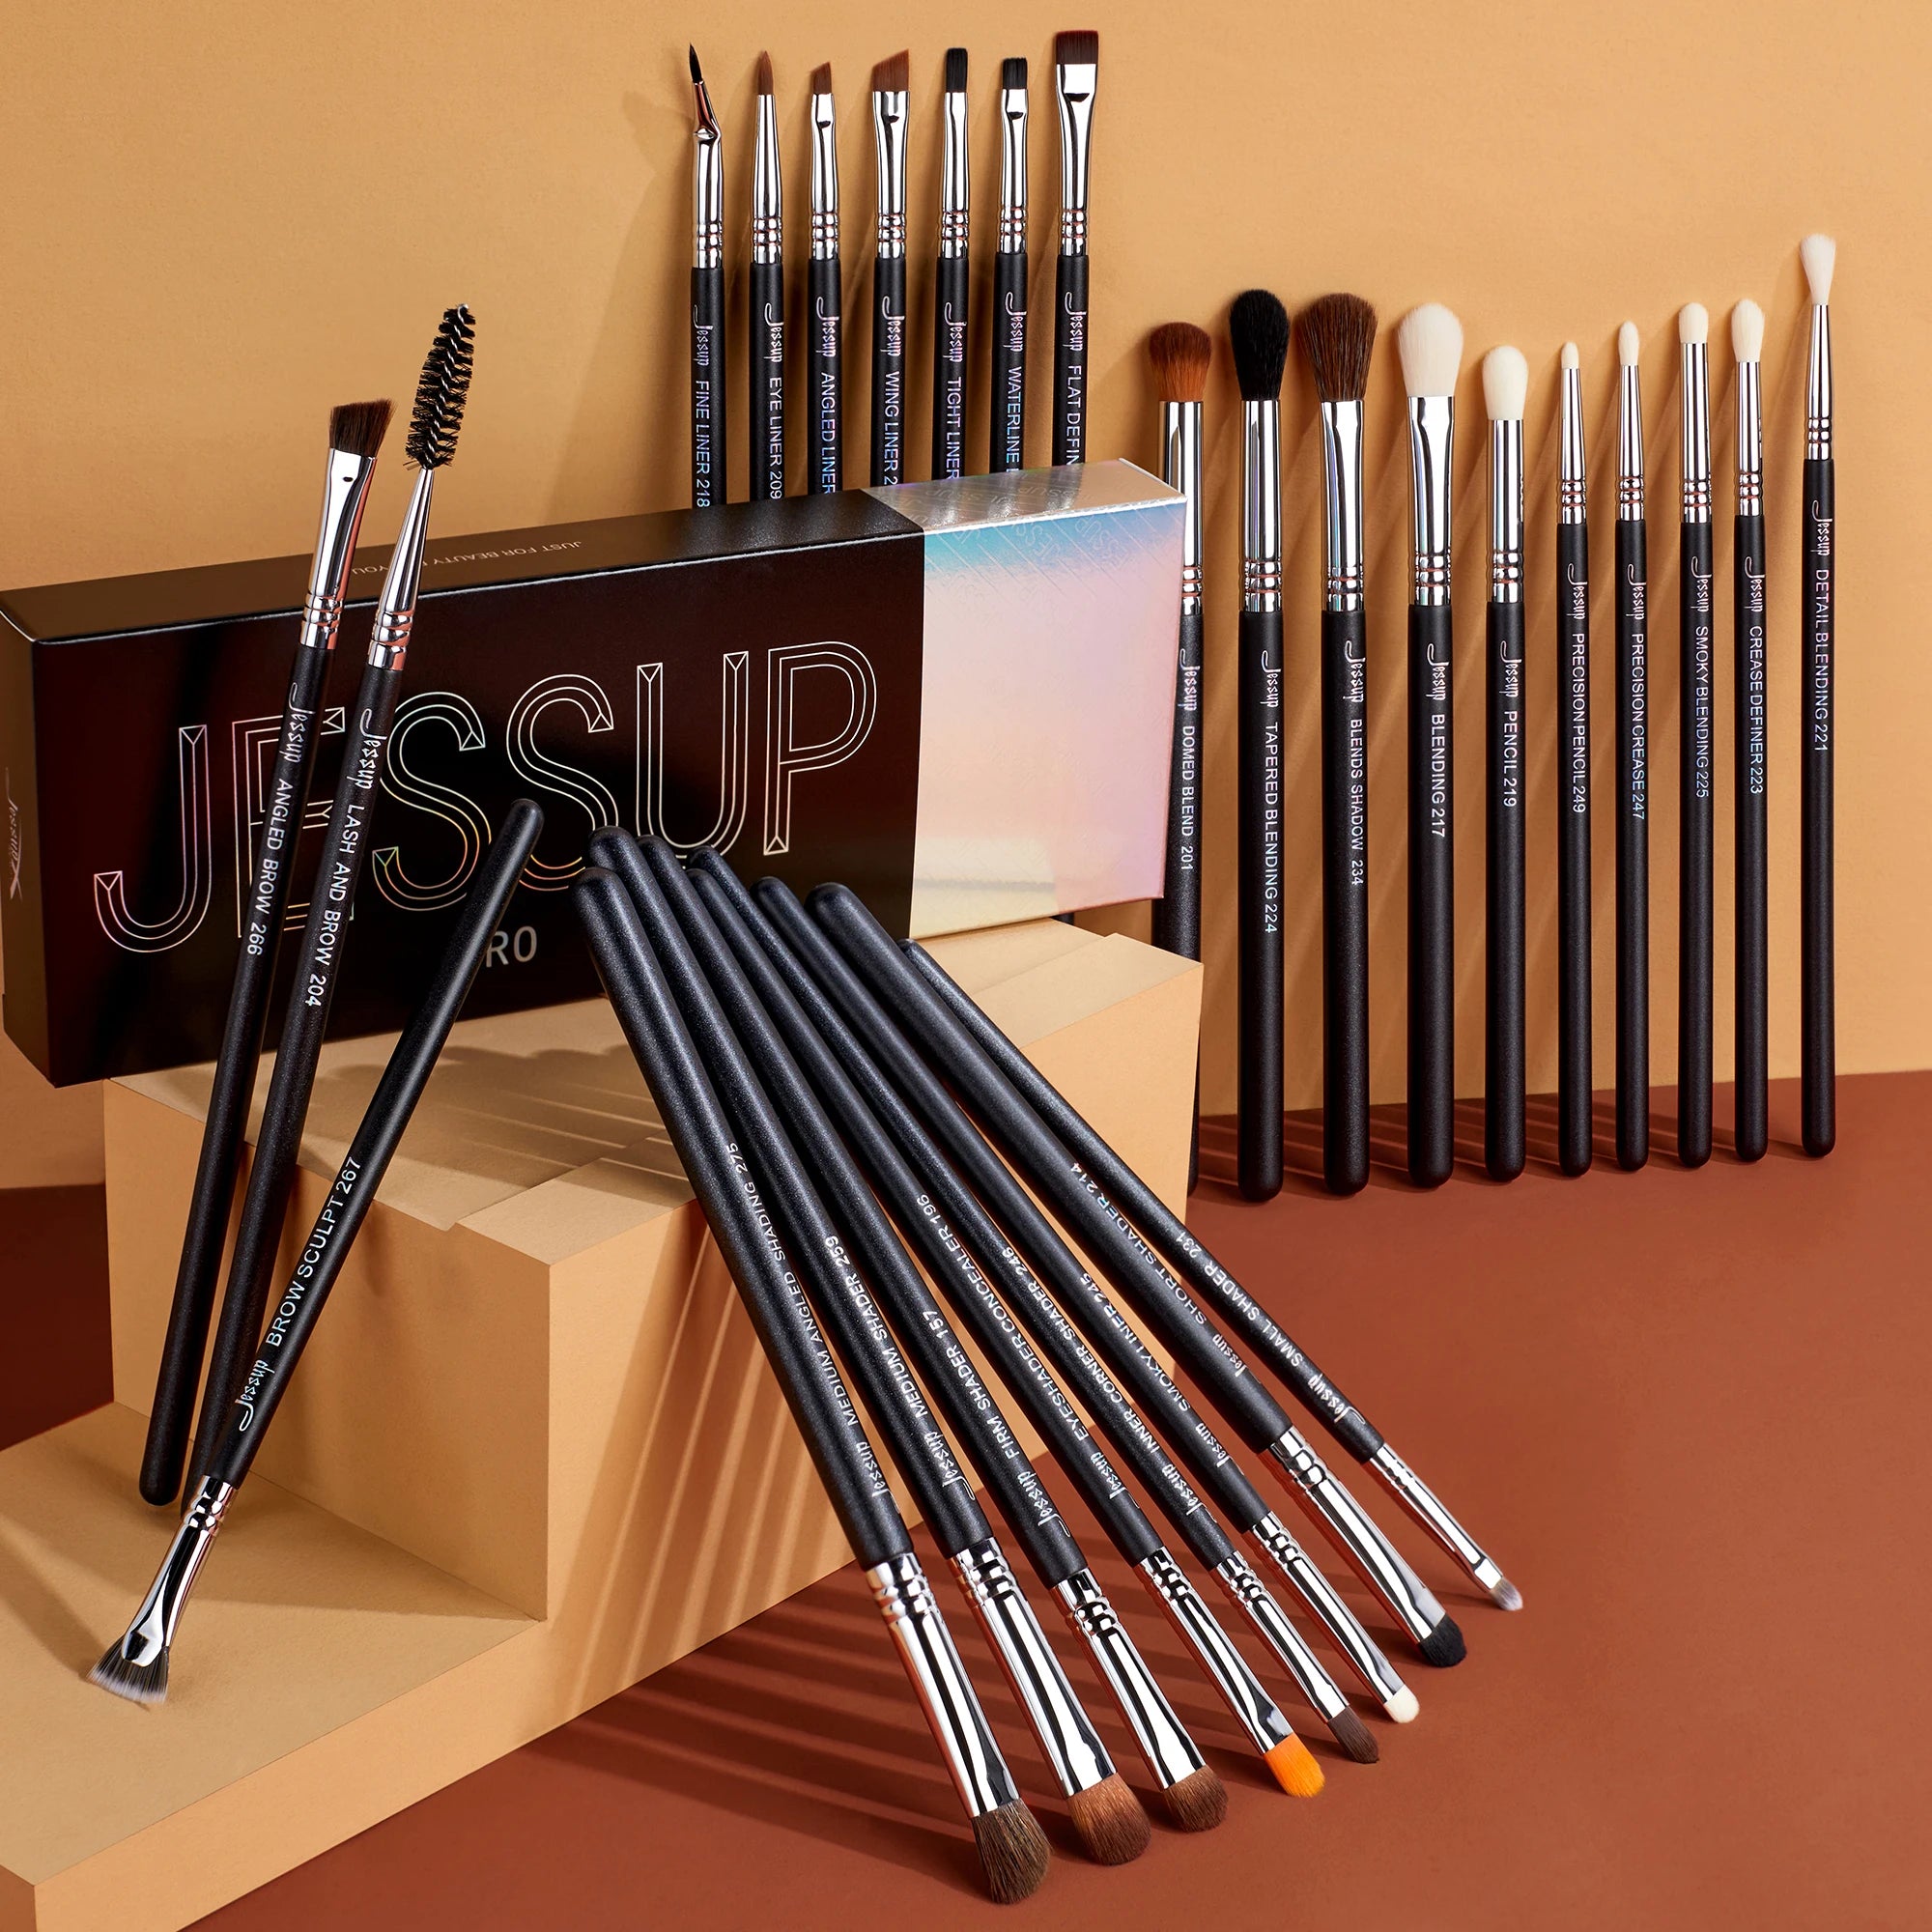
Beginner guide to eye makeup brushes with professional results — 💡 See it in action
FAQ
How many eye brushes do I really need?
You only need 4–5 essential brushes to create most looks: blending, packing, detail, angled, and smudge brushes.
Can beginners use professional brush sets?
Yes. A complete set actually makes learning easier because each brush has a clear purpose.
How often should I clean my brushes?
Clean them once a week for best results and to avoid product buildup.
What’s the best way to improve blending?
Use a clean fluffy brush and blend in small circular motions with light pressure.
Related Articles:
- Eye Brush Guide: Fix Patchy Eyeshadow Fast
- Blending Brush Eyeshadow: How to Blend Like a Pro
- Beginner Eyeshadow Tips: Avoid Common Brush Mistakes
- Eyeshadow Brushes How to Use for Smooth Blending
Pillar Articles:


