

Blending Brush Eyeshadow: How to Blend Like a Pro
A blending brush eyeshadow technique is the key to creating soft, seamless eye makeup with smooth color transitions instead of harsh lines. Whether you're applying a natural daytime look or building a dramatic smokey eye, learning how to use a blending brush correctly helps you blend dark eyeshadow without a muddy look, improve color payoff, and achieve a polished finish. In this guide, you'll learn professional blending methods, common mistakes to avoid, and practical tips for choosing the right brushes for every skill level.
⏱ 5 min read
If your eyeshadow often looks patchy, uneven, or overblended, the problem is rarely the palette itself. In most cases, the difference between an amateur and professional-looking eye look comes down to brush selection, pressure control, and blending technique.
Prefer a soft everyday look or a bold smokey eye? The same blending fundamentals apply to both. Mastering them makes every eyeshadow style easier to create and more flattering.
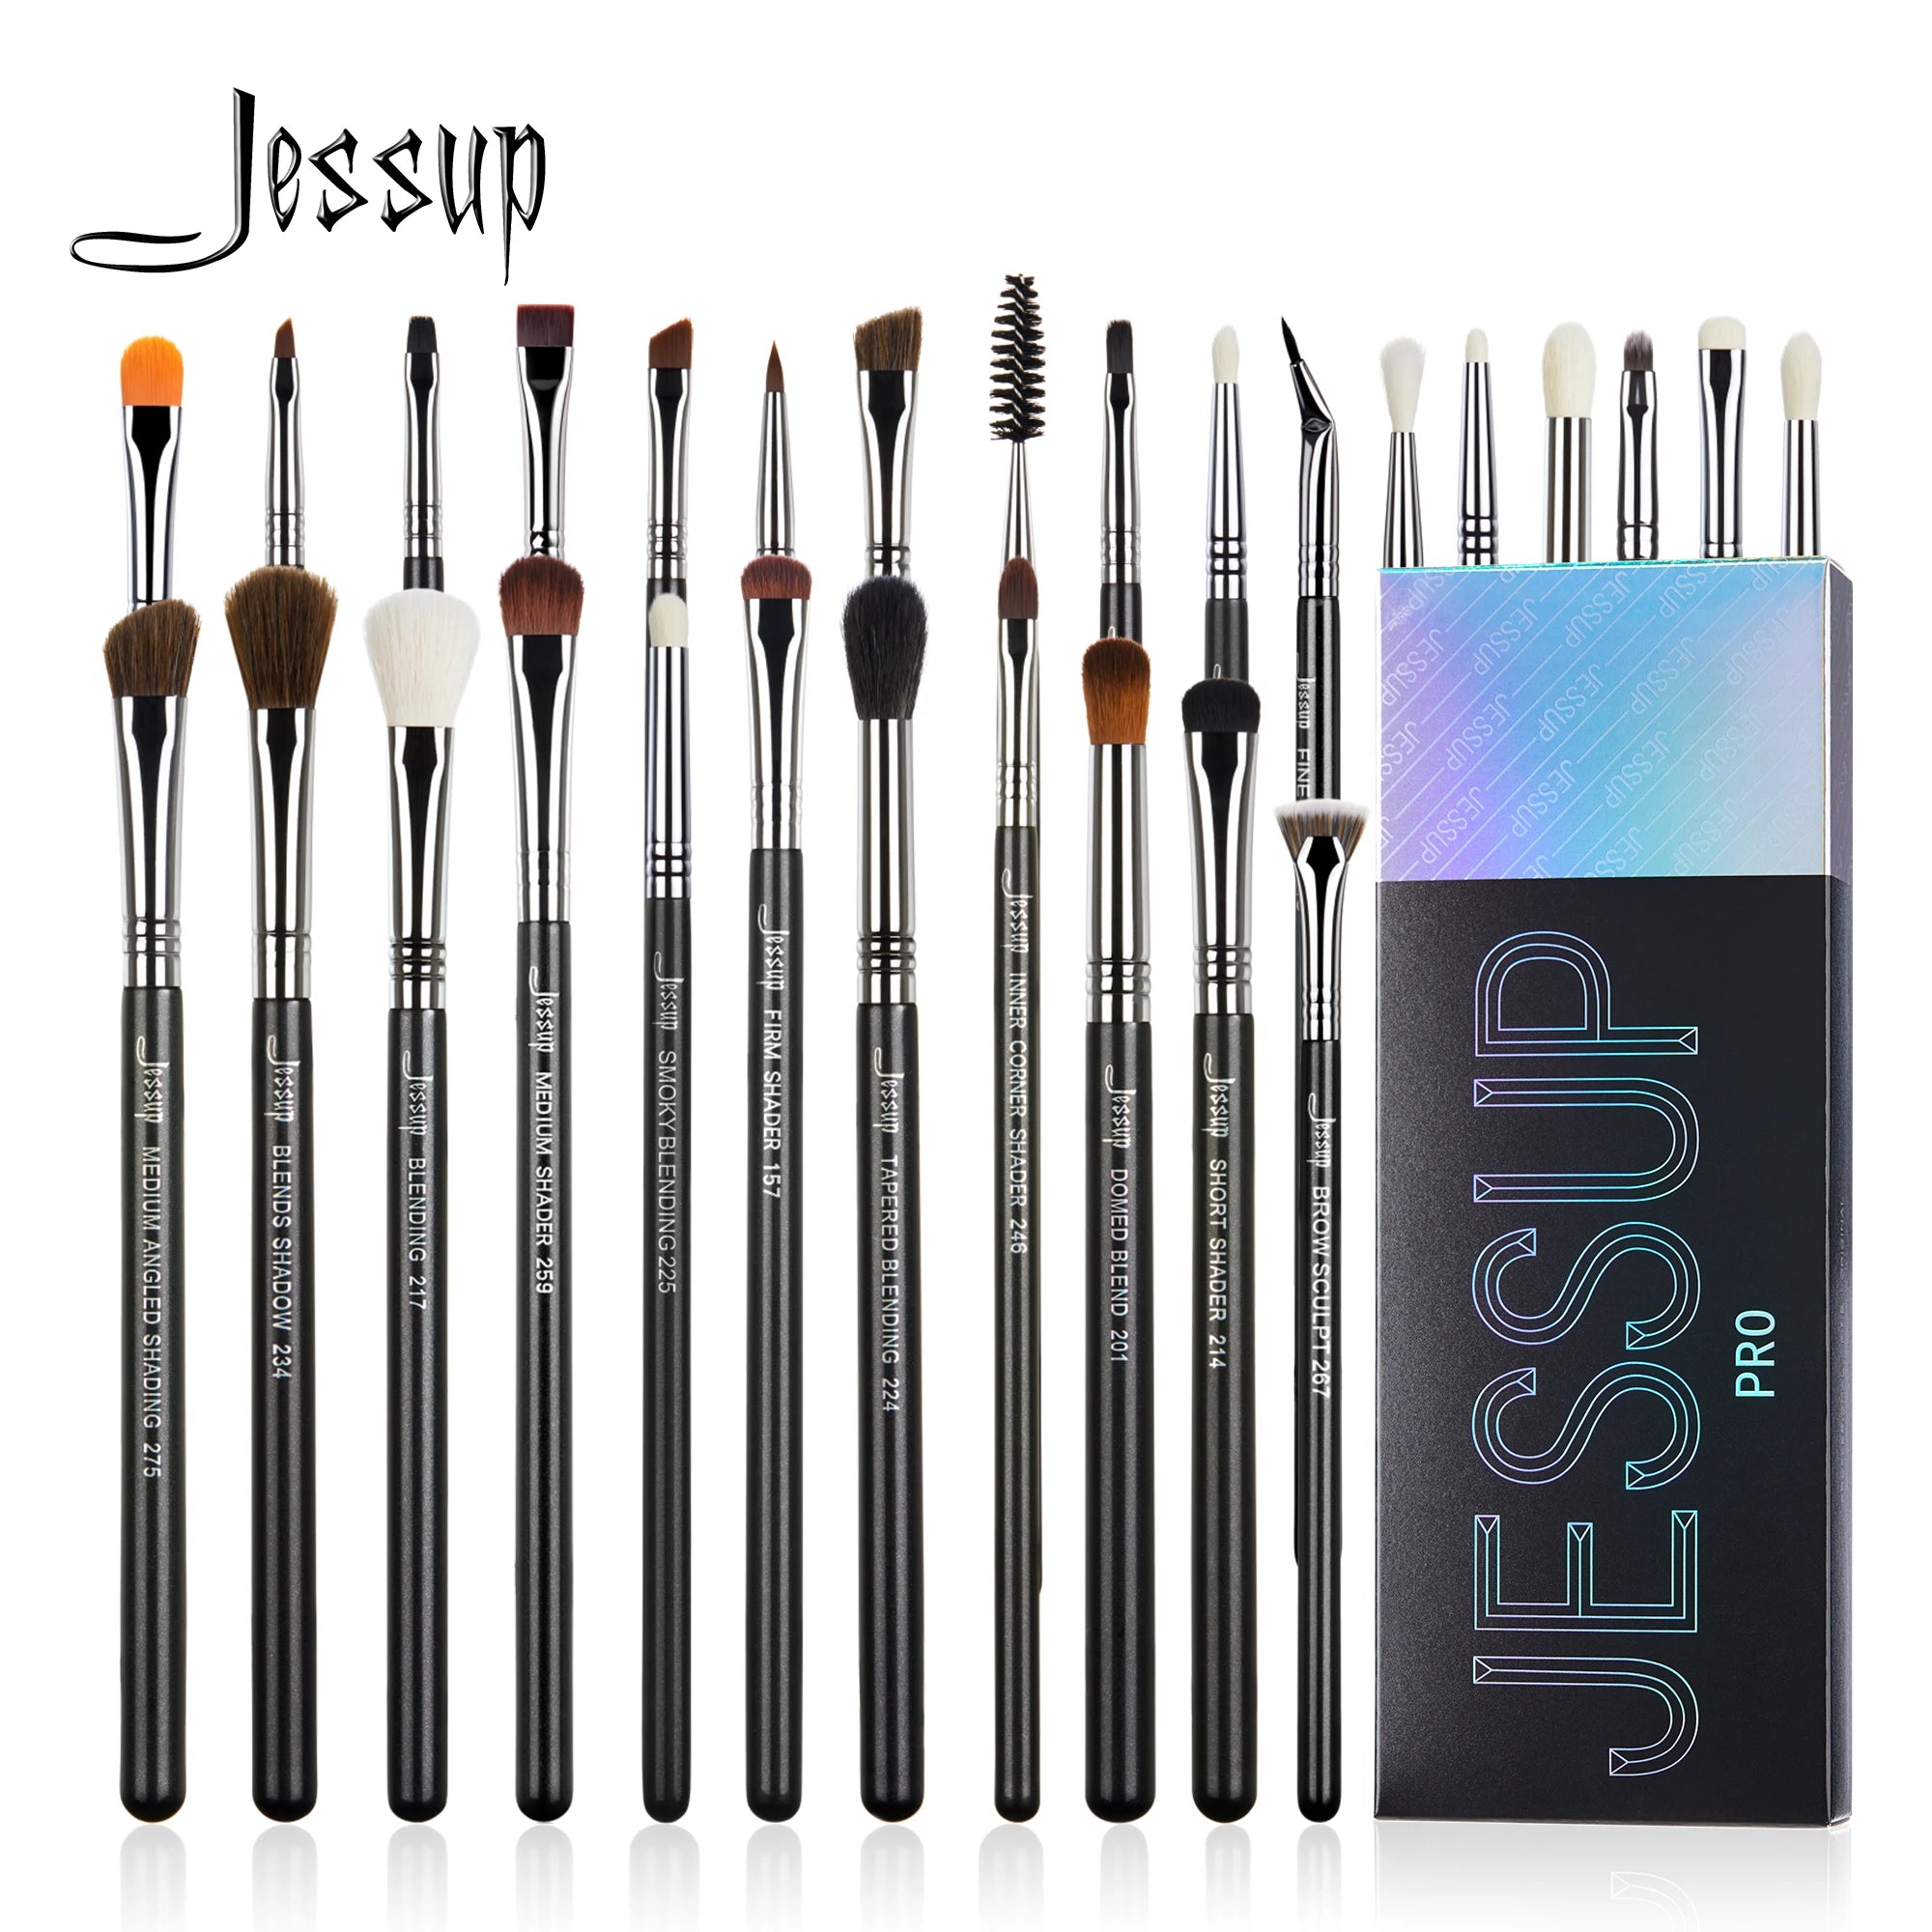
Blending brush eyeshadow essentials — see it in action
Why a Blending Brush Creates a Seamless Eyeshadow Look
A blending brush eyeshadow routine helps diffuse pigment gradually instead of leaving visible edges between colors. Unlike flat shader brushes that deposit concentrated color, a fluffy eyeshadow blending brush softens transitions and creates the smooth gradients that give eye makeup a professional appearance.
Good blending doesn't remove color—it refines it. By focusing on the edges rather than the center of each shade, you maintain depth while achieving a softer finish that looks balanced from every angle.
- Creates smooth transitions between light, medium, and dark shades.
- Softens hard edges for a naturally diffused finish.
- Reduces patchiness by distributing pigment evenly.
- Builds dimension without making the eyes look heavy.
- Makes layered eyeshadow appear cleaner and more polished.
Whether you're using matte neutrals or dramatic smokey shades, proper eyeshadow blending technique allows colors to flow together while preserving their individual depth and definition.
How to Use a Blending Brush for Eyeshadow Step by Step
Learning how to use a blending brush for eyeshadow starts with gentle pressure, controlled movements, and patience. Instead of applying large amounts of pigment at once, professional makeup artists gradually layer color while blending only where shades meet. This approach creates smooth transitions without overblending or muddying the look.
Prep the eyelid
Begin with clean, dry eyelids and apply an eyeshadow primer or a light base shade. This creates an even surface that helps colors blend more smoothly and last longer.
Apply transition shades
Use a fluffy blending brush to place a soft transition color slightly above the natural crease. This shade acts as the bridge between deeper colors and your skin tone.
Use windshield wiper and circular motions
- Start with less product – Tap excess powder from the brush before touching the eyelid.
- Use windshield wiper motions – Sweep gently through the crease to distribute pigment evenly.
- Add small circular motions – Buff only the outer edges to soften transitions without removing intensity.
- Blend the edges, not the center – Keep the deepest color concentrated where you originally placed it.
- Switch to a clean blending brush – Finish by lightly diffusing all edges for an airbrushed appearance.
Build intensity without overblending
Layer eyeshadow gradually instead of applying heavy pigment in one pass. If you need more depth, add another thin layer and blend again. Building color slowly gives you greater control and helps prevent muddy eyeshadow.
Pro tip: Hold the brush near the end of the handle rather than close to the ferrule. This naturally reduces pressure, making your blending smoother and more effortless while protecting the shape of your eyeshadow placement.
How to Blend Dark Eyeshadow Without a Muddy Look
Learning how to blend dark eyeshadow is often the biggest challenge for beginners. Deep shades can quickly become muddy when too much pigment is applied or multiple colors are blended together without a plan. The key is to build intensity gradually, preserve separation between shades, and blend only the outer edges to maintain depth and definition.
Layer Dark Shades Gradually
Apply your darkest eyeshadow a little at a time, concentrating it on the outer corner or crease before blending. It's much easier to deepen color with additional layers than to remove excess pigment once it has spread across the eyelid.
Keep Colors Separated
Transition shades should bridge light and dark colors instead of mixing them directly. Allow each shade to retain its own placement, then soften only where the colors meet. This technique helps blend eyeshadow without a muddy look while creating a clean, dimensional gradient.
Clean the Brush Between Shades
A clean blending brush prevents leftover pigment from contaminating lighter shades. Wipe your brush on a microfiber cloth or color switch sponge before blending a different color, especially when working with black, deep brown, navy, or plum eyeshadows.
| Do | Don't |
|---|---|
| Build color slowly with thin layers | Apply heavy pigment all at once |
| Blend only the outer edges | Overblend the entire eyelid |
| Use transition shades between colors | Mix several dark shades together immediately |
| Clean the brush between shades | Reuse a pigment-loaded brush throughout the look |
If your eyeshadow begins looking dull or muddy, stop blending and reapply a small amount of the original shade to restore contrast before softening the edges again.
Best Brushes for Blending Eyeshadow Smoothly
The best brushes for blending eyeshadow smoothly are designed to match specific stages of your makeup application. Using the right brush shape improves precision, prevents overblending, and makes it easier to create seamless transitions between colors.
- Fluffy blending brush – Best for diffusing transition shades and softening edges across the crease.
- Tapered crease brush – Ideal for placing color precisely before blending.
- Clean blending brush – Used without additional product to perfect gradients and remove harsh lines.
- Dense blending brush – Helps soften richer smokey shades while maintaining intensity.
- Flat shader brush – Packs shimmer or matte color onto the lid before blending.
- Pencil brush – Adds definition along the lash line and outer corner for detailed work.
Using a complete set like 28pcs eye makeup brushes set ensures you always have the right tool for each stage of your eyeshadow routine, from placing pigment to refining the final blend.
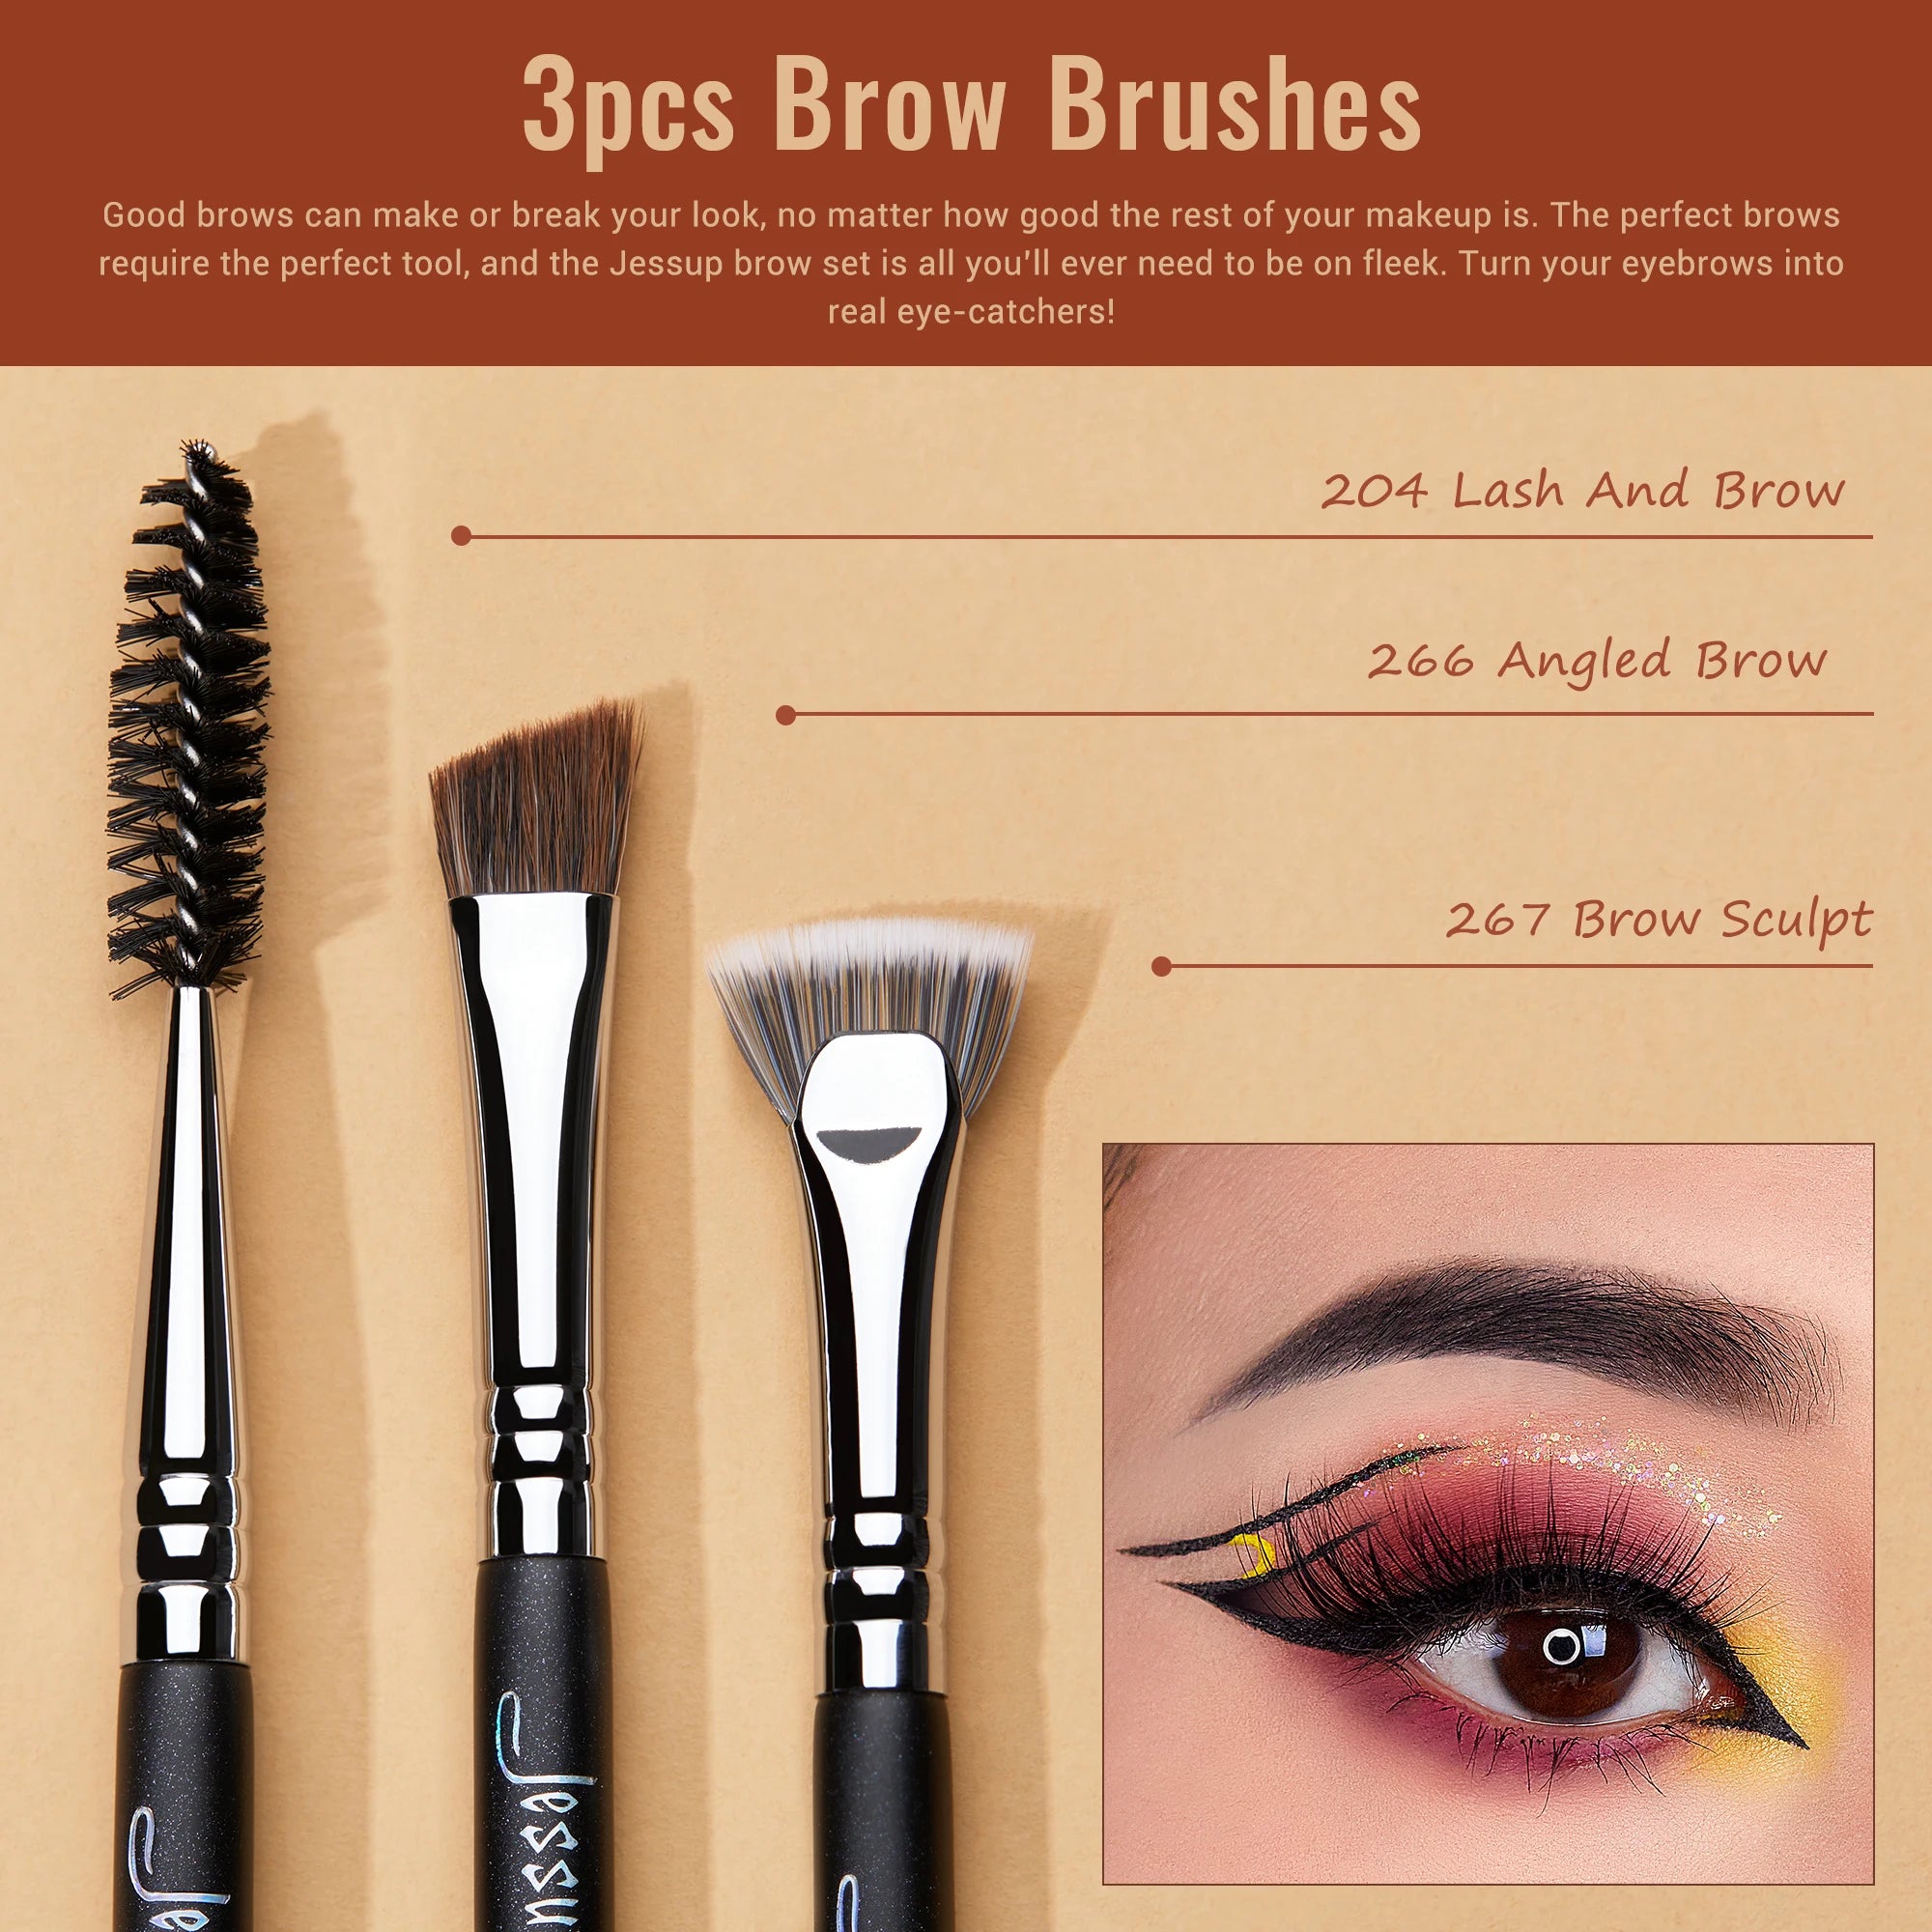
How to use a blending brush correctly — see it in action
Step-by-Step Tutorial: Blend Eyeshadow Like a Pro
Neutral Daytime Look
- Apply a soft transition shade throughout the crease.
- Deepen the outer corner with a medium matte shade.
- Blend the edges using gentle circular and windshield wiper motions.
- Press a lighter lid shade onto the center using a flat shader brush.
Smokey Eye Blending
- Add a darker shade to the outer V and blend outward rather than inward to preserve depth.
- Layer additional pigment gradually until the desired intensity is reached.
Final Edge Refinement
- Use a clean blending brush to soften only the outer edges of each shade.
- Check both eyes in natural light and make small adjustments for symmetry instead of continuing to blend unnecessarily.
This layering sequence creates a smooth eyeshadow gradient while keeping each color distinct, making it suitable for both subtle everyday makeup and dramatic evening looks.
Common Eyeshadow Blending Mistakes and Easy Fixes
Even with quality brushes and pigments, a few small technique errors can make eyeshadow appear patchy, muddy, or uneven. Identifying these habits early will help you improve your eyeshadow blending technique and achieve more consistent results.
- Using too much product → Fix: Tap excess powder from the brush and build color in thin layers.
- Pressing too hard → Fix: Hold the brush near the end of the handle and let the bristles do the work.
- Skipping a transition shade → Fix: Begin with a mid-tone shade to create smoother color transitions.
- Overblending → Fix: Blend only the edges instead of continuously buffing the entire eyelid.
- Using a dirty brush → Fix: Clean or wipe your blending brush between shades to prevent muddy color mixing.
- Applying dark shades too early → Fix: Start with lighter shades and deepen the look gradually.
Think of blending as refining the edges rather than erasing them. Well-defined placement combined with gentle blending creates cleaner, more professional-looking eye makeup.
Shop the 28pcs eye makeup brushes set
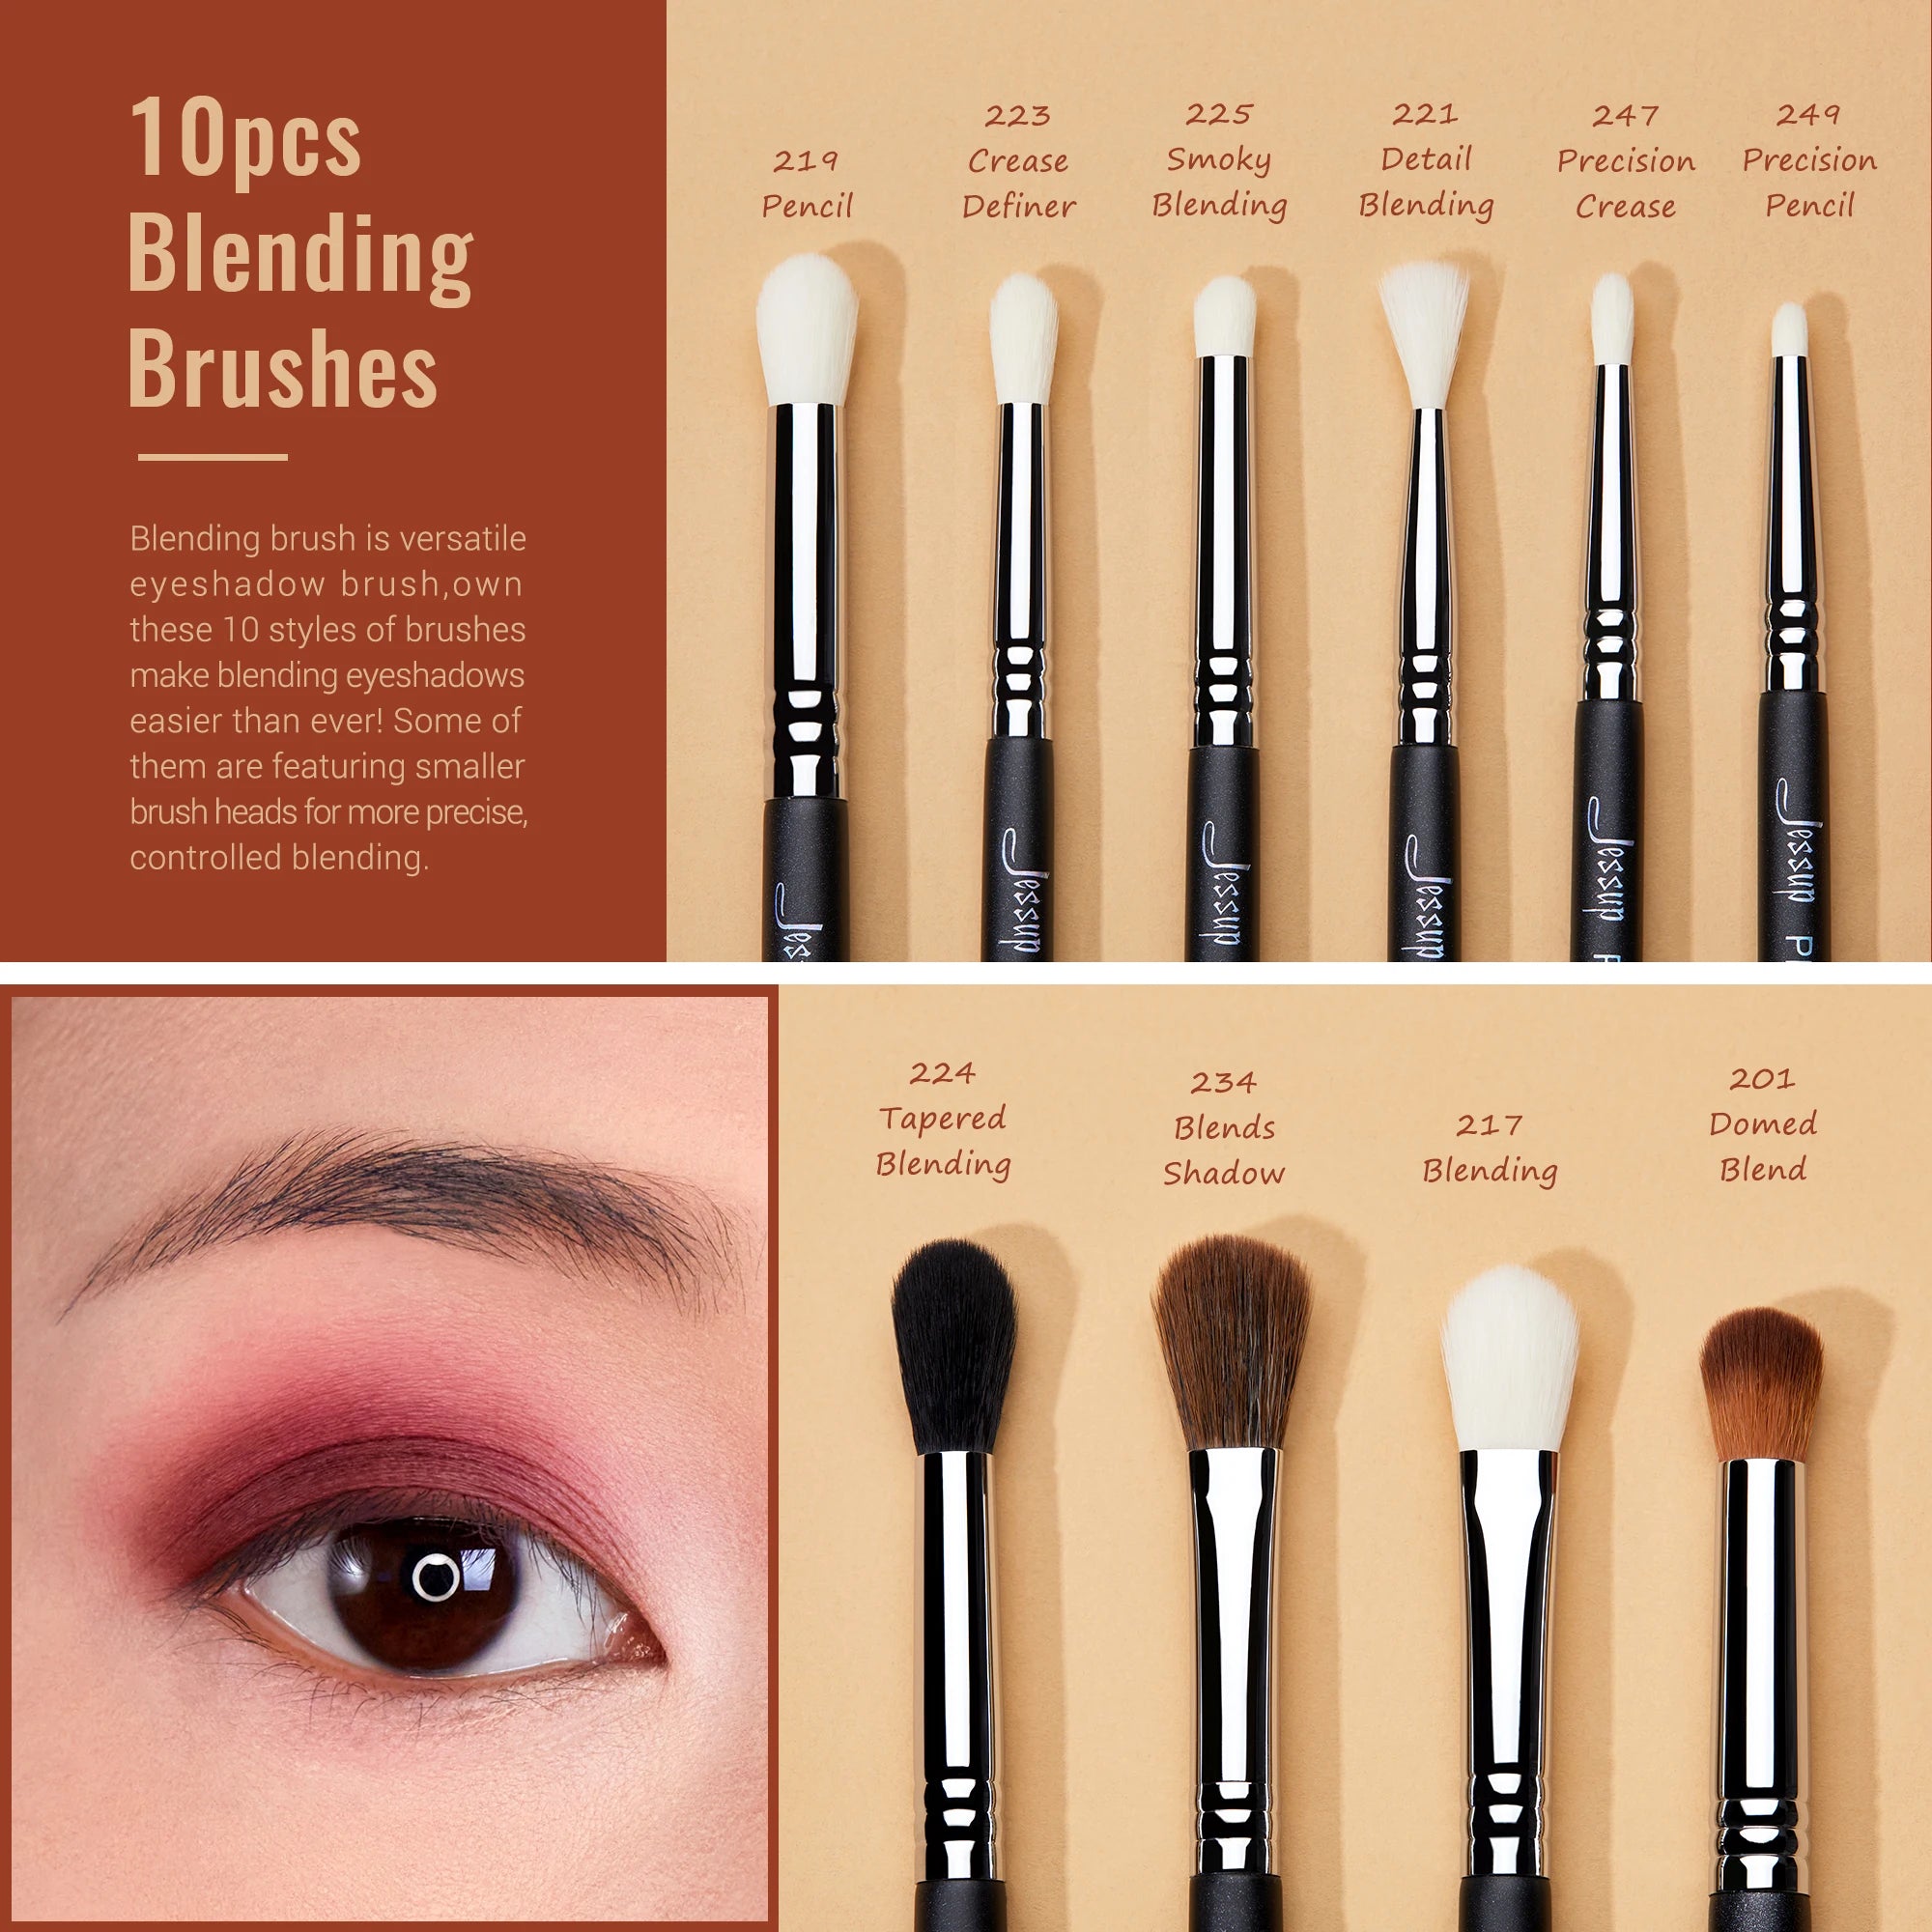
Best brushes for blending eyeshadow smoothly — see it in action
FAQs
What is a blending brush used for?
A blending brush is designed to soften eyeshadow edges, merge multiple shades, and create smooth transitions. Its fluffy bristles diffuse pigment without removing too much color, making it an essential tool for seamless eye makeup.
How do I avoid patchy eyeshadow?
Prep your eyelids with primer, apply thin layers of eyeshadow, use light pressure, and blend gradually. Avoid overloading the brush with pigment, especially when working with darker shades.
Can beginners use blending brushes easily?
Yes. A fluffy eyeshadow blending brush is one of the most beginner-friendly makeup tools because it naturally softens harsh lines and makes small blending mistakes less noticeable.
How often should I clean my blending brush?
Wipe your brush between colors during each makeup application and wash it with a gentle brush cleanser every one to two weeks, depending on how frequently you use it. Clean brushes blend more evenly and help maintain healthy skin.
Do I need multiple blending brushes?
Using at least two blending brushes is recommended—one for applying color and another clean brush for refining edges. This prevents muddy color transfer and produces smoother gradients.
Not necessarily. Similar shades can often be blended with the same brush, but it's best to clean the brush or switch to another one before blending significantly darker or lighter colors.
How long should I blend eyeshadow?
Blend only until the edges appear soft and the transition between shades looks natural. Excessive blending can reduce color intensity and make the overall look appear muddy.
Can I blend shimmer eyeshadow with the same brush?
Yes, but shimmer shades are usually applied with a flat shader brush first. Use a clean blending brush afterward to soften only the edges without dulling the reflective finish.
What is the difference between a blending brush and a crease brush?
A blending brush is typically fluffier and designed to diffuse pigment over a larger area, while a crease brush is smaller and more tapered for placing color precisely within the crease before blending.
What is the best blending brush for eyeshadow?
The best blending brush has soft, flexible bristles with a slightly tapered shape that suits your eye size. Larger fluffy brushes work well for diffusing transition shades, while smaller blending brushes provide greater control on compact eyelids.
How much pressure should I use when blending eyeshadow?
Use the lightest pressure possible. Gentle movements allow the brush tips to diffuse pigment naturally without disturbing the color underneath.
Why does my eyeshadow look muddy after blending?
Muddy eyeshadow usually results from applying too much dark pigment, blending for too long, or using a dirty brush. Layer colors gradually and clean your brush between shades to maintain contrast.
How do I blend dark eyeshadow without harsh edges?
Apply dark shades in small amounts, blend only their edges with a clean fluffy brush, and use a transition shade to soften the boundary between dark and light colors.
Can I use one blending brush for multiple shades?
Yes, provided you remove excess pigment between colors. For dramatically different shades, switching to a clean brush produces the smoothest finish.
How often should I wash an eyeshadow blending brush?
For regular makeup users, washing blending brushes every one to two weeks keeps the bristles soft, improves color performance, and reduces product buildup.
Which blending technique works best for hooded eyes?
For hooded eyes, blend slightly above the natural crease using light windshield wiper motions. Keeping the transition shade visible above the fold creates the illusion of more lid space.
Pillar Article: Eyeshadow Brush Guide: How to Use Each Brush Right
Other Related Articles:
- Eye Brush Guide: Fix Patchy Eyeshadow Fast
- Beginner Eyeshadow Tips: Avoid Common Brush Mistakes
- Eyeshadow Brushes How to Use for Smooth Blending
Explore More:













