

Eye Brush Guide: Fix Patchy Eyeshadow Fast
Patchy eyeshadow is one of the most common eye makeup frustrations, and it often has less to do with the formula you're using than the way you're applying it. A reliable eye brush guide helps you choose the correct brush for each stage of application, making it easier to build color evenly, blend seamlessly, and create a polished finish. Whether you're new to makeup or refining your technique, a few simple adjustments can dramatically improve your results.
⏱ 5 min read
Discover the easiest way to fix patchy eyeshadow instantly
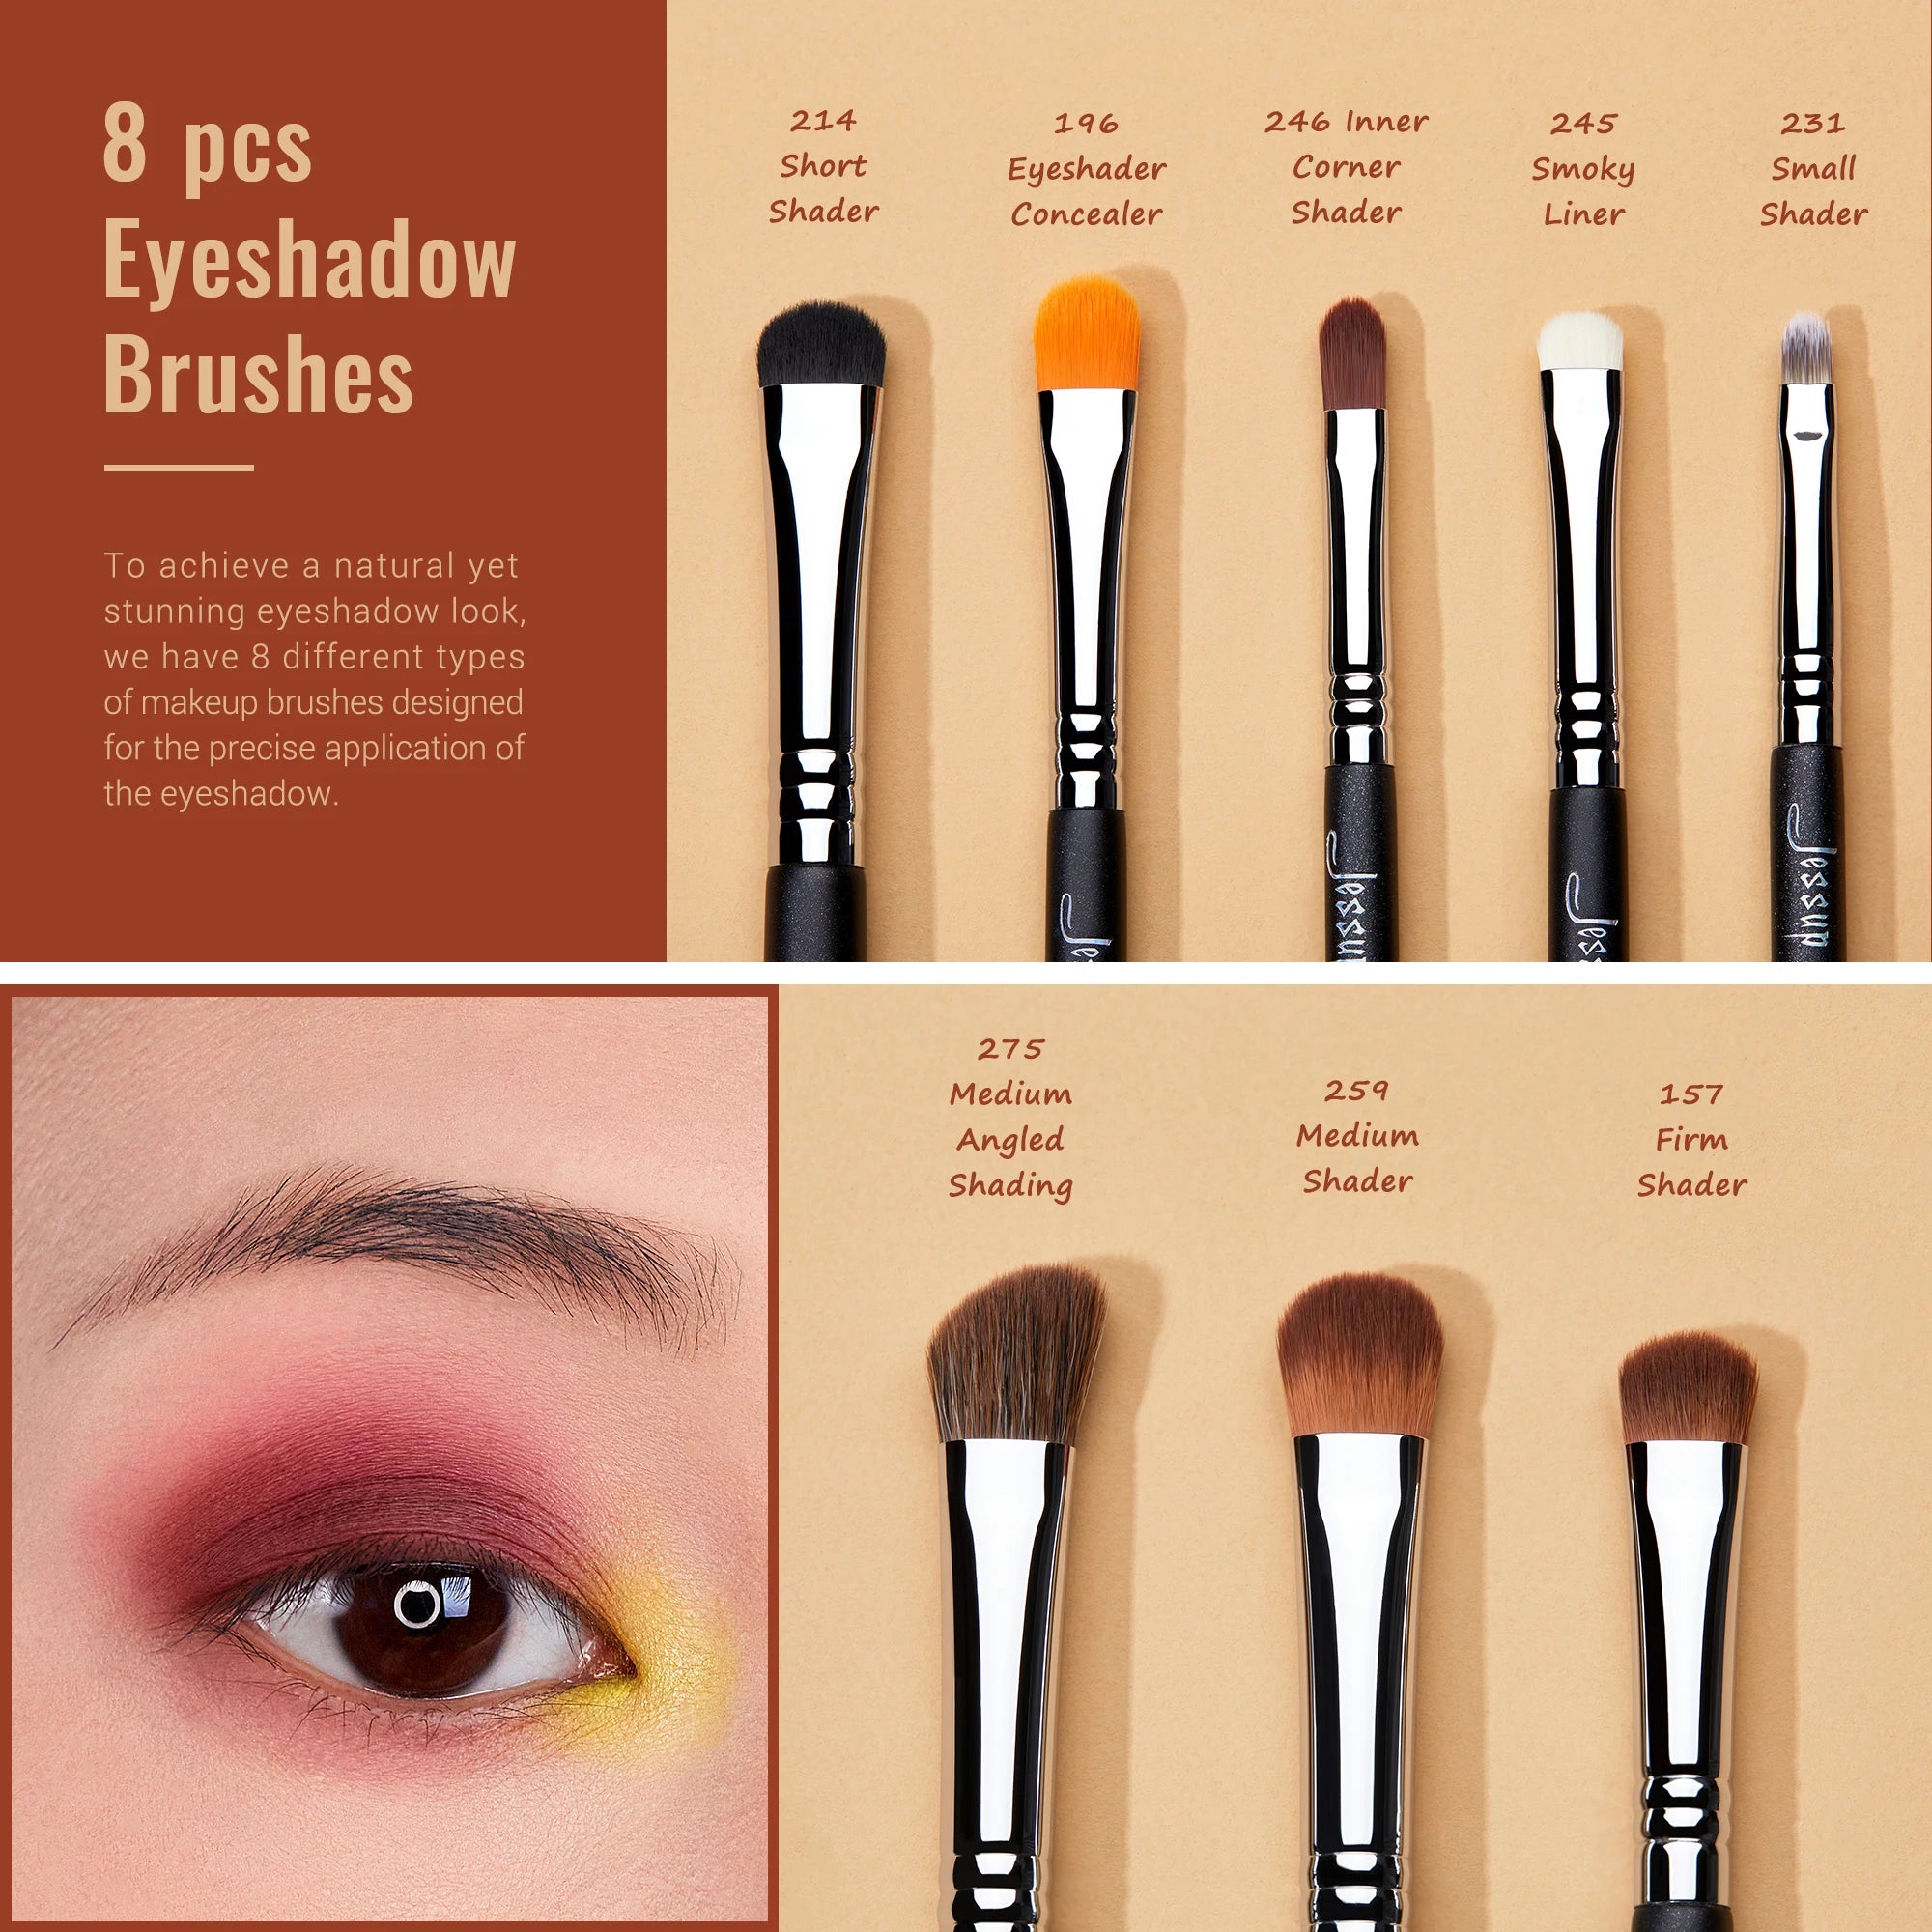
Fix patchy eyeshadow fast with the right eye brush guide. See how proper brush selection creates smoother, more even blending.
Why Your Eye Makeup Looks Patchy and Uneven
If your eye makeup looks patchy and uneven despite using quality eyeshadow, the issue is usually a combination of preparation, brush selection, and application technique rather than the product itself. Understanding these root causes makes it much easier to achieve smoother, professional-looking results.
The right brush paired with the right technique can make even affordable eyeshadows blend more evenly and last longer.
Common blending errors
Many blending problems happen because too much color is applied at once or because the brush is moved with excessive pressure. Instead of forcing pigment across the lid, build thin layers and blend using light circular or windshield-wiper motions. This creates softer transitions and reduces harsh edges.
Product and brush issues
Using the wrong brush for the task is one of the biggest reasons eye makeup looks patchy and uneven. Different brush shapes are designed for different jobs:
- Using a fluffy brush to pack pigment: Results in weak color payoff and uneven coverage.
- Using a dense shader brush to blend: Can leave visible lines and concentrated patches of color.
- Applying too much product at once: Makes shadows cling unevenly and becomes harder to diffuse.
Skin prep mistakes
Your eyelids need a smooth surface before eyeshadow is applied. Skipping primer, applying shadow to oily lids, or working on dry skin can all affect how evenly pigment adheres. A lightweight eye primer or a thin layer of concealer helps create consistent grip so colors blend more smoothly.
Fixing these issues doesn't require replacing your favorite palette. Matching each step with the correct brush and using controlled application techniques delivers more consistent, seamless eye makeup with less effort.
Explore more beauty tools in Skin and Beauty Care Devices for complete routine upgrades.
How This Eye Brush Guide Fixes Uneven Blending Fast
A practical eye brush guide simplifies the entire application process by assigning the correct brush to each task. Rather than relying on a single brush for every step, you'll use dedicated tools for packing color, softening edges, and blending transitions. This approach reduces patchiness, improves pigment payoff, and creates a smoother gradient with less effort.
- ✔ Builds color evenly without streaks
- ✔ Creates softer, more natural transitions
- ✔ Reduces the need to start over
- ✔ Makes blending easier for both beginners and experienced makeup users
Learn step-by-step how to blend like a pro
How to Use Eye Makeup Brushes Step by Step
-
Start with a smooth base
Apply an eyeshadow primer or a thin layer of concealer across the eyelid. This creates an even surface, helps pigment adhere better, and minimizes patchiness throughout the day. -
Pack color with a flat shader brush
Instead of sweeping the brush back and forth, gently press the eyeshadow onto the lid. Patting motions maximize color payoff while reducing fallout. -
Blend the edges with a fluffy brush
Switch to a clean, fluffy blending brush and use light circular or windshield-wiper motions around the edges of the shadow. Keep pressure gentle to avoid lifting the color you've already placed. -
Build depth gradually
Apply small amounts of product in multiple thin layers rather than one heavy application. Layering gives you better control and creates smoother color transitions. -
Diffuse transitions with a clean brush
Finish by using a clean blending brush to soften any visible lines between shades. This final step creates a seamless gradient without muddying the colors.
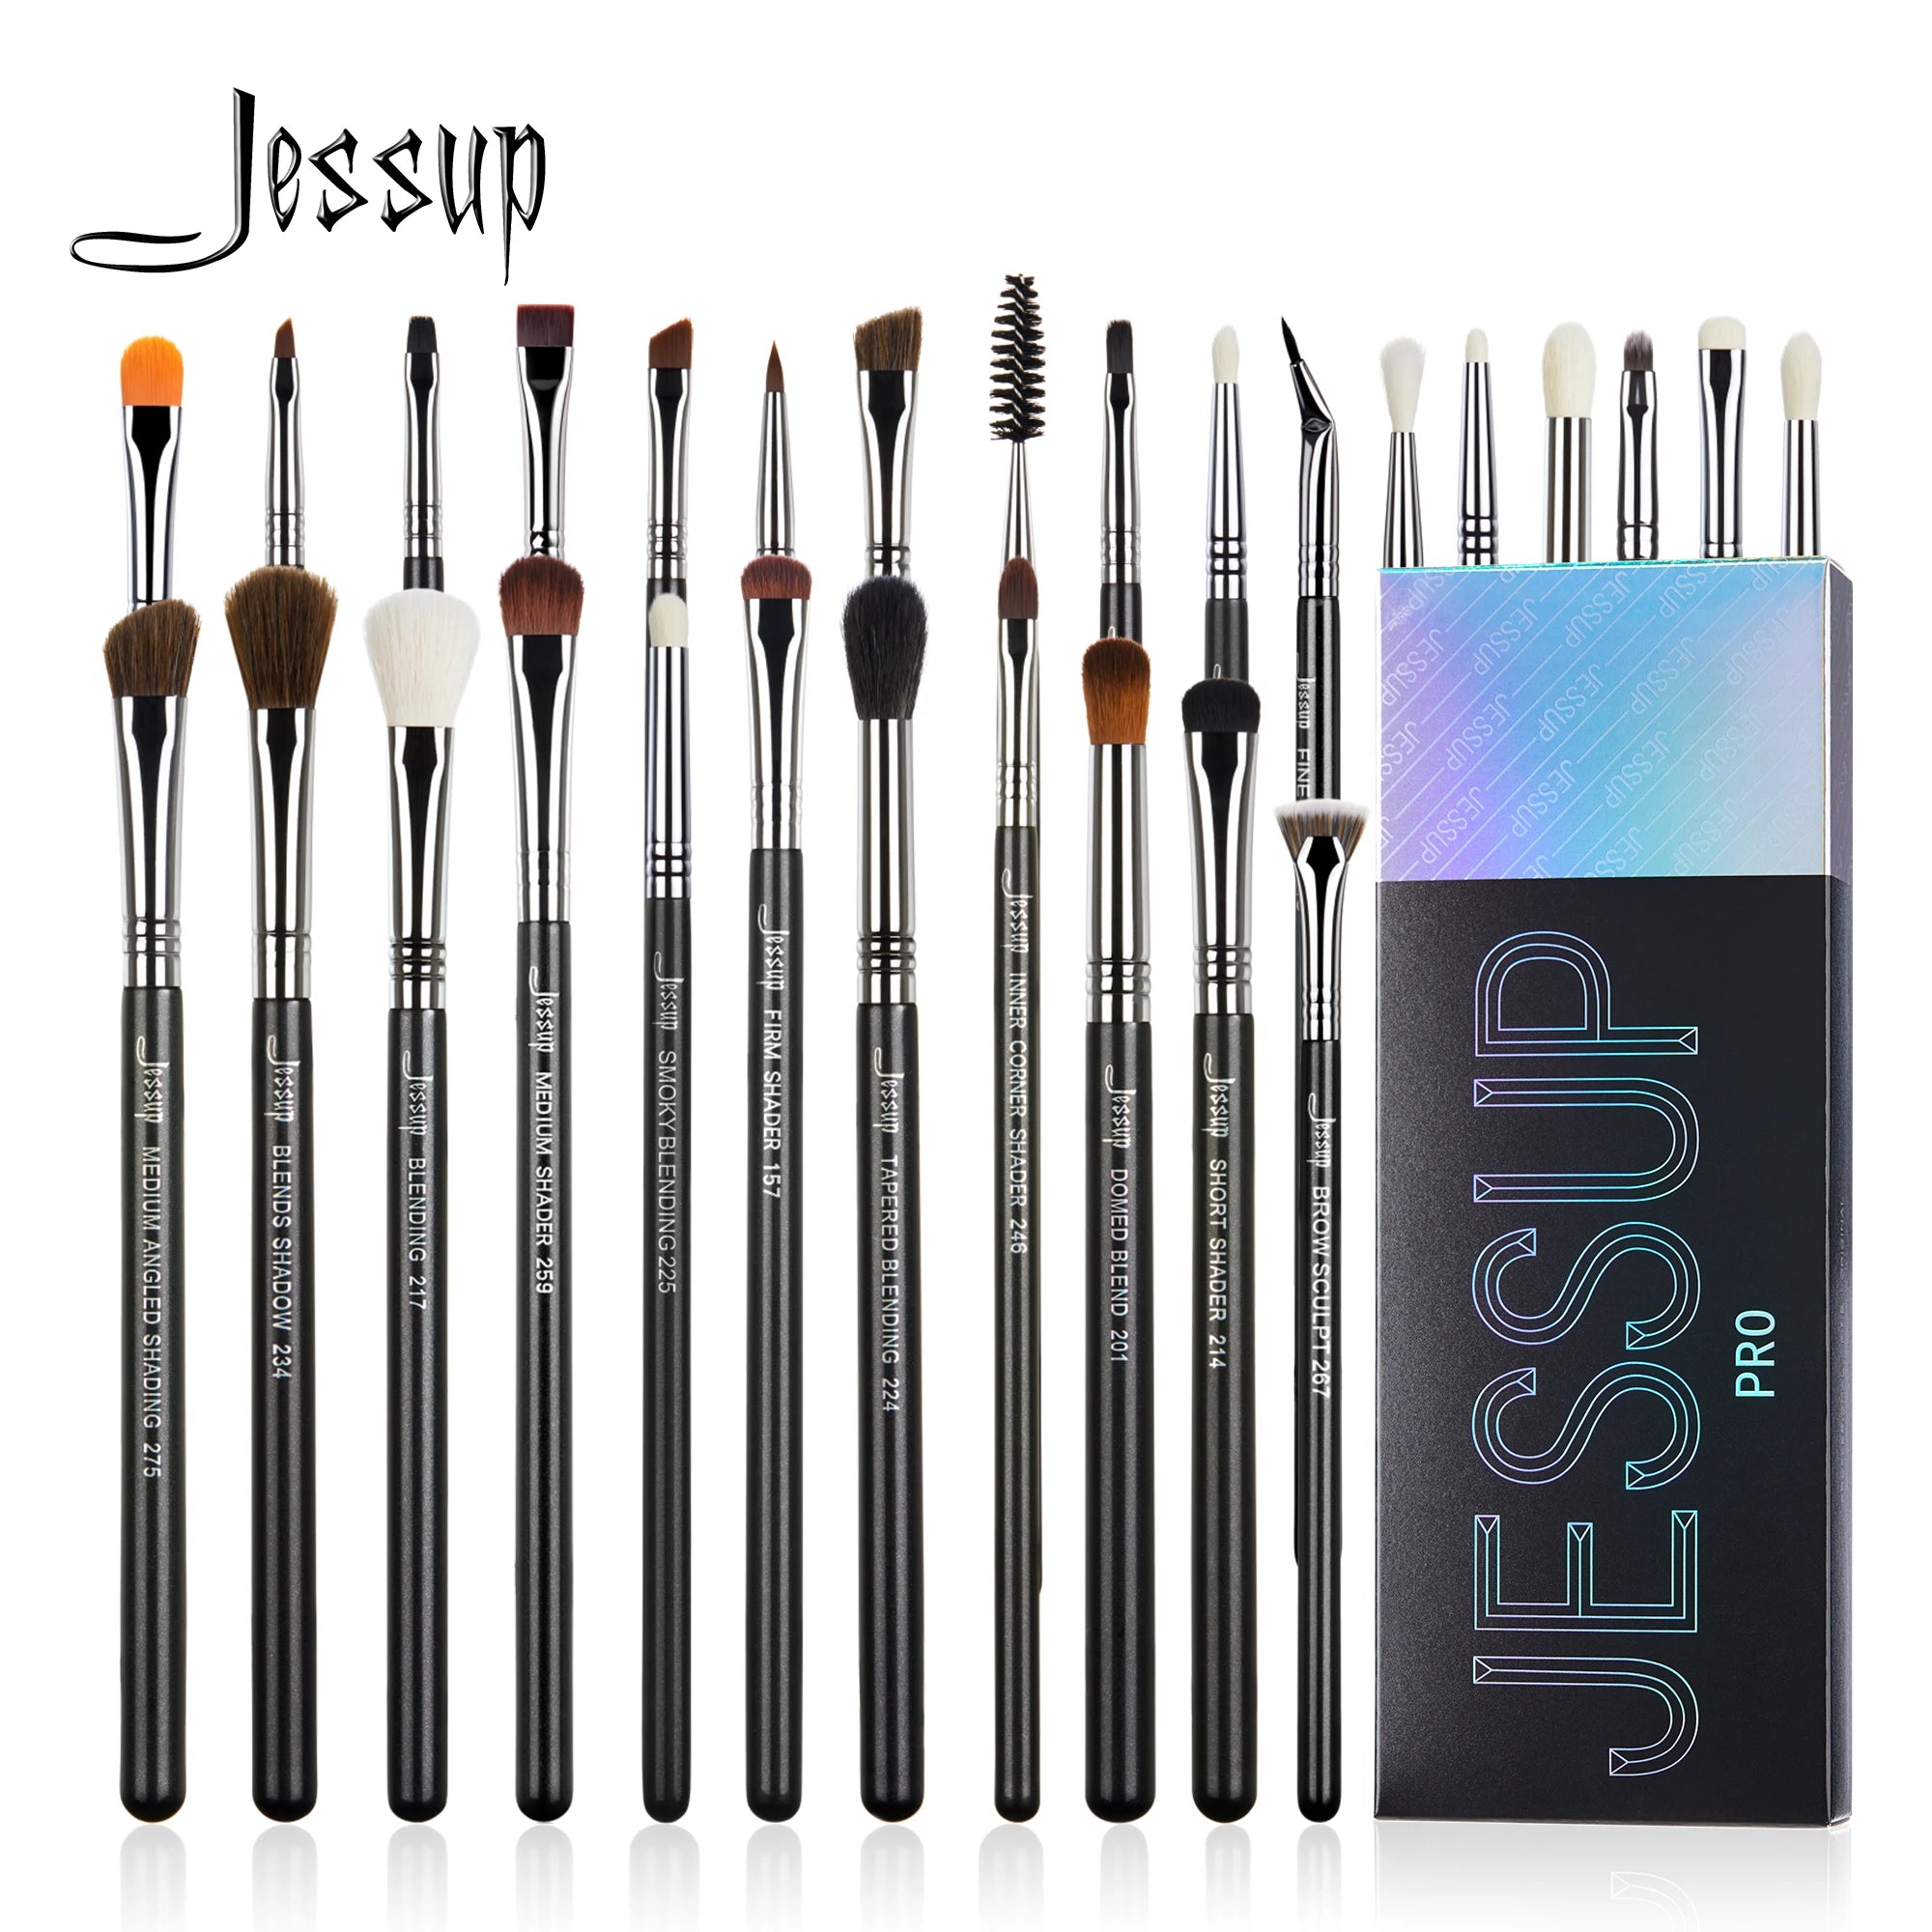
Techniques for flawless eye makeup blending that create smoother, more even eyeshadow application.
Common Mistakes That Cause Patchy Eyeshadow
Even experienced makeup users can run into blending problems when technique and brush choice don't match the task. Identifying these common mistakes makes them much easier to correct.
| Mistake | What Happens | Better Approach |
|---|---|---|
| Using one brush for every step | Uneven blending and muddy colors | Use separate brushes for packing, blending, and detailing |
| Picking up too much eyeshadow | Patchy texture and excess fallout | Build color gradually in light layers |
| Skipping the final blend | Visible harsh edges between shades | Finish with a clean blending brush |
| Applying shadow to dry or unprepared lids | Uneven pigment adhesion | Prep the eyelids with primer or concealer first |
Best Brush Types for Every Eye Makeup Technique
Choosing the right brush for each stage of your eye makeup routine makes blending easier and produces cleaner, more professional-looking results.
| Brush Type | Primary Use | Best Result |
|---|---|---|
| Flat Shader Brush | Packing shimmer or matte color onto the lid | Rich, even pigment payoff |
| Fluffy Blending Brush | Blending transition shades and softening edges | Smooth, seamless gradients |
| Pencil Brush | Defining the outer corner and lower lash line | Precise color placement |
| Clean Blender Brush | Diffusing color without adding product | Airbrushed, natural-looking finish |
Using a complete set like this eye brush kit ensures you always have the right tool available for each step, making it easier to create consistent, well-blended eye looks regardless of your skill level.
Want to elevate your entire beauty routine? Explore tools from Eye Care Devices and Lifestyle collections.
Get yours now — limited stock!
FAQs
What does each eye makeup brush do?
Each eye makeup brush is designed for a specific task. Flat shader brushes press color onto the lid, blending brushes soften edges, crease brushes add depth to the eye socket, pencil brushes provide detailed placement, and angled brushes create precise eyeliner or brow definition.
Which eye brushes do beginners actually need?
Most beginners can create a wide variety of eye looks with just three essential brushes: a flat shader brush for applying color, a fluffy blending brush for seamless transitions, and a pencil or detail brush for defining the outer corner and lower lash line. Additional specialty brushes can be added as your skills develop.
What is the difference between a shader brush and a blending brush?
A shader brush has dense, flat bristles that press eyeshadow onto the eyelid for maximum color payoff. A blending brush has longer, softer bristles that diffuse edges and create smooth transitions between shades without depositing heavy amounts of product.
What is the difference between a blending brush and a crease brush?
A blending brush is generally larger and designed to soften transitions across the eyelid. A crease brush is smaller and more tapered, making it easier to place darker shades precisely into the crease to add depth and dimension.
How do I stop my eyeshadow from looking patchy?
Prepare your eyelids with primer, apply eyeshadow in thin layers, use the appropriate brush for each step, and blend gently rather than dragging the brush. Building color gradually produces a smoother, more even finish.
Can I do a full eye look with only three brushes?
Yes. A flat shader brush, a fluffy blending brush, and a detail brush are enough to create most everyday and many glam eye looks. As you become more experienced, specialty brushes simply offer greater precision and efficiency.
Should I choose natural or synthetic eye brushes?
Both have advantages. Synthetic brushes perform exceptionally well with cream, liquid, and modern powder formulas while being easy to clean. Natural hair brushes are traditionally valued for blending powder shadows, though many high-quality synthetic brushes now deliver similarly smooth results.
Can synthetic brushes blend eyeshadow as well as natural brushes?
Yes. Modern synthetic fibers are designed to pick up and distribute powder evenly, making them an excellent choice for blending while also being durable, cruelty-free, and suitable for cream products.
How often should eye makeup brushes be cleaned?
Brushes used around the eyes should be cleaned at least once a week with a gentle brush cleanser or mild soap. Regular cleaning removes product buildup, helps maintain blending performance, and supports better hygiene.
Pillar Article: Eyeshadow Brush Guide: How to Use Each Brush Right
Other Related Articles:
- Blending Brush Eyeshadow: How to Blend Like a Pro
- Beginner Eyeshadow Tips: Avoid Common Brush Mistakes
- Eyeshadow Brushes How to Use for Smooth Blending
Explore More:













