
⏱ 8 min read
What is blending a fade haircut and why is it important?
Blending a fade haircut means smoothly transitioning between different hair lengths using fade tools and a comb to eliminate harsh lines. It’s the key to a seamless, professional look that enhances your facial shape. Mastering fade blending ensures even, natural results that define your barbering precision and personal style.
Blending a fade haircut can look effortless when done by pros—but for many barbers and DIY stylists, it’s the step that separates a good fade from a flawless one. Have you ever looked at your work and felt something was slightly “off”? That’s usually the blending. It’s the difference between a sharp, smooth transition and a patchy, uneven cut. In this guide, you’ll discover the exact techniques, fade tools, and expert steps that even seasoned barbers often miss. Ready to perfect your blend? Let’s dive in.
💡 Blending a fade haircut with precision using fade tools and comb — See it in action.
Understanding Fade Blending and Its Challenges
Blending a fade haircut requires precision, control, and the right fade tools. When the transitions between hair lengths are visible, it ruins the clean aesthetic of the fade. The challenge lies in balancing pressure, clipper control, and angle consistency.
- Uneven transitions create visible “steps.”
- Over-blending can flatten the fade’s shape.
- Incorrect lighting or mirror angle hides inconsistencies.
When done right, fade blending enhances facial symmetry, defines jawlines, and gives that crisp, professional look every client wants.
Essential Fade Tools for a Seamless Blend
Every barber’s fade depends on precision gear. From clippers to combs, each tool has a specific role in blending. Here’s what you need:
| Fade Tool | Purpose | Pro Tip |
|---|---|---|
| Adjustable Clipper | Controls cutting length and removes bulk | Keep blades sharp for smoother transitions |
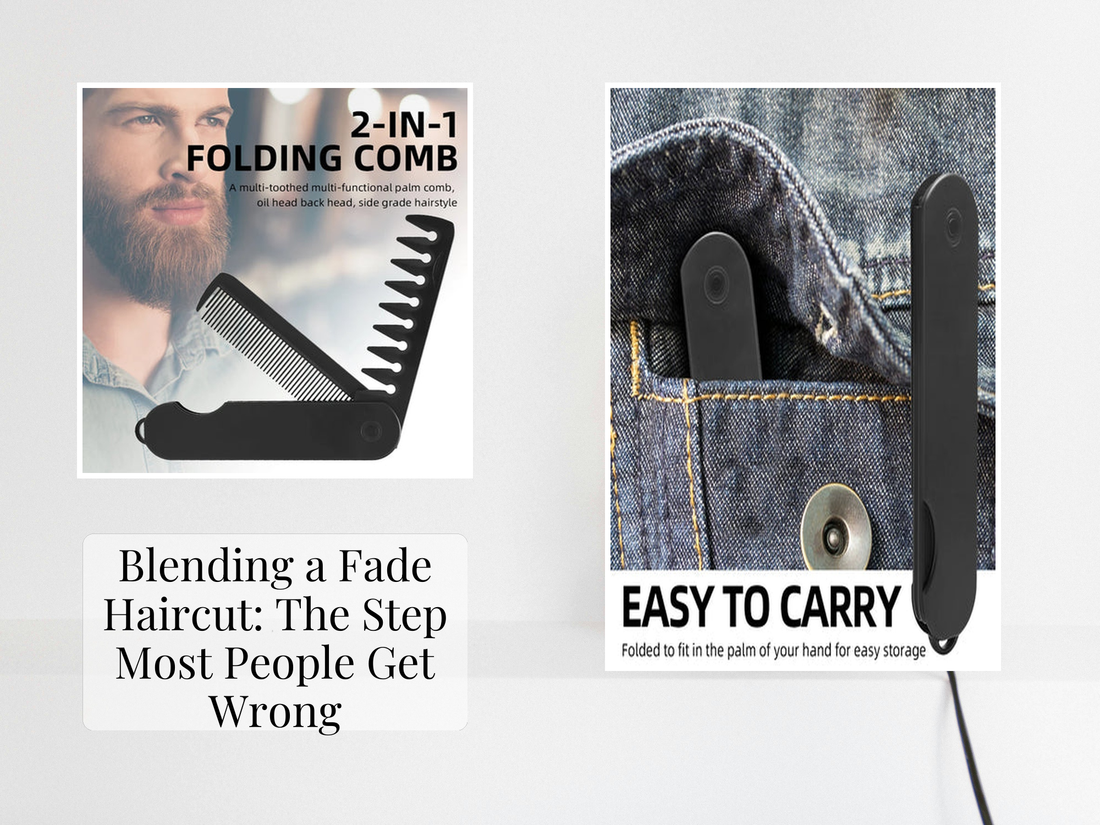
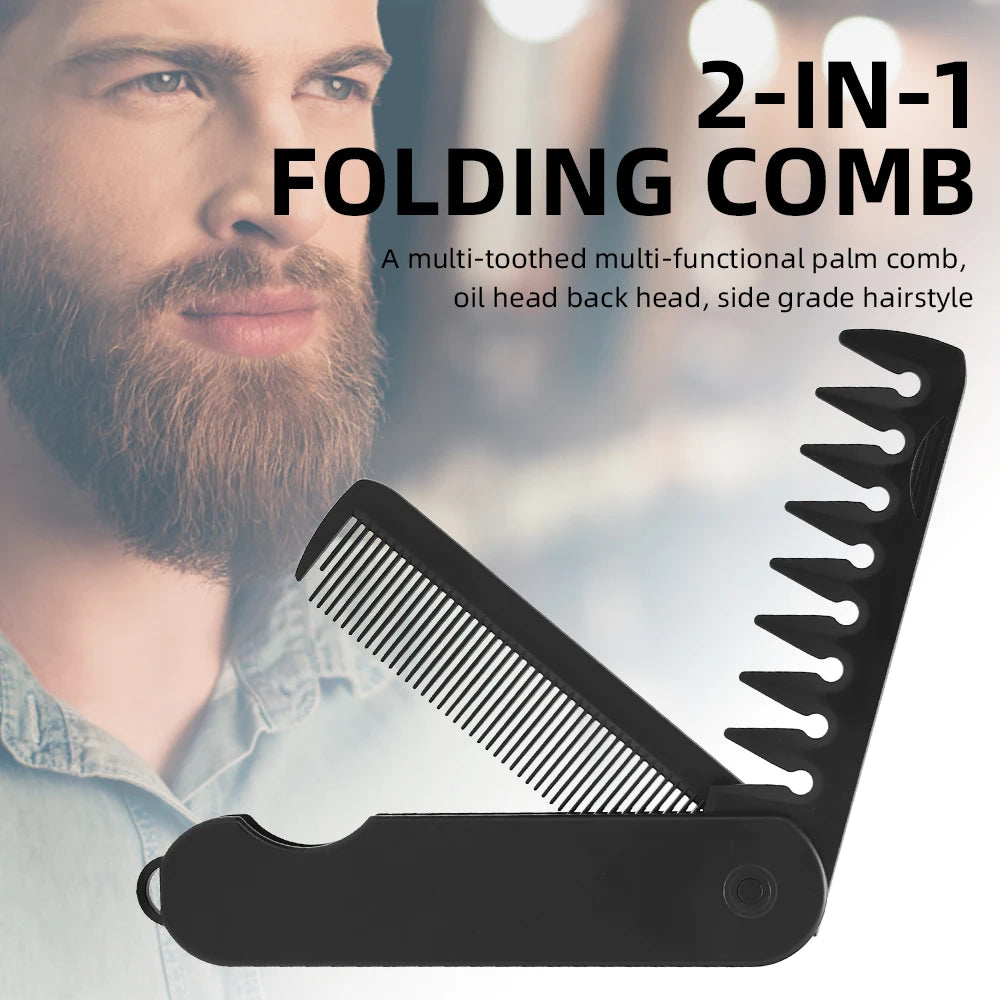
| Fading Comb | Blends sections and refines fade line | Use a fine-tooth comb like the KentDO Folding Barber Comb for detailed blending |
| Trimmer | Creates clean edges and sharp outlines | Work in natural light for visibility |
| Mirror Setup | Reveals angles and fade symmetry | Use a 3-way mirror for DIY precision |
Step-by-Step: How to Blend a Fade Haircut Like a Pro
Follow these professional steps to blend a fade haircut cleanly and evenly:
- Set the foundation: Start with a clean fade guide using clippers at the desired length.
- Create transition zones: Use lever adjustments to gradually reduce guard sizes upward.
- Fade with a comb: Insert the comb under the fade line and use short, upward clipper strokes.
- Cross-check your blend: Tilt the head and inspect under different light angles.
- Refine the finish: Use a trimmer to clean edges and a soft brush to remove excess hair.
✂️ Smooth transitions matter — master fade blending with the right technique.
Common Fade Blending Mistakes (and How to Fix Them)
Even experienced barbers struggle with blending fades perfectly. Here are top mistakes and how to fix them:
- Using the wrong guard size: Always double-check lever settings before each pass.
- Rushing the blend: Slow, steady strokes produce smoother transitions.
- Overlapping fade zones: Keep defined layers and fade gradually.
- Neglecting the neckline: A clean taper enhances the fade’s finish.
How to Master Fade With a Comb Technique
The fade with a comb technique—also known as clipper-over-comb—is one of the most versatile barber fade techniques. It allows precise control of volume and shape while blending harsh lines.
To perform it effectively:
- Hold the comb flat against the head’s curvature.
- Lift hair gradually and cut just above the comb teeth.
- Work from bottom up in small sections for accuracy.
- Revisit transitions until fade lines disappear completely.
Using a folding comb like the KentDO Folding Barber Comb helps maintain control and precision—especially for quick on-the-go touch-ups.
Expert Tips for a Seamless Fade Finish
Here are insider techniques from experienced barbers to elevate your fades:
- Work in natural lighting to catch inconsistencies early.
- Keep clippers clean to prevent uneven cuts.
- Use circular motions when finishing the fade line for softness.
- Always finish with a moisturizing product or aftershave to soothe the scalp.
Consistency is key—practice each step with patience and precision. Over time, your fade blending will improve dramatically.
Recommended Fade Tools for Better Blends
To create a professional fade, equip your kit with high-quality gear. Here are top fade tools trusted by barbers and stylists:
| Tool | Feature | Ideal For |
|---|---|---|
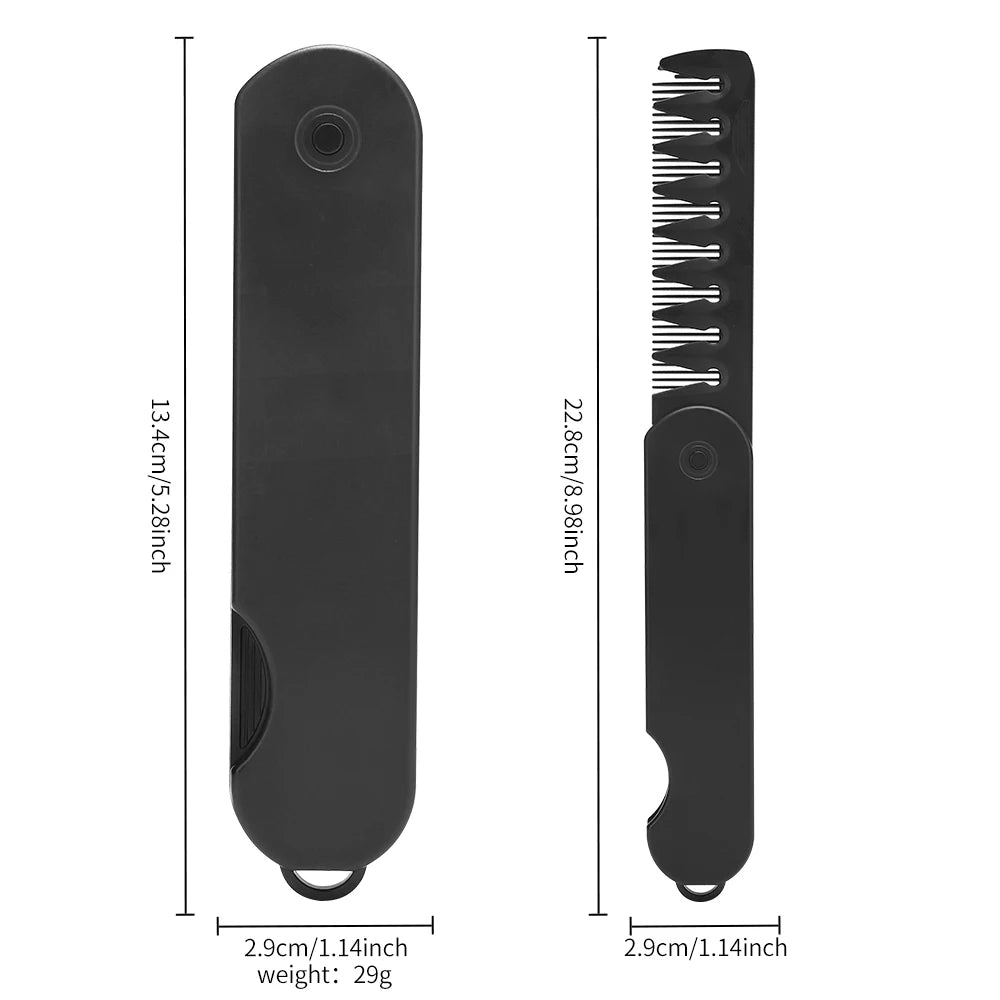
| KentDO Folding Barber Comb | Foldable, lightweight, anti-static | Everyday fade blending and travel use |
| Professional Fade Clippers | Adjustable blades, quiet motor | Seamless transitions and fade control |
| Detailing Trimmer | Precision outline and finish | Neckline, edges, and beard blending |

💈 The KentDO Folding Barber Comb — engineered for effortless blending and fade precision.
Fade Blending FAQ
How do I know if my fade is blended correctly?
Check for visible lines or uneven patches. A well-blended fade should transition smoothly from short to long without any steps.
Can I blend a fade at home?
Yes—with patience, good lighting, and the right fade tools, you can achieve a professional look at home.
Which comb works best for blending fades?
Use a fine-tooth folding comb like the KentDO Folding Barber Comb for controlled, precise blending.
How often should I clean my fade tools?
After every use. Regular cleaning prevents buildup that can cause tugging or uneven blending.
✨ Ready to transform your fades? Visit our Hair Care and Styling Devices collection for premium barber tools trusted by professionals.
Tags: blending a fade haircut, fade with a comb, fade tools, haircut fading techniques, barber fade techniques, fade tutorial, haircut guide, seamless fade, fade tips
Related Articles:
- How to Shape Beard Under Chin: The Secret to a Clean Look
- Hair Clipper Comb Guide: What Size Does What (And Why It Matters)
Pillar Articles:


