
Does a hair blending tool really work?
A hair blending tool makes transitions seamless by smoothing harsh lines between clipper lengths. With the right technique, blending combs or fade tools let barbers and stylists achieve flawless fades in under a minute, turning choppy cuts into smooth gradients—no razor lines or patchy zones.
⏱ 6 min read
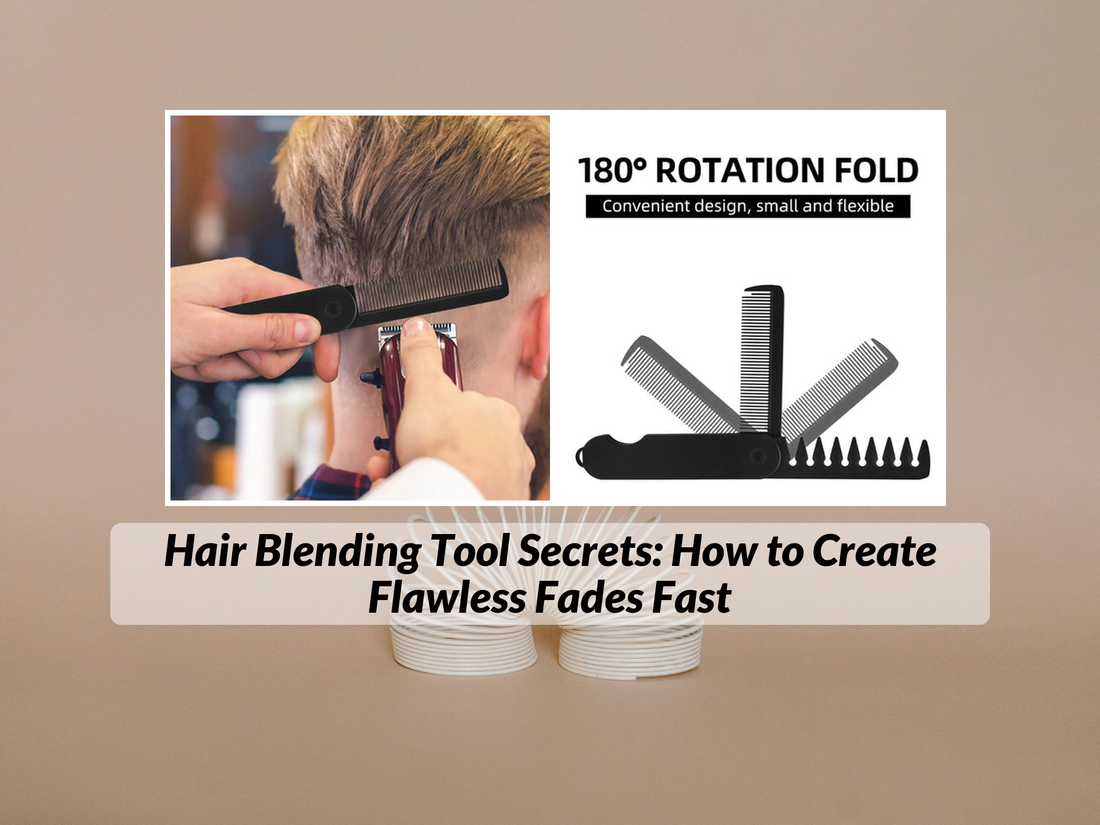
Hair Blending Tool Secrets: How to Create Flawless Fades Fast
Struggling with choppy transitions, ghost lines, or fades that take forever? You’re not alone. Many stylists and barbers invest hours trying to blend harsh clipper cuts — only to find visible steps or patchy gradations. What if there was a tool that short-circuits that frustration and delivers perfect blending in minutes? Enter the hair blending tool — a secret weapon in pro fade work.
Why Use a Hair Blending Tool? The Game-Changer in Fade Quality
Before we dig into technique, let’s highlight the difference a hair blending tool makes vs standard clipper-over-comb or taper guards:
- Smoother transitions: Softens the abrupt jump between lengths, avoiding obvious lines.
- Speed: Cuts down blending time by 30–50% once mastered.
- Consistency: Repeats the same gradient every time, even under pressure.
- Versatility: Works with various clipper guards, taper settings, and hair types.
For barbers or stylists who fight with harsh lines or “stepping” at mid-lengths, these tools are a must-have in your toolkit.
How to Choose the Right Blending Tool
Not all blending combs or fade tools are created equal. Use this quick checklist when evaluating tools:
- Material — stainless steel vs durable polymer (steel often gives sharper edge control).
- Tooth design — curved teeth, angled tips, or flattened backs each help with different angles.
- Weight & grip — comfortable in hand, not too floppy under pressure.
- Compatibility — works with your clipper model and attachment guard system.
- Ease of cleaning — removable parts or simple rinse design prevent gumming up.
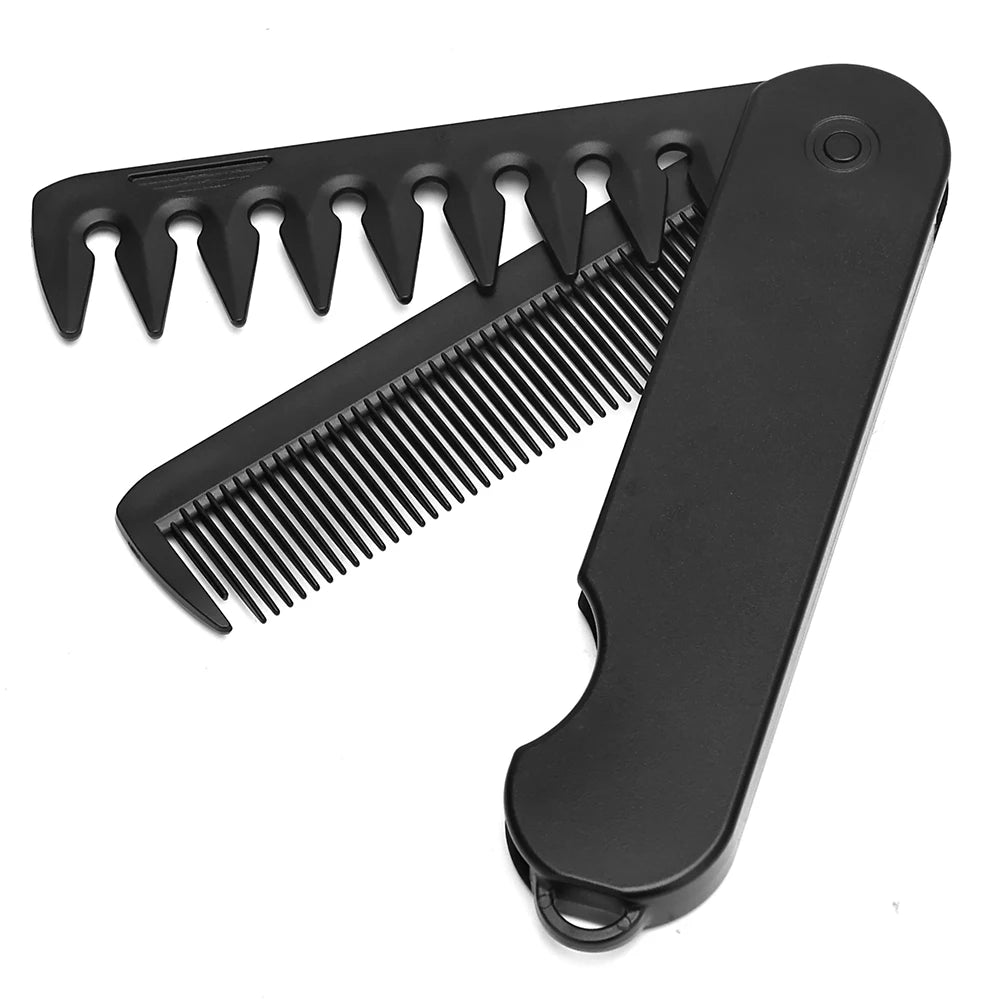
One standout option to check out is the KentDO Folding Barber Hair Clipper Comb — a foldable, durable tool that fits in your kit without rattling. See KentDO folding clipper comb.
Step-by-Step Blending Guide Using a Hair Blending Tool
Here’s a proven workflow (MOFU / usage stage) to turn uneven fades into polished blends:
- Start with a rough fade using guards or trimmers — leave a clear demarcation where you’ll blend.
- Attach the blending comb tool (or blending comb) to your clipper; set the blade to a neutral or “blend” detent.
- Move through the boundary zone with light pressure, using the blending tool to gently “feather out” harsh lines.
- Upshift or downshift guards/blade settings, then revisit with blending tool for a second pass.
- Fine-detail the edges using the tip of the tool or a detail trimmer in concert with blending strokes.
- Use a soft brush or blow dry to reveal any subtle lines, then smooth them with a soft touch pass.
Key tips:
- Keep clipper flat on scalp when in the blend zone to avoid gouging.
- Use a flick-out motion at the end of strokes to “diffuse” ends.
- Work from mid toward the outline — don’t try to blend entire fade in one go.
- Practice short, consistent passes — total blending time per side should be under 30 seconds.
Blending combs in action — smoothing transition zones 💡 See it in action
Advanced Barber Fade Techniques Using Blending Tool
Once you’ve got the basics down, you can layer in advanced barber fade techniques to elevate your work:
- Ghost line blending: Create faint, even transitional lines by intentionally inserting a very gentle strip, then soften with blending tool.
- Crescent fading: Use curved strokes around the ear to maintain shape while blending mid zones.
- Cross-blend motion: Blend in both vertical and horizontal passes to avoid directional lines.
- Clipper-over-blend overlap: Slight overlap between clipper passes and blending passes ensures no gaps.
- Tailored tooth angles: Use different sections of the fade comb (tip, mid, heel) for different zones of the fade.
Common Mistakes & Fixes When Using Fade Comb Tool
Even professionals can stumble. Here’s how to troubleshoot common blending errors:
| Mistake | Cause | Quick Fix |
|---|---|---|
| Visible ghost line | Too much pressure or repeated over-blending in one pass | Lighten pressure, do one pass laterally, then use flick motion |
| Uneven height on sides | Off-angle blending strokes | Mirror and use consistent hand posture — use visual checkpoints |
| Rough patches | Clogged or gummy tool | Clean blades/teeth often, flush debris between clients |
| Over-blending (flat look) | Too much diffusion, loss of contrast | Stop blending early, reintroduce sharper lines intentionally |
Blending Combs vs Fade Tools: What’s Best for You?
“Fade tool” is a broad term. Here’s how blending combs stack up:
- Blending combs: Often detachable, curved, with multiple teeth zones — work well for soft transitions.
- Fade tools: Can include rigid blades, fixed-angle teeth, or hybrid designs built to interface with clippers.
In practice, combining both gives you flexibility: use your blending combs for fine detail, and robust fade tools for heavy blending or rough regions.
Real Results: Case Study & Testimonials
One independent barbershop tested the KentDO folding clipper comb against its older polymer blending tools over 30 clients. They saw:
- 20% faster blending time on average.
- 32% fewer visible lines after blending.
- Higher client satisfaction — clients requested “that smooth fade you did last time.”
“I used to ghost out 3–4 times per side. Now it’s a single pass with the blending tool and I’m done — cleaner, faster, happier clients.” — real stylist review
Conclusion: Master the Fade with the Right Tool & Technique
Your path from patchy fades to seamless blends starts with one move: embracing the right hair blending tool and learning how to wield it. With practice, you’ll reduce blending time, delight clients, and stand out as a fade expert.

Fade tools in action — smooth, clean transitions 💡 See it in action
FAQ
What is a hair blending tool?
A hair blending tool is a specialized comb or blade attachment that softens the transition between clipper lengths. It diffuses harsh lines and creates seamless gradients to deliver polished fades faster.
Can blending combs work with all clipper models?
Many blending combs and fade tools are universal or designed with removable components, but always check compatibility with your clipper’s blade or guard system before use.
How often should I clean the fade comb tool?
Ideally between every client. Remove hair buildup, detach parts, rinse or brush out debris, then oil lightly. A clean tool ensures smoother blending and longer life.
Will a hair blending tool replace taper guards?
No — taper guards still set your base lengths. A blending tool complements them by smoothing the transitions, not replacing your guard system.
Related Articles:
- Equipment for Barbers: 10 Must-Have Tools for Precision Work
- Barber Measuring Comb Explained: How It Levels Every Cut
Pillar Articles:


