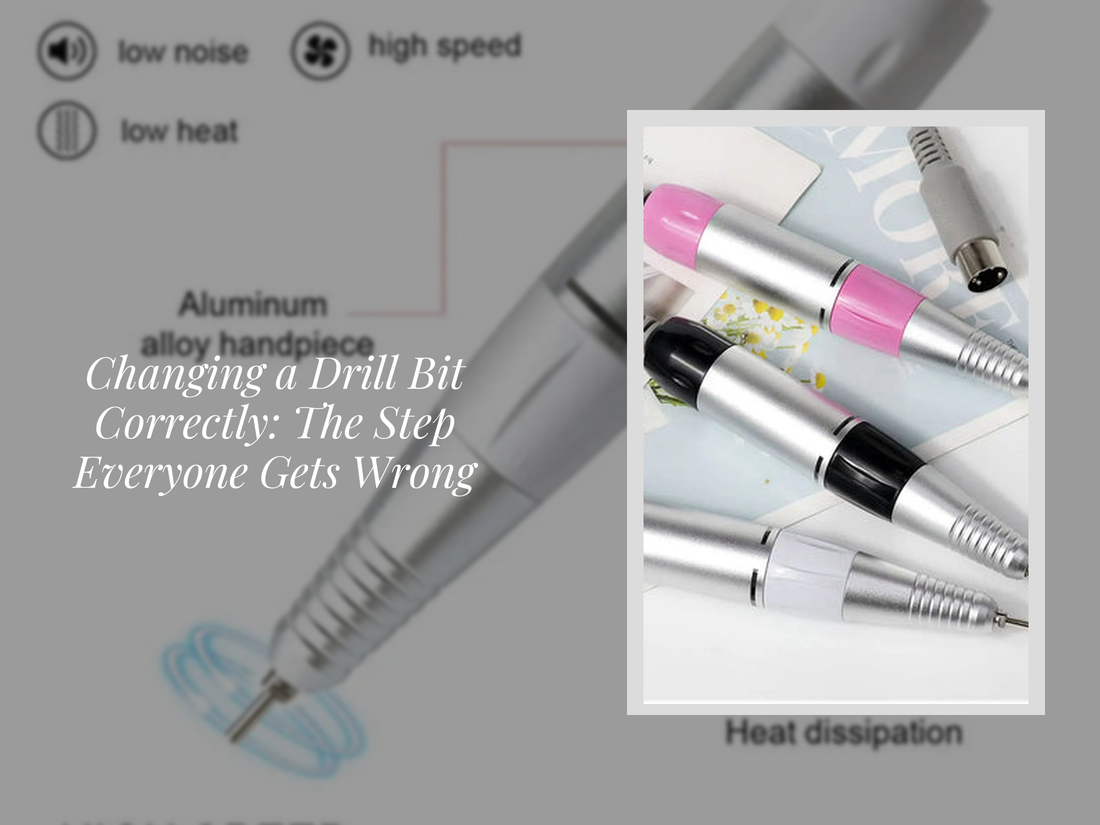
How to Change a Nail Drill Bit (Step-by-Step for Every E-File Type)
When it comes to nail maintenance, many DIY users and even experienced technicians overlook one critical step: changing a nail drill bit correctly. Using a drill bit set for nails or an electric nail drill machine 35000 rpm without the proper technique can lead to drill pain, overheating, wobbling bits, or uneven nail surfaces. Mastering the correct method protects the natural nail plate, extends the life of your equipment, and ensures smooth, salon-quality results.
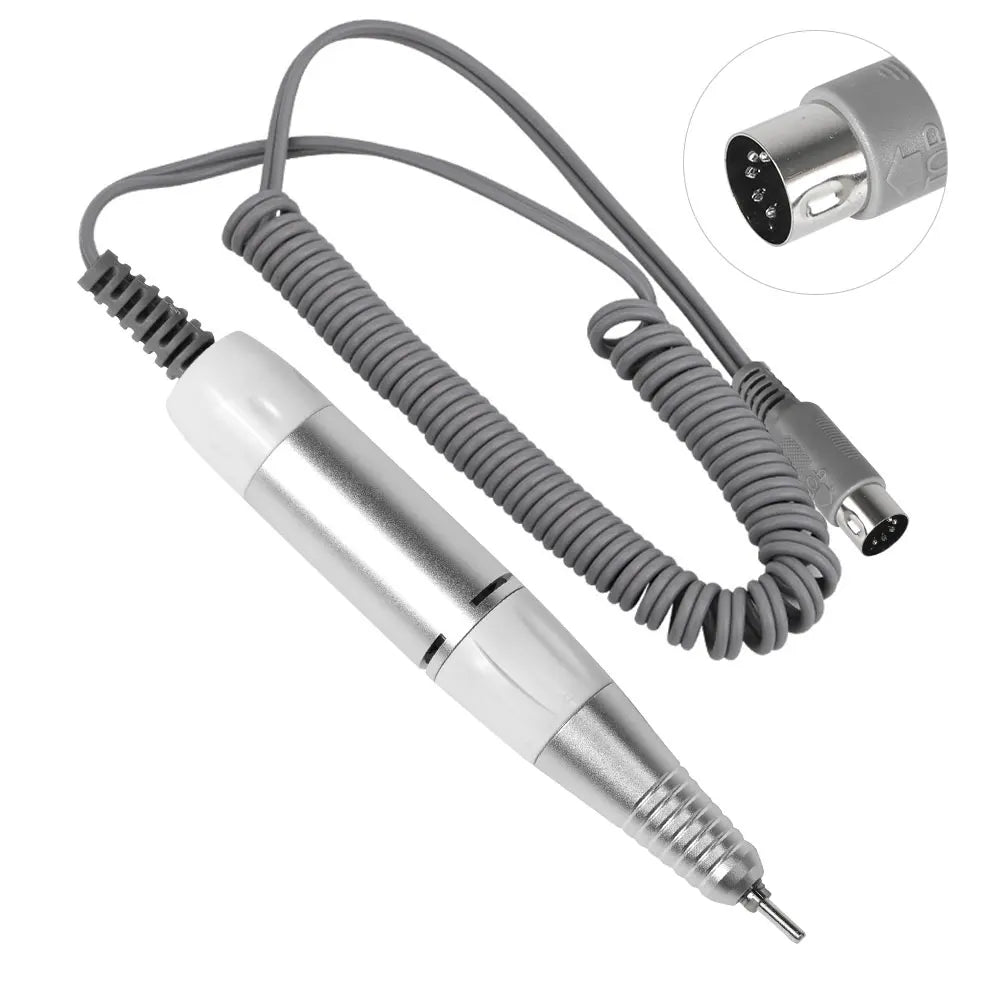
💡 See it in action: changing a drill bit with your electric nail drill file
Does changing a drill bit really prevent nail damage?
Yes. Properly changing a drill bit significantly reduces the risk of nail damage, overheating, and painful friction. When nail drill bits are inserted correctly and tightened securely, they rotate smoothly and evenly. This prevents scratches on the nail plate and reduces the heat buildup that often causes drill pain.
Using a compatible drill bit set for nails with a properly maintained electric nail drill machine 35000 rpm also ensures stable rotation and consistent filing. Whether you are performing cuticle work, shaping acrylic, or refining gel overlays, safe bit replacement is essential for both nail health and professional-quality results.
Identify Your Nail Drill Type Before Changing the Bit
Before swapping a bit, it's important to understand what type of nail drill mechanism you are using. Different electric nail drills use different locking systems, and the correct replacement method depends on the design.
Twist-Lock Nail Drill
Twist-lock systems are the most common in professional electric nail drill machines. The handle contains a locking ring that rotates to open and close the bit holder.
- Rotate the locking ring to the unlock position.
- Remove the existing bit.
- Insert the new bit fully.
- Twist back to the lock position before turning on the drill.
This system is popular because it allows quick, secure bit changes without tools.
Push-Button Nail Drill
Push-button drills feature a small button on the handpiece that releases the bit when pressed.
- Press and hold the release button.
- Pull the existing bit out gently.
- Insert the new bit until it fits snugly.
- Release the button to secure the bit.
This design is common in beginner-friendly nail drills and portable manicure tools.
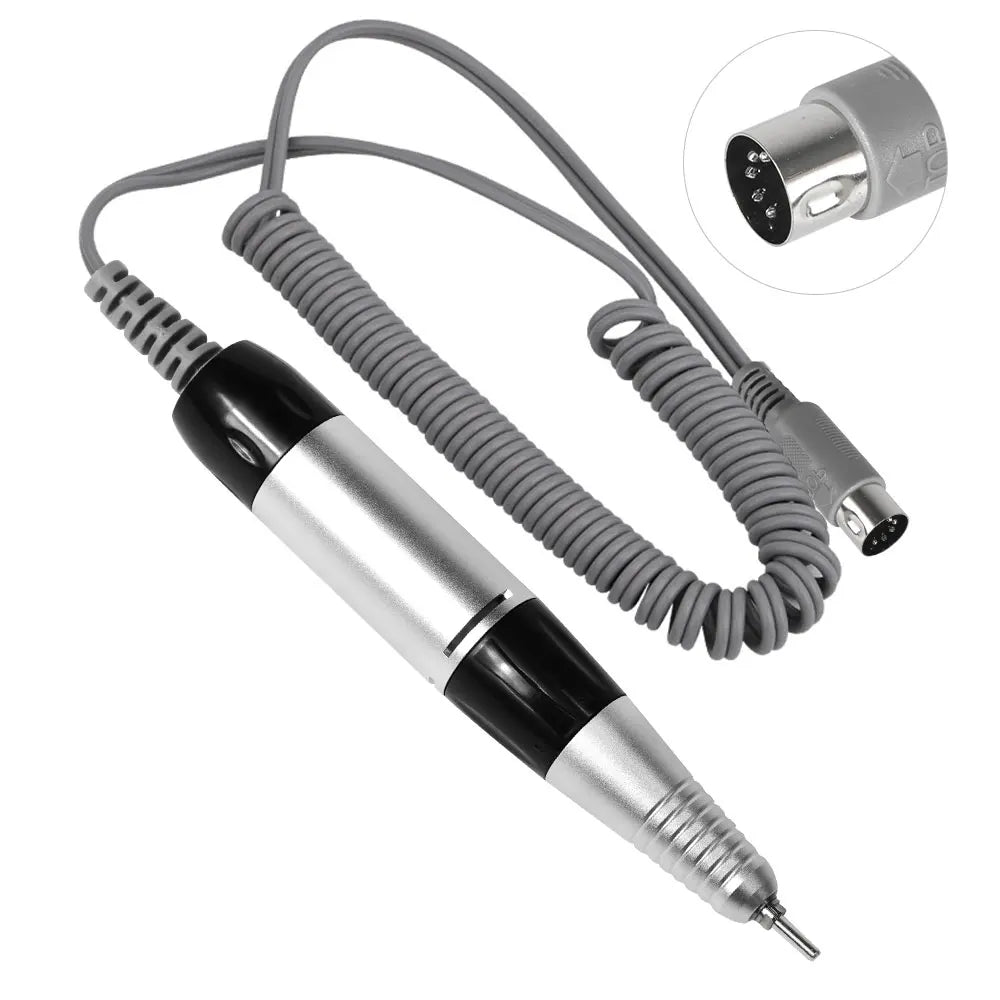
Chuck / Collet System Nail Drill
Some electric nail drill file models use a manual chuck or collet system similar to traditional rotary tools.
- Loosen the chuck using your fingers or a key tool.
- Remove the current bit.
- Insert the new drill bit straight into the holder.
- Tighten the chuck until secure.
This system provides strong grip and is often used in high-power electric nail drill machines capable of reaching 35000 rpm.
Common Drill Bit Mistakes That Cause Pain
Many nail enthusiasts and technicians unintentionally damage nails by skipping crucial steps when changing a drill bit. Small mistakes can lead to wobbling bits, heat buildup, or painful filing.
- Forgetting to fully loosen the chuck before removing a bit.
- Changing bits while the drill is still powered on.
- Inserting bits only halfway, causing unstable rotation.
- Using worn or damaged drill bits.
- Failing to sanitize bits before reinserting them.
These errors can cause uneven filing, drill pain, or even damage to the electric nail drill file itself.
Why Proper Drill Bit Swapping Matters
Correctly changing nail drill bits is more than a technical detail—it directly affects safety, precision, and nail health.
- Ensures smooth, even filing without scratches.
- Reduces friction and heat buildup that cause drill pain.
- Prevents wobbling bits that damage nail surfaces.
- Extends the lifespan of your electric nail drill machine 35000 rpm.
- Improves accuracy when shaping acrylic, gel, or natural nails.
Step-by-Step Guide: How to Change a Nail Drill Bit
The exact method for replacing a nail drill bit depends on your e-file design. Follow the instructions below based on your drill type.
For Twist-Lock Nail Drills
- Turn off the drill: Always power down your electric nail drill file before changing bits.
- Rotate the locking ring: Twist to the unlock position.
- Remove the old bit: Pull it out gently.
- Insert the new bit: Push it fully into the holder.
- Lock the mechanism: Twist the ring back to secure the bit.
- Test rotation: Start the drill at low speed to confirm stability.
For Push-Button Nail Drills
- Power off the drill.
- Press the release button.
- Remove the old bit.
- Insert the new drill bit fully.
- Release the button to lock the bit in place.
- Test at a low RPM before use.
For Chuck / Collet Nail Drills
- Turn off and unplug the drill.
- Loosen the chuck counterclockwise.
- Remove the existing bit.
- Insert the replacement bit straight into the collet.
- Tighten the chuck until secure.
- Test the drill at low speed to confirm smooth rotation.
Nail Drill Bit Direction: How to Insert Correctly
Nail drill bits should always be inserted straight into the holder and pushed fully into position. A partially inserted bit can cause vibration, uneven filing, and excessive heat.
- Insert the bit until it reaches the internal stop.
- Ensure the shaft is straight.
- Avoid tilting the bit during insertion.
- Confirm there is no wobble during rotation.
💡 Pro tip: Use a high-quality drill bit set for nails to ensure smooth changes
Key Benefits of Following This Step
- Reduces heat buildup and prevents nail trauma.
- Maintains smooth, even nail surfaces.
- Extends the life of your electric nail drill file and bits.
- Prevents wobbling or slipping bits.
Nail Drill Bit Stuck? How to Remove It Safely
Sometimes nail drill bits become stuck in the handpiece. This can happen due to dust buildup, over-tightening, or corrosion from improper cleaning.
Why Nail Drill Bits Get Stuck
- Nail dust accumulates inside the chuck.
- The chuck is tightened too firmly.
- Moisture causes slight corrosion.
- Low-quality bits expand slightly under heat.
Safe Removal Steps
- Turn off and unplug the drill.
- Switch the drill to the unlock position.
- Gently twist the bit while pulling outward.
- If necessary, clean around the chuck using alcohol.
- Use a soft cloth for better grip when pulling the bit.
When to Stop and Check the Drill
If the bit does not move after gentle attempts, stop immediately. Forcing the bit can damage the drill mechanism. Inspect the chuck or consult the manufacturer’s instructions for safe removal.
Tips to Prevent Nail Damage and Drill Pain
Even when changing bits correctly, technique and maintenance play a major role in preventing nail damage.
How to Use Nail Drill Bits Safely
- Always start at a low speed before increasing RPM.
- Use light pressure and allow the bit to do the work.
- Choose the correct grit for each nail task.
- Keep the drill moving to avoid heat buildup.
Proper Nail Drill Maintenance
- Clean drill bits after every use.
- Disinfect bits using approved sanitizing solutions.
- Store bits in protective containers.
- Replace worn bits regularly.
Product Recommendations for Easy Drill Bit Changes
Choosing a reliable electric nail drill makes changing bits faster, safer, and more precise.
- KentDO Electric Nail Drill Pen – Perfect for at-home and salon use, supports drill bit set for nails, and runs up to 35000 rpm.
- Comprehensive Drill Bit Sets – Includes multiple grit types to suit every nail texture.
- Adjustable Electric Nail Drill Files – Ergonomic design reduces hand fatigue and drill pain.

💡 Upgrade your setup with a professional-grade electric nail drill machine 35000 rpm
Mini FAQ
How often should I change my drill bits?
Change drill bits whenever they show signs of wear, dullness, or uneven performance. Sharp, well-maintained bits produce smoother results and reduce the risk of drill pain.
Can I use any drill bit with my electric nail drill machine 35000 rpm?
No. Always use compatible drill bit sets designed for nail drills. The correct shank size ensures safe rotation and prevents damage to both nails and the drill.
Why does my nail feel hot after using a drill?
Heat occurs when pressure is too high, the drill speed is excessive, or the bit is dull. Correct bit installation and proper technique reduce friction and prevent discomfort.
Pillar Article: How to Use Electric Nail Drill Safely: Pro Tips You Must Know
Other Related Articles:
- Drill for Nails Professional Techniques You Can Master at Home
- Electric Nail Drill for Beginners: Learn to Shape Without Overfilling
- Drill File for Nails: Step-by-Step Shaping Tutorial for Salon Results
Explore More: