

How to Use Electric Nail Drill Safely: Step-by-Step Beginner Guide
⏱ 8 min read
How to use an electric nail drill safely?
To use an electric nail drill safely, start at a low RPM, hold it lightly at a 45° angle, and work slowly across the nail surface. Always use the correct bit for each task, avoid pressing too hard, and keep your drill sanitized to prevent damage or infection. Perfect for beginners mastering salon-quality manicures.
Ever tried filing your nails manually for what feels like forever—only to end up with uneven shapes or sore fingers? You’re not alone. Many beginners want to learn how to use electric nail drill but fear damaging their natural nails. The truth is, with the right nail drill instructions and a few safety tricks, anyone can achieve salon-level results at home.
💡 Learn safe techniques with your electric nail pen for flawless results.
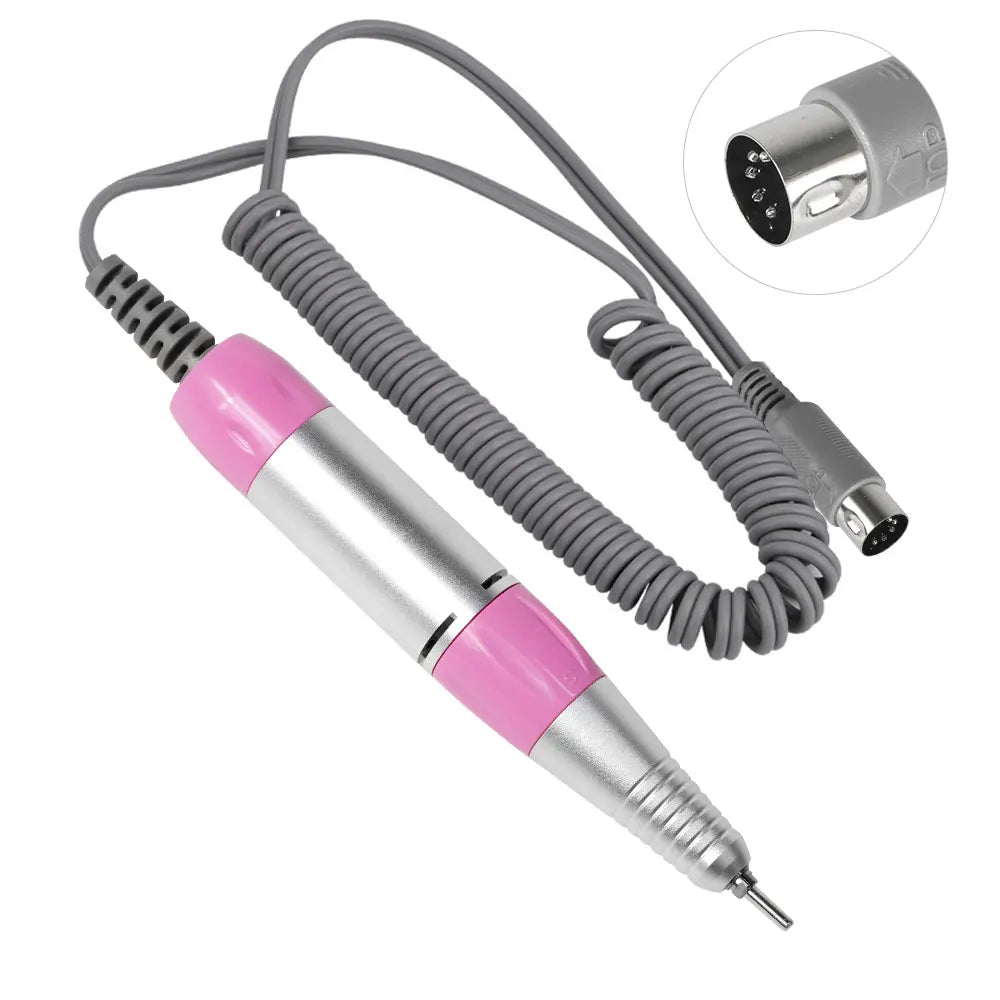
Understanding Your Electric Nail Drill
Before learning how to use electric nail drill safely, it helps to understand how the tool works. A typical electric nail pen includes several key parts that control speed, stability, and precision during manicure work.
Parts of an Electric Nail Drill
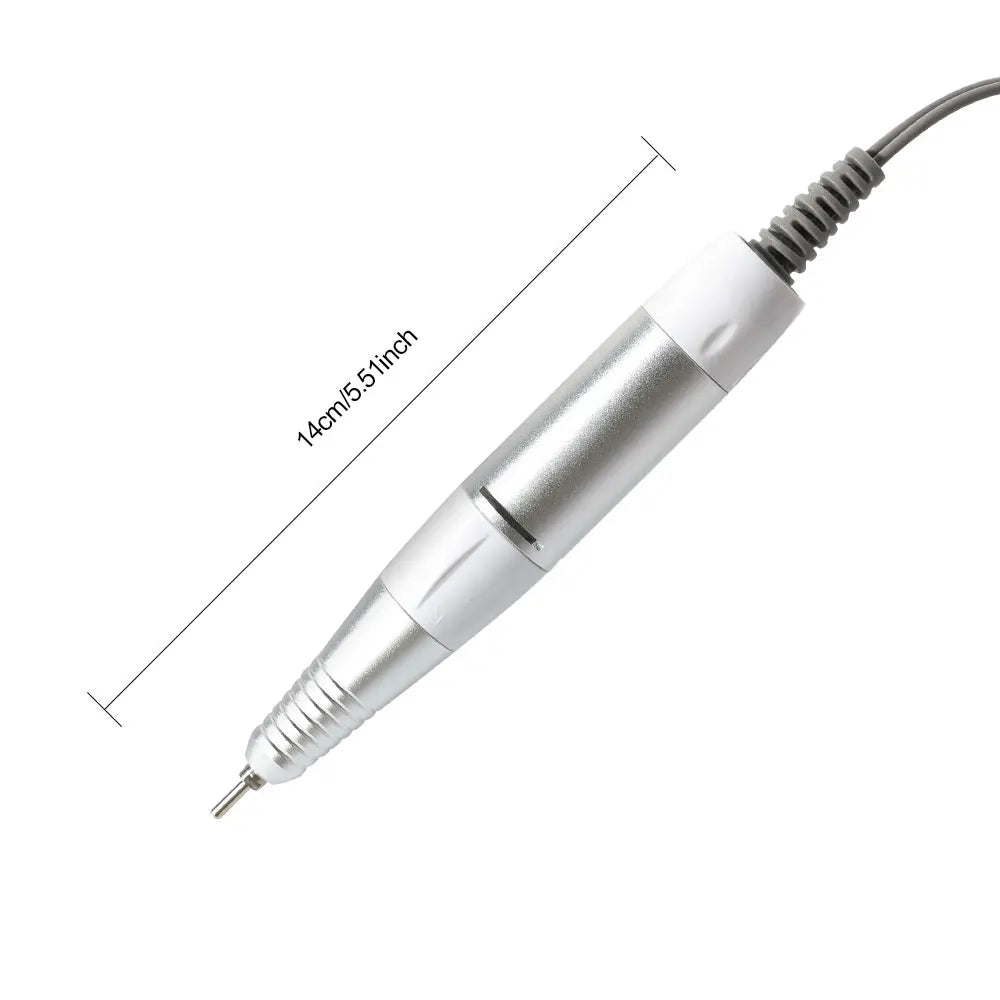
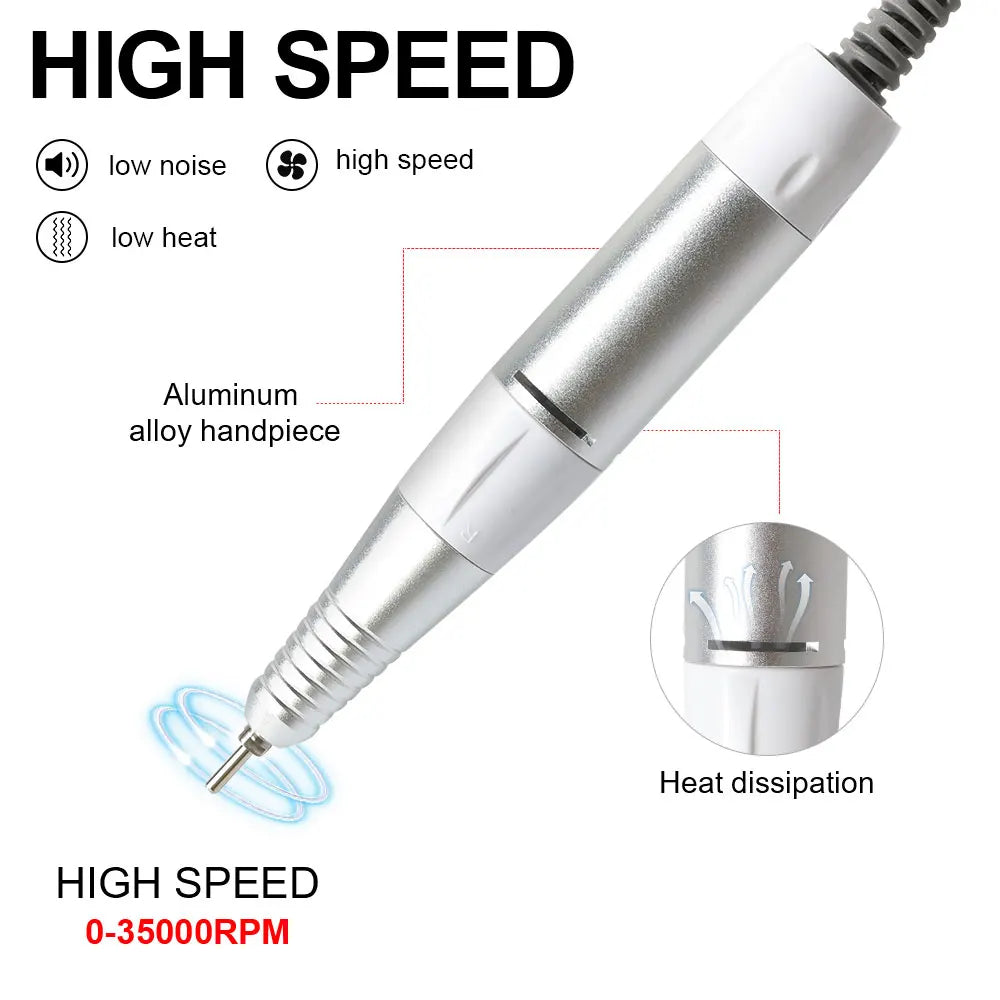
- Handpiece: The section you hold. A lightweight, ergonomic handpiece allows steady control when shaping nails.
- Drill Bits: Interchangeable attachments used for filing, shaping, polishing, or removing gel and acrylic.
- Speed Control Dial: Adjusts RPM (rotations per minute) so you can work gently on natural nails or faster on thicker materials.
- Power Source: Either corded or rechargeable battery, depending on the nail drill model.
What Each Nail Drill Bit Does
Different drill bits perform different manicure tasks. Using the correct bit prevents heat buildup and helps you achieve smooth, even results.
- Mandrel + Sanding Band: Used for shaping and shortening natural or acrylic nails.
- Ceramic Bit: Ideal for removing gel polish or acrylic layers efficiently.
- Diamond Bit: Best for detailed work such as cleaning cuticles and refining edges.
- Buffer Bit: Used during the final step to smooth and polish the nail surface.
Recommended Nail Drill Speed Chart (RPM Guide)
Choosing the correct speed is essential when learning nail drill instructions. Beginners should always start slow and increase speed gradually as they gain control.
| Task | Recommended RPM |
|---|---|
| Natural nail shaping | 5,000–8,000 RPM |
| Cuticle work | 3,000–6,000 RPM |
| Gel polish removal | 10,000–15,000 RPM |
| Acrylic removal | 15,000–20,000 RPM |
Let the drill bit do the work rather than applying pressure. Higher speed combined with heavy pressure is the most common cause of nail damage.
How to Hold an Electric Nail Drill Correctly
Proper technique makes a major difference when using an electric nail pen. Correct grip, angle, and motion help you work safely while preventing heat buildup or nail thinning.
Proper Grip for Stability
Hold the handpiece like a pen or pencil. Rest your working hand on the table or against your other hand to stabilize movement and reduce shaking.
Correct Drill Angle
Always hold the nail drill at roughly a 45° angle to the nail surface. Avoid holding the drill flat against the nail, which can cause friction and heat.
Safe Movement Patterns
- Move the drill gently from the side of the nail toward the center.
- Keep the bit moving continuously.
- Avoid staying in one spot for too long.
- Use light pressure and short strokes.
Step-by-Step Guide: How to Use Electric Nail Drill Safely
Follow these beginner-friendly steps to safely use an electric nail drill at home.
- Sanitize your drill and bits. Clean tools prevent bacteria and nail infections.
- Choose the correct drill bit. Select a bit designed for shaping, buffing, or gel removal.
- Set the speed to low. Beginners should start around 5,000–8,000 RPM.
- Hold the drill at a 45° angle. This reduces friction and improves control.
- Use light pressure. Allow the bit to do the work rather than pushing down.
- Move slowly across the nail. Continuous motion prevents heat buildup.
- Finish with a buffer bit. Smooth the surface for a clean, polished look.
💅 Perfect your routine with these nail drill instructions.
Choosing the Right Nail Drill Bit for Each Task
Each bit is designed for a specific purpose. Using the wrong one can lead to heat buildup or uneven results. Here’s a quick breakdown:
| Bit Type | Purpose | Recommended Use |
|---|---|---|
| Mandrel + Sanding Band | Shape or shorten nails | Natural & Acrylic |
| Ceramic Bit | Remove gel or acrylic layers | Gel removal |
| Diamond Bit | Refine edges & clean cuticles | Precision work |
| Buffer Bit | Polish surface | Final shine |
Mastering Speed Control & Pressure
Many beginners struggle with speed settings when learning how to use electric nail drill tools. The key is to balance RPM with gentle pressure.
- Start with the lowest speed setting when practicing.
- Increase RPM gradually once you feel comfortable controlling the drill.
- Keep the drill moving rather than holding it in one place.
- Avoid pressing down on the nail surface.
If the nail becomes warm, reduce the speed immediately and continue with lighter pressure.
Pro Techniques for Smooth, Even Finishes
Want that flawless salon finish? Use these expert techniques:
- Switch to fine-grit bits during the final stage for a glossy look.
- Alternate hand positions to maintain even pressure.
- Apply cuticle oil afterward for hydration and shine.
- Pair your drill with a skin care device for soft, healthy hands post-manicure.
Common Mistakes and How to Avoid Them
Learning how to use electric nail drill effectively means avoiding these rookie errors:
- Using high speed on natural nails.
- Skipping bit cleaning—leading to bacterial growth.
- Holding the drill perpendicular to the nail.
- Not adjusting grip for hand comfort.
Drill Maintenance and Hygiene
Cleanliness isn’t optional—it’s essential for safe results. Follow this quick routine:
- Remove and soak bits in disinfectant for 10 minutes.
- Wipe the handpiece with a soft, dry cloth.
- Store bits in a clean, covered case.
- Lubricate your handpiece monthly to maintain smooth rotation.
Beginner Troubleshooting: Fix Common Nail Drill Problems
If you are new to using an electric nail pen, you may encounter a few common issues. Understanding why they happen helps you correct them quickly.
Why Your Nail Drill Gets Hot
- Speed setting is too high
- Too much pressure on the nail
- Holding the bit in one spot too long
Why Nails Feel Thin After Filing
- Using a coarse bit on natural nails
- Filing repeatedly over the same area
- Applying heavy pressure
Why the Drill Feels Hard to Control
- Grip is too tight
- Hand is not stabilized
- Speed setting is too high for beginners
Real User Experiences & Testimonials
“I was nervous to try an electric nail pen at first, but the KentDO drill made it so easy. I can shape, file, and smooth without damaging my nails.” — Emma R., California
“This saved me so much time between salon visits. The speed control is perfect for beginners.” — Sophia L., New York
✨ Experience the confidence of using the KentDO Electric Nail Drill Pen like a pro.
FAQ: How to Use Electric Nail Drill Safely
-
Can beginners use electric nail drills?
Yes! With proper nail drill instructions, even beginners can use them safely for shaping, buffing, or removing gel polish. -
What speed should I use on natural nails?
Stick to 5,000–10,000 RPM for gentle filing and cuticle work. -
How do I prevent heat buildup?
Keep moving the bit—never hold it in one spot too long. -
Is it safe for thin nails?
Yes, as long as you use fine bits and apply light pressure. -
Where can I buy a trusted electric nail pen?
Try the KentDO Electric Nail Drill Pen for professional-grade precision at home.
Tags: how to use electric nail drill, nail drill instructions, electric nail drill for beginners, nail drill tips uses, electric nail pen, nail care safety, beginner nail guide, nail drill techniques, manicure tools, salon nail prep
Explore more from our Beauty & Self-Care Blog
Related Articles:
- Changing a Drill Bit Correctly: The Step Everyone Gets Wrong
- Drill for Nails Professional Techniques You Can Master at Home
- Electric Nail Drill for Beginners: Learn to Shape Without Overfilling
- Drill File for Nails: Step-by-Step Shaping Tutorial for Salon Results
Pillar Articles:
- Drill Guide Nail Tech Nail Drill Bits Explained for Perfect Finish
- Electric Drill Nails Power Test: Which Motor Delivers Real Results?
- Drill Bit Set for Nails Reviewed: Which Shapes Deliver the Best Control
- Electric Manicure Tools Explained: Why One Attachment Doesn’t Fit All
- Top 7 Cordless Electric Nail Drill Picks That Outperform Salons


