
⏱ 8 min read
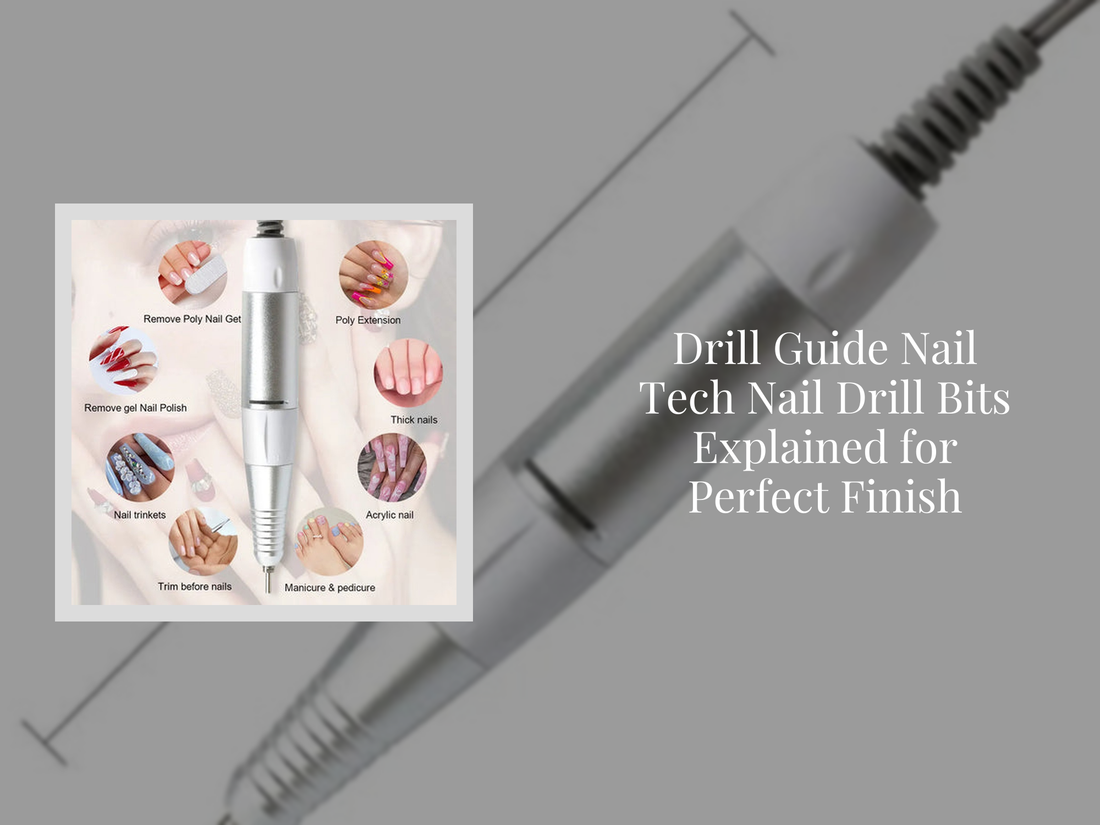
Drill Guide Nail Tech Nail Drill Bits Explained for Perfect Finish
What is “drill guide nail tech nail drill bits explained”?
Drill guide nail tech nail drill bits explained shows exactly which bit shapes, materials, and grit levels deliver salon-level results. Used correctly, they speed up removal, sculpt smoothly, minimize heat, and protect the natural nail. This guide unlocks pro techniques you can replicate at home or studio.
In this drill guide nail tech nail drill bits explained, uncover how each bit shape transforms your nail work from average to flawless. Whether you're exploring nail drill tips uses or searching for the best ceramic nail drill bits, this guide reveals pro secrets every artist should know. From choosing the right electric nail file for beginners to mastering your electric nail drill machine kit, you’ll learn what truly separates amateur results from salon-level perfection. Ready to see which bit changes everything?
💡 Example of premium bits – see which one fits your workflow
Why Nail Drill Bits Matter: Quality, Safety & Speed
One of the greatest frustrations in nail work is heat spikes, sanding marks, or damage to the natural nail. Many nail techs and learners don’t realize that much of that comes down to the bit — not just your machine. A well matched bit can reduce time, increase precision, and safeguard your client’s nail health.
Top pain points you might recognize
- Bits that dull too quickly, causing longer sessions and client discomfort.
- Overheating bits that burn the nail plate or feel like friction on the skin.
- Using the wrong shape and scratching cuticles or leaving lines.
- Uncertainty over whether ceramic or carbide is “best” for your workflow.
Bit Materials & What They Mean (Ceramic, Carbide, Diamond)
The material of a nail drill bit fundamentally affects heat, durability, cutting aggressiveness, and feedback. This is core to the section “drill guide nail tech nail drill bits explained.”
Carbide Bits – fast cutting, metal precision
Carbide bits (often tungsten or titanium carbide) are prized for rapid product removal, especially on acrylic or hard gels. :contentReference[oaicite:0]{index=0} They tend to be more heat-conductive and sharper, so they need to be used with control to avoid damage. :contentReference[oaicite:1]{index=1}
Ceramic Bits – cooler and gentler on soft gel
Ceramic bits generate less friction and heat, making them ideal for gel removal and final flush work. :contentReference[oaicite:2]{index=2} They are less aggressive, so many techs use carbide to remove bulk and ceramic to polish. :contentReference[oaicite:3]{index=3}
⚠️ Some techs warn ceramic bits may dull faster than carbide, especially on thick acrylics. :contentReference[oaicite:4]{index=4} Use them gently and monitor wear.
Diamond bits & Coated bits
Diamond bits are excellent for surface smoothing, edge refinement, and cleaning under nails. They are often used in later stages rather than bulk removal. :contentReference[oaicite:5]{index=5}
Quick comparison: material tradeoffs
| Material | Pros | Cons / Notes |
|---|---|---|
| Carbide | Very fast removal, durable on hard product | More heat, requires careful control, can damage natural nail if misused |
| Ceramic | Lower heat, smooth finish, ideal for gel cleanup | Less aggressive removal, may wear faster on acrylics |
| Diamond / Coated | Fine finishing, safe shaping, edges & under nails | Not ideal for heavy removal tasks |
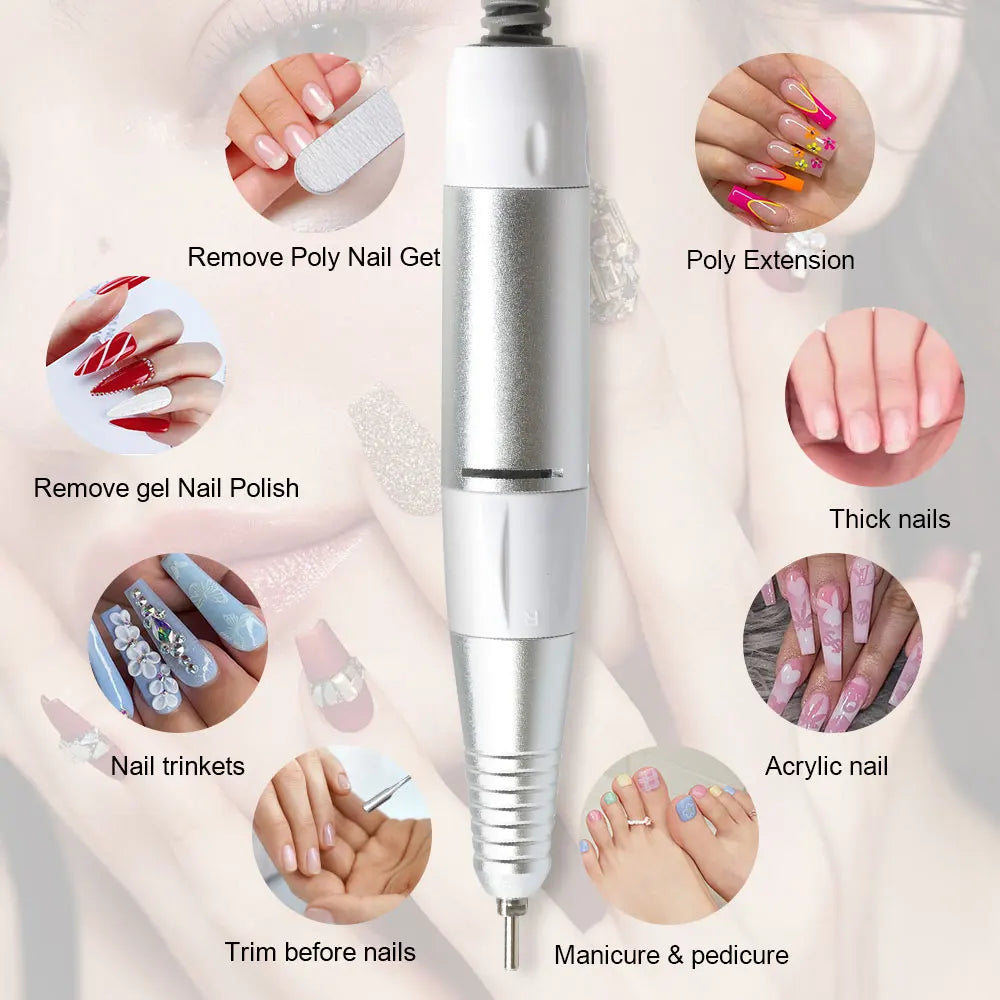
Common Bit Shapes & Their Uses
Each shape of nail drill bit delivers a unique purpose. Understanding this is core to mastering your drill workflow.
Tapered Barrel (or Barrel) Bit
Often used for surface smoothing, backfill cleanup, or shortening enhancements. The barrel shape provides flat contact with the nail. :contentReference[oaicite:6]{index=6}
Small Barrel / Mini Barrel
Great for sidewalls, near cuticle edges, or smaller nail plates. Use medium grit for smoothing. :contentReference[oaicite:7]{index=7}
Cone / Nail Cleaner / Under-Nail Bit
The cone or “typhoon” bit is perfect for accessing tight spaces, cleaning under the nail, and easing the cuticle area. :contentReference[oaicite:8]{index=8}
Flame / Needle / Cuticle Bit
Flame or needle bits are ideal for refining cuticle areas, carving, or cutting into grooves gently. Many use them for “Russian manicure” style finish work. :contentReference[oaicite:9]{index=9}
Under-Nail Cleaner / Angle Bit
Designed to get under free edges, clean debris, and prep sidewalls. Use slender design and low pressure. :contentReference[oaicite:10]{index=10}
5-in-1 / Multifunction Bits
This hybrid bit can fit multiple uses by switching grip or angle. It’s a flexible tool for techs who want fewer bits but more versatility. :contentReference[oaicite:11]{index=11}
How to Choose the Perfect Bit (for your client & workflow)
The “right” bit is not universal — it changes based on product type, skill level, and client sensitivity. Here’s how to narrow your choice:
- Identify the type of enhancement (acrylic, hard gel, soft gel, dip) — use carbide for heavy removal, ceramic for cleanup.
- Start with a medium grit bit for most work; transition to fine grit for finishing.
- Consider safety: rounded or tapered edges reduce risk near cuticles.
- Balance efficiency and feel — if your bit drags or you feel heat, swap to a less aggressive shape or material.
Answer: Start with a versatile medium-carbide bit for removal and a ceramic bit for finishing. As you gain control, you'll understand where each excels.
Step-by-Step Usage Tips & Mistakes to Avoid
Having the right bits is half the battle — the technique completes it. Here’s how to maximize results and avoid damage.
1. Always inspect & disinfect your bit before use
Check for chips or wear. Clean with a brush, soak in disinfectant, and dry completely before reuse.
2. Start at low RPM, gradually increase
Especially with beginner electric nail file for beginners, begin at lower speed, feel the feedback, and adjust upward. You don’t want to jump straight to max RPMs.
3. Maintain movement — don’t linger in one spot
Sticky spots or heat often come from holding the bit stationary. Glide across in light passes and revisit lightly if needed. :contentReference[oaicite:12]{index=12}
4. Use press & release — let the bit do the work
Avoid pressing hard. Let the flutes cut. Pressing only creates undue friction and dulls faster.
5. Transition bits appropriately
- Bulk removal → medium carbide or coarse
- Clean edges → switch to ceramic or fine bits
- Finish shine → diamond or fine smoothing bits
6. Rinse, dry, and inspect mid-session when doing heavy removal
Bits clog or glaze; stopping to clean helps maintain cutting efficiency. This is often overlooked by novices.
Common mistakes to avoid:
- Using the same bit for all tasks without switching shapes/materials.
- Working at max RPM immediately — causes loss of control.
- Pushing too hard or stationary — leads to heat and damage.
- Ignoring bit wear. Dull bits = more friction = heat + poor performance.
💡 See proper bit flow and hand movement (nail drill tips uses)
KentDO Product Spotlight & Comparison
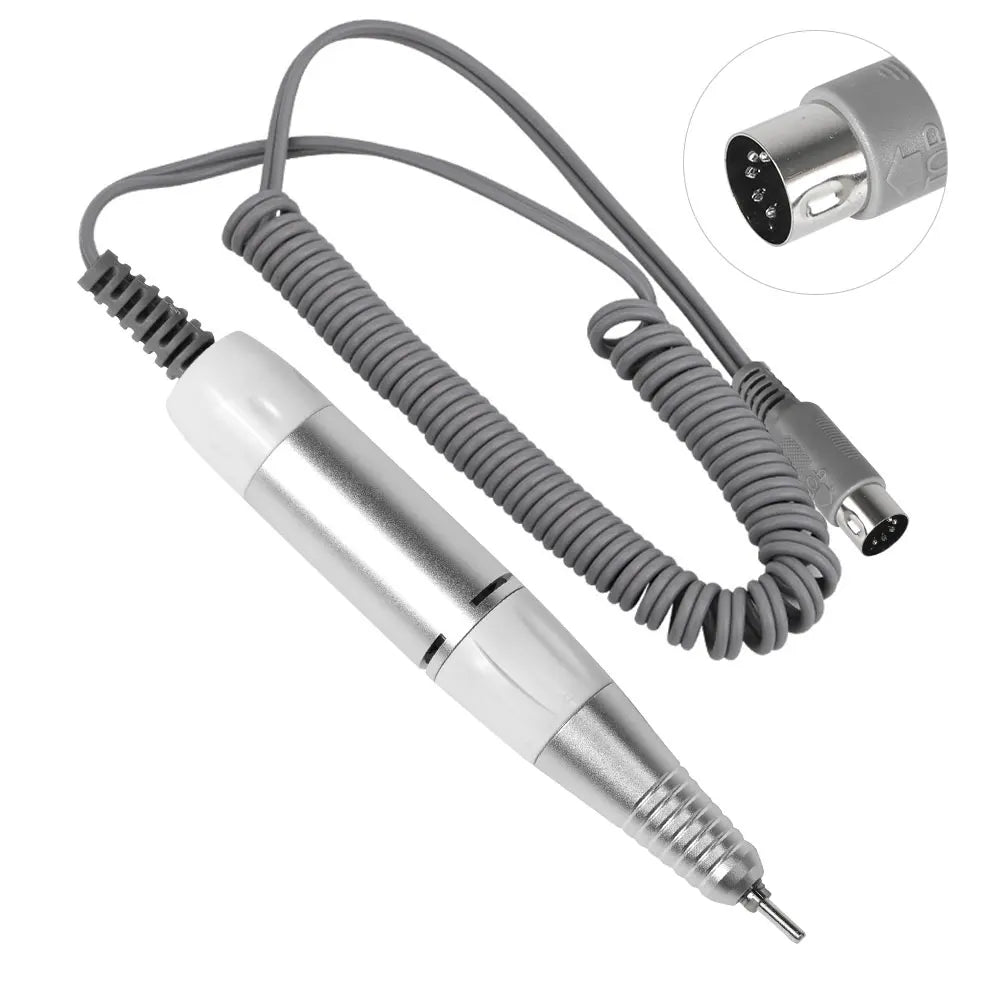
As you aim toward purchase confidence, let’s compare a well-spec’d machine to general market devices. The **KentDO electric nail drill pen** is designed for precision, control, and upgradeability. Below is a comparison with other prominent machines.
| Feature | KentDO Pen (projected) | Other Electric Nail Drill Kits |
|---|---|---|
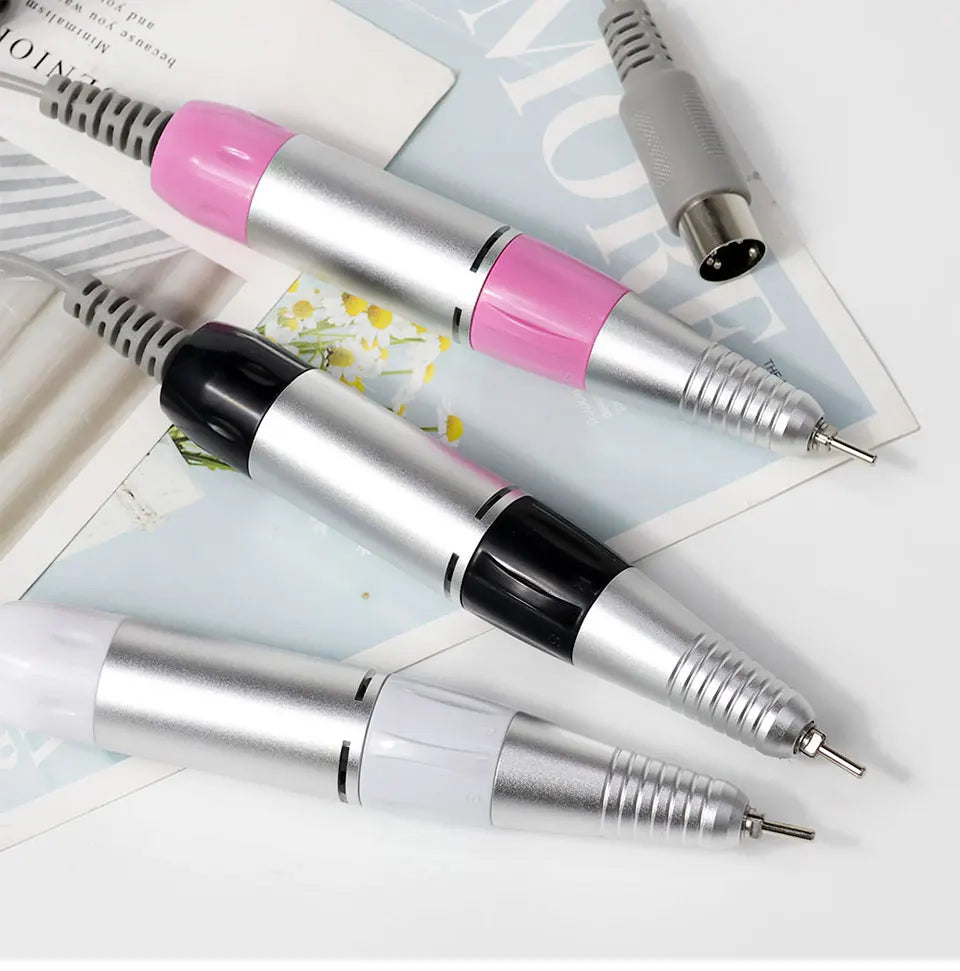
| Form factor | Pen / cordless – ideal for fine work | Box-style with handpiece, larger footprint |
| Bit compatibility | Standard 3/32" shank, accepts unlimited bit types | Often limited, may require adaptors |
| Speed & torque | Balance tuned for nail tech control | Varies; many are powerful but less refined |
| Brand support & availability | Future expansion & accessory lines | Established brands, but often generic hardware |
| Price vs long-term value | Premium for a precision pen, but tailored for longevity | Often cheaper upfront but not optimized for pro finesse |
Recommended alternatives to compare (for benchmarking)
- **:contentReference[oaicite:13]{index=13}** — full kit, multi-speed, good for heavy workflows.
- **:contentReference[oaicite:14]{index=14}** — cordless, compact, with LED, ideal for beginners.
- **:contentReference[oaicite:15]{index=15}** — 35,000 rpm power and portability.
- **:contentReference[oaicite:16]{index=16}** — balanced kit with bit set and function versatility.
- **:contentReference[oaicite:17]{index=17}** — high-speed performance heavy-duty set.
These offer strong value, but a pen-style or torque-balanced device like KentDO often gives better tactile control for precision work.
Testimonials, Before-After & Social Proof
Hearing from actual users helps remind us the promise of flawless results is not just theoretical.
“I’m just a DIY-er for gel nails but I **LOVE Erica ATA bits!** The Russian flame and polisher bit make the finish smooth. I noticed a huge difference vs cheap Amazon bits.” — r/Nailtechs user :contentReference[oaicite:18]{index=18}
Many techs report that when switching from generic bits to better ceramic or premium carbide, removal time drops 20–40% and clients report less heat discomfort.
Maintenance, Sterilization & Lifespan Guidance
Your bits are only as good as how well you care for them. Proper maintenance extends life and ensures consistent performance.
Sanitization & disinfection protocol
- Remove debris & filings using a stiff brush.
- Soak in a hospital-grade disinfectant or solution compatible with bits (avoid corrosion or coating damage).
- Rinse with water, then dry thoroughly (compressed air helps).
- Store bits in a dry, closed case to prevent contamination, damage or misplacement.
Recognizing wear & when to replace
- Blunting: the bit doesn't cut as cleanly or drags.
- Heat generation: you feel more friction or client reports burning.
- Chips or flaking: visual inspection reveals defects.
As a rule of thumb, well-maintained bits might last several months in a regular salon environment; disposable use in high throughput settings may require more frequent replacement.
💡 Final pass polish — see which bit makes the difference
Mini-FAQ
- Is ceramic always better than carbide?
- No — ceramic is cooler and gentler, but carbide cuts faster. Use carbide for bulk removal and ceramic for finishing. (Or combine both.)
- What RPM range should I use?
- Beginners may start at 5,000–10,000 RPM for control. For removal, 15,000–25,000 is common. High RPMs require light touch to avoid overheating.
- Can I use one bit for everything?
- It’s not recommended. One shape or grit can’t properly handle bulk removal, cuticle carving, under-nail cleaning, and polishing. Use a small kit of 3–5 bits tailored to tasks.
- How do I choose grit/coarseness?
- Rough/coarse for removal, medium for shaping, fine/extra fine for finishing. Always move gently when switching to fine bits to preserve nail surface.
Conclusion & Final Call to Action
Now that you’ve seen a full “drill guide nail tech nail drill bits explained,” you hold the blueprint for turning average results into next-level finishes. The true transformation lies in technique + matched bit + control. As you grow confident in knowing when to switch bits, you’ll find sessions faster, cleaner, and more luxurious.
Buy the KentDO Electric Nail Drill Pen
Related Articles:
Pillar Articles:


