
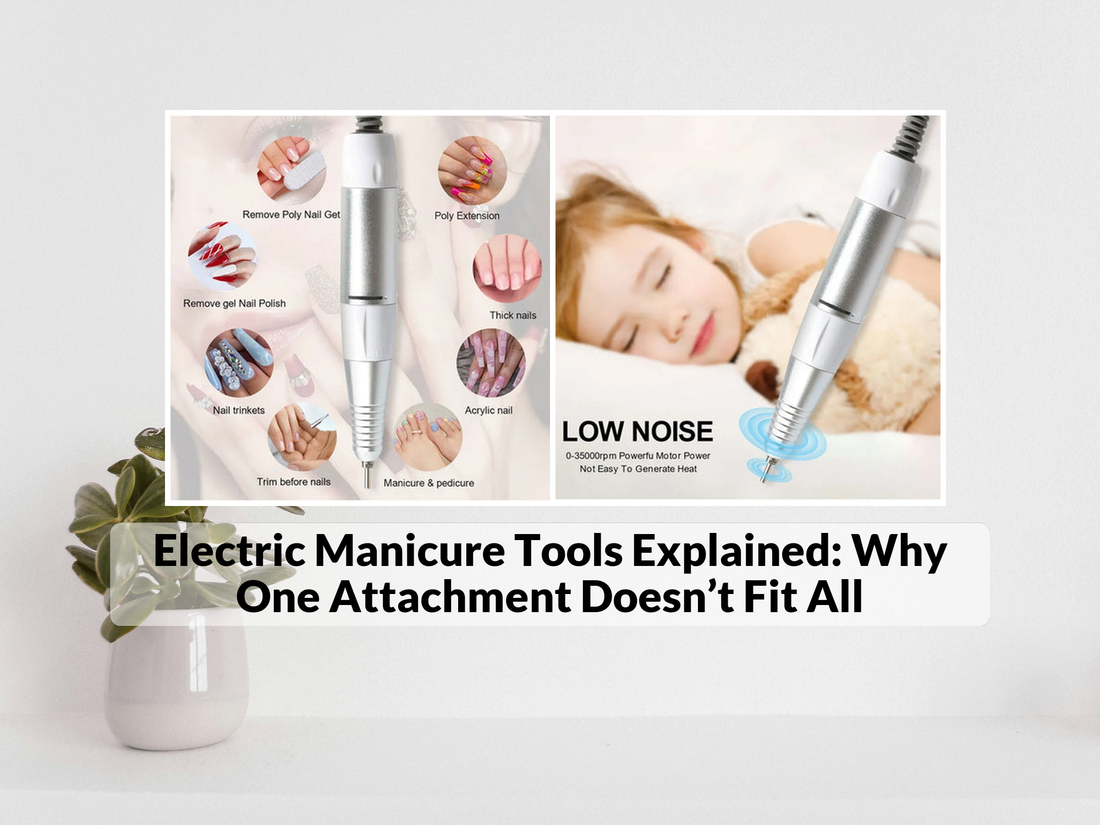
Electric Manicure Tools Explained: Why One Attachment Doesn’t Fit All
If you’ve ever stared at your collection of manicure gadgets and wondered why your at-home results still look amateur, you are not alone. The truth is, even the best electric nail file drill loses its magic when you use the wrong bit. Whether you’re a salon-pro, nail-care enthusiast or a committed DIYer, understanding attachments — from barrel bits to flame tips — will change your game. In this post we’ll break down the whole system of electric nail file drill bits, show which attachment fits which job and why some tools end up doing the wrong job. By the end you’ll know exactly which professional electric nail filer setup gives you flawless results — and how to justify the investment. Plus: you’ll meet one device that makes all of this easier. Get yours now — limited stock!
Why Attachments Matter in Nail Care
Many nail-care enthusiasts think: “I bought an electric nail file — that’s it, done.” But here’s the frustration: you might notice uneven shaping, burn marks, lifting nails or long service times. These problems often stem not from the machine, but from mismatched bits.
Here are key pain points you and your clients might face:
- You’re spending too long shaping nails and still not getting clean edges.
- The natural nail gets thinned, heat builds up, cuticles are irritated.
- No matter how much you polish, the finish looks amateur compared to salons.
The solution? Use the right tool for each step. When you swap in the correct nail file drill bit, your electric manicure tool transforms from a generic gadget into a precision instrument. Think of it like a chef’s knife: great on its own, but the right blade for slicing, dicing or filleting makes all the difference.

Electric manicure tools setup with multiple nail file drill bits 💡 See it in action.
👉 Looking for the best long-term approach to home or professional services? Discover how your choice of attachment unlocks full potential.
Types of Nail File Drill Bits: Identify the Right One
To operate with confidence, you need to understand what attachment does what. The materials, shape and grit all matter. Below is a breakdown of common bits, what they’re for, and when to use them.
| Bit Type | Typical Uses | Best For |
|---|---|---|
| Barrel/Cylinder Bit | Surface work, back-fill, shortening thick gel/acrylic layers | Experienced technicians working enhancements |
| UNC / Needle Bit | Under-nail cleaning, side-wall access, tight spaces | Detailed work around cuticles and sidewalls |
| Ball-Top Bit | Hard skin removal, eponychium clean-up, dead cuticle lift | Cuticle and sidewall cleaning before polish |
| Cone Bit | Cuticle area prep, side-wall, toe shaping | Toenails, tricky angles, cuticle clean-up |
| Flame Bit | Hangnails, detailed edge shaping, dead skin removal | Finish work, accent shaping near cuticle |
| Sanding Bands (Mandrel) | Coarse removal of product or shaping enhancements | High-volume salon, experienced users |
For instance “The Full Guide to Nail Drill Bits” explains how shape, material and size combine to create each bit’s unique job-fit. :contentReference[oaicite:0]{index=0}
Likewise, when you read “What is an electric nail drill? … To do specific jobs, a nail drill would need ‘bits’. These coated drill tips come in various grits, materials, sizes, and shapes.” you’ll see the value of matching bit → job. :contentReference[oaicite:1]{index=1}
⭐ Material vs. Shape – Why It Matters
- Material matters: Carbide bits are aggressive (good for gel/acrylic removal). Ceramic bits generate less heat. Diamond bits are safe for surface refinements. :contentReference[oaicite:2]{index=2}
- Shape matters: A cone bit isn’t ideal for surface reduction but is perfect for side-wall detailing. :contentReference[oaicite:3]{index=3}
- Grit matters: Coarse grits remove quickly but risk damage on natural nails; fine grits are gentler. :contentReference[oaicite:4]{index=4}
How to Choose the Right Bit for Your Nail Type & Service
Whether you’re working on a client or doing your own nails at home, this decision tree helps:
- Are you working on a natural nail or enhancement (gel/acrylic)?
- What’s the job? – shortening, shaping, cuticle clean-up, side-wall, under-nail cleaning?
- How sensitive is the client’s skin / how thin is the natural nail?
- Pick material → pick shape → pick grit for that job.
Here are some quick-match recommendations:
- Natural nails & gentle buff: Use a ceramic or diamond bit, fine grit, cone or safety shape.
- Thick builder gel removal: Use carbide bit, barrel or large cylinder, medium-coarse grit.
- Cuticle clean-up / hangnails: Use ball or flame shape, moderate grit, lower speed.
- Side-walls or under-nail: Use UNC/needle shape, safe tip, fine-medium grit.
When you ignore this, you risk over-filing, creating thinning, heat-burn marks, lifting or very slow service. That’s exactly the frustration many face when they say “my electric file isn’t delivering”. The tool works – but the attachment doesn’t match the job.
Using Your Electric Manicure Tools Correctly: Pro Tips
Here are detailed usage guidelines that help you achieve the best results while protecting the nail and skin.
- Start slow: Set the e-file at a lower speed until you’re comfortable with motion and feel. :contentReference[oaicite:5]{index=5}
- Light pressure: Let the bit do the work — heavy pressure = heat and damage.
- Keep it moving: Don’t stay in one place. A circular motion or gliding motion prevents burning. :contentReference[oaicite:6]{index=6}
- Correct angle: For shaping edges, angle around 45°, for surface use flat orientation.
- Switch attachments when needed: E.g., use coarse bit for product removal, then switch to fine bit for smoothing and polish prep.
- Clean and sanitize attachments: Regular cleaning prolongs life and ensures hygiene. :contentReference[oaicite:7]{index=7}
Step-by-step: correct attachment swap during service 💡 Learn step-by-step how to use attachments.
👉 Ready to upgrade your technique with the right bits and tools? Learn step-by-step how to style at home or in a salon environment.
Common Mistakes — and How to Avoid Them
Even experienced technicians sometimes slip. Identify these common errors early:
- Using one bit for every task. → Solution: build a core set of 4-5 bits for different jobs.
- Over-filing natural nails with aggressive bits. → Solution: use fine grit & safer shapes for natural nails.
- Too high speed or heavy pressure. → Solution: reduce speed, lighten touch, observe nail surface regularly. :contentReference[oaicite:8]{index=8}
- Not switching attachments after product removal. → Solution: finish with smoothing bit for better polish adhesion.
- Neglecting sanitation and changing worn bits. → Solution: change dull bits and sanitize per protocol. :contentReference[oaicite:9]{index=9}
Why This Professional Electric Nail Filer Stands Out
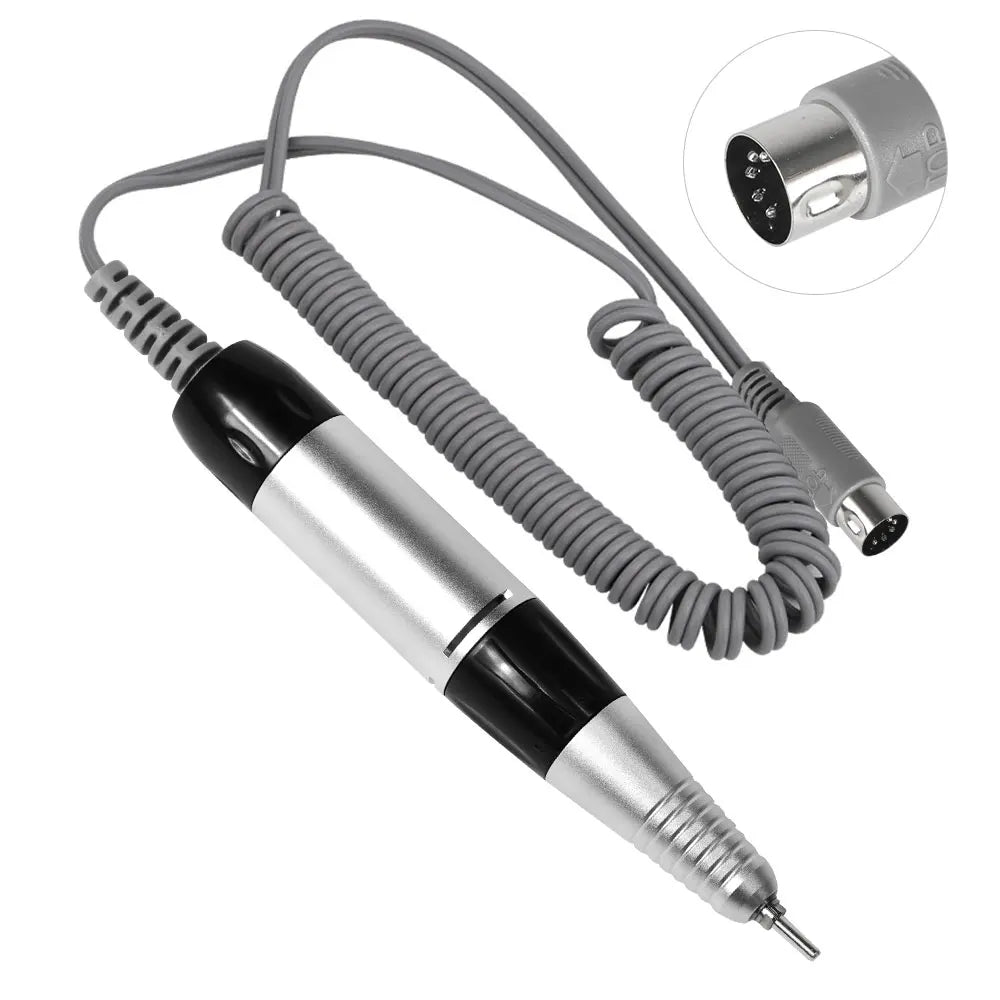
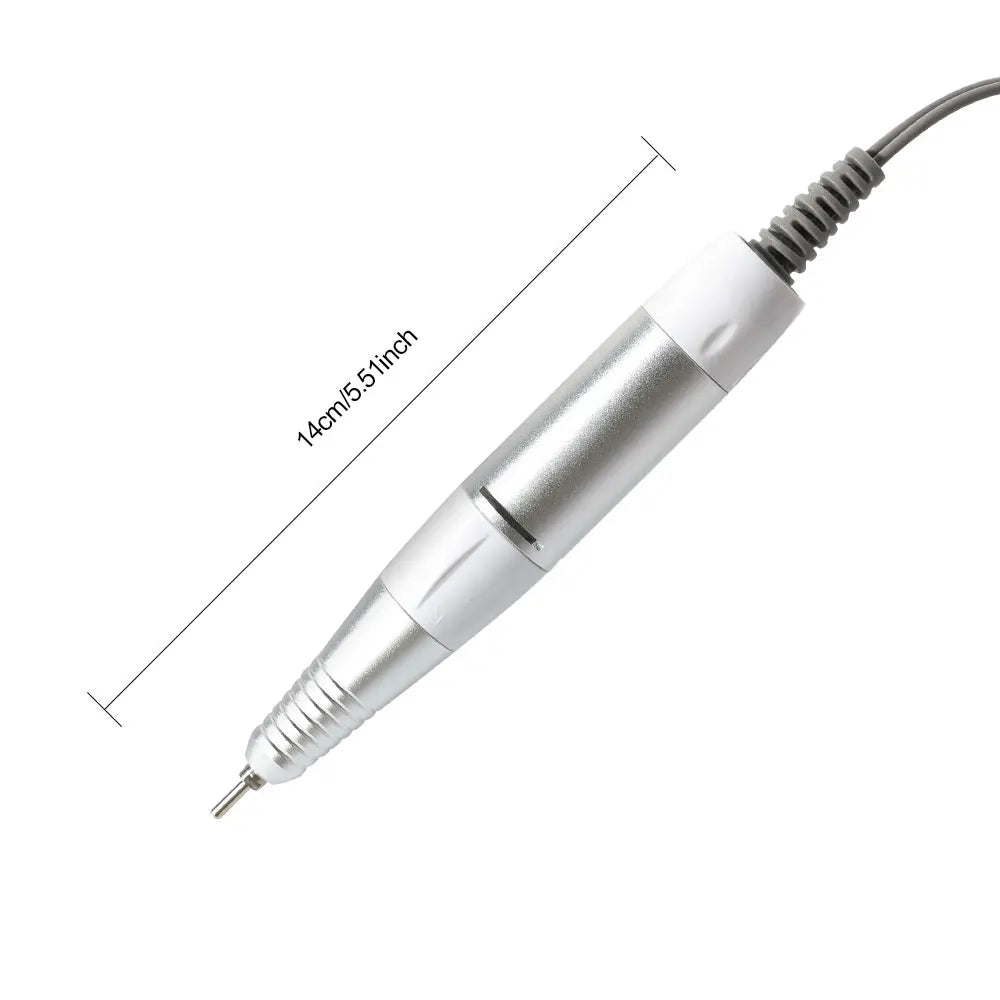
When investing in a pro-level tool, you want more than just “motor + handpiece”. This unit at /products/kentdo-electric-nail-drill-pen brings together key features that bridge daily salon-speed demands and precision home use.
Key Features & Benefits
- High-torque motor with variable speed control: Allows slow start for detail work, higher speed for bulk shaping.
- Ergonomic pen-style handpiece: Reduces wrist fatigue, increases control for intricate bit work.
- Universal bit shank compatibility (3/32″ type): Works with wide range of professional bits you’ll use (barrel, needle, ball, cone etc.)
- Quiet operation & minimal vibration: Better client comfort, results feel premium not “cheap drill”.
- Salon-grade durability – built for daily use: If you’re a technician, you’ll want a tool that lasts and keeps consistent results.
Why it beats alternatives
Many budget drills skip torque and stability, so bits skip or chatter and results vary. Others bundle only generic bits so you end-up with a one-size-fits-all approach even though you know there are better bits. With this professional electric nail filer you get the flexibility to use the right bit for each job — crucial for precision and speed.
Real results / social proof
Salon-tested: “I reduced my prep time by 30 %, edge clean-up improved and clients commented the finish felt smoother.” – Nail Tech Review
Home-user: “Used to dread shortening builder gel layers. With the correct drill bit + this pen-drill I did it in 8 minutes, less dust, no heat.” – DIY Enthusiast
Bonus cross-sell suggestions
Once you have the drill, building your bit library helps. Check out related collections: Nail Care Devices for compatible attachments and accessories like dust collectors, bit sets and safety gear.
Professional electric nail filer in action with the correct bit 💡 Get yours now — limited stock!
Mini-FAQ
What exactly are electric manicure tools?
Electric manicure tools refer to powered devices (often called e-files or nail drills) designed to rotate attachments (drill bits) for shaping, smoothing, filing, removing product or prepping nails.
Can I use one drill bit for every step?
Technically yes – but it’s not efficient and risks damage or slow results. Each bit shape/material serves a specific purpose; using the wrong one may thin natural nails, create heat or lead to uneven results.
Is the device safe for natural nails?
Yes — as long as you use the right attachments (gentler bits, fine grit) and follow correct speed/pressure technique. If you feel heat or pain, stop and reassess your bit or speed. :contentReference[oaicite:10]{index=10}
How often should I replace drill bits?
When you notice reduced performance (takes longer, produces heat, feels dull), replace the bit. Also follow hygiene protocols: clean after each client, disinfect, and store properly. :contentReference[oaicite:11]{index=11}
Is this professional electric nail filer good for beginners?
Yes — although beginners should spend time on technique (speed, pressure, bit selection) — the tool itself supports that learning and gives room to grow. With the right bit set and practice you’ll achieve professional-level results at home.
If you’ve ever been frustrated by uneven finishes, slow manicures or unsure which bit to use — this is your roadmap. With the right tool, the right attachments and the right technique you can transform your nail game from “meh” to salon-level. Get yours now — limited stock!
✔️ Tag your setups, follow your technique checklist and build your bit-library. Your nails (and clients) will thank you.
Tags: electric manicure tools, nail file drill bits, best electric nail file drill, e file nail drill bits, professional electric nail filer, nail care tools, manicure equipment, nail drill guide, salon tools, nail filing tips ::contentReference[oaicite:12]{index=12}Related Articles:
- Ceramic Nail Drill Bits: The Hidden Advantage You’re Missing
- Fingernail Electric File Secrets: Get Glass-Smooth Nails Every Time
Pillar Articles:
- Drill Guide Nail Tech Nail Drill Bits Explained for Perfect Finish
- Electric Drill Nails Power Test: Which Motor Delivers Real Results?
- Drill Bit Set for Nails Reviewed: Which Shapes Deliver the Best Control
- How to Use Electric Nail Drill Safely: Pro Tips You Must Know
- Top 7 Cordless Electric Nail Drill Picks That Outperform Salons


