

❓ What is Cavity Filling DIY and How Does It Work?
Cavity filling DIY is a term people use to describe temporary attempts to cover or protect a tooth cavity at home. While some over-the-counter dental repair kits may provide short-term relief or protect exposed teeth, they do not remove decay or permanently repair a cavity. Only a professional dental filling performed by a dentist can properly treat tooth decay.
DIY Cavity Filling: Is It Safe or Even Possible?
Searches for diy cavity filling and cavity filling at home have grown as people look for ways to deal with tooth pain without visiting a dentist. Many online videos and forums claim you can create a diy cavity filler or perform a dental filling diy procedure yourself.
However, dental professionals consistently warn that filling a tooth cavity at home is not a real solution for tooth decay. While temporary products may reduce discomfort or protect the tooth for a short time, they do not remove decay or stop the progression of infection.
This guide explains what homemade dental filling methods claim to do, why they rarely work, and what safe temporary options exist if you cannot immediately see a dentist.
⏱ 8 min read
What Is DIY Cavity Filling?
The phrase diy cavity filling usually refers to attempts to treat tooth decay at home using temporary materials, dental repair kits, or substances suggested online.
What people mean by “DIY cavity filling”
Most people searching for dental filling at home are not trying to perform real dentistry. Instead, they want relief from pain, protection for a damaged tooth, or a temporary solution if they cannot immediately see a dentist.
Why this topic is trending online
Dental costs, limited appointment availability, and viral social media tutorials have made homemade tooth filling methods increasingly popular. Unfortunately, many of these methods misunderstand how cavities actually develop and how professional fillings work.
Have you ever felt a sharp sting while sipping coffee, only to realize it’s a cavity forming? Tooth sensitivity and sudden dental pain can be alarming, especially when dental care is not immediately accessible.
Understanding the difference between temporary protection and proper treatment can help you make safer decisions about your oral health.
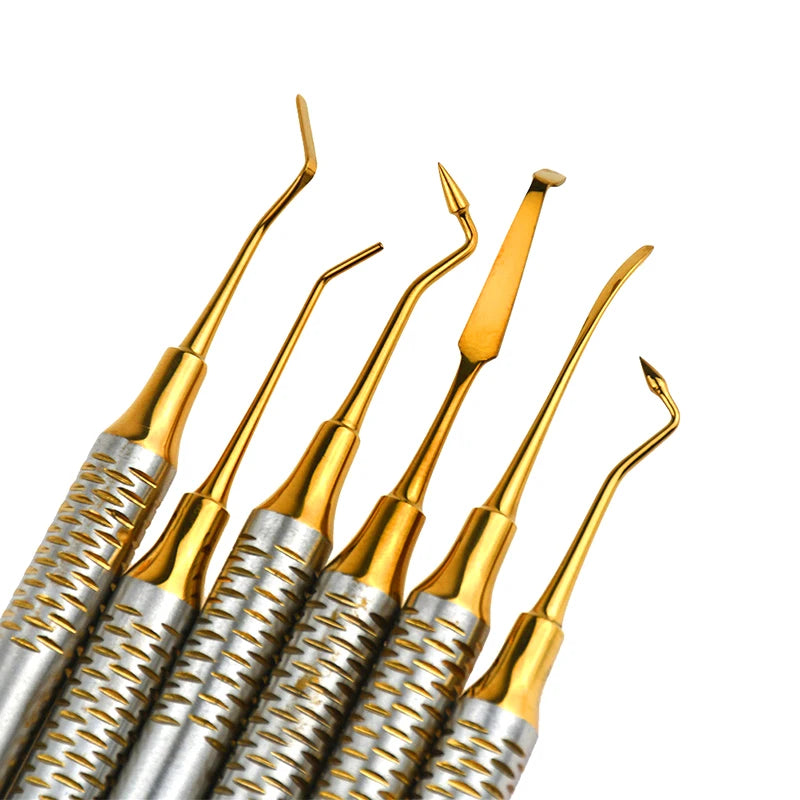
💡 Temporary dental repair tools sometimes used for emergency tooth protection.
Can You Really Fill a Cavity at Home?
Technically, you cannot permanently repair tooth decay with a homemade tooth filling or any dental filling at home. Cavities occur when bacteria break down tooth enamel and dentin, creating damaged areas that must be professionally cleaned and sealed.
Why cavities cannot truly be repaired outside a dental clinic
A real dental filling requires removing decayed tooth structure with specialized dental tools. Without removing the bacteria and infected tissue, placing a material over the cavity simply traps infection inside the tooth.
This means a tooth filling diy approach may hide the problem temporarily but does not stop decay from spreading deeper toward the tooth pulp.
The difference between temporary relief and real treatment
Some products marketed as cavity filler at home solutions are actually temporary dental cements. These materials can protect an exposed cavity for a short period, but they are designed only as a stopgap until a dentist performs a proper filling.
How Professional Dental Fillings Actually Work
Understanding how dentists repair cavities helps explain why at home cavity filling attempts rarely succeed. Professional treatment involves several precise clinical steps designed to stop decay and protect the tooth.
Diagnosing tooth decay
Dentists examine teeth using visual inspection, dental probes, and X-rays to determine how deep the cavity extends. This diagnosis is essential because tooth decay often spreads beneath the visible surface.
Removing infected tooth structure
The dentist removes decayed enamel and dentin using specialized dental instruments or rotary tools. Eliminating infected tissue stops bacteria from continuing to damage the tooth.
Sealing and curing the filling material
After cleaning the cavity, the dentist fills the space with materials such as composite resin, amalgam, or glass ionomer. These materials are carefully shaped and hardened using dental curing lights to restore the tooth’s structure and function.
Why DIY Cavity Filling Is Risky
Many websites promote make your own tooth filling solutions or best homemade tooth filling methods, but these approaches can create serious dental complications.
Trapping bacteria inside the tooth
If decay is covered without being removed, bacteria remain active inside the cavity. Over time, this allows infection to spread deeper into the tooth.
Risk of nerve infection or abscess
When untreated cavities reach the inner pulp of the tooth, they can cause severe pain, nerve damage, or dental abscesses that require advanced treatment such as a root canal.
Materials not designed for teeth
Some homemade dental filling suggestions involve substances that are not intended for oral use. These materials may degrade quickly, irritate gums, or fail to properly seal the tooth.
Temporary Solutions for a Lost or Damaged Filling
If a filling falls out or a cavity becomes exposed, temporary measures may help protect the tooth until you can see a dentist.
Over-the-counter temporary filling kits
Pharmacies sometimes sell dental repair kits designed to cover exposed cavities or replace a lost filling temporarily. These products typically contain dental cement that hardens to protect the affected area.
When temporary dental cement may help
Temporary materials can reduce sensitivity and prevent food from entering the cavity. However, they do not remove decay or provide long-term protection.
How long temporary fixes last
Most temporary dental filling materials last from a few days to a couple of weeks. They are designed only to protect the tooth until professional dental care is available.

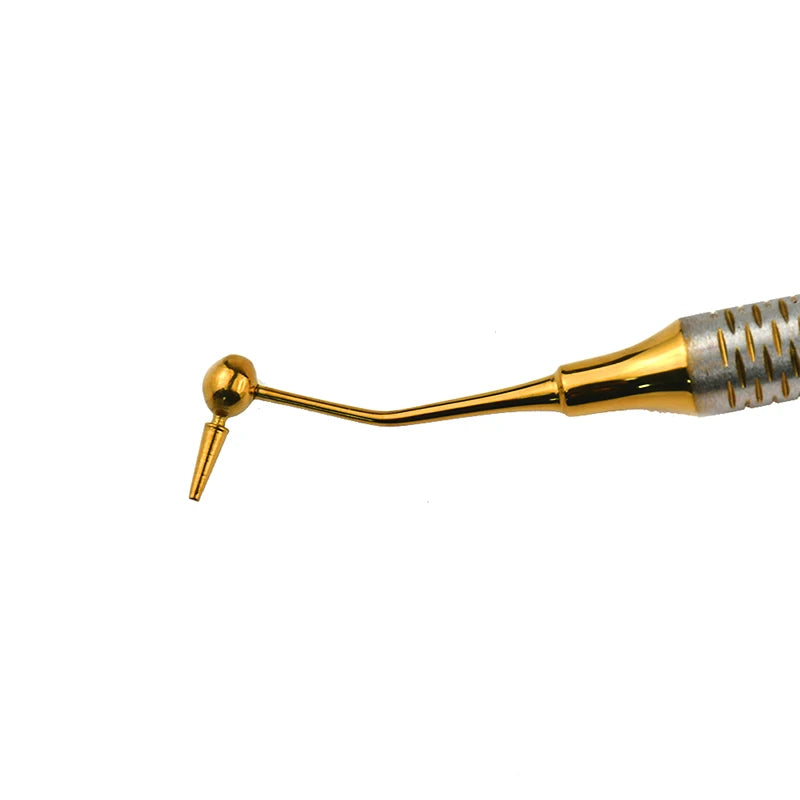
🔧 Dental instruments used by professionals during cavity repair procedures.
Signs You Should See a Dentist Immediately
Temporary measures may provide short-term relief, but some symptoms require urgent dental attention.
Severe tooth pain or pressure
Persistent or intense tooth pain may indicate that decay has reached the inner pulp of the tooth.
Swelling or gum infection
Swelling in the gums, jaw, or face can signal a spreading infection that needs immediate treatment.
Sensitivity to hot and cold
Extreme sensitivity may indicate that enamel has been significantly damaged by tooth decay.
DIY Filling vs Professional Dental Treatment
Safety comparison
Professional dental fillings are performed in sterile clinical environments using materials designed specifically for teeth. DIY methods lack proper diagnosis, decay removal, and controlled treatment conditions.
Cost vs long-term damage
Although dental filling diy approaches appear inexpensive, untreated cavities can lead to more serious procedures such as root canals or tooth extractions.
Longevity of professional fillings
Modern dental fillings often last many years depending on the material used and oral hygiene habits. Temporary cavity filler at home solutions typically last only a short period.
Pros and Cons of DIY Cavity Filling
Possible short-term benefits
- May temporarily protect an exposed tooth
- Can reduce sensitivity until a dentist visit
- Provides emergency protection if a filling falls out
Long-term risks
- Does not remove tooth decay
- May trap bacteria inside the tooth
- Could delay proper dental treatment
🦷 Professional dental fillings are designed to permanently restore damaged teeth.
FAQ About DIY Tooth Filling
Is DIY cavity filling safe?
DIY cavity filling is generally not considered safe as a long-term solution. Temporary products may protect a tooth briefly, but they do not treat the underlying decay.
How long does a temporary filling last?
Temporary dental filling materials typically last from several days to a few weeks depending on chewing pressure and oral hygiene habits.
Can you fill a cavity at home permanently?
No. Permanent cavity repair requires professional dental treatment that removes decay and seals the tooth with durable filling materials.
What should you do if a filling falls out?
If a filling falls out, keep the area clean and schedule a dental appointment as soon as possible. Temporary dental cement may help protect the tooth until treatment.
Pillar Article: How to Use a Dental Cavity Repair Kit Safely at Home (Step-by-Step)
Other Related Articles:
- Dental Composite Resin Kit Tutorial: From Setup to Final Finish
- Your Quick Guide to Dental Resin Composite Procedure for Success
- Composite Instrument Use Explained: Stop Misusing These Dental Tools
- The Exact Way to Handle a Best Tooth Filler Without Dentist Visits
Explore More:


