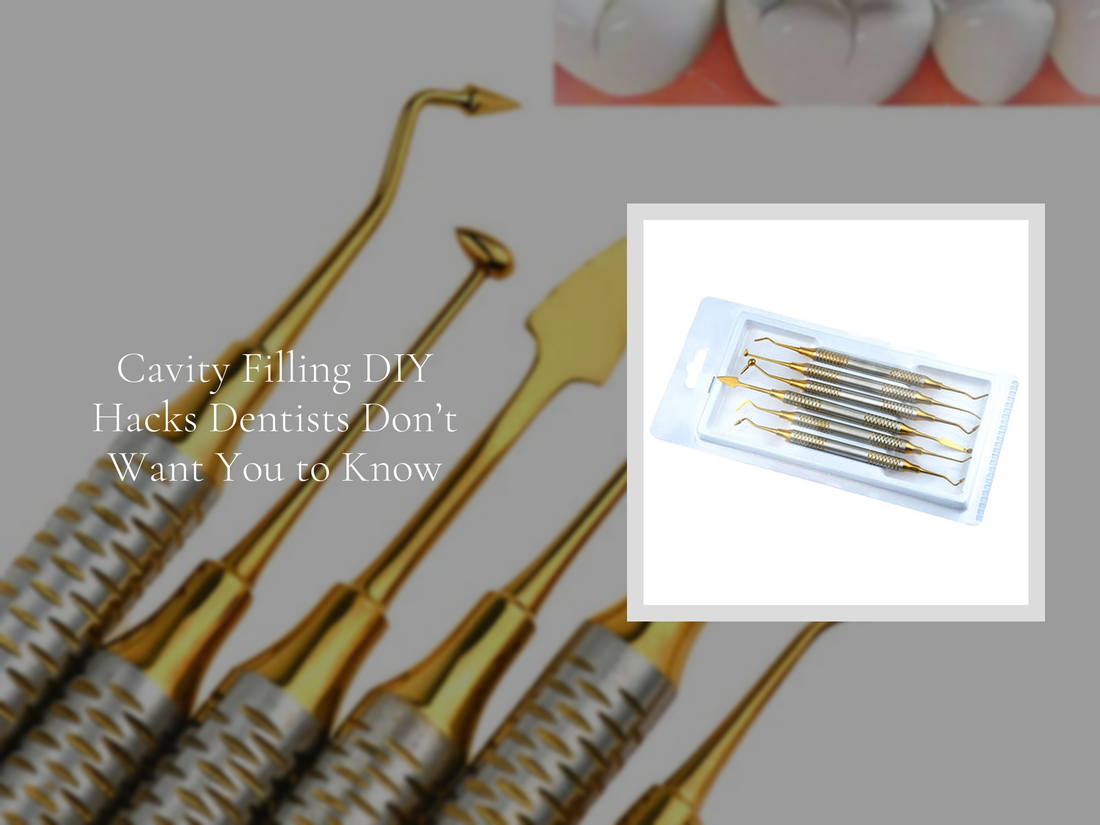
Cavity Filling DIY Hacks Dentists Don’t Want You to Know
Cavity filling DIY may sound intimidating, but it’s become a trending solution for people who want to avoid costly dental visits. With the right tools used for cavity filling, a proper dental filling set up, and a simplified dental composite procedure, you can temporarily fix cavities at home with confidence.
⏱ 8 min read
What is cavity filling DIY and how does it work?
Cavity filling DIY is a temporary at-home method to repair small cavities using simple tools and dental composite kits. It works by cleaning the cavity, preparing a dental filling set up, and applying a resin or filler. While not a permanent fix, it provides relief until you see a dentist.
- Clean the affected tooth thoroughly
- Prepare tools used for cavity filling
- Apply composite or filler material
- Smooth, cure, and seal the surface
Have you ever felt a sharp sting while sipping coffee, only to realize it’s a cavity forming? Most people dread the costs, wait times, and stress of dental visits. What if you could apply a cavity filling DIY hack to ease the discomfort and restore your smile—right from home?
💡 Cavity filling DIY with the KentDO dental filling kit — see it in action.
Why consider cavity filling DIY?
Let’s face it: dental visits are expensive, often costing hundreds for a single filling. Students, young professionals, and busy adults often postpone care, only to see cavities worsen. A cavity filling DIY approach gives you temporary relief, restoring comfort and confidence without breaking the bank.
It’s not about replacing your dentist. Instead, it’s about having a reliable backup in emergencies when an appointment isn’t possible.
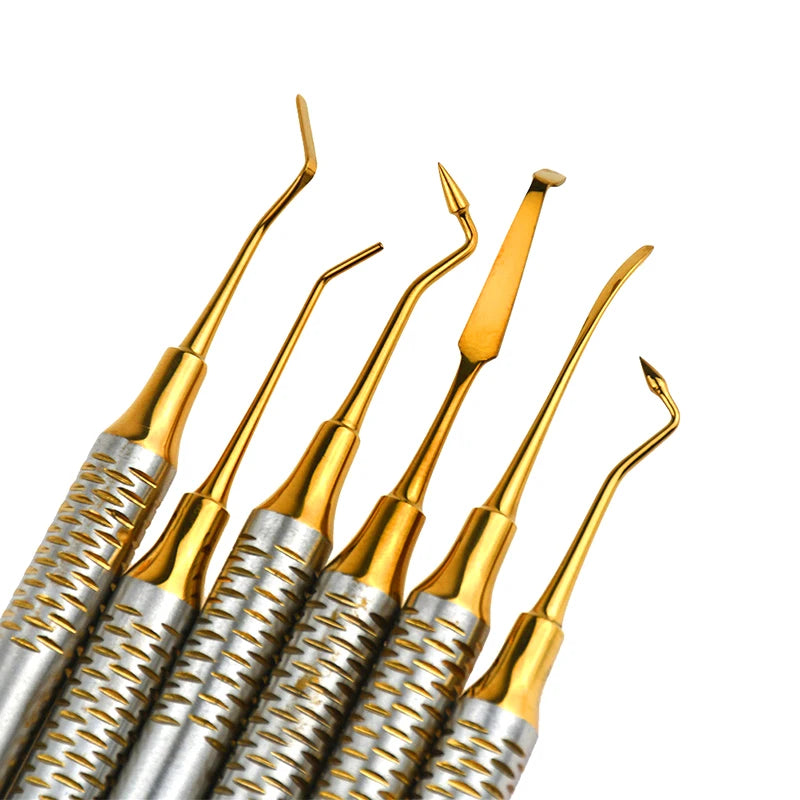
What tools are used for cavity filling?
Every dental procedure relies on precision tools. At home, you’ll need a smaller version of what’s found in a dentist’s office. Here are the essentials:
- Mirror and probe for inspection
- Scaler for removing debris
- Excavator for clearing cavity material
- Applicator for dental composite
- Burnisher for smoothing edges
- Curved tweezer for placing filler
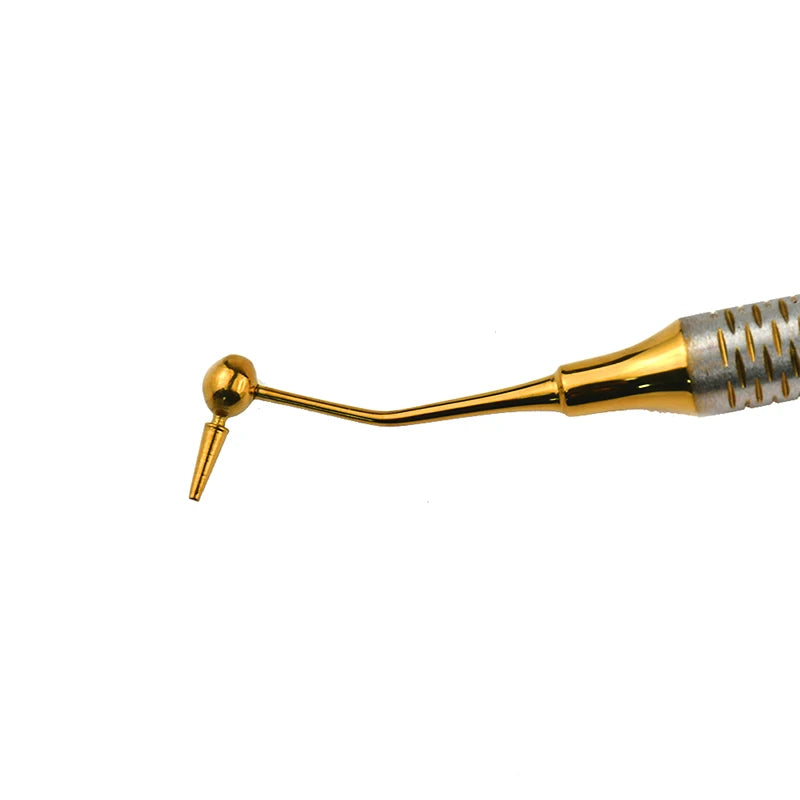
The KentDO 6pcs titanium dental filling kit contains all of these tools in a single set—making at-home dental care safer and more effective.

🔧 Tools used for cavity filling — get your dental filling set up at home.
How to create a dental filling set up at home
Setting up correctly makes the difference between a successful DIY fix and wasted effort. Here’s how:
- Choose a clean, well-lit space.
- Sanitize tools with alcohol wipes.
- Prepare gloves, cotton rolls, and a small mirror.
- Have your composite material ready before starting.
Step-by-step dental composite procedure
The dental composite procedure is straightforward when broken into steps. Here’s a simplified version for at-home use:
- Clean and dry the tooth surface.
- Remove soft debris with an excavator.
- Apply bonding agent if included in your kit.
- Layer composite resin into the cavity.
- Shape and smooth with a burnisher.
- Cure with a UV light if available.
- Check bite alignment carefully.
Done correctly, your tooth should feel comfortable, with no sharp edges or gaps.
Pros and cons of DIY cavity filling
| ✅ Pros | ❌ Cons |
|---|---|
| Affordable alternative to dentist visits | Not a permanent solution |
| Immediate relief from pain or sensitivity | Risk of improper sealing |
| Empowers you with dental knowledge | May miss deeper decay or infection |
DIY vs. professional fillings
How does cavity filling DIY stack up against professional treatment? Here’s a quick look:
| Aspect | DIY Filling | Dentist Filling |
|---|---|---|
| Cost | $20–$50 | $150–$300+ |
| Durability | Weeks to months | Years |
| Convenience | Immediate, at home | Appointment needed |
| Risk | Moderate (user error) | Low (professional skill) |
DIY is ideal for emergencies, but permanent care should always be done by professionals.
🦷 Dental composite procedure at home with KentDO — temporary but effective.
FAQ
Is cavity filling DIY safe?
Yes, it’s safe for temporary use when you follow instructions carefully. However, it should never replace long-term dental care.
How long does a DIY filling last?
Most DIY fillings last anywhere from a few weeks to a few months depending on your diet and oral hygiene.
Can I use cavity filling DIY for kids?
It’s not recommended for children, as they require professional supervision for cavity treatment.
Where can I find oral care tools?
Browse our full selection of oral care devices for more solutions to keep your smile healthy.
Pillar Article: How to Use a Dental Cavity Repair Kit Safely at Home (Step-by-Step)
Other Related Articles:
- Dental Composite Resin Kit Tutorial: From Setup to Final Finish
- Your Quick Guide to Dental Resin Composite Procedure for Success
- Composite Instrument Use Explained: Stop Misusing These Dental Tools
- The Exact Way to Handle a Best Tooth Filler Without Dentist Visits
Explore More: