
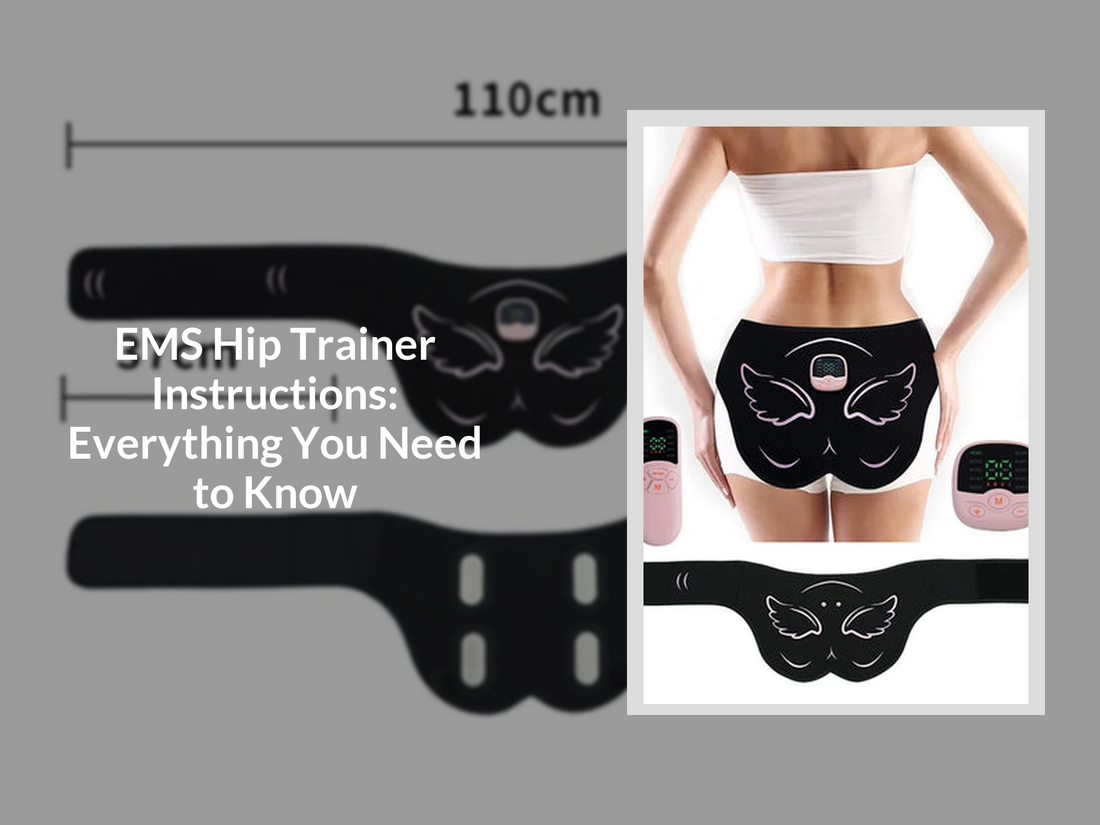
EMS Hip Trainer Instructions: How to Use It Correctly for Real Results (2026 Guide)
Quick Answer — How to Use an EMS Hip Trainer
5-Step Quick Start Guide
- Clean and dry your skin before applying the pads.
- Place the EMS pads directly on your glute muscles (not too low or off-center).
- Turn on the device and start at the lowest intensity level.
- Gradually increase intensity until you feel strong but comfortable muscle contractions.
- Use for 15–25 minutes per session, 3–5 times per week.
Pro tip: You should feel muscle contractions—not pain. If it hurts, lower the intensity immediately.
Q: Does an EMS hip trainer really work?
A: Yes — when used correctly and consistently, EMS hip trainers stimulate glute muscles with low-frequency pulses to improve tone, circulation and definition. Most users report visible improvements within 2–4 weeks when combined with a simple routine and proper pad placement.
Mastering your EMS hip trainer instructions is easier than you think. This guide simplifies everything from setup and placement to realistic results—so you can use your device correctly and actually see progress.
⏱ 7 min read
What Is an EMS Hip Trainer & How Does It Work?
What EMS (Electrical Muscle Stimulation) Actually Does
An EMS hip trainer sends low-frequency electrical impulses to your glute muscles, causing them to contract and relax—similar to natural movement.
What It Feels Like During Use
You’ll feel tingling followed by rhythmic contractions. Stronger levels create visible muscle pulsing.
Who Should (and Should NOT) Use It
- Great for beginners and busy users
- Helps improve muscle activation
- Avoid if pregnant or using pacemakers
Step-by-Step EMS Hip Trainer Instructions (Beginner to Advanced)
Step 1 — Prep Your Skin & Device
Clean and dry skin for better conductivity.
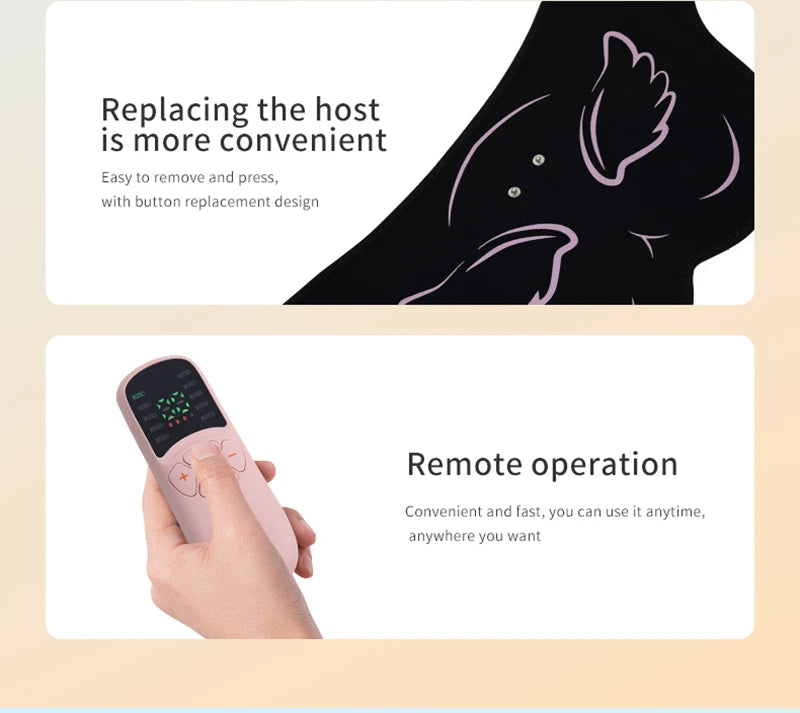
Step 2 — Correct Pad Placement (Critical)
Place pads over the center of glutes.
Step 3 — Choosing Intensity Levels Safely
Start low, increase gradually.
Step 4 — Session Duration & Timing
Use for 15–25 minutes. Avoid overuse.
Step 5 — Post-Session Care
Clean pads and hydrate muscles.
EMS Hip Trainer Placement Guide (With Positioning Tips)
Correct Glute Positioning Zones
- Center glutes
- Upper glutes for lift
- Even placement both sides
Common Placement Mistakes
- Too low = hamstrings activated
- Uneven placement
- Poor contact with skin
Recommended EMS Training Schedule for Results
Weekly Usage Plan
- Beginner: 3 sessions/week
- Intermediate: 4–5 sessions/week
- Advanced: up to 5 sessions/week
When You’ll Start Seeing Results
1–2 weeks: activation. 3–6 weeks: visible toning.
Top Mistakes to Avoid With Your EMS Hip Trainer
Beginner Mistakes
- Low intensity
- Bad placement
- Inconsistent use
Advanced User Mistakes
- Overuse
- Skipping workouts
- Too much intensity
Safety Tips & Contraindications (Read Before Use)
Who Should Avoid EMS Devices
- Heart conditions
- Pregnancy
- Epilepsy
Safe Usage Guidelines
- No broken skin
- Max 30 minutes
- Stop if pain occurs
Troubleshooting & Quick Fixes
- No sensation → check pads
- Too strong → lower intensity
- Patchy → reposition pads
EMS Hip Trainer Benefits — What You Can Realistically Expect
Muscle Activation vs Fat Loss
EMS tones muscles but does not burn fat directly.
Timeline of Results
- Week 1–2: activation
- Week 3–4: firmness
- Week 5+: shaping
Frequently Asked Questions (EMS Hip Trainer FAQ)
How long should I use it?
15–25 minutes per session.
Can I use it daily?
3–5 times per week is better.
Does it work?
Yes for toning with consistency.
Can it replace workouts?
No—it supplements exercise.
Final Thoughts: Is an EMS Hip Trainer Worth It?
An EMS hip trainer can improve muscle activation and support toning when used properly.
Consistency, correct placement, and realistic expectations are key to results.
Pillar Article: How to Use the Best Glute Machines for Maximum Toning Results
Other Related Articles:
- Before Tonight: Learn How to Use an EMS Buttocks Trainer Safely
- Voice Search: How Do You Use an EMS Glute Trainer Correctly?
- Stop Making These EMS Hip Trainer Mistakes—Fix Placement Now
- EMS Glute Placement: The Exact Spot That Boosts Your Results
Explore More:


