

EMS Hips Trainer User Manual: Setup, Placement & How to Use Correctly
This EMS hips trainer user manual explains exactly how to set up, place, and operate your device safely. If your product came with a confusing or incomplete EMS hips trainer manual, this simplified guide walks you through charging the controller, positioning the pads, selecting training modes, and adjusting intensity levels for effective glute stimulation.
Whether you're learning how to use an EMS hip trainer for the first time or troubleshooting poor results, the instructions below will help you achieve stronger muscle activation, better glute engagement, and more consistent toning results.
⏱ 6 min read
💡 Learn how to use your EMS hip trainer manual properly for real glute results
Quick Start Guide: How to Use an EMS Hips Trainer in 5 Steps
If you want a fast overview before reading the full EMS hips trainer user manual, follow these simple steps:
- Charge the EMS controller fully before first use.
- Clean and dry the skin around your glutes.
- Attach the gel pads and align the trainer with the center of each buttock.
- Select a training mode and start at the lowest intensity.
- Use for 15–20 minutes per session, 3–5 times per week.
This quick routine helps ensure your EMS glutes placement and device settings are correct from the start.
What Comes in an EMS Hip Trainer Kit
Most EMS hips trainer devices include the same basic components. Your kit may contain:
- EMS hip trainer pad with electrode gel areas
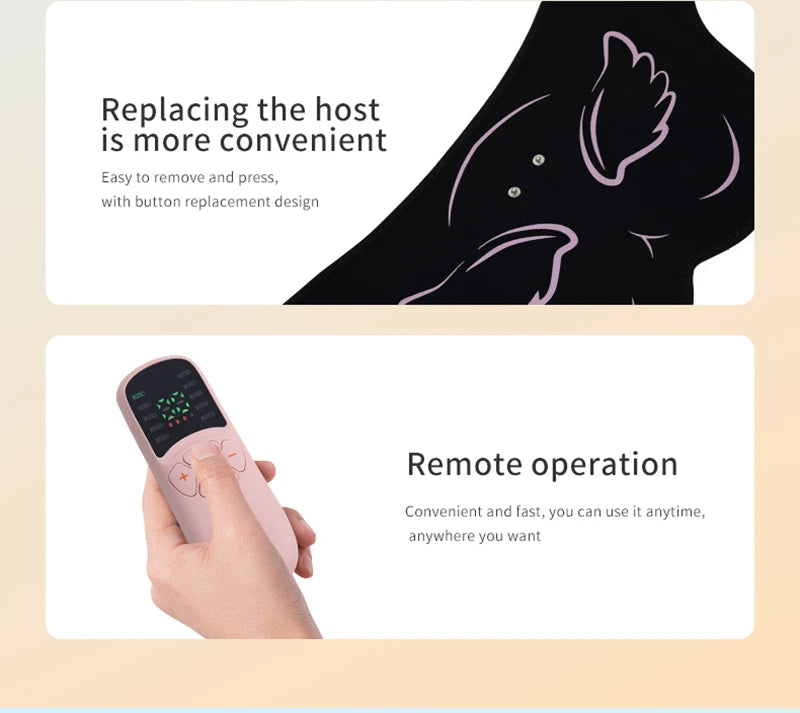
- Rechargeable EMS controller
- USB charging cable
- Replacement gel pads
- User instruction manual
Before first use, check that all parts are included and that the controller connects securely to the EMS pad.
How to Charge and Set Up Your EMS Hips Trainer
Proper setup ensures your EMS hip trainer performs at full power and delivers consistent muscle stimulation.
- Connect the controller to the USB charging cable.
- Charge the device until the indicator shows full battery.
- Attach the controller to the EMS pad connector.
- Remove the protective film from the gel pads.
- Position the device on clean, dry skin.
Never apply the trainer over clothing or oily skin, as this reduces conductivity and weakens muscle stimulation.
EMS Glutes Placement Guide (Correct Pad Positions)
EMS glutes placement is the most important factor for effective results. Correct positioning allows electrical impulses to reach the motor points of the glute muscles.
For best results, pads should cover the upper and mid-gluteus maximus, not the lower buttocks or thighs.
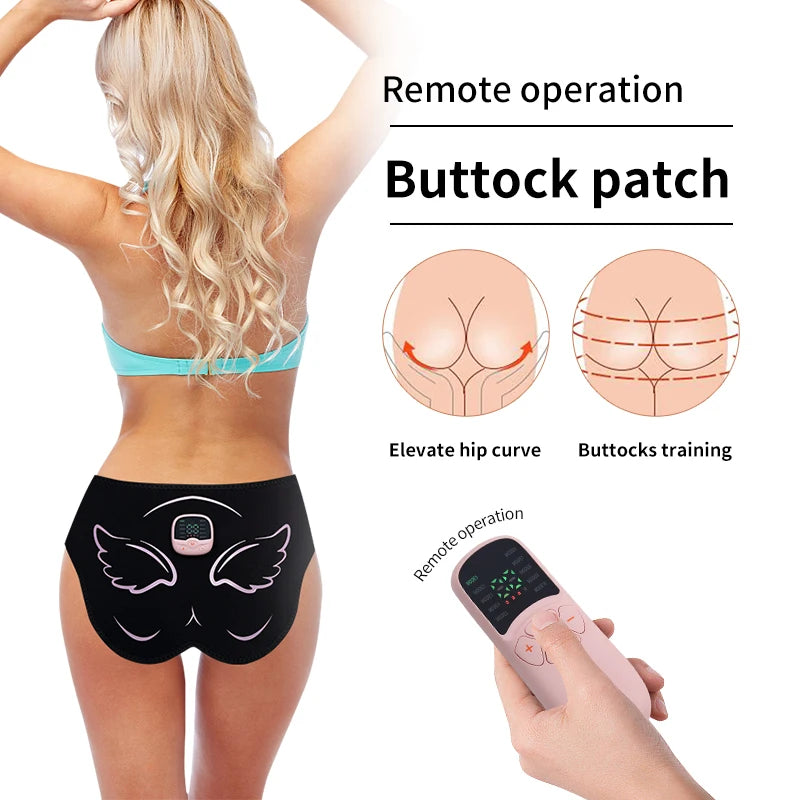
💡 Perfect EMS glutes placement is key to real toning results—use this guide to align properly
Glute Placement Diagram Explained
The trainer should sit symmetrically across both glutes with electrode pads contacting the muscle belly.
- Center pads on the rounded part of each glute
- Avoid placing pads too close to the lower thigh
- Ensure both sides mirror each other
- Press pads firmly so there are no air gaps
Correct EMS glute placement ensures balanced contractions and better muscle activation.
Common Placement Mistakes
- Placing pads too low near the hamstrings
- Using the device over clothing
- Applying pads on sweaty or oily skin
- Misaligning the trainer so one side sits higher
Even small placement errors can reduce stimulation efficiency significantly.
Step-by-Step: How to Use EMS Hip Trainer Correctly
Follow this detailed routine every session to ensure you're using the EMS hip trainer manual instructions correctly.
- Charge the device fully.
- Clean and dry your glutes.
- Attach fresh gel pads if needed.
- Position the EMS trainer evenly across both buttocks.
- Turn on the controller and select a training mode.
- Increase intensity gradually until you feel strong but comfortable muscle contractions.
- Use the device for 15–20 minutes.
Selecting Training Modes
Most EMS trainers include multiple stimulation patterns designed to mimic workout routines such as:
- Pulsing contractions
- Rapid muscle activation cycles
- Deep muscle stimulation
Beginners should start with the lowest mode and increase difficulty over time.
Adjusting Intensity Levels Safely
Intensity determines the strength of electrical pulses sent to your glutes.
- Start at the lowest setting
- Increase slowly until muscles visibly contract
- Avoid painful or sharp sensations
- Build tolerance gradually over several weeks
Recommended Session Length
Most EMS hips trainers are designed for short sessions.
- 15–20 minutes per session
- 3–5 sessions per week
- Allow muscles to recover between sessions
EMS Hips Trainer Before and After: What Results to Expect
Many users search for EMS hips trainer before and after photos, but realistic expectations are important.
EMS devices stimulate muscle contractions similar to low-intensity exercise. With consistent use, they can help:
- Improve muscle tone and firmness
- Activate underused glute muscles
- Support recovery after workouts
- Enhance results from squats and lunges
Visible improvements typically appear after 3–4 weeks of consistent use.
For best results, combine your EMS routine with other body care and health devices and strength training exercises.
Safety Instructions and Who Should Avoid EMS Devices
EMS technology is generally safe, but certain users should avoid using electrical muscle stimulators.
Do not use an EMS trainer if you:
- Have a pacemaker or implanted electronic device
- Are pregnant
- Have severe heart conditions
- Have skin infections or open wounds near the treatment area
If you are unsure whether EMS training is appropriate for you, consult a medical professional before use.
Care Tips and Troubleshooting
Protect your EMS trainer investment with these maintenance tips.
- Replace gel pads every 20–30 uses
- Clean pads gently with a damp cloth
- Store device in a cool dry place
- Recharge battery regularly to maintain power output













