
E File Nail Drill Bits Explained Clearly (Even If You’re a Total Beginner)
Want e file nail drill bits explained in a way that actually makes sense? Discover how different e file nail bits uses , nail file drill bits , and electric nail drill bits explained can transform your manicure results. Learn how each shape, grit, and material affects your finish—and why a proper nail drill rpm guide can make or break your nail health. Ready to finally master your e-file like a pro?
⏱ 7 min read
Quick Summary — Nail Drill Bits Explained in 60 Seconds
Nail drill bits are small attachments used with an electric nail file (e-file) to shape, smooth, remove product, and clean nails. Each bit has a specific material, shape, and grit level that determines how fast and safely it works on natural nails, gel, or acrylic.
If you're a beginner, the key is simple: use fine-grit diamond bits for natural nails, carbide or ceramic for product removal, and always start at low RPM to avoid nail damage.
- Diamond bits: cuticle work + natural nail prep
- Ceramic bits: gentle product removal (low heat)
- Carbide bits: fast acrylic/gel removal
What Are Nail Drill Bits and How Do They Work?
Nail drill bits are small attachments used with an electric nail file (e-file). Each bit is designed for a specific task during a manicure or nail enhancement service, such as removing gel polish, cleaning cuticles, shaping acrylic, or smoothing the nail surface.
Instead of manually filing the nail, an electric nail drill spins the bit at adjustable speeds (RPM). The shape, material, and grit level determine how aggressively the bit interacts with natural nails or enhancements.
Basic Anatomy of a Nail Drill Bit
- Shank – metal part inserted into the handpiece
- Head – working surface that performs filing or removal
- Cutting surface / grit – determines aggressiveness
Real-World Usage Examples
- Removing gel polish without damaging the natural nail layer
- Cleaning dead cuticle buildup for a neater nail bed
- Shaping acrylic extensions into a smooth salon finish
- Prepping nails before gel application for better adhesion
Nail Drill Bit Materials Explained (Ceramic vs Carbide vs Diamond)
Understanding nail drill bit materials is essential because each one behaves differently on natural nails and enhancements. Choosing the wrong material can cause heat spikes, nail thinning, or inefficient product removal.
Ceramic Nail Bits
Ceramic bits are beginner-friendly and produce less heat. They are ideal for gentle gel or acrylic removal without damaging the natural nail underneath.
Carbide Nail Bits
Carbide bits are stronger and more aggressive, designed for professional use. They remove hard gel and acrylic quickly but require controlled pressure.
Diamond Nail Bits
Diamond bits are used for precision work like cuticle cleaning, sidewall detailing, and natural nail preparation rather than heavy removal.
Quick Comparison
- Ceramic: safest for beginners, low heat, medium removal speed
- Carbide: fastest removal, advanced use, higher aggression
- Diamond: precision + natural nail work, minimal removal
Nail Drill Bit Shape Comparison Chart
Each nail drill bit shape is designed for a specific function. Using the wrong shape can slow your work or damage the nail plate.
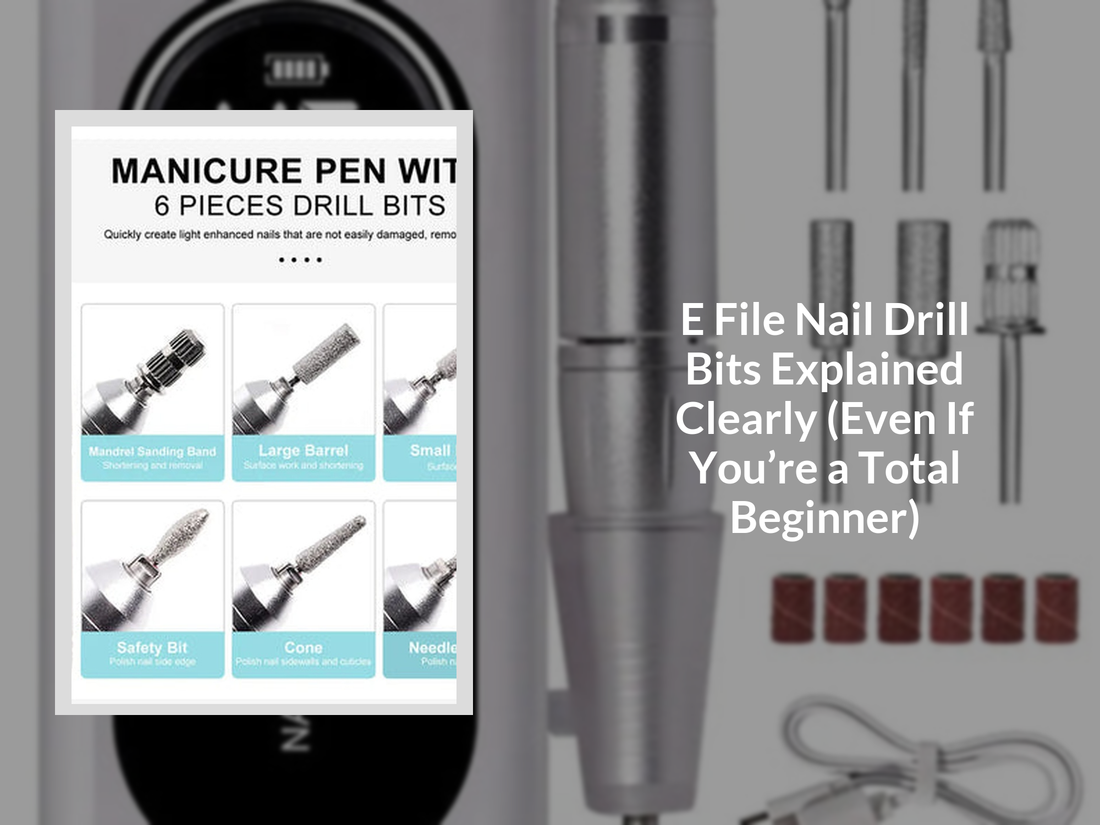
- Barrel: surface smoothing and product removal
- Cone: general shaping and tight areas
- Flame: cuticle cleaning and sidewalls
- Safety Flame: beginner-friendly cuticle work
- Mandrel: holds sanding bands for removal
- Needle: extreme precision detailing
- Under-nail cleaner: cleans underside of nail
Nail Drill Bit Grit Levels Explained (Fine vs Medium vs Coarse)
The grit level determines how aggressively a bit removes product. Choosing correctly is essential for nail safety.
Fine Grit
Best for natural nail prep and gentle cuticle refinement.
Medium Grit
Used for gel polish removal and light shaping.
Coarse Grit
Used for fast acrylic removal and heavy product reduction.
Grit-to-Task Mapping Chart
- Natural nail prep: Fine diamond (220+ grit)
- Cuticle cleaning: Fine flame diamond
- Gel polish removal: Medium ceramic barrel
- Acrylic removal: Coarse carbide barrel
How to Use Nail Drill Bits for Beginners (Step-by-Step)
Correct technique matters more than speed or pressure. Always let the bit do the work.
Step 1: Nail Prep
Use a fine diamond bit at 5,000–8,000 RPM . Lightly remove shine from the nail surface.
Step 2: Cuticle Work
Use a flame bit at 6,000–10,000 RPM to gently clean dead skin.
Step 3: Shaping
Use a barrel bit for smoothing enhancements or refining shape.
Step 4: Product Removal
Use ceramic or carbide bits at 10,000–25,000 RPM depending on product type.
Beginner Nail Drill Bit Starter Kit (The Only Bits You Actually Need)
- Fine grit diamond prep bit
- Flame cuticle bit
- Safety barrel bit for gel removal
- Medium grit barrel bit
- Small cone bit for sidewalls
- Cuticle cleaning bit
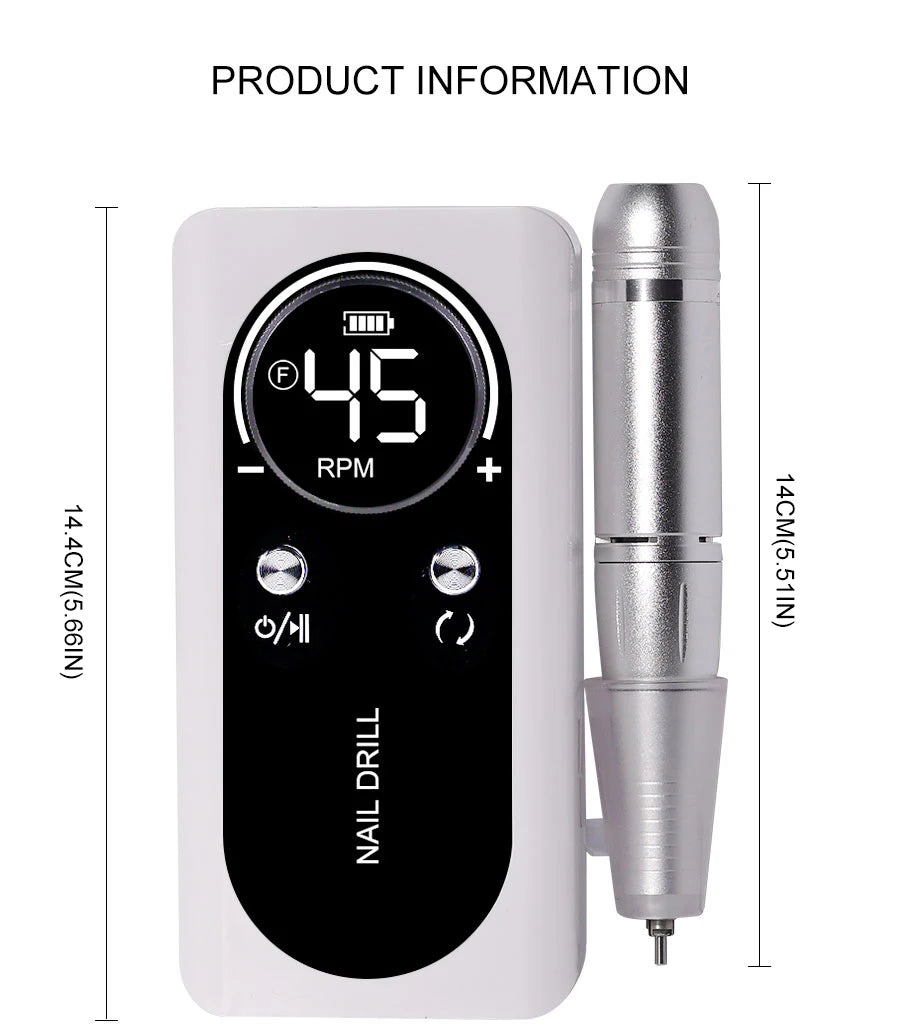
For beginners, a reliable machine improves control and safety. The KentDO Rechargeable Nail Drill Machine provides stable RPM control and smooth handling for learning proper e-file technique.
Nail Drill Bit Decision Matrix (Find the Right Bit Fast)
- Removing gel polish: Ceramic barrel bit (medium grit)
- Removing acrylic: Carbide barrel bit (coarse grit)
- Cuticle cleaning: Diamond flame bit (fine grit)
- Natural nail prep: Diamond safety bit (fine grit)
- Smoothing surface: Fine barrel sanding band
Nail Drill RPM Guide: Safe Speed Settings for Beginners
RPM controls how fast the bit rotates. Incorrect RPM is one of the main causes of nail damage.
- Natural nail prep: 5,000 – 8,000 RPM
- Cuticle cleaning: 6,000 – 10,000 RPM
- Gel removal: 10,000 – 15,000 RPM
- Acrylic removal: 15,000 – 25,000 RPM
Beginner rule: Start low, increase only if needed.
Common Beginner Mistakes That Damage Natural Nails
- Using too high RPM on natural nails
- Applying too much pressure
- Holding the bit in one spot too long
- Using carbide bits on natural nails
- Skipping proper cuticle prep
Tip: Light pressure always produces a smoother and safer result.
Natural Nails vs Gel vs Acrylic — Safe Bit Usage Guide
- Natural nails: diamond fine grit only
- Gel polish: ceramic medium grit recommended
- Acrylic: carbide coarse grit required
Professional Salon Workflow Using E-File Bits
- Nail prep using diamond bit
- Cuticle cleaning with flame bit
- Surface refinement using barrel bit
- Product removal with ceramic/carbide bit
- Final shaping and smoothing pass
Beginner Safety Tips When Using Nail Drill Bits
- Keep the drill moving at all times
- Use light pressure only
- Start at low RPM and increase gradually
- Choose ceramic bits when learning
- Never force the bit into the nail surface
How to Clean and Maintain Nail Drill Bits
Sanitizing vs Sterilizing
Sanitizing removes surface debris, while sterilizing eliminates all microorganisms using professional equipment like an autoclave.
Salon-Grade Workflow
- Remove debris with brush
- Soak in disinfectant solution
- Rinse and dry completely
- Autoclave sterilization (professional use)
Mini FAQ: Nail Drill Bits Explained for Beginners
What is an e file for nails?
An e-file is an electric nail drill used to shape, file, and remove nail products efficiently.
How do I use electric nail drill for beginners?
Start at low RPM, use fine grit bits, and apply light pressure while keeping the bit moving.
How to use nail drill bits on natural nails?
Only use fine diamond bits at low speed and avoid prolonged contact in one area.
How often should I replace nail drill bits?
Replace when dull, damaged, or no longer easy to clean.
Related Articles
- Nail Drill with Bits: What’s Included & Which Ones You’ll Actually Use
- Electric Nail Drill for Beginners: Avoid These 7 Common Mistakes
- Nail Drill Repair Guide: Fix Common Issues in 5 Minutes or Less













