
⏱ 8 min read
Electric Nail Drill for Beginners: Avoid These 7 Common Mistakes
Mastering an electric nail drill for beginners can feel intimidating at first—but with the right guidance, it becomes your secret weapon for flawless, salon-quality nails at home. In this guide, you’ll discover the top 7 beginner mistakes that lead to damage or frustration—and exactly how to avoid them safely.
What Is an Electric Nail Drill for Beginners?
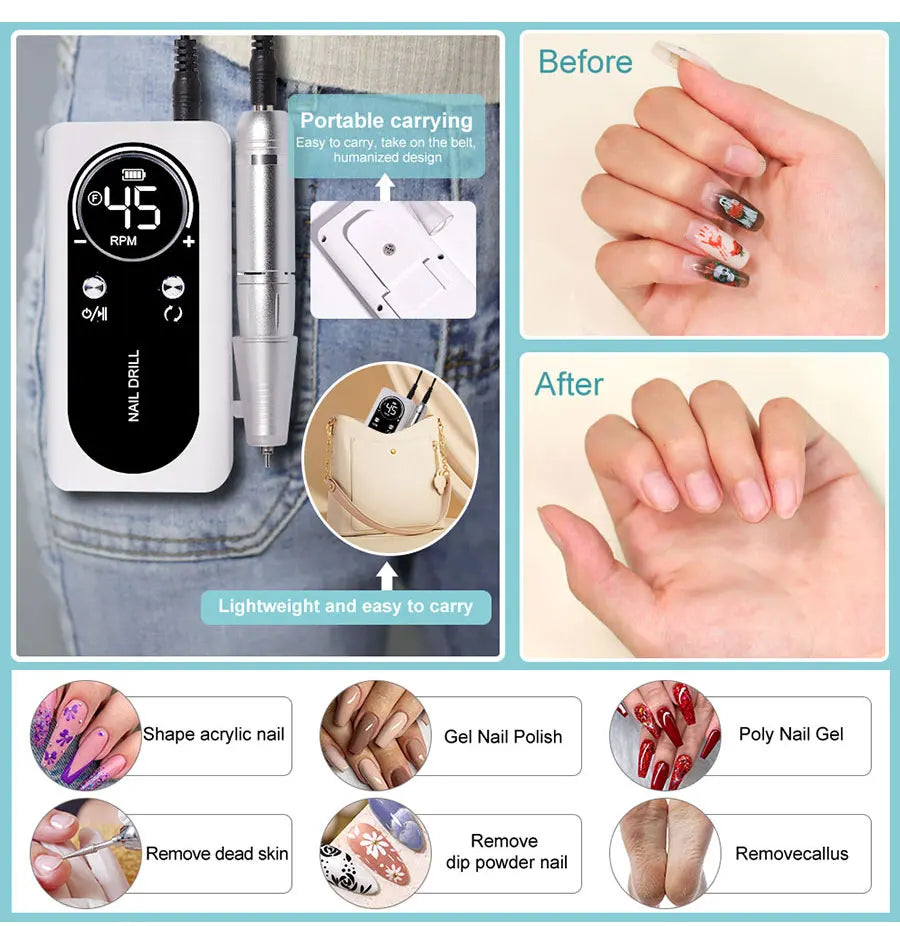
An electric nail drill for beginners is a handheld tool that shapes, smooths, and preps nails using rotating bits. Designed for easy control, it helps reduce filing time, remove gel polish, and refine cuticles—making home manicures faster and more professional with minimal effort when used correctly.
- Removes gel polish and acrylics gently
- Shapes natural or artificial nails quickly
- Improves precision for smoother finishes
- Prevents uneven nail edges and over-filing
💡 Explore beginner-safe nail drills for beginners and start your flawless manicure journey today.
1. Ignoring the Nail Drill Grit Chart
The nail drill grit chart is your best friend—but many beginners skip it. Each bit has a purpose: coarse grits (80–100) remove bulk; medium (150–180) refine shape; fine (240+) smooth the nail surface. Without matching grit to the task, you risk over-filing and thinning your nails.
| Grit Level | Use Case | Recommended For |
|---|---|---|
| 80–100 (Coarse) | Remove acrylic or gel | Advanced users |
| 150–180 (Medium) | Shape nail edges | Beginners |
| 240+ (Fine) | Buff natural nails | All users |
If you’re unsure, start with medium grit—it’s gentle enough for natural nails yet powerful enough to shape tips efficiently.
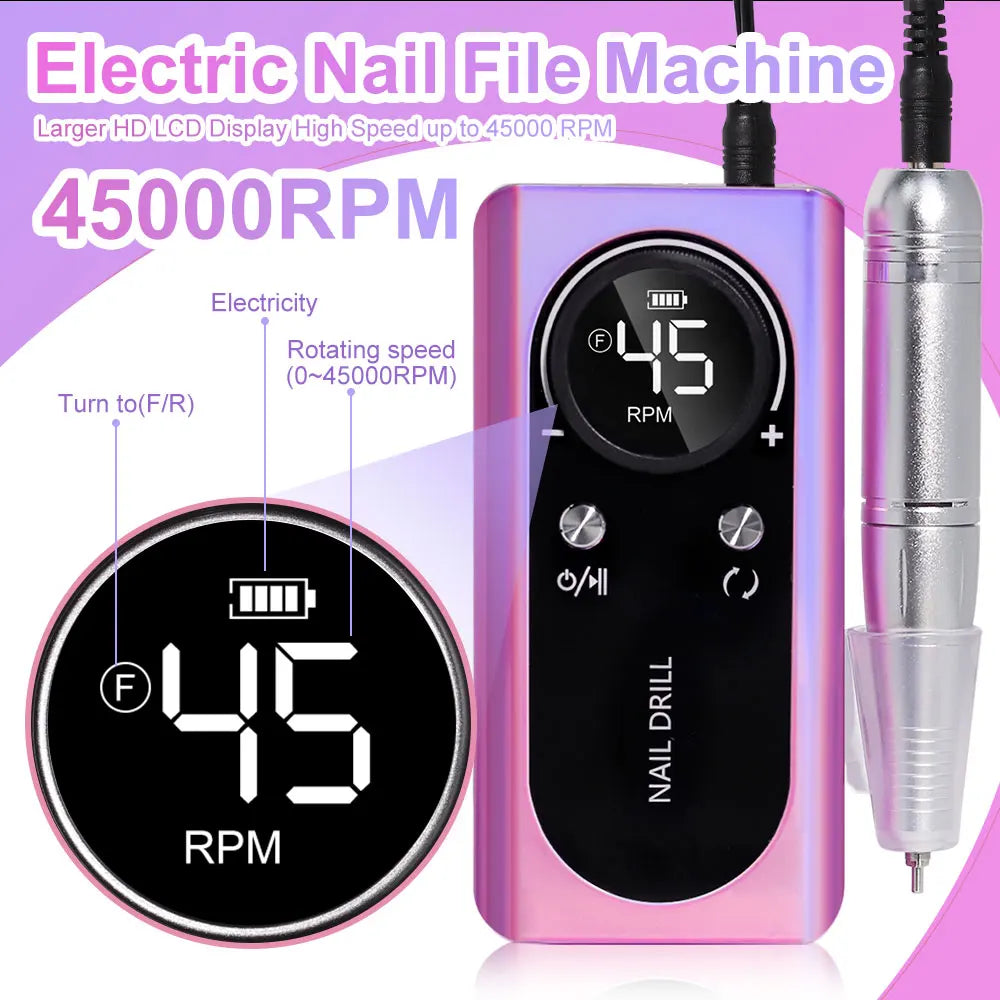
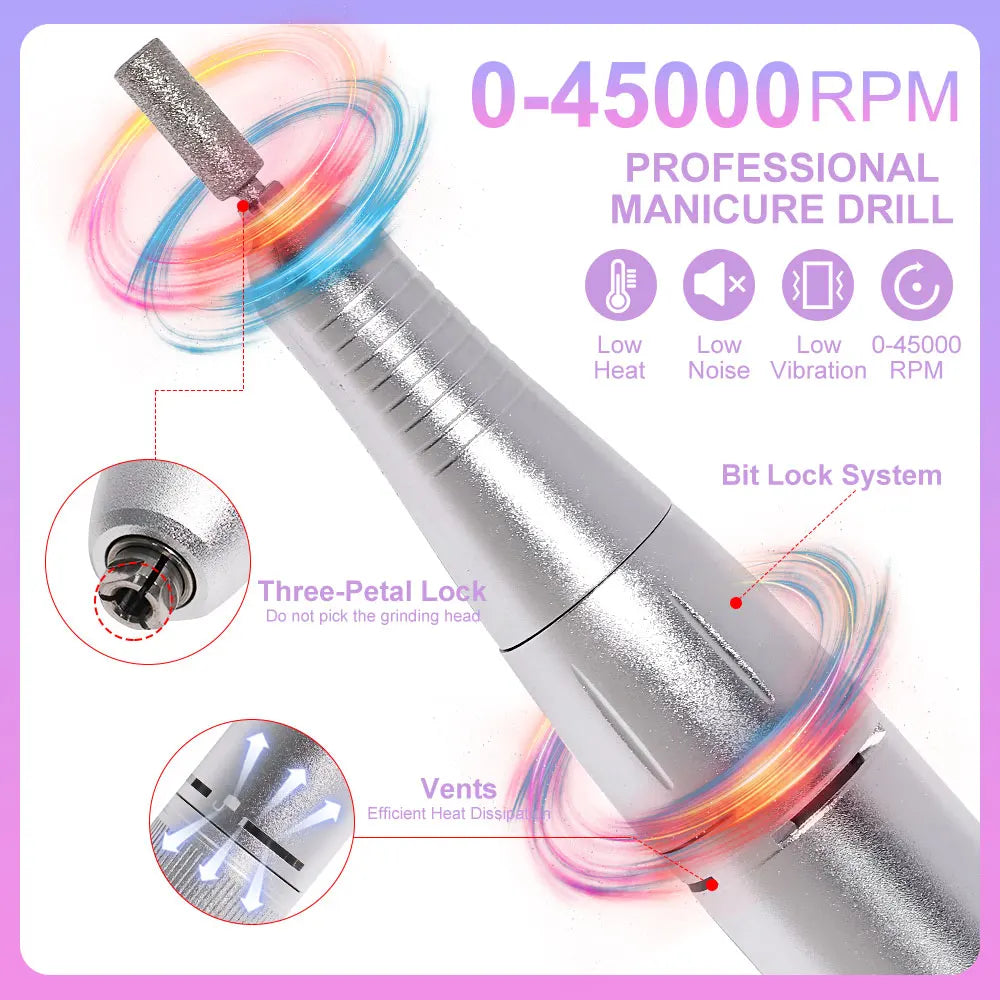
2. Using the Wrong Speed Settings
Every electric nail drill for beginners comes with adjustable speeds. The key is knowing when to use them. Low speeds (5,000–10,000 RPM) are ideal for natural nails and cuticle work, while higher speeds (15,000–25,000 RPM) suit gels or acrylics.
- Start slow—speed doesn’t equal efficiency.
- Use medium speeds for shaping.
- Reserve high speeds for thick enhancements.
A good rule: if it feels hot, you’re spinning too fast or pressing too hard. Consistent motion prevents heat buildup and nail plate damage.
3. Skipping Nail Prep
Nail prep is crucial for preventing lifting and ensuring polish lasts longer. Always clean, dehydrate, and gently buff your nails before drilling or applying gel.
- Wash and dry hands completely.
- Push back cuticles gently with a pusher.
- Use a fine bit at low speed to remove cuticle buildup.
- Buff surface lightly before product application.
A clean surface ensures your drill glides smoothly and prevents clogging bits with oils or residue.
💅 Learn safe prep and polishing techniques with our nail care devices for beginners.
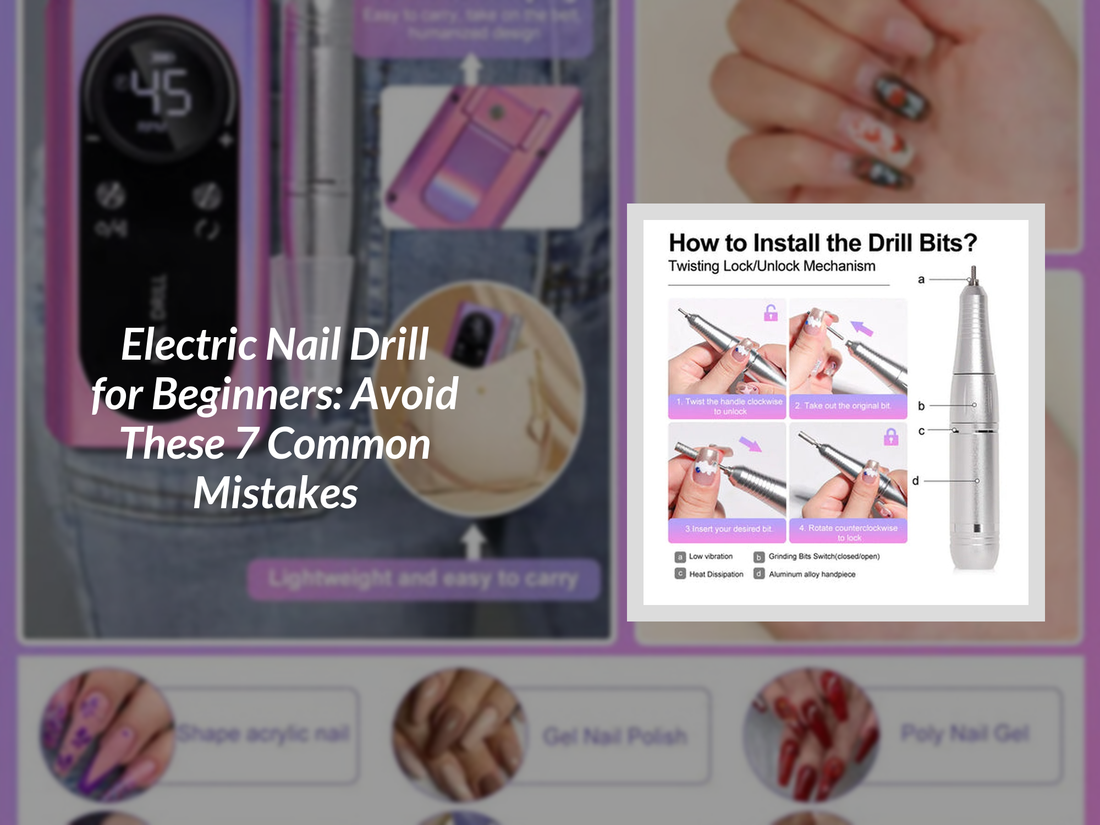
4. Holding the Drill Incorrectly
One of the easiest mistakes to fix is grip. Hold the drill like a pencil—lightly and steady. Your wrist should guide motion, not your fingers. Avoid stiff grip or tilting, which can cause uneven filing and micro-cracks on the nail.
Practice on a practice hand or old nail tips before trying on your own nails. This builds muscle memory for smoother results.
5. Applying Too Much Pressure
Pressure is not your friend. Let the bit do the work. Pressing too hard can cause heat, discomfort, and even nail bed injury. Instead, use light, circular strokes across the surface. Consistent, gentle passes remove product evenly and safely.
6. Forgetting Aftercare
Even after a perfect drill session, aftercare matters. Hydrate your nails and cuticles to restore moisture and elasticity. Apply nourishing oils or creams to prevent brittleness and cracking.
For holistic care, explore skin and beauty care devices that enhance recovery and improve overall hand appearance.
7. Not Practicing Before Full Use
Every tool feels unfamiliar at first. Spend time practicing with your electric nail drill for beginners on test surfaces or nail tips. Experiment with speeds, grits, and angles before your first full manicure.
The more you practice, the faster you’ll feel confident achieving smooth, professional finishes right at home.
✨ Master your routine with the Kentdo Rechargeable Nail Drill Machine — fast, gentle, and perfect for new users.
Why Choose a Beginner-Friendly Nail Drill?
The best nail drills for beginners are lightweight, rechargeable, and come with intuitive speed settings. They allow controlled movement without fear of damage. The Kentdo Nail Drill checks all these boxes—making it a top pick for first-time users.
- ✅ Adjustable speeds for natural and gel nails
- ✅ Long battery life for home use
- ✅ Portable and quiet motor for comfort
- ✅ Beginner-safe ergonomic design
Pair it with your favorite nail care devices to complete your at-home manicure kit.
Frequently Asked Questions
How often should beginners use a nail drill?
Beginners can safely use a nail drill once a week for maintenance or polish removal. Overuse can weaken the nail plate, so always follow nail drill instructions carefully.
Can I use a nail drill on natural nails?
Yes, but only with fine grit bits and low speeds. Avoid coarse grits designed for acrylics to prevent thinning natural nails.
What’s the safest nail drill speed for beginners?
For natural nails, 5,000–10,000 RPM is ideal. For gels or acrylics, you can go up to 15,000 RPM—but always start slow and increase gradually.
Where can I find reliable beginner nail drills?
Explore our curated Nail Care Devices Collection for trusted, beginner-friendly tools and accessories that deliver salon-quality results safely at home.
Explore more self-care guides in our Hair, Skin & Nail Blog.
Pillar Article: How to Use Electric Nail Drill Without Ruining Your Nails
Other Related Articles:
- Nail Drill with Bits: What’s Included & Which Ones You’ll Actually Use
- E File Nail Drill Bits Explained Clearly (Even If You’re a Total Beginner)
- Nail Drill Repair Guide: Fix Common Issues in 5 Minutes or Less
Explore More:


