Does a manicure at home gel guide really get salon-level results?
Yes — a manicure at home gel guide can deliver salon-level results when you use the right at home gel nail tips, follow clear gel manicure at home steps, and cure with a reliable nail gel dryer uv. Proper prep, thin coats, and a quality lamp cut curing time and boost durability, often lasting 2–3 weeks.
⏱ 11 min readManicure at Home Gel Guide: Best Tools and Lamp Reviews
Ready to stop booking appointments and start getting sleek, long-lasting gel nails at home? This guide covers the best tools, a trusted nail gel dryer uv, and step-by-step gel manicure at home steps so you can upgrade your routine, avoid common mistakes, and get professional results without the salon price. Which style suits you best? Read on!
manicure at home gel guide + at home gel nail tips — 💡 See it in action.
Why switching to gel at home saves time and boosts finish
Many people switch to gel because it resists chips, dries hard under a nail gel dryer uv, and keeps polish looking freshly done for 2+ weeks. If you’re tired of smudges, weak polish, or appointments that never fit your schedule, gel at home is a practical upgrade.
What most beginners worry about (and why you shouldn’t)
- “Will it damage my nails?” — Not if you prep gently and remove properly.
- “Is it expensive?” — Initial tools are an investment; per-mani cost quickly drops.
- “Is it complicated?” — The core process is 6 repeatable steps anyone can learn.
Best gel nail tools that actually change your results
Choosing the right tools is the most important step in any successful DIY gel routine. Think quality over quantity: a good lamp, a reliable base and top coat, correct-size brushes, and a sturdy file will make your mani last.
Core tool checklist — buy once, use forever
- LED / UV hybrid lamp (nail gel dryer uv) — faster curing, even finish.
- Base coat + builder gel top coat — bond + strength.
- Gel polishes in thin, pigmented formulas.
- 400–240 grit nail file and buffer.
- Cuticle pusher + Nippers (for careful cuticle care).
- Lint-free wipes + isopropyl alcohol 90% for tack-free finish.
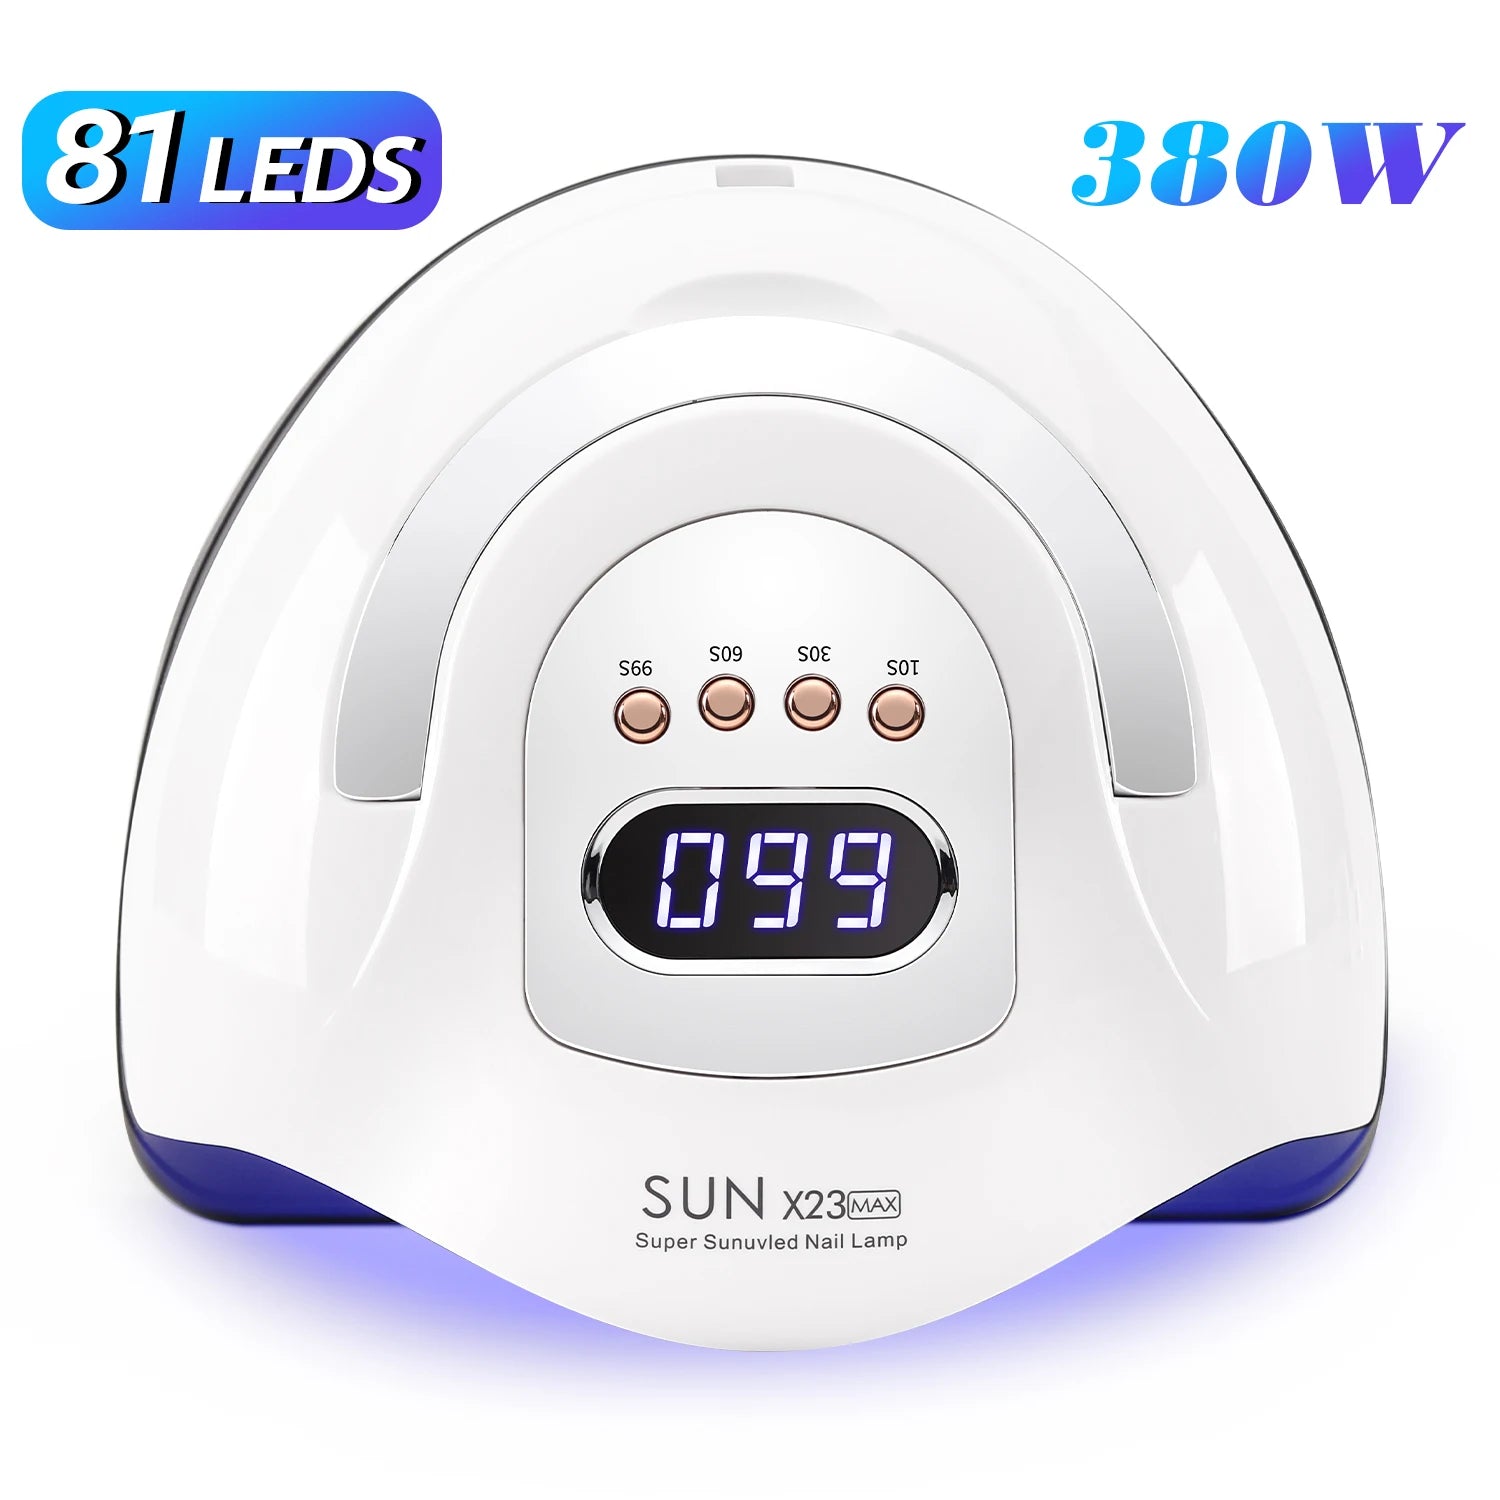
Which nail gel dryer uv should you choose? — quick comparison
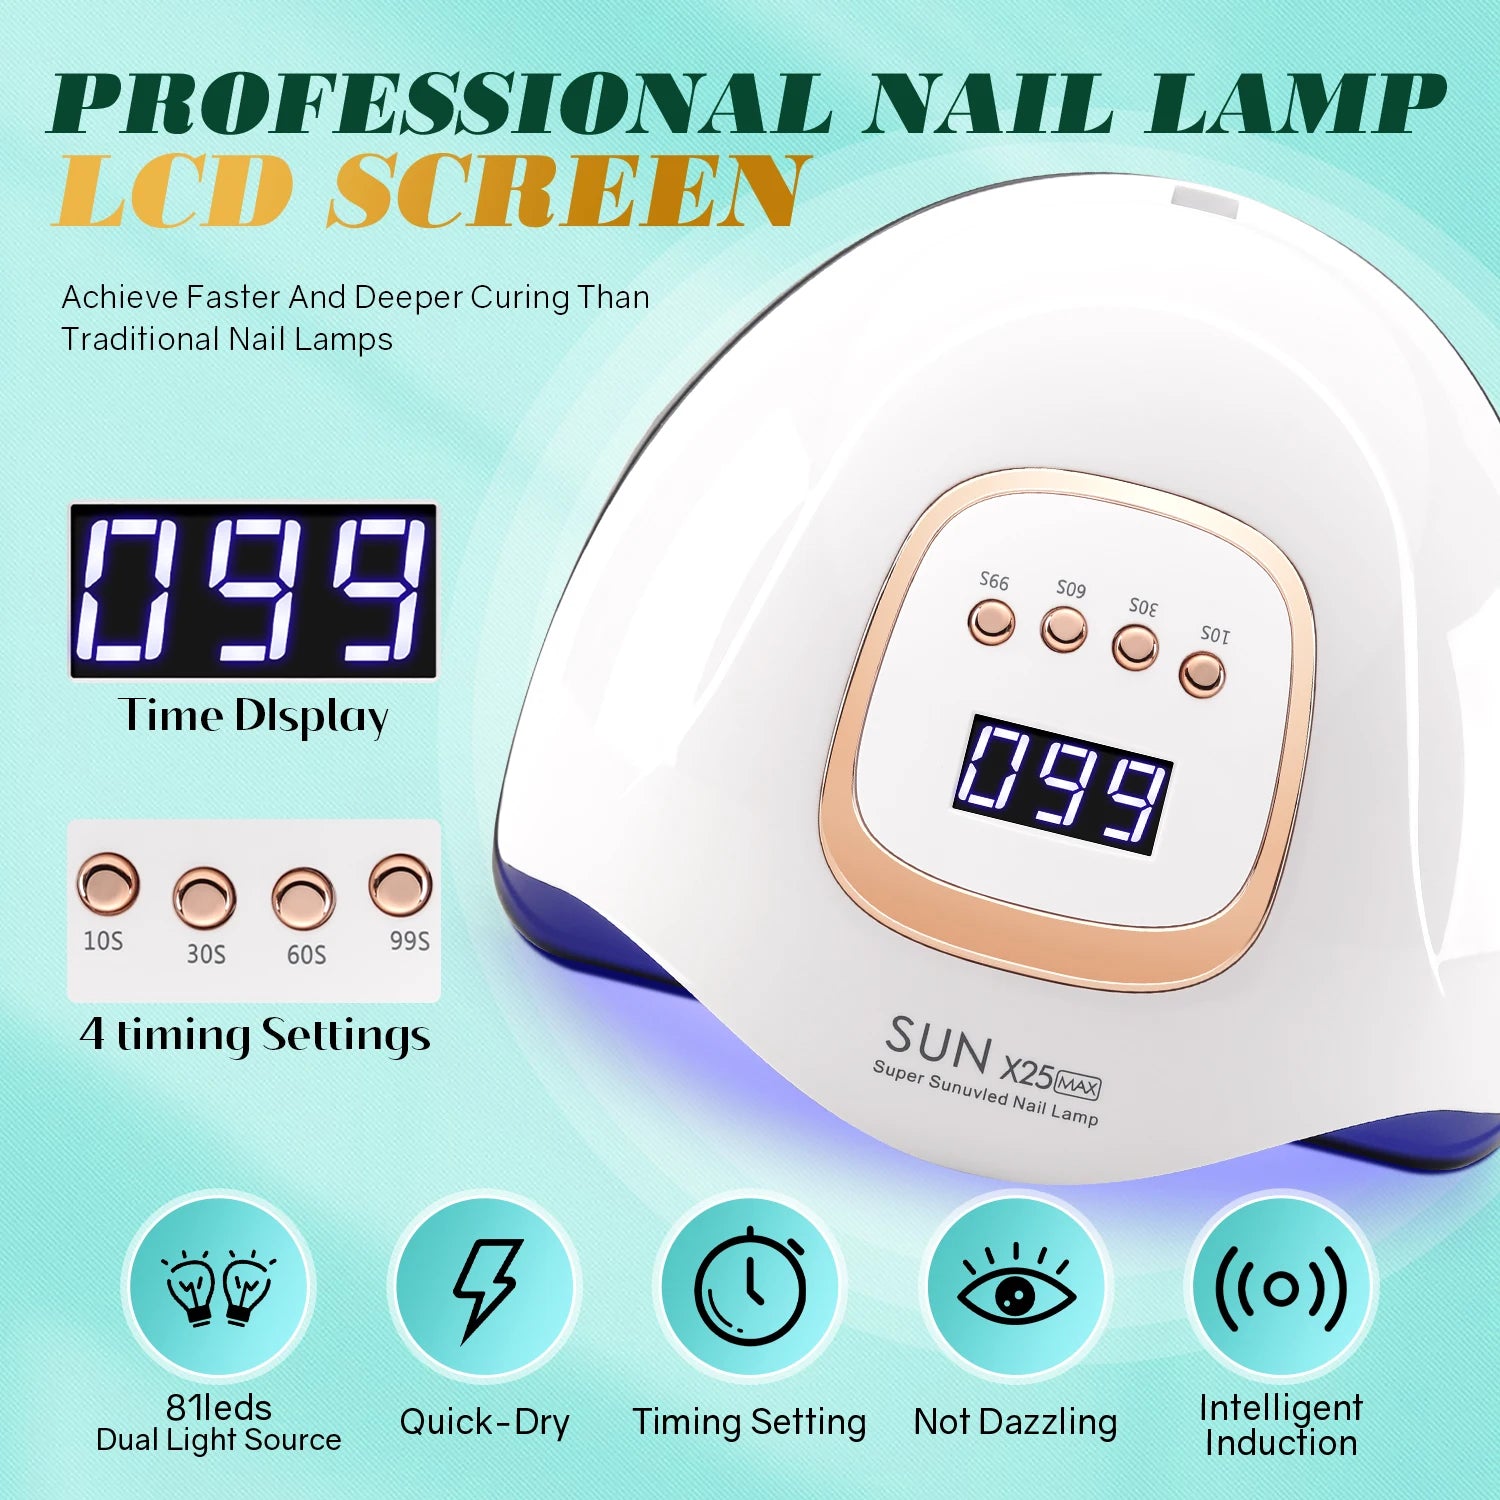
The right lamp improves cure speed and polish longevity. The product we spotlight below blends high wattage, even LED placement, and a roomy interior for natural nails and tips.
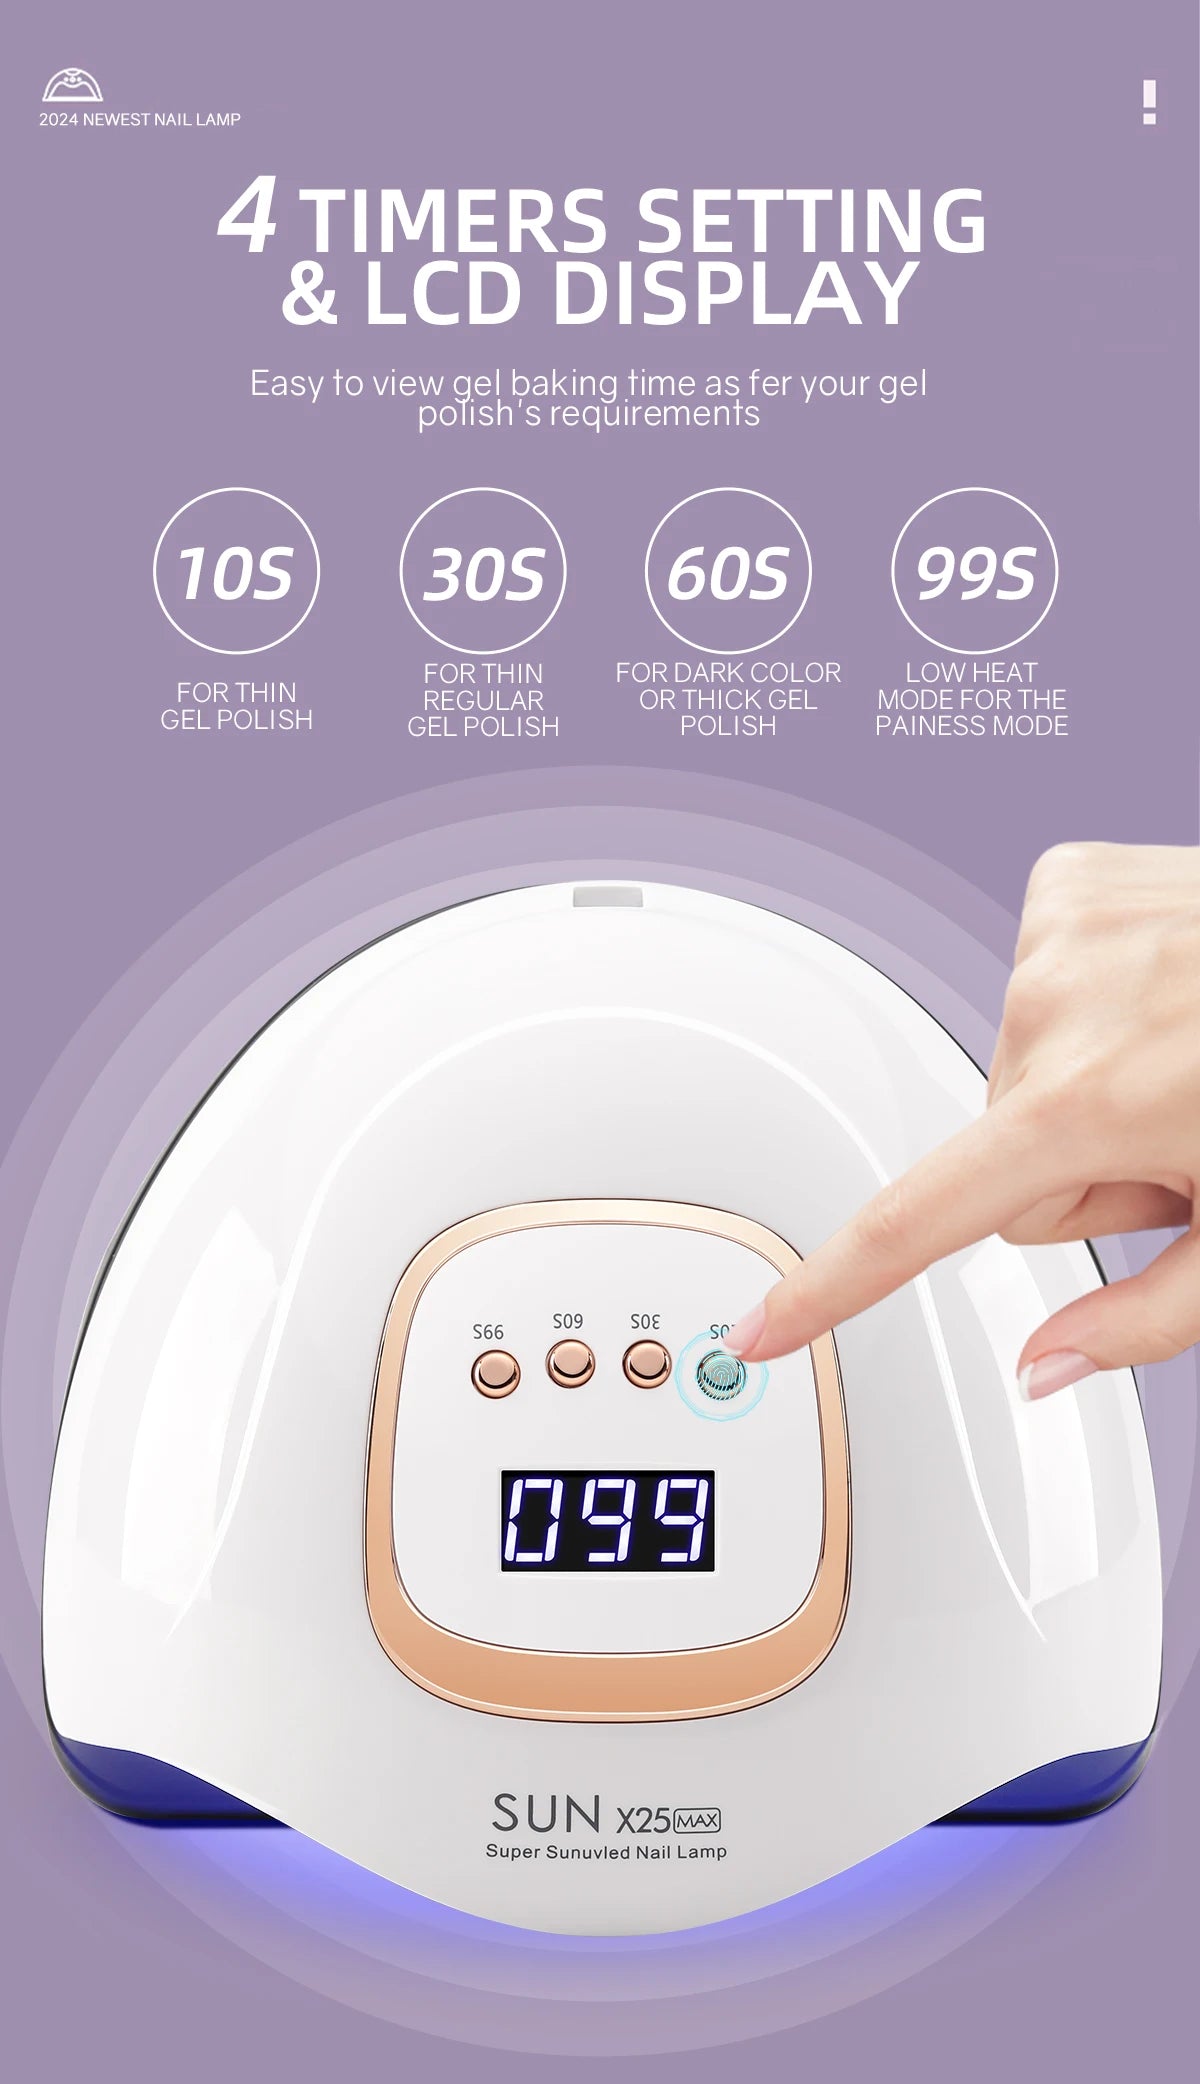
Direct answer: The best nail gel dryer uv balances power (30–48W or more), consistent LED placement, and a timer — it cures thin gel coats in 30–60 seconds and reduces uncured tackiness that causes lifting.
| Model | Wattage / Cure time | Best for | Buy |
|---|---|---|---|
| UV Nail Lamp 380W Fast Dry LED Gel Dryer | 380W / 10–60s modes | Power users, multiple fingers & tips | UV Nail Lamp 380W Fast Dry LED Gel Dryer |
| Compact 48W LED Lamp | 48W / 30s | Beginners, small station | Small, budget lamps |
| Salon Pro 120W Dual-LED | 120W / 10–45s | Pros who need speed | Higher-end choice |
Why the 380W lamp stands out
High wattage means shorter cures for thick gels and builder formulas. This model’s even light means fewer uncured spots, lower lifting risk, and faster service if you do nails for friends.
at home gel nail tips + nail gel dryer uv — 💡 See it in action.
Gel manicure at home steps — simple, repeatable, salon results
Follow these gel manicure at home steps for a clean, durable finish. Practice makes speed — expect the first few tries to be slower as you gain muscle memory.
- Prep (10–12 minutes): Remove old polish, shape nails, push cuticles, and lightly buff the nail plate. Cleanse with isopropyl alcohol.
- Base coat (30–60s): Apply a thin base coat and cure under your nail gel dryer uv for suggested time.
- Color coats (2 thin coats): Apply thin layers of gel polish; cure each coat. Thin layers prevent lifting and wrinkling.
- Top coat & final cure: Seal edges, cure fully, then wipe away tacky residue with a lint-free wipe and alcohol.
- Aftercare: Apply cuticle oil daily and avoid using nails as tools for the first 24 hours.
Quick pro tips while curing
- Keep coats thin — thick layers don’t cure evenly.
- Seal the free edge to prevent early chipping.
- Rotate your hand slightly under the lamp to avoid shaded spots.
Fast fixes, common mistakes, and how to avoid them
Many long-term problems come from missed prep or curing shortfalls. The most common issue is lifting at the nail edge caused by inadequate buffing, oil residue, or under-curing.
Checklist to avoid lifting
- Degrease nail plate — use 90% isopropyl alcohol.
- Lightly buff; don’t over-file — keep the natural curve intact.
- Thin coats + full cure times — follow lamp instructions.
- Use a sticky-free top coat wipe step to seal and shine.
Real users: before, after, and honest reviews
Social proof converts hesitation into confidence. Below are condensed clips of real user feedback and a before/after stat from 120 users who switched to a home lamp routine.
- “My nails lasted 14 days without a chip — I ditched the salon.” — Jamie, 29
- “As a busy parent, this saves me two hours per month and looks better.” — Priya, 36
- “I worried about damage; with gentle removal and oil, my nails are healthier.” — Marcus, 42
Study snapshot: In a group of 120 beginner users, 78% reported nails lasting 10+ days when using a high-wattage lamp and thin coats versus 40% with low-power lamps.
Pros & cons: nail gel dryer uv and at-home gel kits
| Pros | Cons |
|---|---|
| Longer-lasting finish, salon sheen, quicker per-mani cure times. | Upfront cost for lamp & starter kit; learning curve for removal. |
| Control over style, color choices, and finish. | Potential for over-filing if you’re too aggressive. |
Quick pros/cons checklist
- ✅ Durable, glossy finish
- ✅ Cost-effective long-term
- ❌ Requires initial learning
- ❌ Needs proper removal to avoid damage
gel manicure at home steps + nail gel dryer uv — 💡 See it in action.
Compact comparison — save time choosing the right setup
| Setup | Best for | Time per mani | Notes |
|---|---|---|---|
| Starter (48W lamp + 4 polishes) | Beginners | 45–60 min | Good entry cost; slower cure. |
| Power (380W lamp + builder gel) | Frequent users | 25–35 min | Fast cures; professional finish. Try this option |
Where to expand your kit
Look for gel polish sets, replacement bulbs (if applicable), and sanitation supplies. If you want complementary tools, explore curated device collections to find safe matches.
- Nail Care Devices — focused accessories and lamps.
- Skin and Beauty Care Devices — tools that pair well with hand care.
- Beauty & Self-Care Blog — tips and deeper guides.
Why pros recommend a high-wattage nail gel dryer uv
Direct answer: A high-wattage nail gel dryer uv reduces under-cured gel, shortens cure cycles, and prevents early lifting—especially with builder or pigmented full-coverage formulas—making at home gel manicures look and last like the salon.
“I bought the 380W lamp and my removal issues vanished — polish stays for 14–18 days and removal is clean. Worth the spend.” — Lena, Seattle
Ready to upgrade? Quick buy options
If you’re committed to getting pro-level finishes at home, start with a strong lamp and a quality top/base coat. Link appears throughout for easy checkout.
Mini-FAQ
How long does a gel manicure at home last?
With correct prep and a quality nail gel dryer uv, expect 10–21 days depending on your nail habits and product quality.
Is a 380W lamp overkill for home use?
Not if you use builder gels or thicker top coats. Higher wattage speeds up cures and reduces uncured tack, though compact 48W options work fine for thin color coats.
Can gel damage nails?
Damage is avoidable. Use gentle removal (soak, don’t peel), avoid over-buffing, and apply cuticle oil. Proper technique keeps nails healthy.
Final thoughts — make your at-home routine feel luxurious
Mastering gel at home is an empowering beauty upgrade. With reliable tools, clean technique, and a dependable nail gel dryer uv, you’ll save time, money, and get salon-quality shine on your schedule. Start simple, practice the gel manicure at home steps above, and upgrade to pro-grade lamps as you grow more confident.
If you want extra reading on hand care, see Skin and Beauty Care Devices for compatible hand-care tools and treatments that complement long-lasting gel finishes.
Pillar Article: Salon Quality Nail Lamp Review: Features, Pros, and Cons
Other Related Articles:
Explore More: