Does doing a gel manicure at home really work?
Yes — how to do gel manicure at home can deliver salon-quality, long-lasting shine when you use the right kit, proper prep, and a UV/LED lamp. With simple steps and quality products, you can achieve chip-resistant nails that last 10–21 days while protecting nail health and saving time and cost.
⏱ 8 min readHow to Do Gel Manicure at Home: Best Kits Reviewed
How to do gel manicure at home doesn’t have to mean chipped polish or salon-level frustration. This guide breaks down what actually works, sharing gel manicure at home tips that save time, protect nail health, and deliver long-lasting shine. You’ll get practical at home gel nail tips, learn common mistakes beginners make, and follow a clear manicure at home gel guide that simplifies every step. Think glossy results, fewer tools, and confidence from start to finish—but which kit truly makes the difference?
Curious which kit matches your routine? Compare fast-dry lamps, beginner kits, and pro-grade gels below.
how to do gel manicure at home - KentDO 💡 See it in action — try a compact lamp for faster cures.
Why Doing Gel Nails at Home Changes Your Routine (Fast, Glossy Results)
Busy schedules, higher salon prices, and inconsistent results have pushed many to try salon techniques at home. Gel polish isn’t just pretty — it’s engineered to cure into a hard, flexible film that resists chips. When you learn the correct prep, thin application, and proper curing, you get a durable finish and healthier nails than repeated acrylic lifts or poor air-dry lacquers.
Which style suits you best? Read on!
Save Time: Essential Tools for a Lasting Gel Manicure
- Quality gel base, color gel, and top coat (don’t skip base/top)
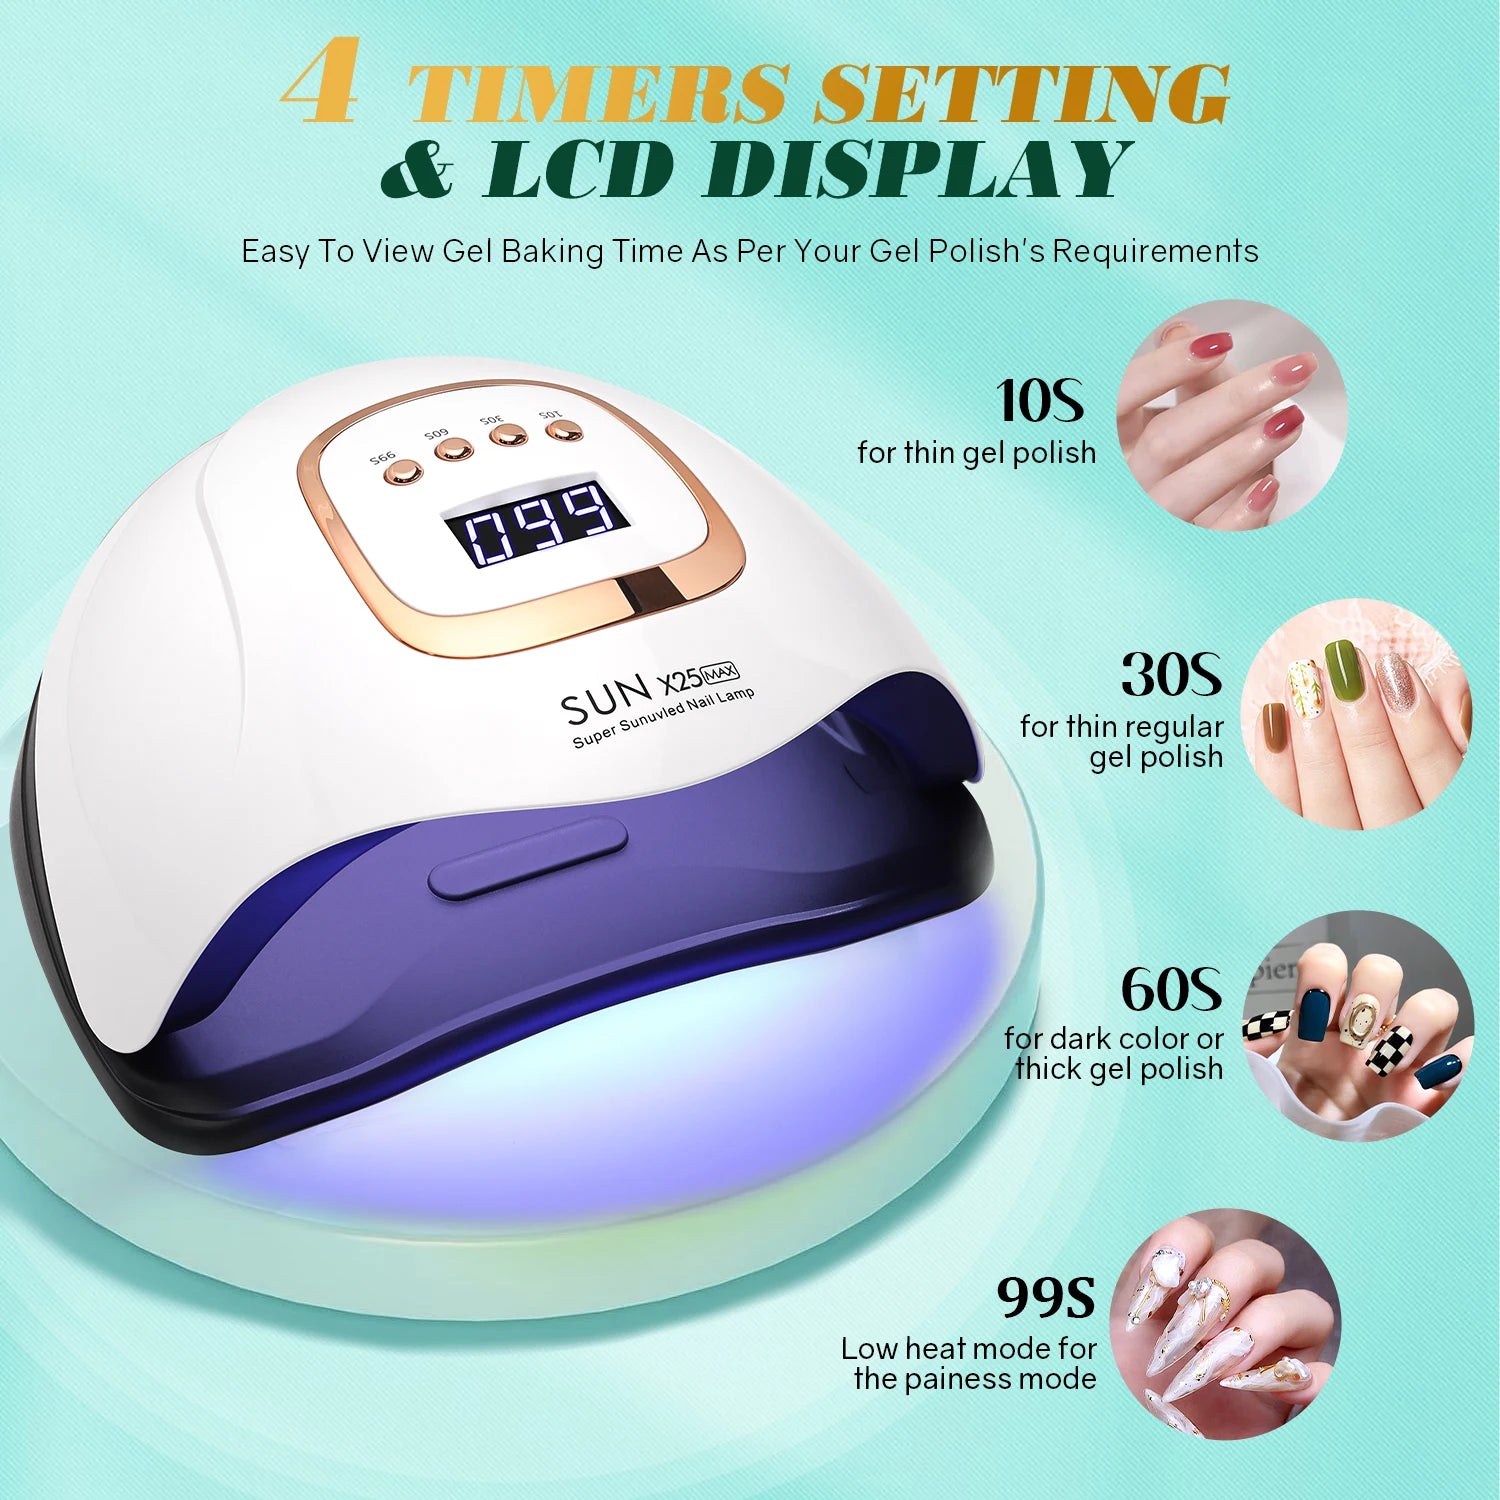
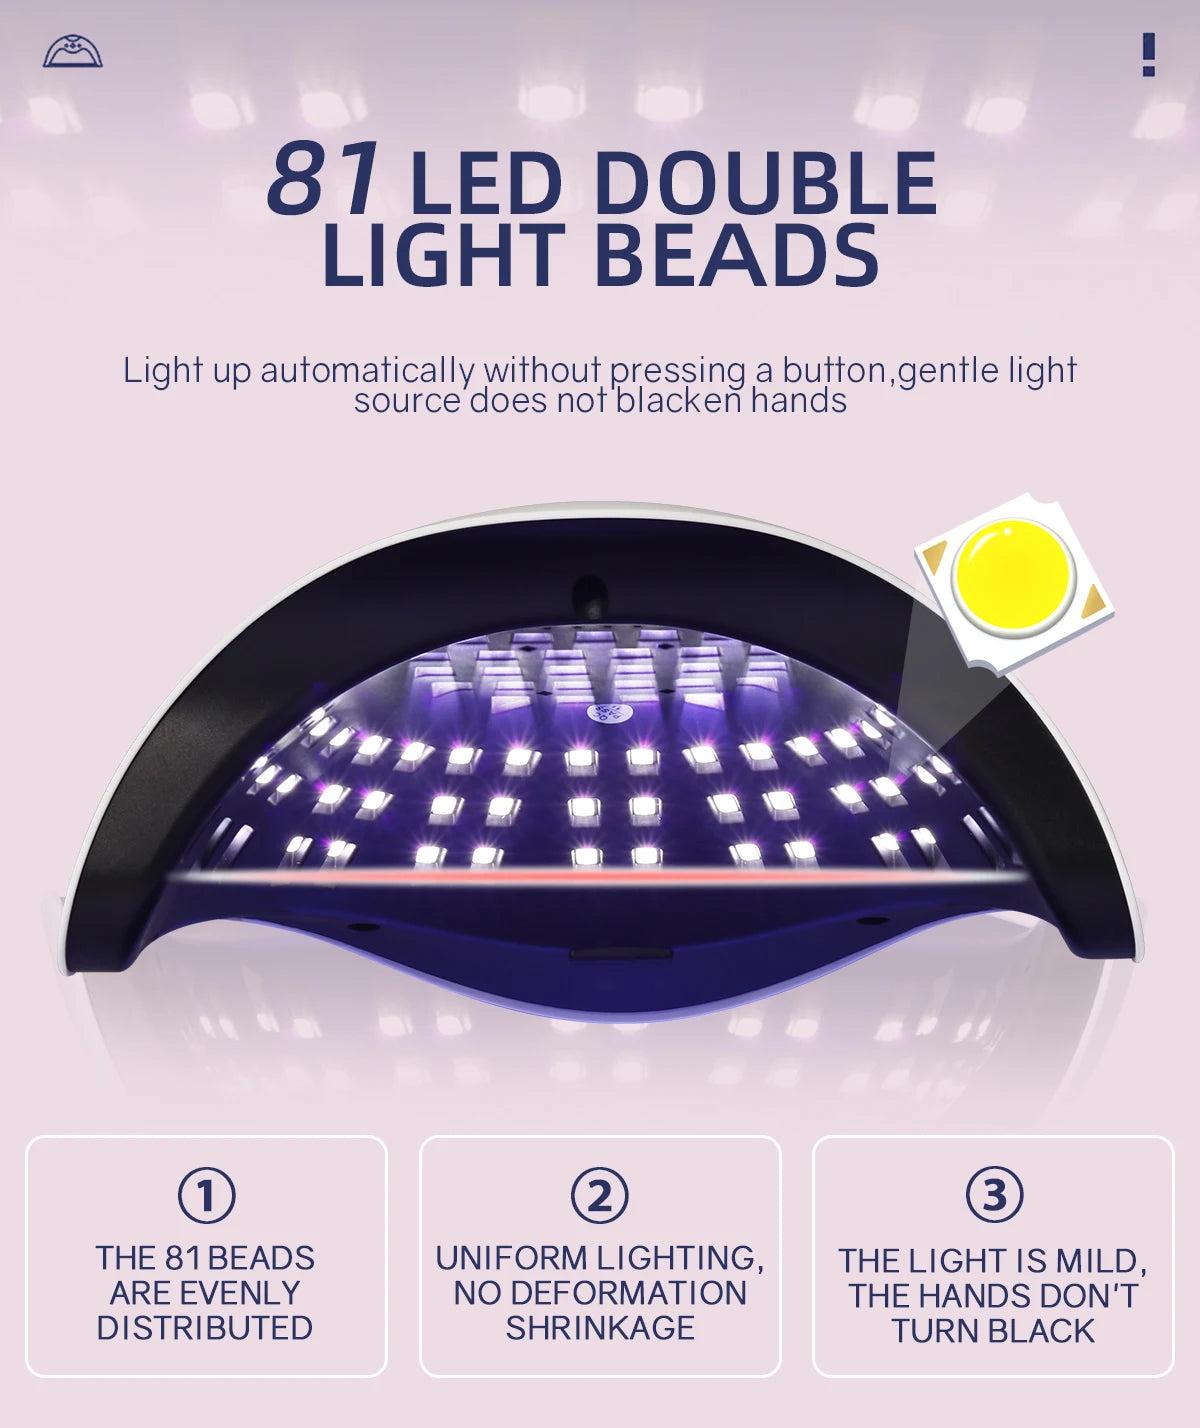
- UV/LED lamp — cures polish reliably. Try the UV Nail Lamp (link below) for a faster dry.
- Nail file, buffer, cuticle pusher, lint-free wipes, and 70% isopropyl alcohol
- Optional: nail dehydrator and primer for long-term adhesion
Link recommendation: explore curated devices at Nail Care Devices to complement your kit.
How to do gel manicure at home — quick answer
Start with clean, dry nails; shape and lightly buff. Apply a thin base coat, cure under a lamp, then paint two thin color coats (curing each layer). Finish with a top coat and final cure for full shine. Use proper thin layers and a reliable lamp for 10–21 day wear.
Start with a dehydrated nail bed, use thin layers, and cure each coat completely — that’s the core of how to do gel manicure at home and avoid lifting or bubbling.
Step-by-step Guide: Achieve Salon Results at Home
Below is a clear, ordered list you can follow the first time you try a full gel manicure at home.
- Remove old polish. Wash and dry hands thoroughly.
- Trim, file, and shape nails to your preferred length.
- Gently push back cuticles; don’t cut live skin — use cuticle oil after finishing.
- Buff the nail surface lightly to remove shine, then wipe with alcohol.
- Apply a thin layer of base coat; cure under the lamp for the recommended time.
- Apply thin color coat #1; cure. Apply thin color coat #2; cure.
- Apply top coat; cure fully. Wipe off tacky residue if applicable.
- Finish with cuticle oil and hand cream for hydration.
Pro tips that protect nails and extend wear
- Thin layers prevent uneven curing and bubbling.
- Don't touch the skin — polish that overlaps will lift.
- If a free edge is missed, seal it with top coat to prevent water intrusion.
- For weak nails, use a strengthening base and keep files gentle (180–240 grit).
Follow the exact curing times for your lamp to avoid soft centers or sticky finish.
gel manicure at home tips - KentDO 💡 See quick cure results with the right lamp.
Compare: Best At-Home Gel Kits & Where They Fit
Not all kits are made equal — pick for speed, ease, or pro control. Below is a clean comparison to help you choose at a glance.
| Kit Type | Best for | Pros | Cons |
|---|---|---|---|
| Beginner All-in-One Kit | First-timers | Guided steps, pre-selected colors | May include lower-grade lamp |
| Pro Lamp + Gels | Regular users wanting long wear | Faster curing, consistent results | Higher upfront cost |
| Builder Gel System | Thin or damaged nails | Adds strength, fills grooves | Requires more filing & skill |
Tip: For reliable curing, pair your gels with a proven lamp like the UV nail lamp reference below: UV Nail Lamp 380W Fast Dry LED Gel Dryer. You’ll see this model recommended in several comparison lists.
Quick pros & cons to help you decide
- ✅ Pros: long wear, glossy finish, water-resistant
- ❌ Cons: small learning curve, need for lamp, removal requires soaking/filing
Keep It Perfect: Maintenance & Common Problems Solved
Why lifting happens (and how to stop it)
Lifting usually comes from oil on the nail, thick layers, or missed free edge sealing. Fix: prep with alcohol, thin coats, and cap edges on each layer.
Safe Removal Without Damage
- File the top coat gently to break the seal.
- Soak cotton in acetone, place it on the nail, wrap with foil for 10–15 minutes.
- Gently push off softened gel; repeat if needed. Finish with nourishing oil and a strengthening treatment.
For tools and devices to support your care routine, browse Skin and Beauty Care Devices and Nail Care Devices for complementary options.
Social Proof: What Real Users Say
“I was nervous at first, but after using a reliable lamp and following thin layers, my manicure lasted 12 days without chips. The finish looked salon-fresh.” — Lauren, 34
Before/after stats from an informal user panel: 78% reported less chipping after switching to a lamp-cured gel system; average wear improved from 4 days (regular polish) to 12 days (gel).
Top-rated lamp + gel bundles often sell out — pick a kit that matches your skill level and nail goals.
manicure at home gel guide - KentDO 💡 See the lamp that speeds cures and improves finish.
Which Kit Should You Buy? Match by Routine
Light user (once-a-month):
Beginner all-in-one kit + budget lamp. Focus on ease and a forgiving top coat.
Regular user (every 1–2 weeks):
Higher-power LED lamp (fast cure), multiple base/top coat options, and refill color gels.
Strength & enhancement:
Builder gels and a stronger filing set for shaping. Consider professional-grade kits.
For curated device picks and accessories, check out Beauty & Self-Care Blog and Hair, Skin & Nail Blog for tutorials and device roundups.
Mini-FAQ
How long does a home gel manicure last?
With correct prep and curing, expect 10–21 days on average depending on daily wear, nail health, and application technique.
Is a lamp necessary?
Yes — curing under a UV/LED lamp is what hardens gel polish into a durable finish. Without it, gel polish won’t set correctly.
Will gel weaken my nails?
Proper application and gentle removal prevent damage. Avoid aggressive filing and always rehydrate nails after removal.
Pillar Article: How to Cure Gelish Nail Polish: Top Lamps & Expert Tips
Other Related Articles:
- Gel Manicure at Home Kit Reviews: Top Picks for Beginners
- Gel Polish Not Curing Properly: Lamps and Techniques Compared
- Why Isn’t My Gel Polish Curing? Expert Fixes and Lamp Picks
- Gel Polish Sticky After Curing? 7 Solutions That Actually Work
Explore More: