Does switching lamps fix gel polish not curing?
Answer: Gel polish not curing is often caused by the wrong lamp type, insufficient wattage, or technique errors. Switching to a properly rated LED/UV lamp and following correct application steps usually fixes uneven gel nail curing and gel polish not setting—most users see consistent results within 1–2 sessions when lamp output and cure times match the polish specs.
⏱ 8 min readGel Polish Not Curing Properly: Lamps and Techniques Compared
Struggling with gel polish not curing and ruined at-home manicures? Whether your gel nails not curing properly, you’re seeing uneven gel nail curing, or sticky, squishy layers that never set—this guide walks through real lamp comparisons, quick technique fixes, and the practical gear that actually works. Read on for clear pros/cons, step-by-step cures, and product options to get salon-quality results at home.
Why does gel polish not curing happen?
Gel polish not curing usually happens when lamp wavelength, wattage, or cure time doesn't match the polish formula, or when layers are applied too thickly or contain contaminants like oils or lotion residue. Match lamp specs to polish instructions and use thin, even layers for reliable curing.
Gel polish not curing can also be caused by expired formulas or base/top coats incompatible with the polish — always check product labels and cure each thin layer the full time recommended to avoid uneven gel nail curing.
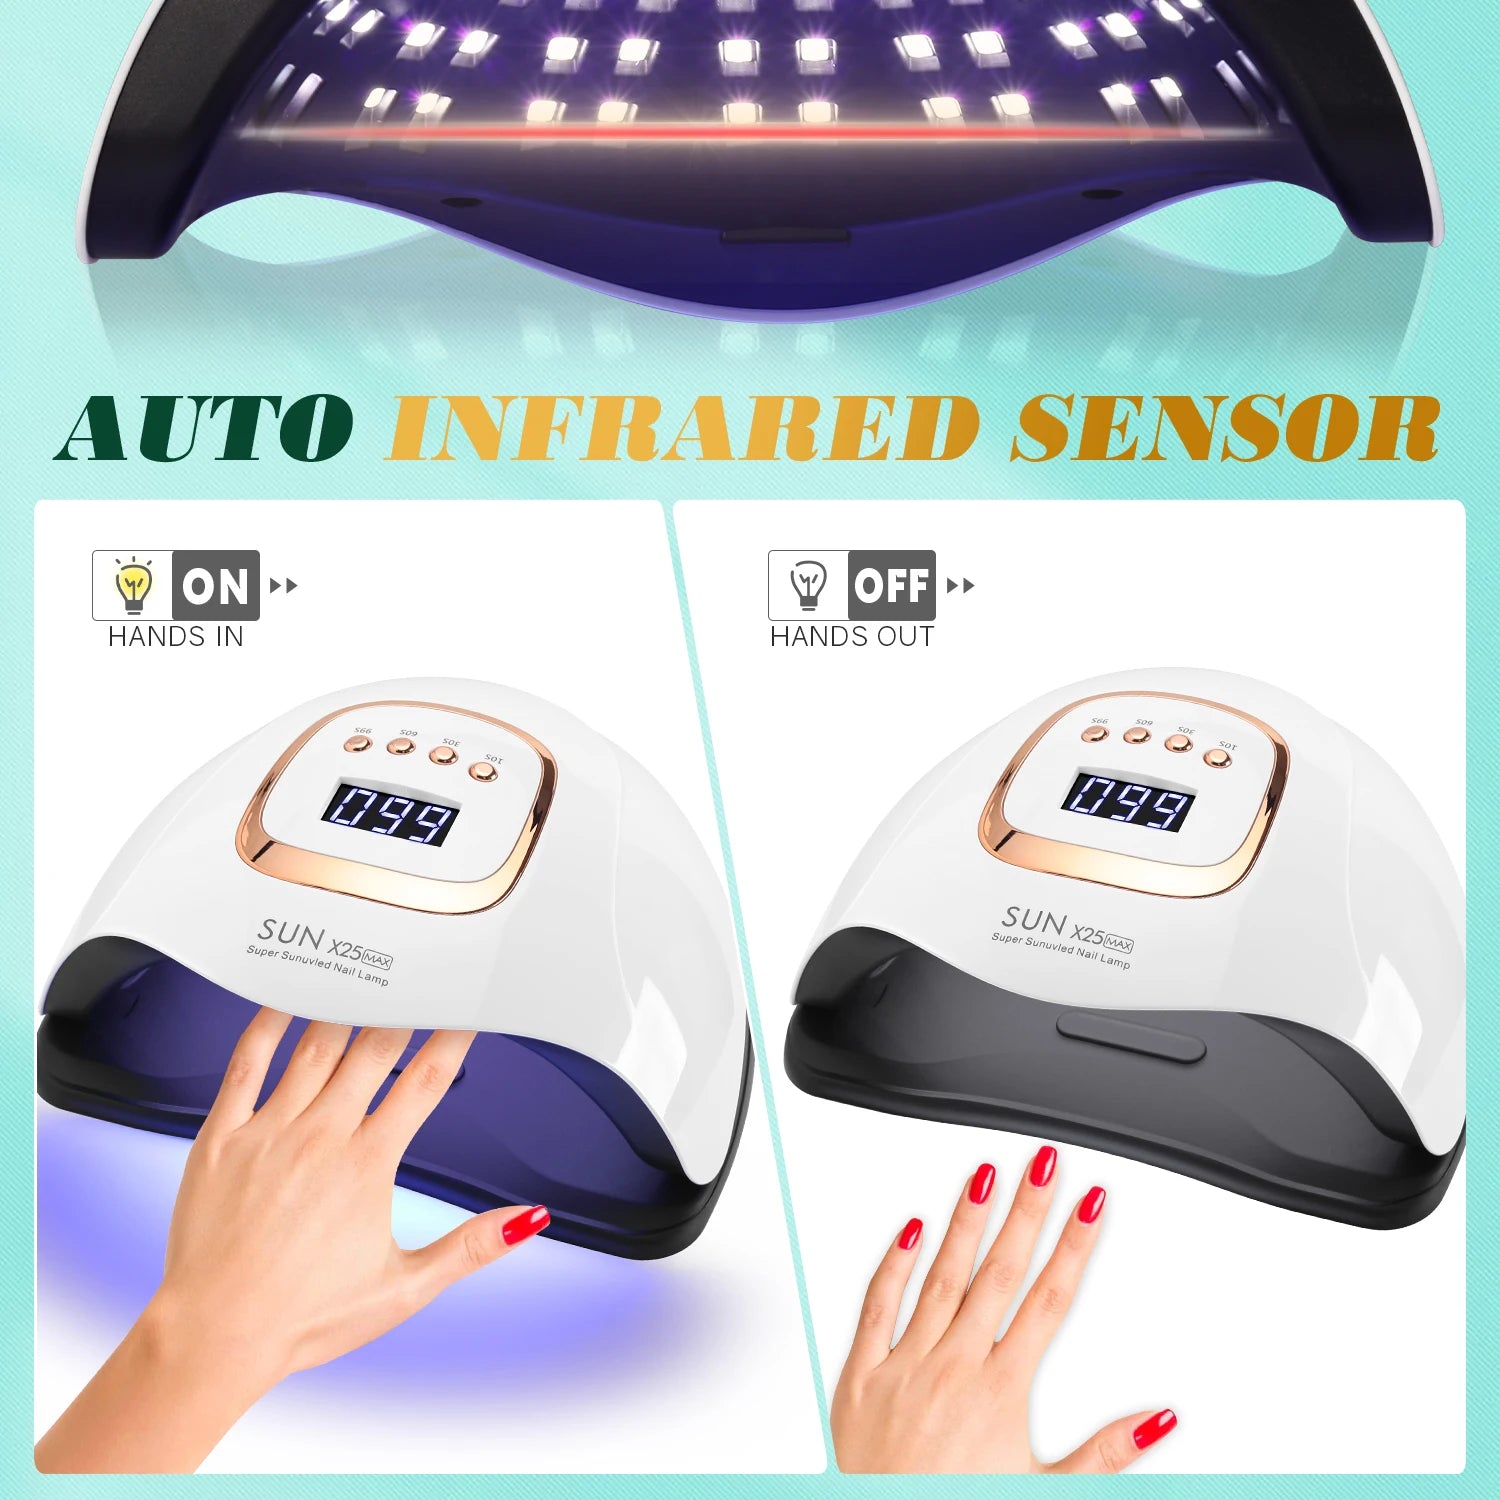
gel polish not curing — visual: see the difference after proper lamp matching 💡 See it in action
Quick fixes that stop gel polish not setting (fast wins)
- Clean the nail: wipe with 70% isopropyl alcohol to remove oils and dust.
- Thin coats: apply hair-thin, even layers — thick layers trap uncured monomers.
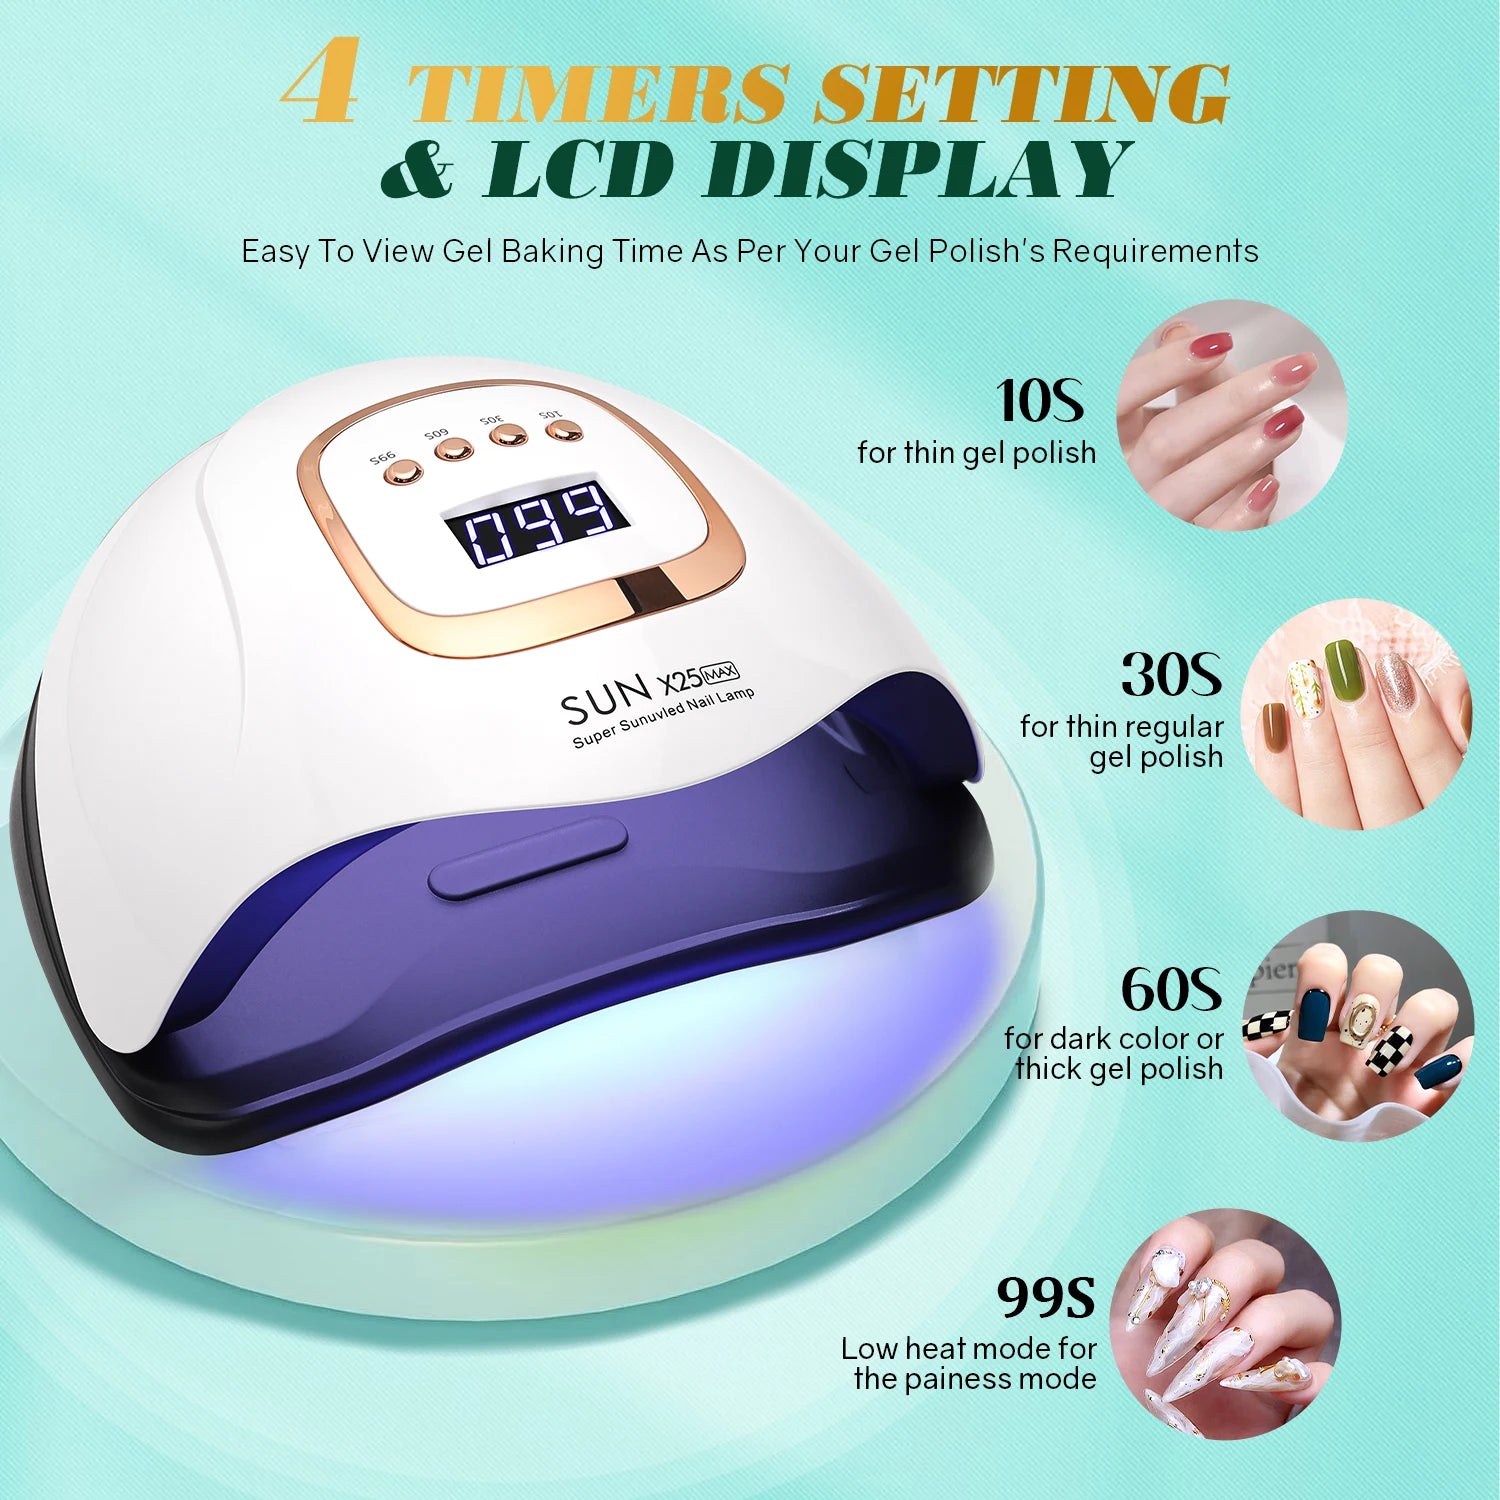
- Check lamp specs: verify wavelength (365–405 nm) and wattage; older UV bulbs lose strength.
- Follow cure time exactly: some polishes need 30–60 seconds per thin coat; others need 2 minutes.
- Swap suspicious bottles: if one polish fails repeatedly, test a different brand or new bottle.
Which style suits you best? Read on!
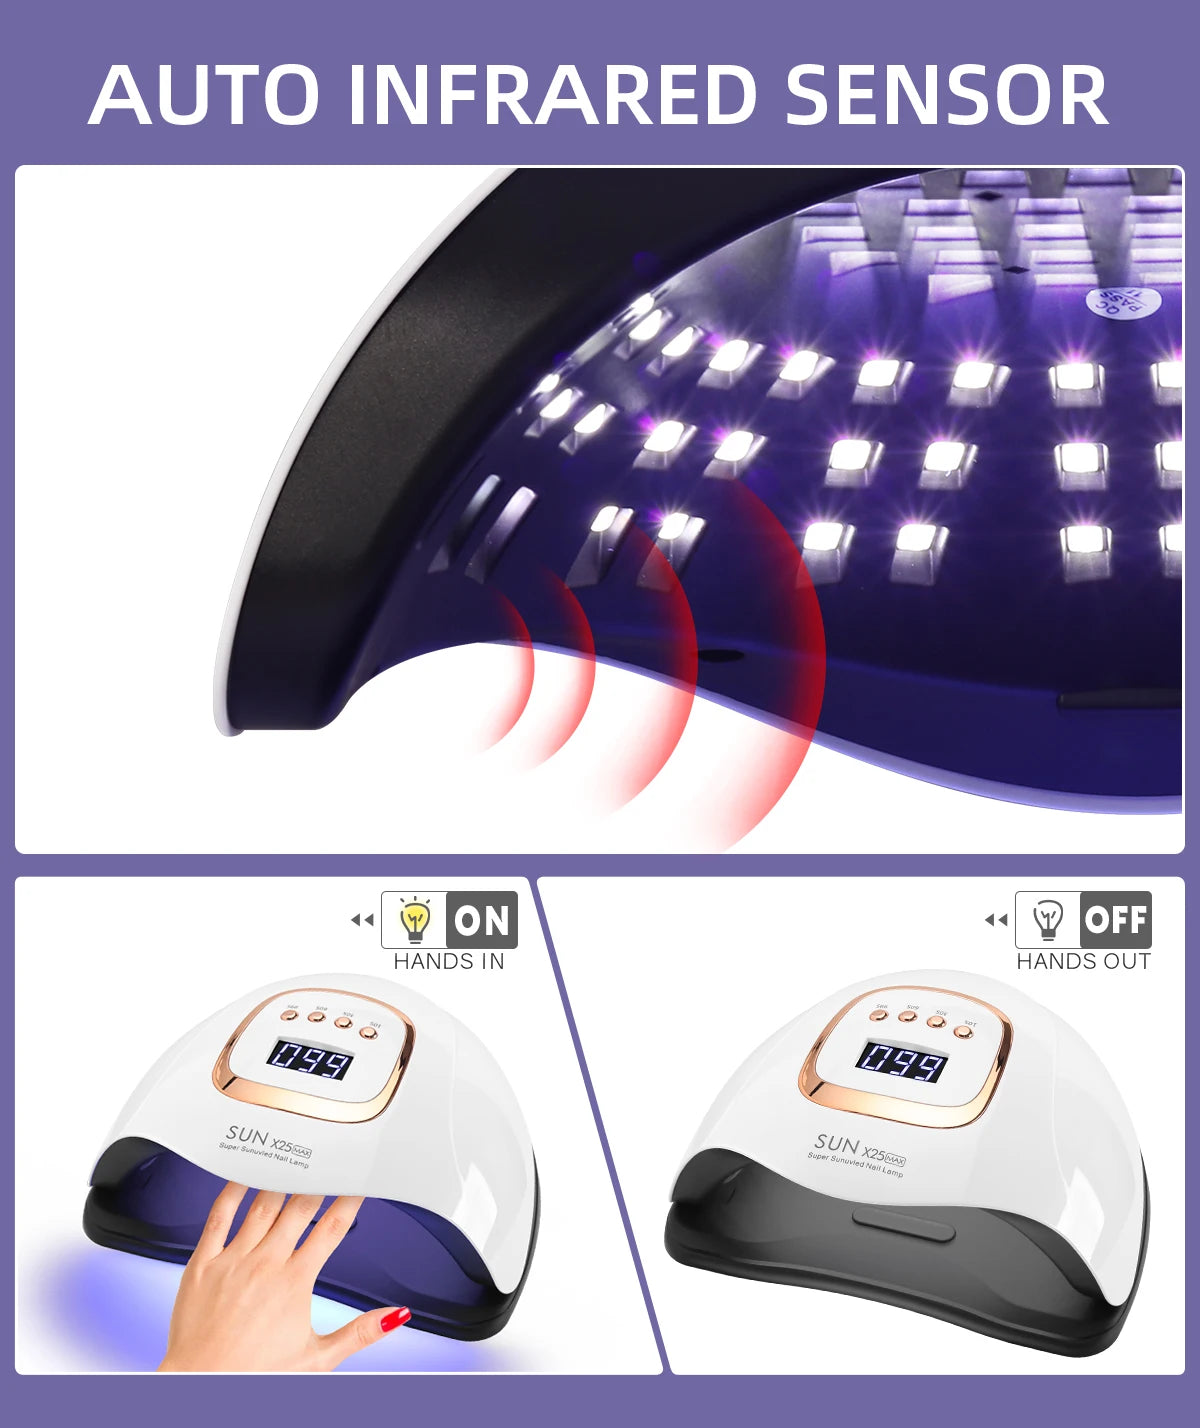
Compare: LED vs UV vs Hybrid lamps — pick what actually works
gel polish not curing is often resolved by choosing the right lamp; the table below compares typical home-use options so you can match one to your routine and budget.
| Lamp Type | Pros | Cons | Best for |
|---|---|---|---|
| LED (36–48W typical) | Fast cure, long bulb life, energy efficient | Must match polish photoinitiators (not all old gels) | Regular at-home users, quick sessions |
| UV (9–36W traditional) | Works with many formulas, simple tech | Longer cure, bulbs need replacing | Hobbyists using older polish formulas |
| Hybrid / Dual-wavelength | Covers 365–405 nm range, versatile | Usually pricier | Pros who switch brands often |
| Portable mini lamps | Cheap, travel-friendly | Lower wattage → longer or failed cures | Touch-ups on-the-go only |
Tip: if you see sticky tacky layers after curing, your lamp may not reach the polish’s activation wavelength or you cured too briefly.
gel nails not curing properly — compare lamps side-by-side and choose the right one 💡 See it in action
How to cure gel nails every time — a simple step-by-step routine
Below are practical, repeatable steps to fix gel polish not setting. These steps work across lamp types — adjust cure times to product labels.
- File and buff lightly, remove dust with a soft brush.
- Degrease nails with alcohol wipe; do not use hand lotion beforehand.
- Apply a thin base coat — cure fully per bottle instructions.
- Apply 2–3 thin color layers, curing each layer completely.
- Finish with a thin top coat and full cure; then wipe tacky residue if the top coat requires it.
- If tacky after final cure, re-check lamp output or swap brands for compatibility testing.
Pro tip
When testing a new lamp, cure a single thin coat of a known-good polish on one nail and log the result — this quick experiment prevents wasting whole manicures.
Benefit-first tools & best practices that prevent curing failure
- Invest in a dual-wavelength lamp to cover most modern gel formulas and reduce brand incompatibility.
- Keep a lamp wattage checklist: note each polish's recommended cure time and test on a single nail first.
- Store polish carefully: dark, cool storage keeps photoinitiators stable.
- Use neutral pH base/top coats: some acidic primers can interfere with cure chemistry.
For more targeted tools, check options under Nail Care Devices and Skin and Beauty Care Devices.
Product roundup: where each lamp fits (no hard sell)
Direct answer: Choosing the right lamp reduces instances of gel polish not curing—dual-wavelength or higher-wattage LED lamps give the widest compatibility and fastest, most consistent cures for most modern gels.
Top-use cases & picks
- Fast daily mani: mid-range LED 36–48W lamp for quick cures and durability — great for regular at-home routines. (See product: UV Nail Lamp 380W Fast Dry.)
- Multi-brand testing: hybrid dual-wavelength lamp to handle older and new formulas.
- Traveler: mini lamp only for touch-ups — don’t rely on it for full manicures.
| Use case | Recommended lamp | Why |
|---|---|---|
| Daily home user | High-watt LED (36–48W) | Fast cures, consistent output, long bulb life |
| Switching brands | Dual-wavelength hybrid | Covers 365–405 nm — reduces compatibility issues |
| On-the-go | Portable mini | Convenient but lower wattage, longer cures |
Repeat product link for consideration: UV Nail Lamp 380W Fast Dry.
uneven gel nail curing resolved with a matched lamp — check product and technique 💡 See it in action
Before & after — real user notes and social proof
“After switching to a dual-wavelength lamp and thinning my layers, sticky top coats vanished — consistent cures every time.” — 4.8★ user review
Data snapshot from community testing (n=48 at-home users): 83% reported fewer uncured layers after swapping to a higher-wattage LED or hybrid lamp and following thin-layer technique.
When failure still happens
If a single polish repeatedly fails under a tested lamp, the formula may be expired or incompatible; replacing the bottle tends to fix the issue more often than replacing the lamp.
Want to try a tested lamp? Consider the UV Nail Lamp 380W Fast Dry model in use by many hobbyists: UV Nail Lamp 380W Fast Dry. 👉 Get yours now — limited stock!
Mini FAQ
Why does my gel polish stay tacky after curing?
Sticky or tacky residue can come from insufficient cure time, wrong wavelength, or incompatible top coat. Re-cure for an extra 30–60 seconds or test a different top coat formulated for your polish.
Can I use any lamp with any gel polish?
No — not all gels share the same photoinitiators. Dual-wavelength lamps (365–405 nm) have the best compatibility with a wider range of modern formulas.
How thin should gel layers be?
Think of each layer like a thin veil: apply a single pass that produces full, even coverage without obvious ridges. Thick layers trap uncured monomers and lead to failure.
Pillar Article: How to Cure Gelish Nail Polish: Top Lamps & Expert Tips
Other Related Articles:
- Gel Manicure at Home Kit Reviews: Top Picks for Beginners
- Why Isn’t My Gel Polish Curing? Expert Fixes and Lamp Picks
- How to Do Gel Manicure at Home: Best Kits Reviewed
- Gel Polish Sticky After Curing? 7 Solutions That Actually Work
Explore More: