⏱ 8 min read
Does learning how to cure gel nail polish protect fragile nails?
How to cure gel nail polish gently matters: using safe low heat nail curing, thin coats, and a controlled UV/LED lamp reduces lifting and heat spikes that damage weak nails. Proper technique prevents peeling and keeps fragile nails flexible while giving a durable finish you can feel confident wearing.
Are you worried that a gel manicure will crack or make your nails worse? Fragile or damaged nails need a gentler approach — not stronger products. This guide shows you how to cure gel nail polish safely, fix gel polish not setting problems, and pick a nail gel dryer UV that protects sensitive beds. Which steps actually repair and which make things worse? Read on.
how to cure gel nail polish, safe low heat nail curing + 💡 See it in action — try the lamp linked below.
How gentle curing reduces chips and protects fragile nails
Fragile nails often peel, split, or heat-burn under aggressive curing. Gentle curing uses lower heat exposure, thinner product layers, and proper prep to create a strong finish without dehydrating or lifting the natural nail. Think “support” not “armor.”
Key benefits you’ll see fast
- Less lifting and peeling between fills
- Lower chance of heat spikes that feel like “stinging”
- Longer wear from thin, even layers
- Reduced need for harsh filing or power tools
How to cure gel nail polish: quick, direct answer
how to cure gel nail polish: Apply thin, even coats; flash-cure each coat for 5–10 seconds to level; then perform a full cure (30–60s depending on lamp) using a low-heat or ramped setting. Use a quality nail gel dryer UV to avoid heat spikes and finish with a gentle cleanser. Repeat only when nails are dry and intact.
Quick comparison: curing methods and what fragile nails need
| Method | Why it helps fragile nails | Typical time |
|---|---|---|
| Ramped LED (low heat) | Reduces heat spikes, gentle on nail bed | 30–60s |
| Flash + full cure | Levels each layer, prevents pooling | 5–10s flash, then 30–60s full |
| High-power UV | Fast, but can cause heat for weak nails | 10–30s (varies) |
Step-by-step: Gentle at-home curing that actually protects
Follow these steps exactly to prevent damage and get longer wear from fragile nails.
- Prep, but don’t over-file: Lightly buff the nail surface (180–240 grit), remove oils with a gentle dehydrator or 70% isopropyl, and push cuticles back carefully.
- Base product choice: Use a nourishing, flexible base that’s formulated for weak nails. Avoid thick builder gels unless your nail tech prescribes them.
- Thin application: Apply very thin layers—think paper-thin. This reduces cure time and heat.
- Flash-cure each coat: Flash for 5–10 seconds to set the surface and allow leveling; this prevents pooling and reduces full-cure heat.
- Full cure on low/ramped setting: Use a low-heat or ramped LED cycle (30–60s). If your lamp has a “low heat” or “sensitive” mode, use it.
- Cool-down breaks: If nails warm, remove hands, wait 30–60s, then continue. Don’t push through sharp heat.
- Finish with a hydrating oil: Immediately apply cuticle oil and a nail conditioner to restore moisture.
safe low heat nail curing, gel polish not setting + 💡 See it in action — compare lamps in Nail Care Devices.
Tools and products that make a difference
- Quality LED lamp with low-heat or ramp mode — prevents heat shock.
- Sheer, flexible base and top coats — less rigid finish reduces snapping.
- Thin-layer brushwork — better cure and less stress on nail plate.
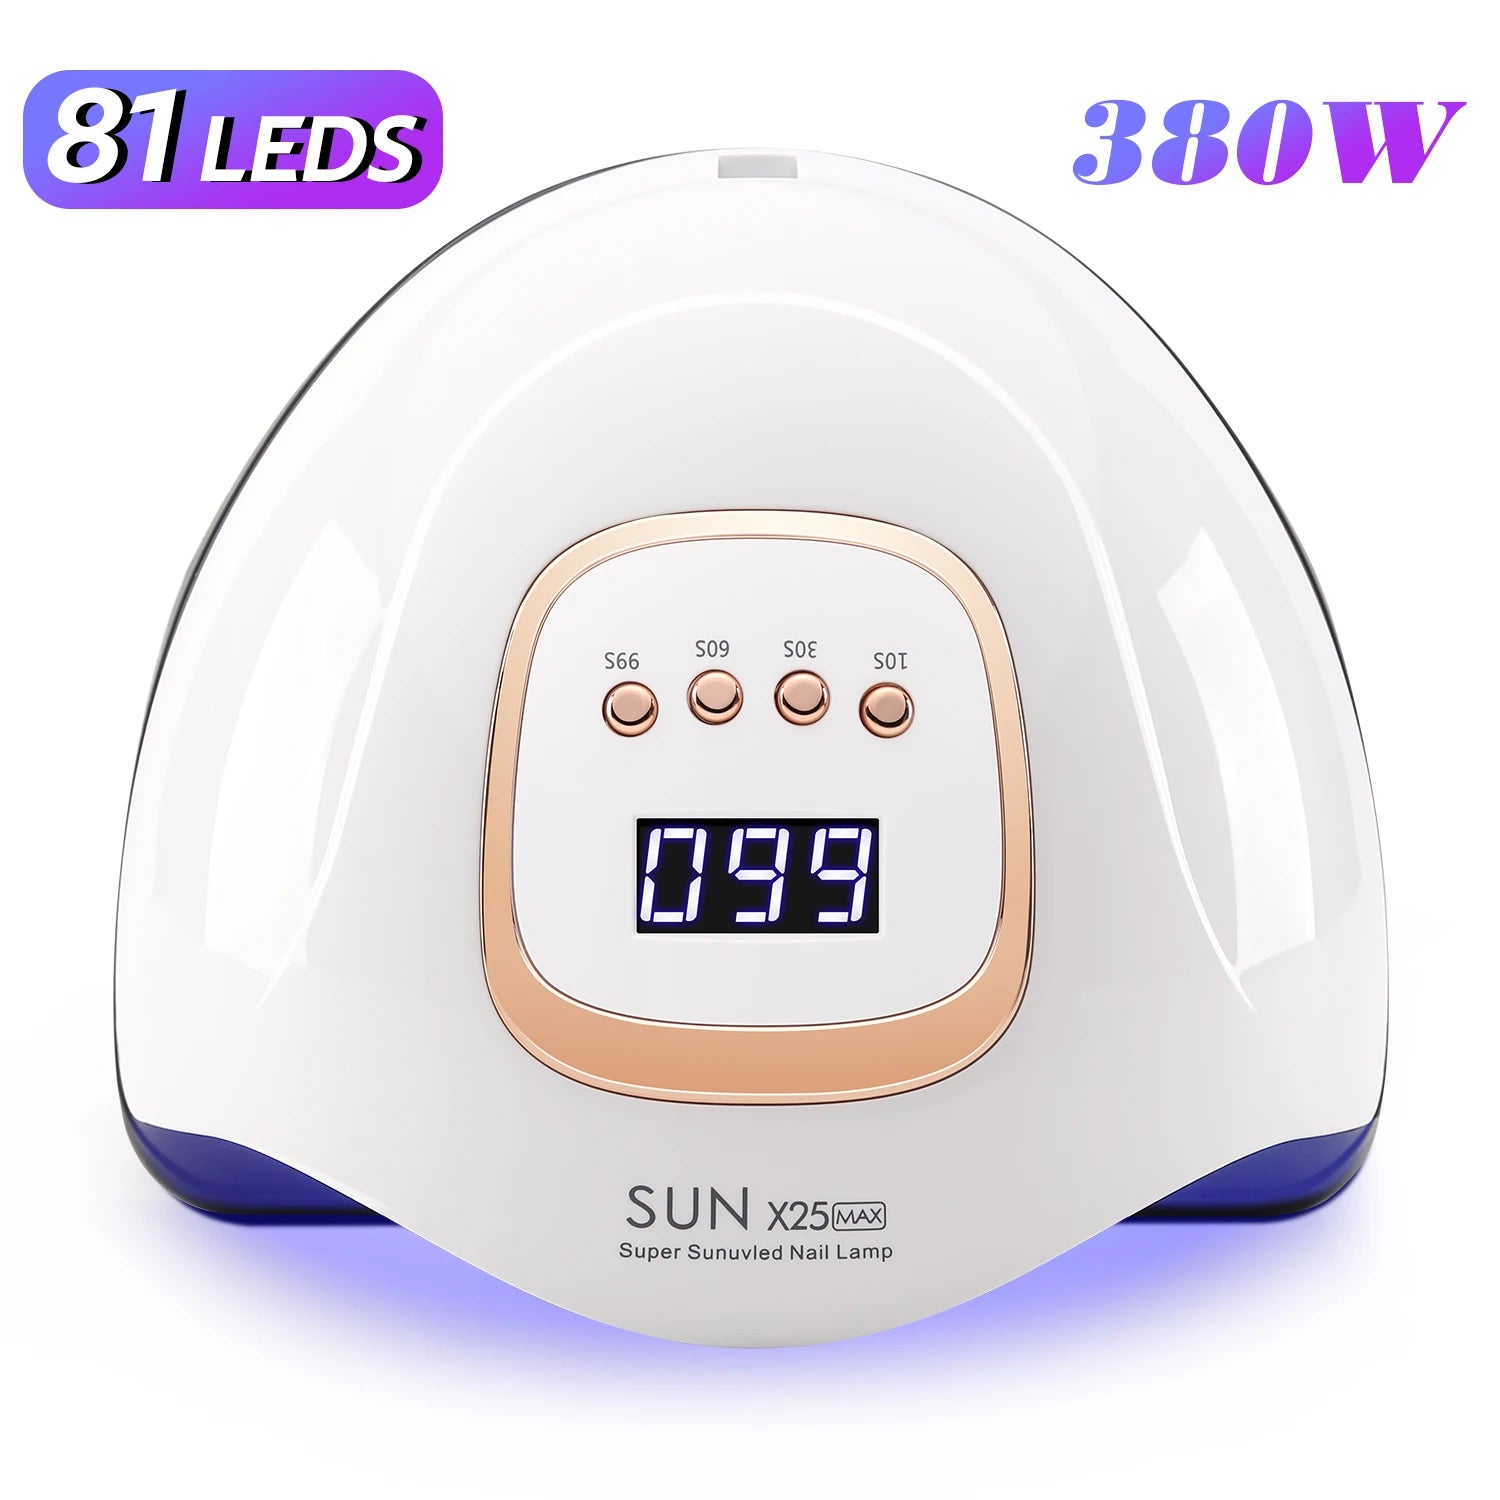
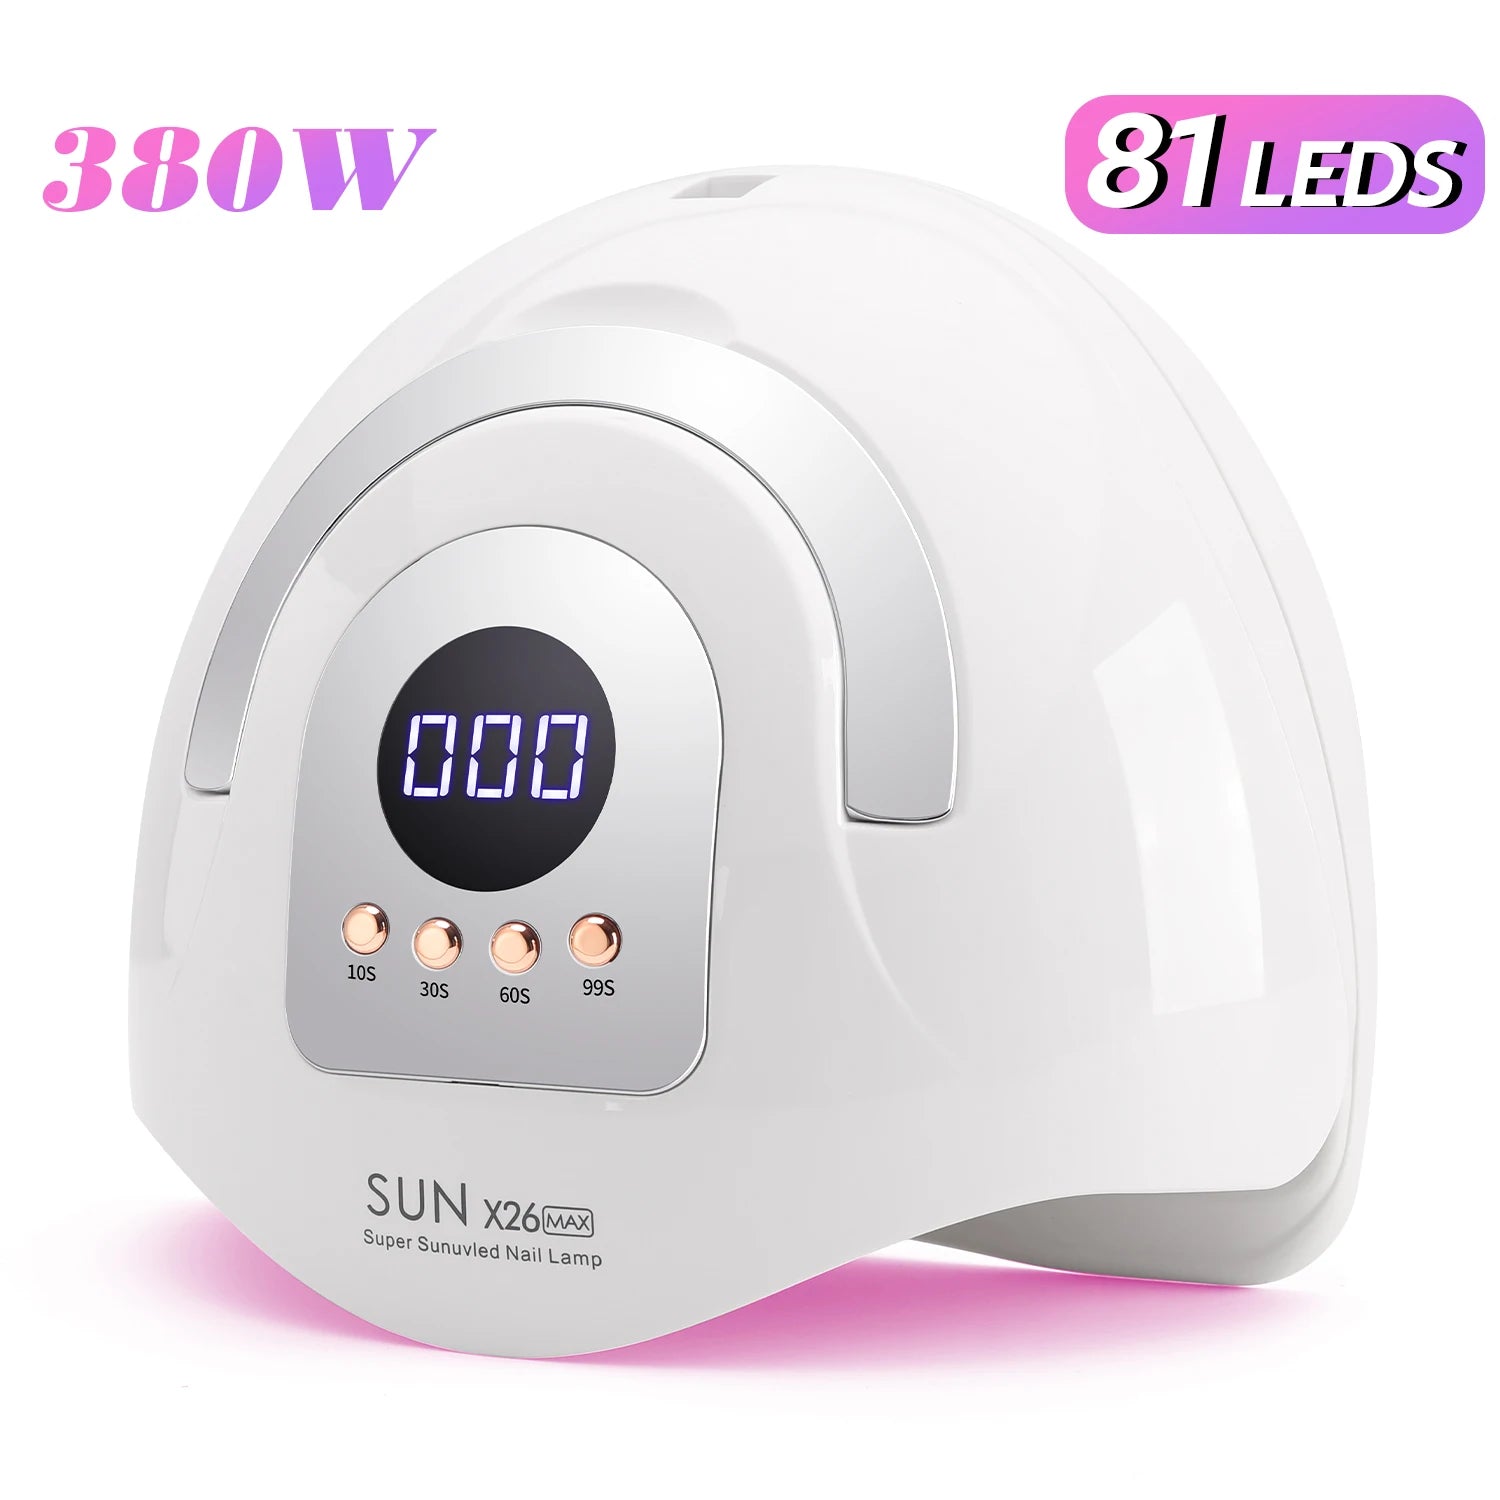
Pro tip: keep a nail gel dryer UV that offers multiple power modes available; it’s the easiest upgrade with immediate results.
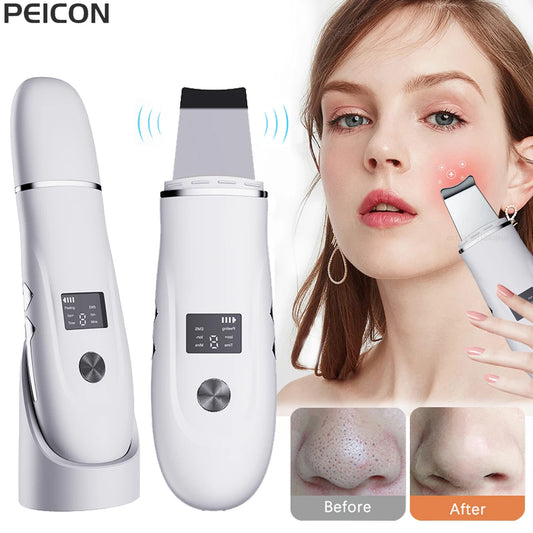
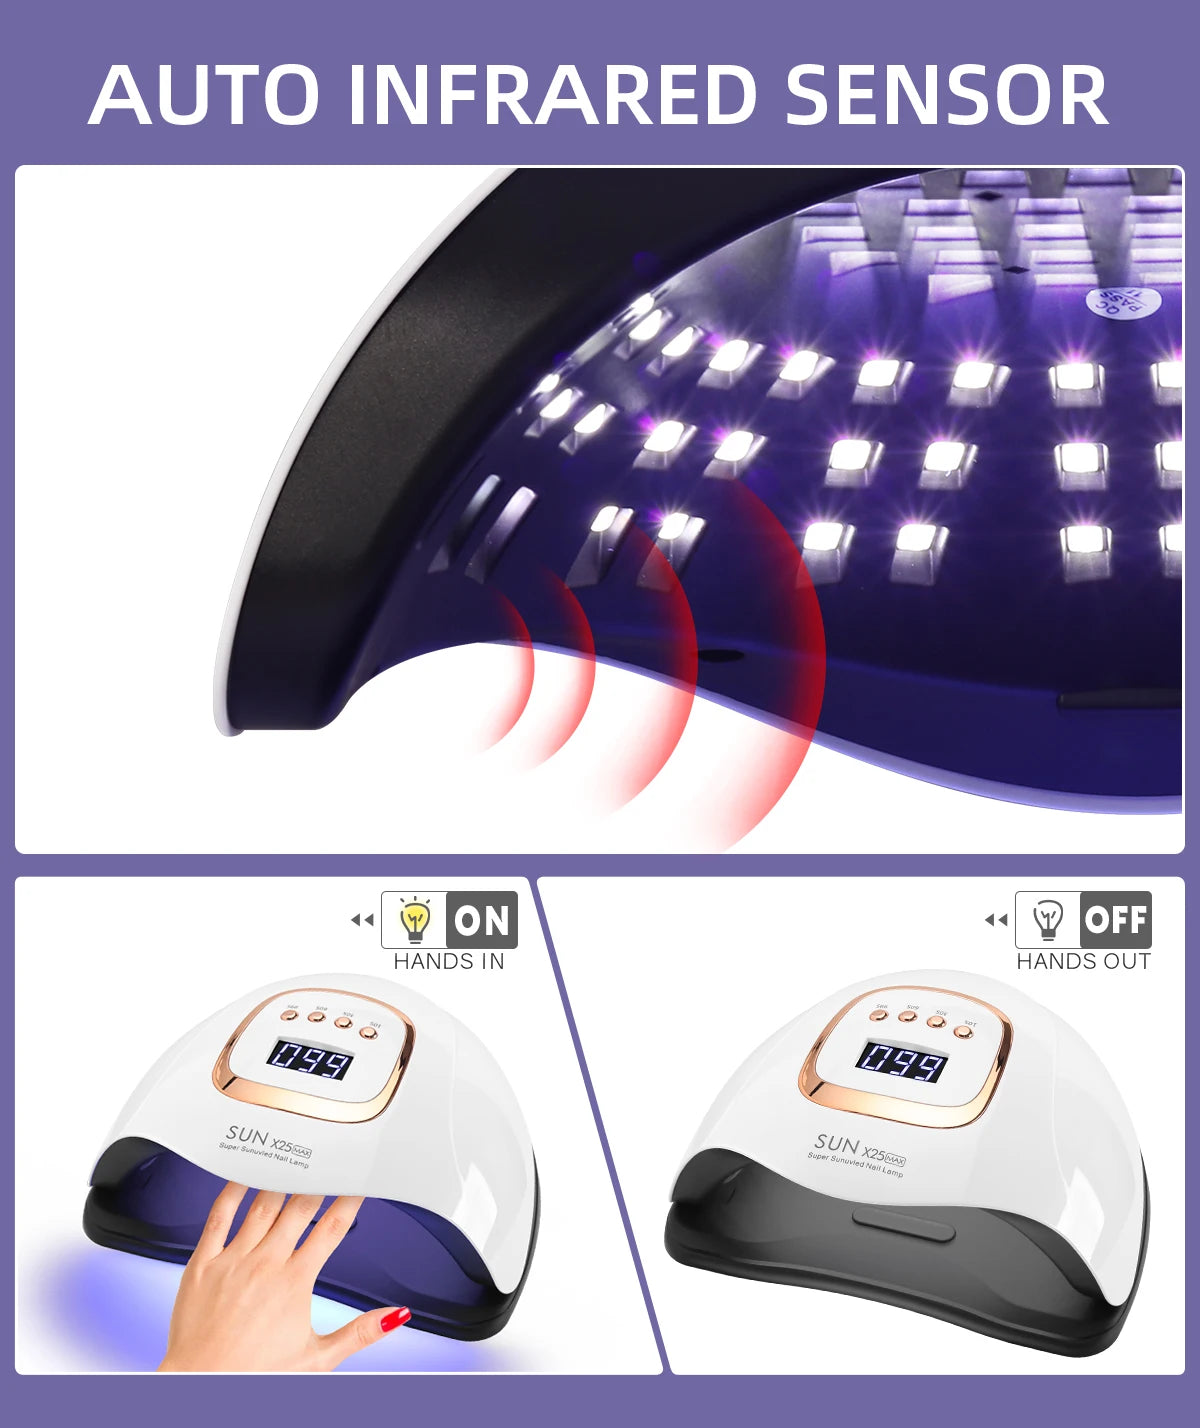
How this nail gel dryer UV protects fragile nails in minutes
Picking the right lamp matters more than the fanciest polish. A controlled lamp with a "sensitive" or ramp mode cures gel without sudden heat spikes, which is the most common complaint when gel polish not setting or causing discomfort.
Direct answer:
how to cure gel nail polish: Choose a lamp with a low-heat or ramped LED setting, flash-cure each thin coat, and follow with a full cure of 30–60s. A good nail gel dryer UV reduces heat and gives even polymerization for weaker nails.
Feature checklist for lamps
- Ramped power or low-heat mode
- Even LED array (no hot spots)
- Adjustable timer and sensor
- Wide platform for natural hand placement
Want curated options? Check the Nail Care Devices collection for lamps and accessories built for sensitive nails.
Why is my gel polish not setting?
Common reasons and simple fixes when gel polish not setting:
- Old or contaminated polish: Gel managers lose reactivity. Replace if older than recommended by brand.
- Too-thick layers: Thick coats may never cure through; remove and reapply thin layers.
- Wrong lamp type: Some gels require LED vs UV. Match polish to your lamp or use a universal lamp.
- Insufficient cure time: Increase the full-cure time within manufacturer guidelines.
- Surface contamination: Oils or debris prevent adhesion — redo prep with cleaner.
✅ Pros / ❌ Cons — gentle curing approach
- ✅ Less lifting and longer wear for weak nails
- ✅ More comfortable curing experience
- ❌ Takes slightly longer per coat due to flash+full cure
- ❌ Requires a lamp with ramp/low-heat settings
Real user cases: what worked for weak nails
Case 1 — Jenna, 34: "After years of peeling, switching to thin layers + flash cures cut my lifts in half. I now use a low-heat lamp and reapply every 2 weeks." — 4.5/5 stars.
Case 2 — Marco (salon tech): "We use a ramp setting for anyone who reports burning. It saves refunds and keeps clients coming back."
| Metric | Before | After (gentle cure) |
|---|---|---|
| Average lifts per client (2 weeks) | 3.2 | 1.1 |
| Reported heat discomfort | 27% | 4% |
Social proof snapshot
- 4.6 average rating from users who switched to ramped curing
- Testimonials emphasize comfort and durability
gel polish not setting, nail gel dryer uv + 💡 See it in action — try the linked lamp for a gentle cure.
Mini-FAQ
How long should I cure each gel coat?
Flash for 5–10 seconds after each thin coat, then full cure for 30–60 seconds depending on your lamp’s instructions and its low-heat mode.
Can I use a regular UV lamp for weak nails?
Some UV lamps are fine, but prefer an LED lamp with ramp or low-heat settings. If you must use UV, use thinner layers and cool breaks to avoid heat shocks.
Is it safe to cure gel if my nails are damaged?
Yes, when you use gentle curing, thin layers, and supporting base products. If nails are severely infected or brittle, consult a professional prior to gel application.
Shop a recommended nail gel dryer UV: nail gel dryer UV — ideal for sensitive curing cycles and fragile nails.
For complementary tools and aftercare, visit the Skin and Beauty Care Devices and Nail Care Devices collections for conditioners, cuticle oils, and lamps built for sensitive use.
Final checklist: Cure gel safely every time
- Thin coats + flash cure each layer
- Use a lamp with low-heat/ramp mode
- Take breaks if nails get warm
- Finish with oil and hydration
- Replace old gel products that stop reacting
If your gel polish is consistently not setting despite correct technique, consider a lamp upgrade or checking product expiry—both are common hidden causes.
Related Articles:
- Manicure at Home Gel Guide: Best Tools and Lamp Reviews
- Gel Polish Not Cured? How Top Lamps Solve Common Issues
Pillar Articles: